DIY Hand Painted Ornaments
As an Amazon Associate, I earn from qualifying purchases. This post may contain affiliate links. See our full disclosure here.
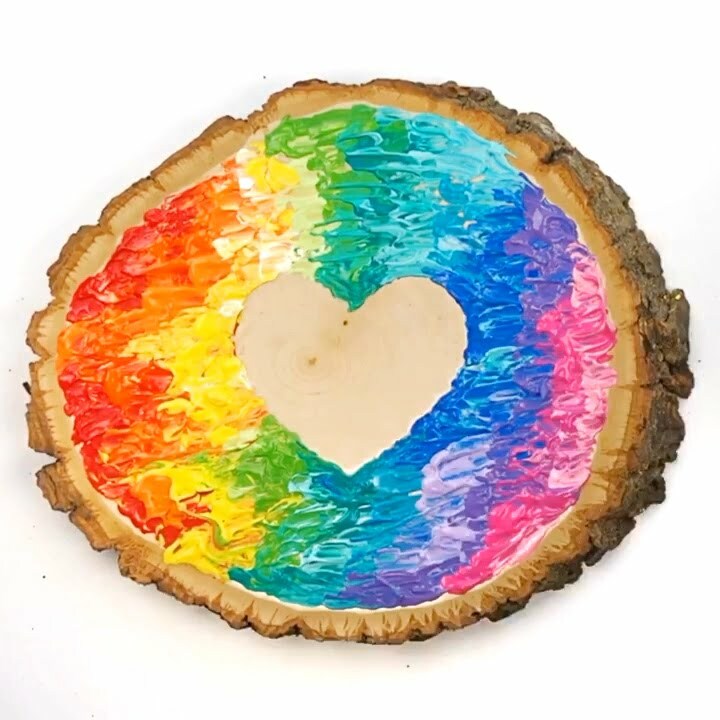
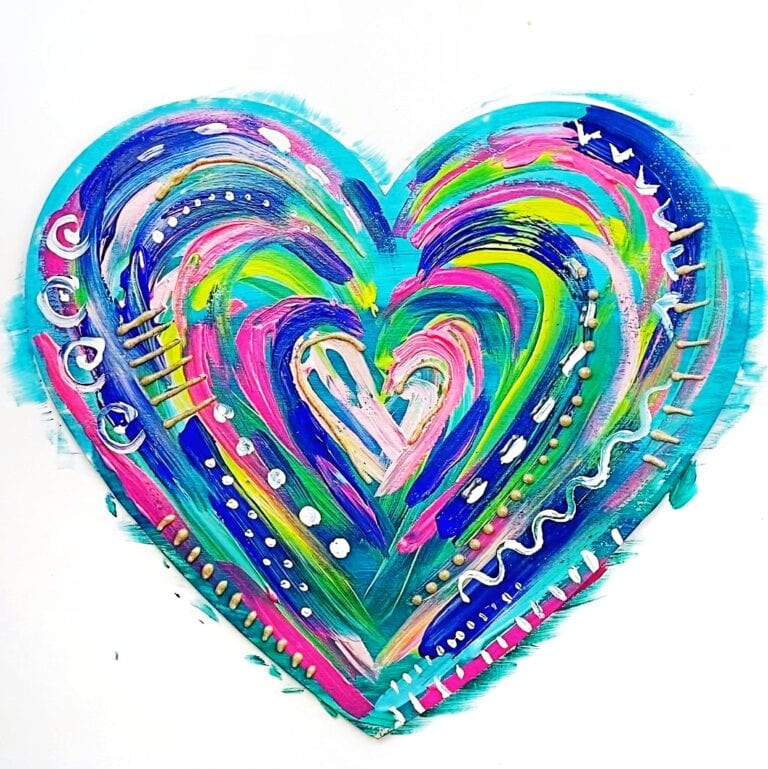
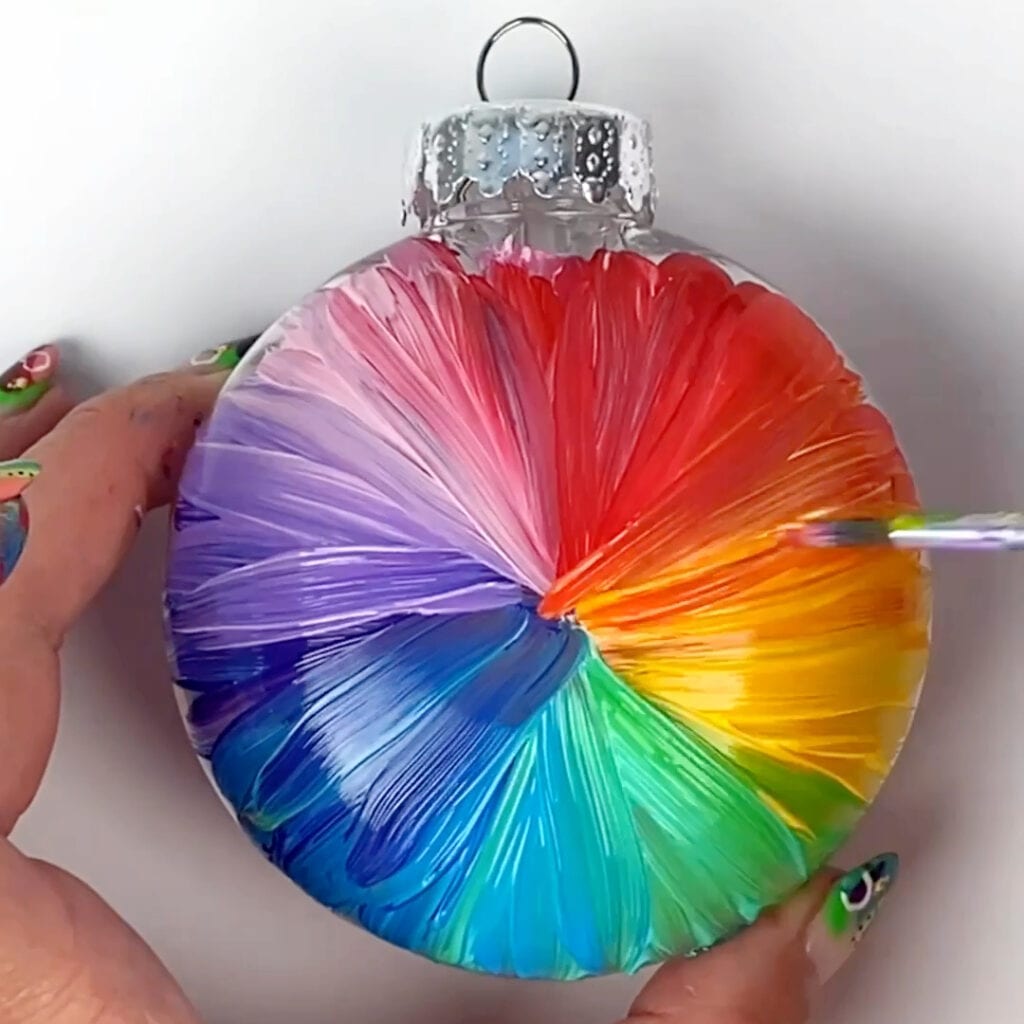
I love making my own Christmas ornaments and it’s very easy to make your own DIY hand painted ornaments. This easy abstract painted ornament can be completed in as little as 5 minutes and it’s a great Christmas craft for kids or adults. See below the supplies I used and my tips and tricks for blending the colors together.
Other Ornament DIYs you might like: Cactus Ornament, Ice Cream Cone ornament, Glitter Ornaments
Supplies for DIY Hand Painted Ornaments
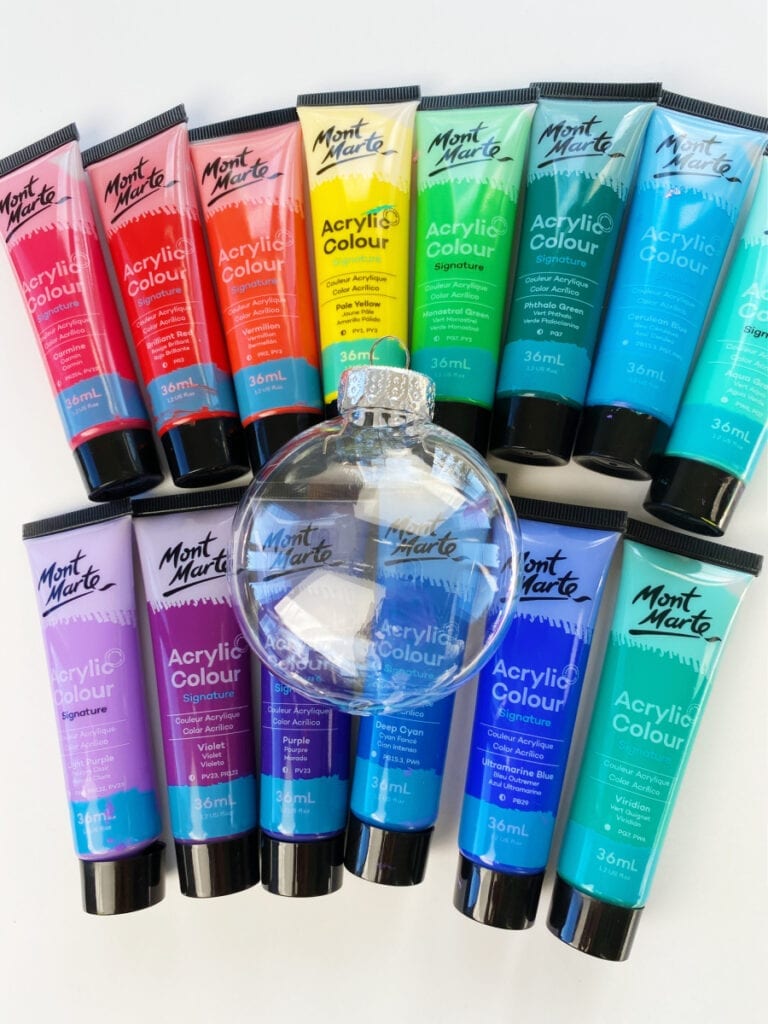
- Clear Plastic Disc Ornaments – I used these ornaments from Michaels but found these similar ornaments on Amazon.
- Acrylic Paint – I used the Mont Marte acrylic paint set. They are great colors and a great price.
- Paint brush – I used a round paint brush.
Directions and Tips for Making Colorful DIY Painted Ornaments
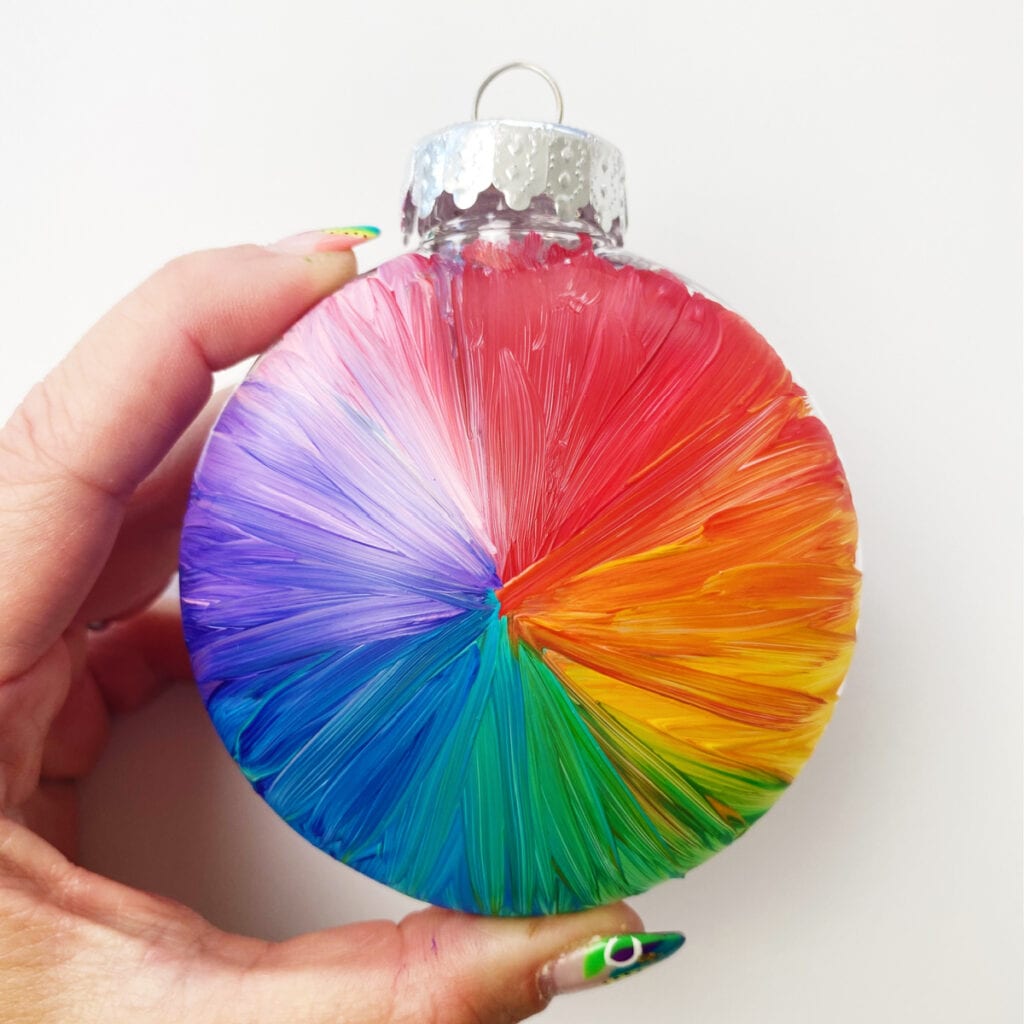
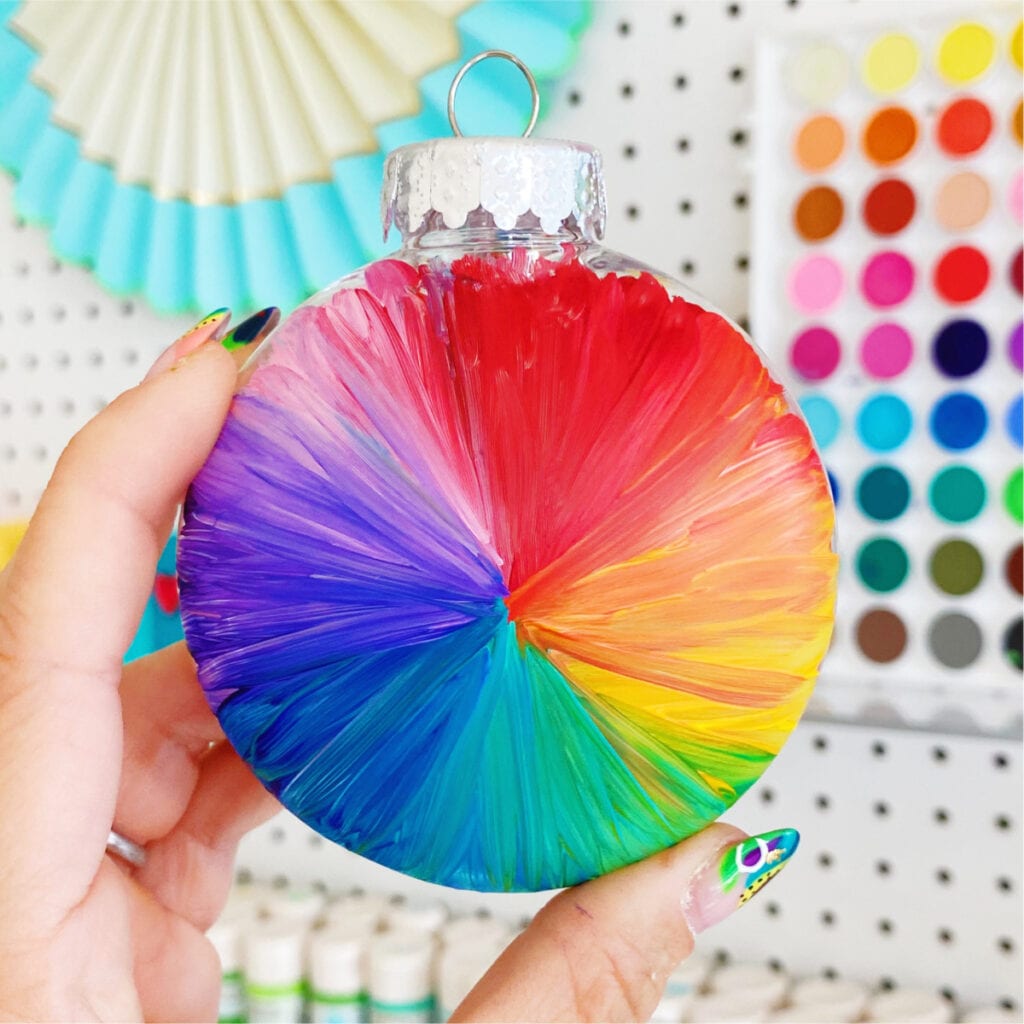
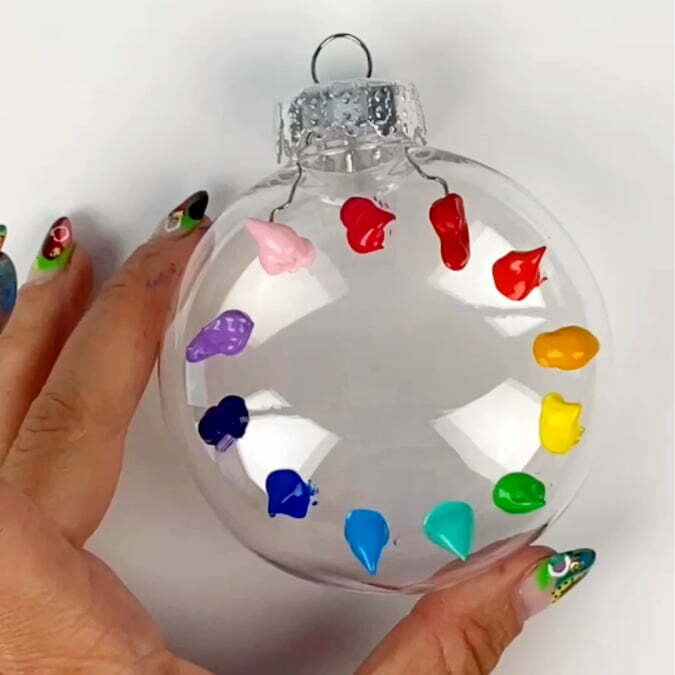
1. Apply the Acrylic Paint to the Ornament
I like to apply the acrylic paint directly to the ornament before I start paint but this isn’t necessary. Another option is to apply the paint to a palette or paper plate before you start painting.
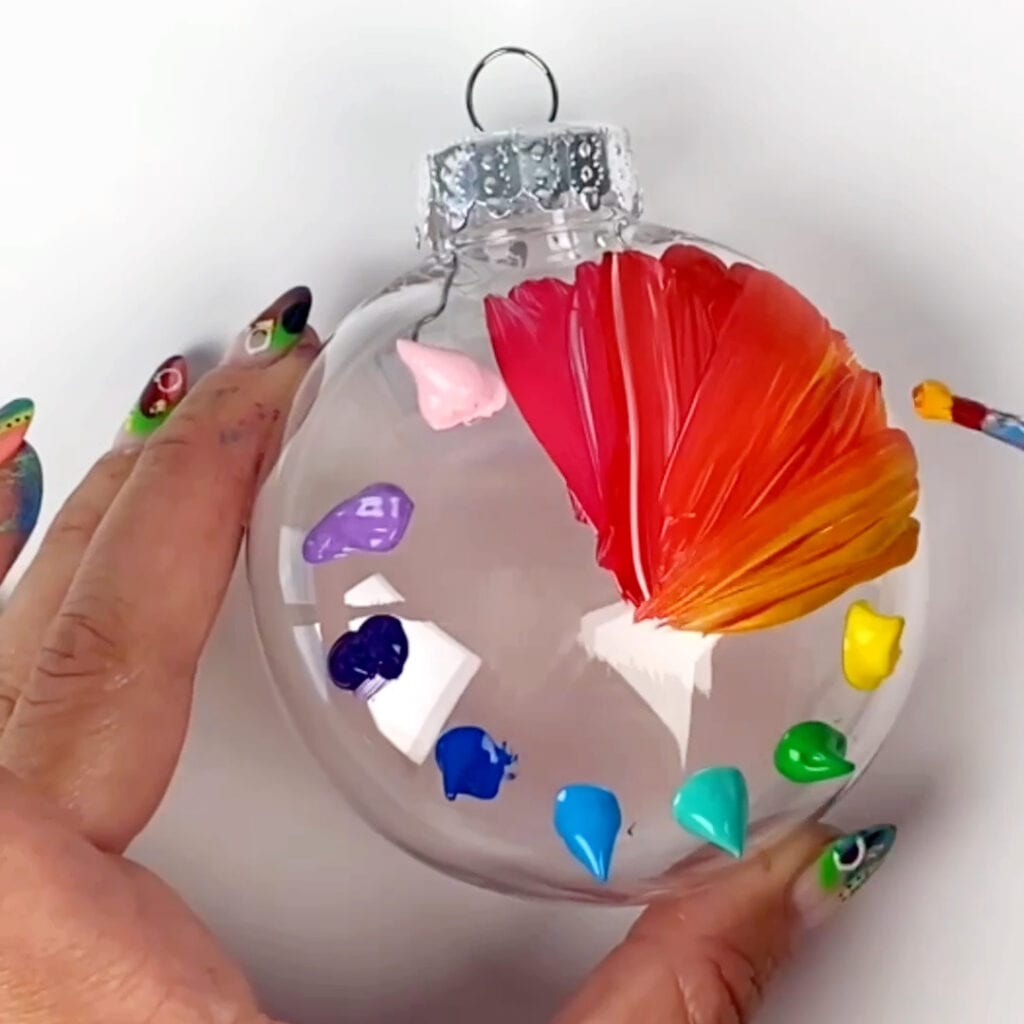
2. Blend the Red and Orange Paint
I start first by just blending the red and orange colors.
NOTE: Wipe off your brush before you move onto the yellow. I don’t clean it completely in water because I like dry bristles, but I do make sure I remove most of the prior paint colors using a towel.
NOTE: Sometimes I blend in a bit of white to add definition or to lighten the colors.
3. Blend the Yellow and Green
Next blend the yellow into the green shades and then wipe off your brush.
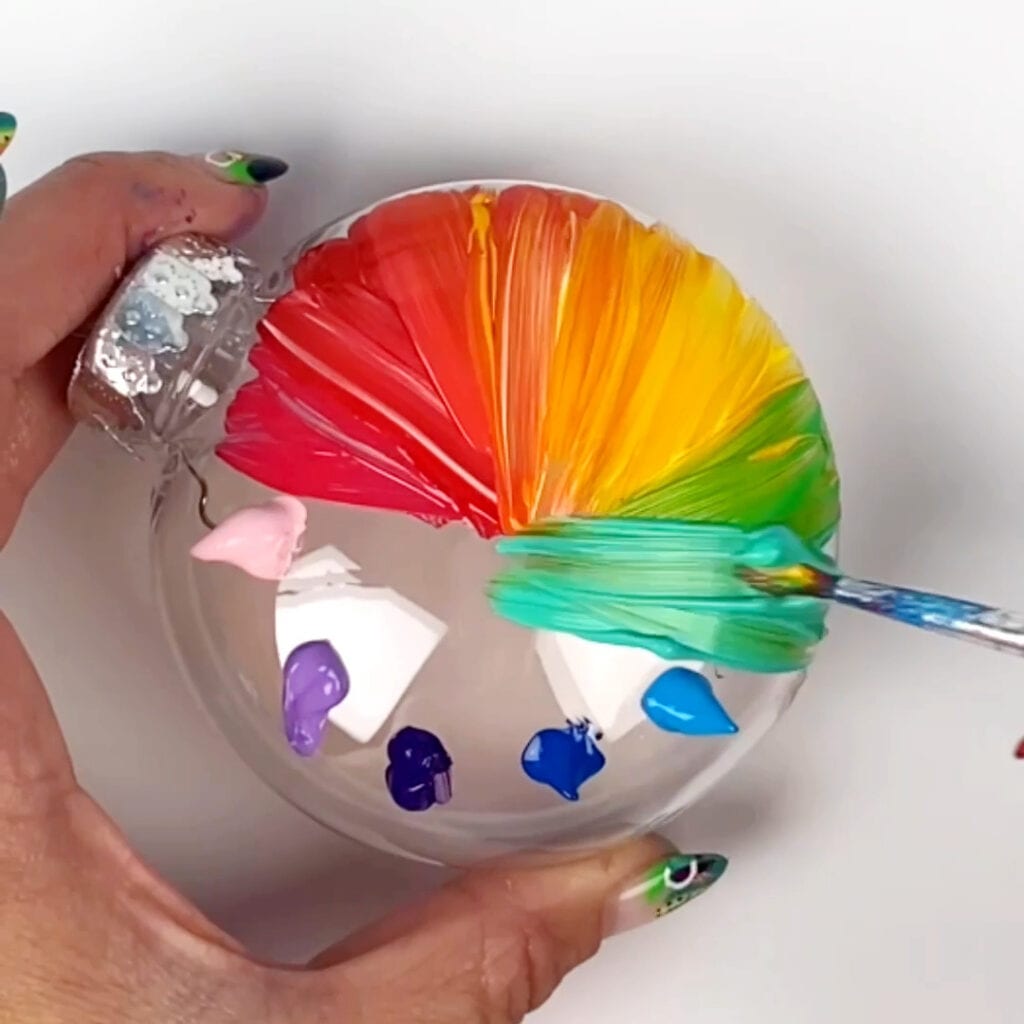
4. Next, Blend Blue and Purple Paint
Blend the blues into the purple.
NOTE: add bits of white wherever you’d like to change up the color a bit.
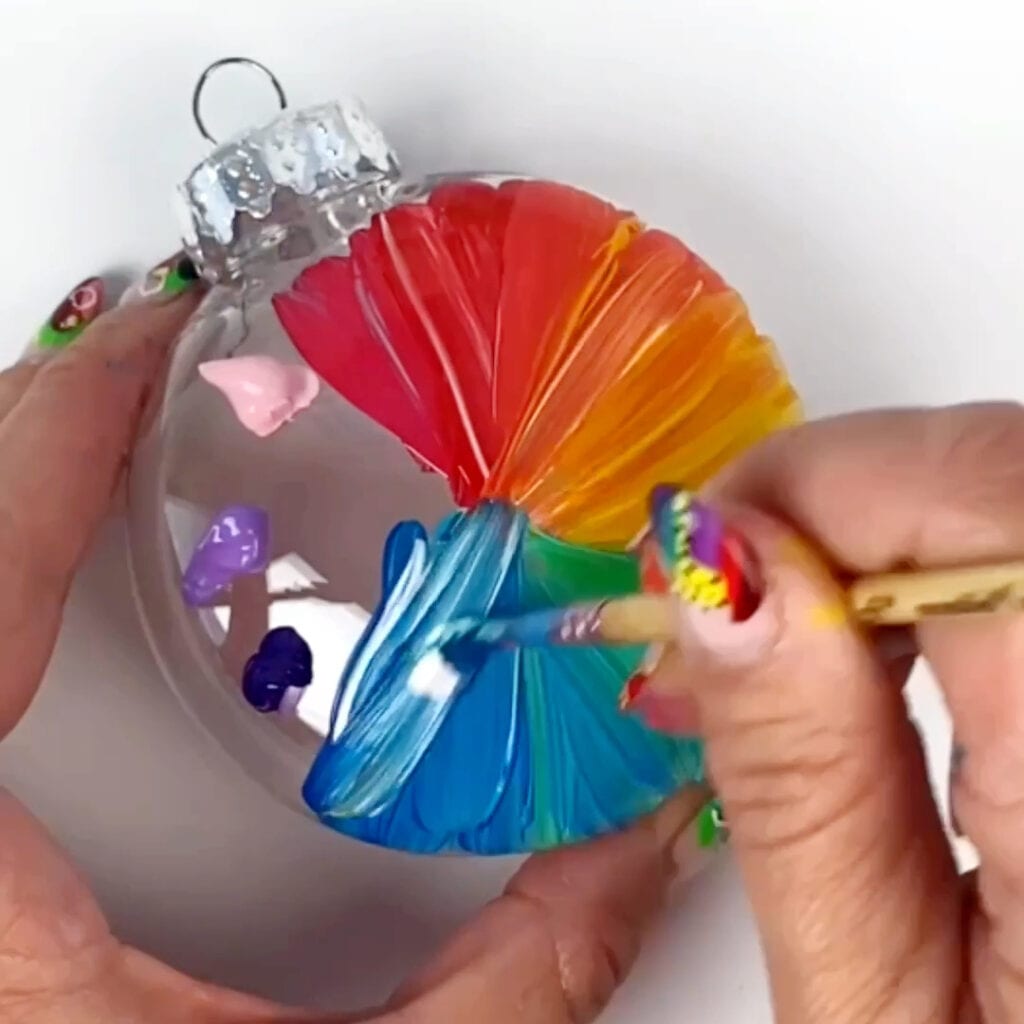
5. Finally, Spread the Purple and Pink Paint on the Ornament
Next blend the purple in the pink. This should be the last of your paint colors that you added at the start.
6. Smooth and Clean Up the Rainbow Painted Design
Once I went all the way around the ornament once, I went around one more time with just my brush smoothing out the blending and wiping it clean when I needed so that the colors didn’t overlap too much.
7. Optional: Seal Your DIY Hand Painted Ornament
I didn’t seal my finished design but you can if you like. I’d recommend this glossy spray sealant.

I would love to see your version of this DIY Painted ornament. Come share with me a picture of your finished rock on Instagram or Facebook! I love showing examples of my tutorials being made!