DIY Ice Cream Ornaments Christmas Craft
As an Amazon Associate, I earn from qualifying purchases. This post may contain affiliate links. See our full disclosure here.
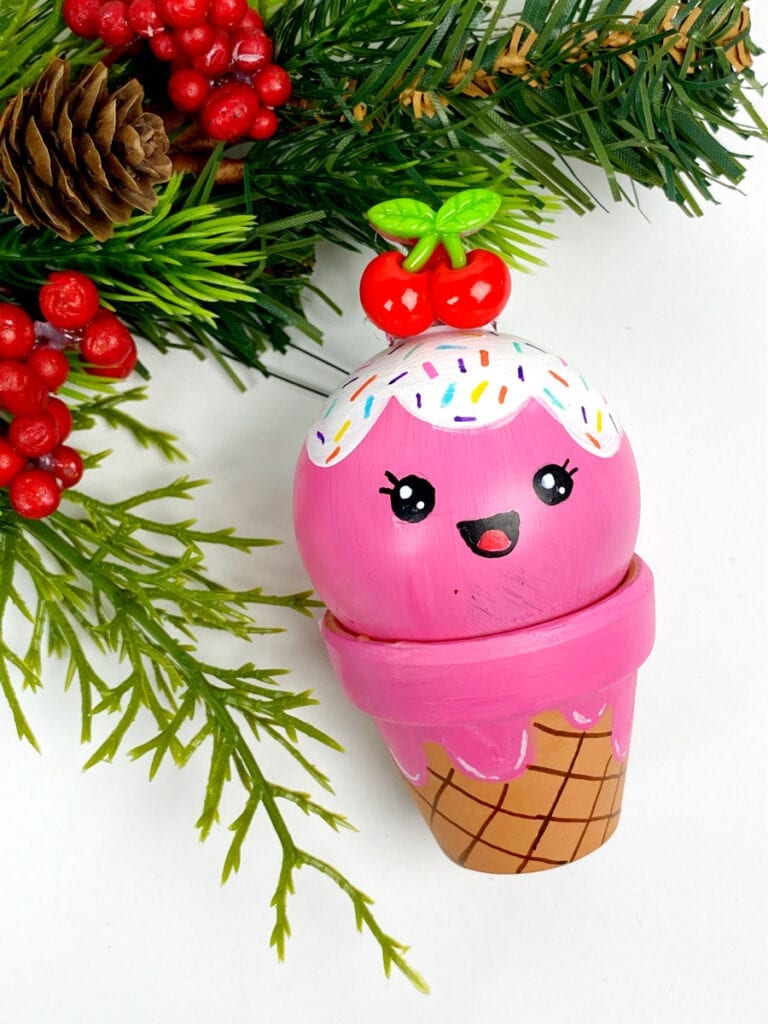
I’m a HUGE fan of using mini flower pots for crafts and if you like these DIY ice cream Christmas ornaments you’ll love my cactus ornaments as well. These mini ice cream cone ornaments are adorable – they’re made from Christmas ornaments! Plus you can have a ton of fun creating different toppings and cute faces for each one.
The possibilities are endless. See below for the exact supplies you’ll need to create your own DIY ice cream ornaments and the step-by-step tutorial.
How to Make These Cute Ice Cream Ornament Crafts

Supplies for DIY Ice Cream Ornaments
- Mini Terra Cotta Pots – 1.5″″ pots
- Mini Ornaments Balls – glass 50mm (2″) ornaments balls or you could use plastic. I used white balls because that’s what I made on hand, but clear works just the same.
- Acrylic Paint – Here are two great, affordable options: Mont Marte Acylic paint or Arteza acrylic paint.
- Acrylic Paint Pens- I like both these Tooli Art extra fine acrylic paint pens and these Artistro extra fine paint pens.
- Hot Glue Gun
- Cherry Embellishment
Step by Step Ice Cream Ornament Directions
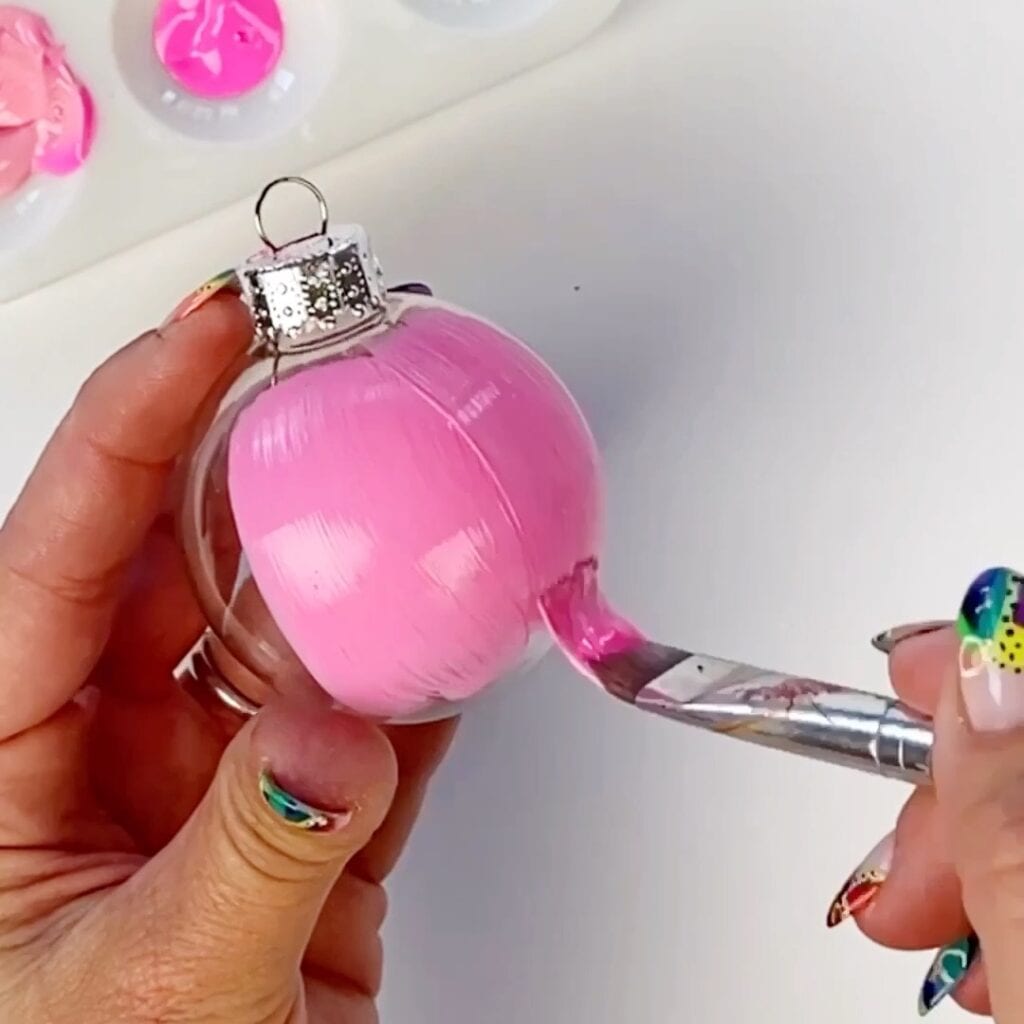
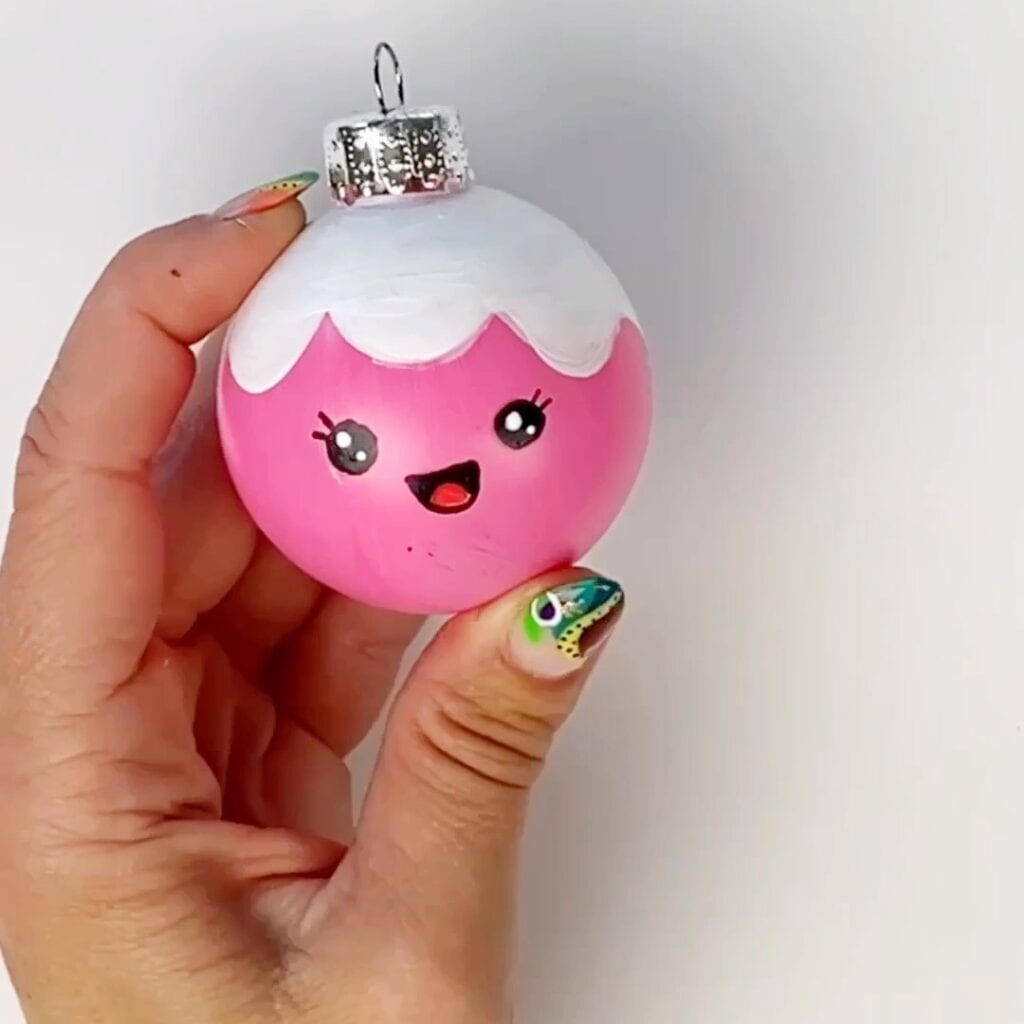
1. Paint The Christmas Ornaments
Start by painting your ornaments with acrylic paint. NOTE: I did two coats of paint so that there would be no streaks and the ornament would have full coverage.
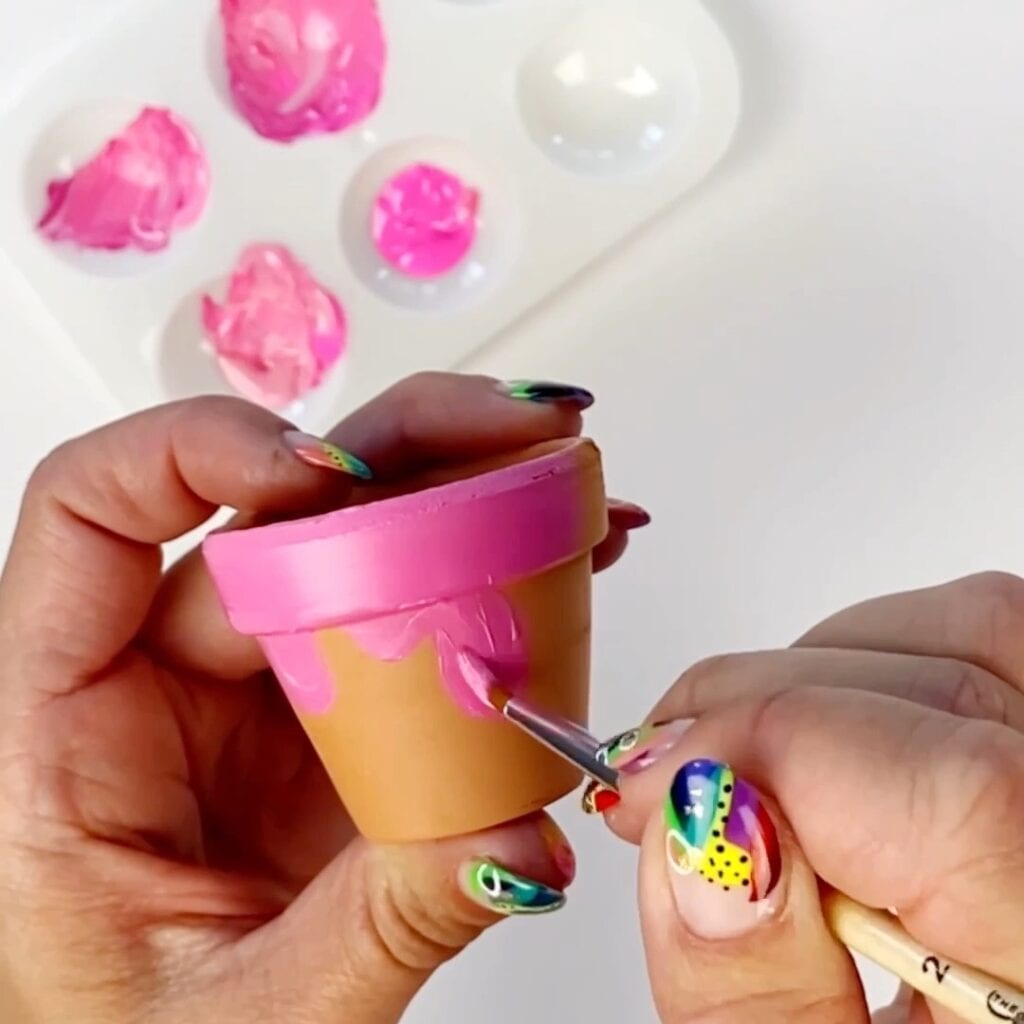
2. Paint the Flower Pot Top
While the ornament is drying, paint the top of the mini flower pot the same ice cream color and add some cute ice cream drips.
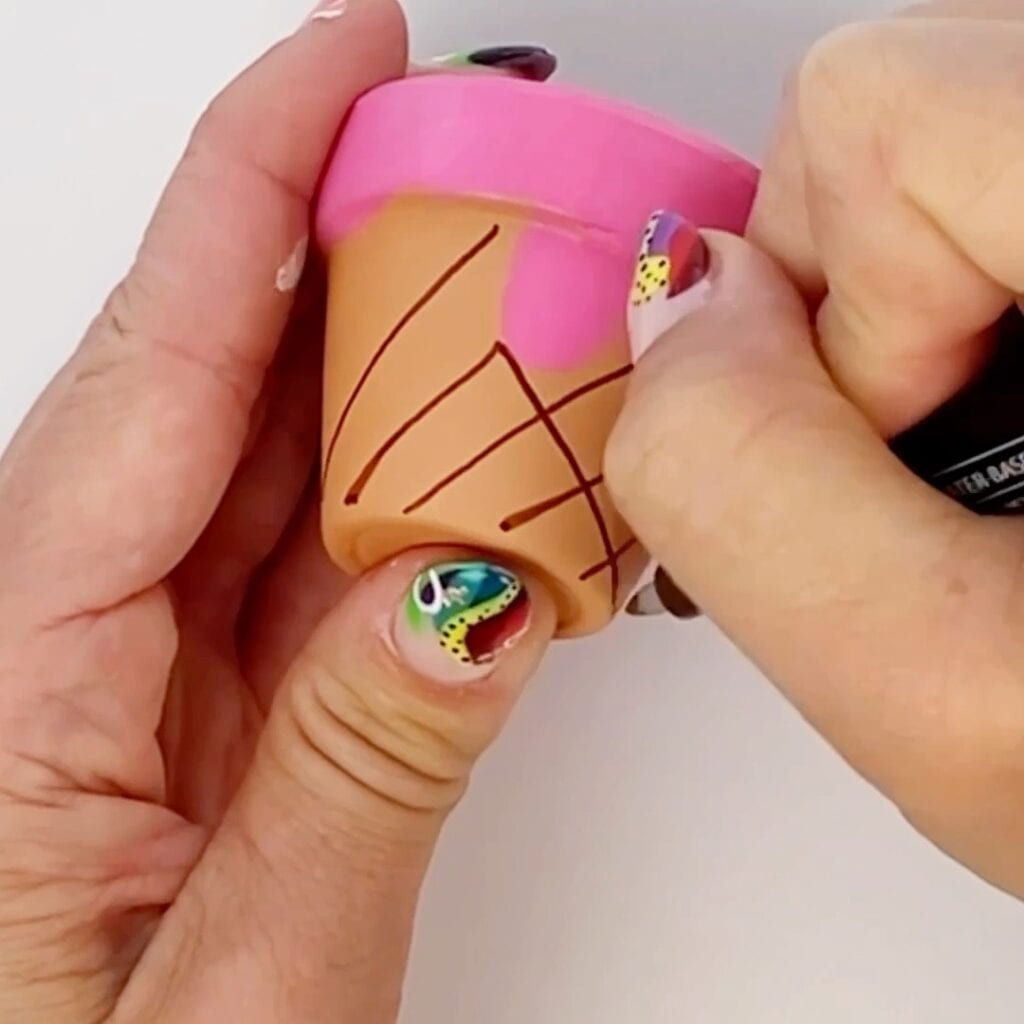
3. Make the Ice Cream Cone Pattern
Add a cone pattern to the flower pot with a brown paint pen.
4. Add Painted Details
Once the paint is completely dry you can also add white highlights to the ice cream drips to help them stand out.

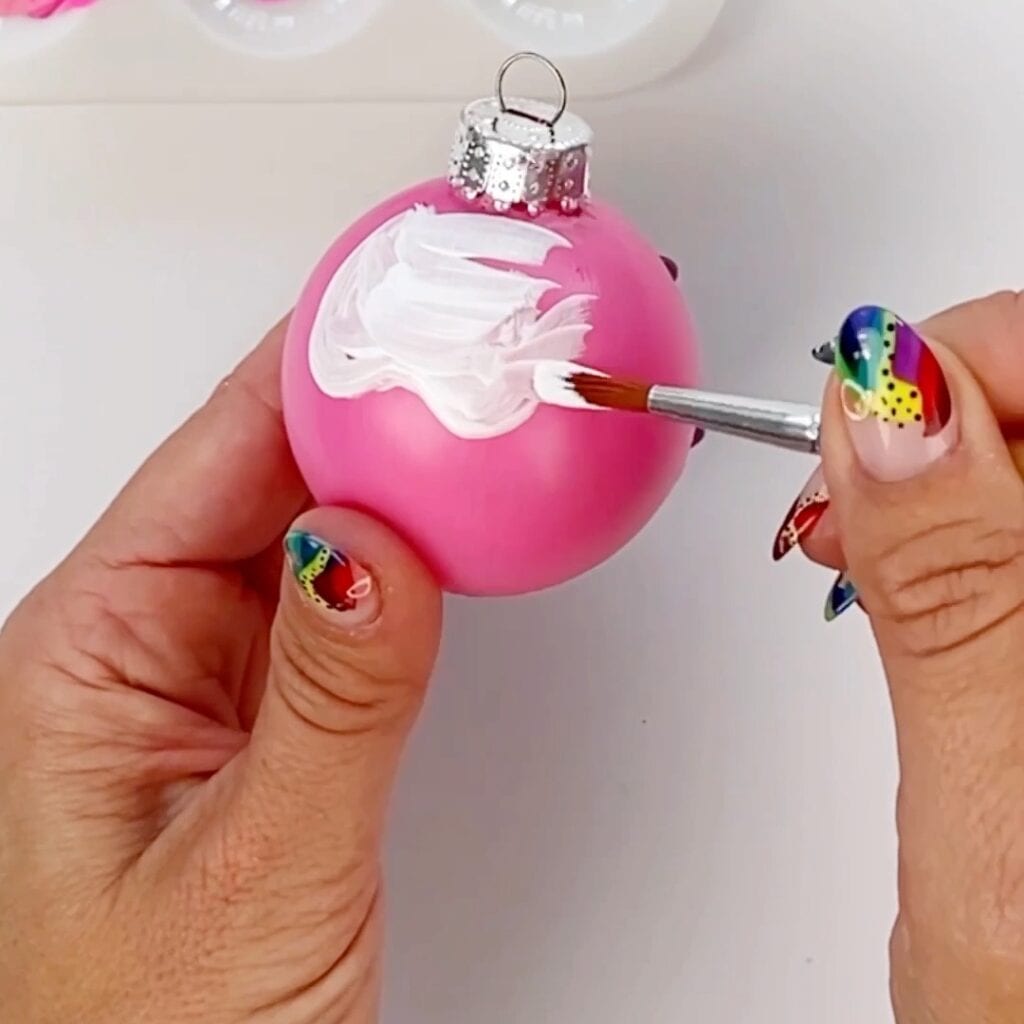
5. Paint Ice Cream Toppings Onto the Christmas Ornament
On the ornament, paint any topping you’d like (whipped cream, chocolate sauce, caramel, etc).
6. Add the Face
While you topping paint is drying, add the face using paint pens.
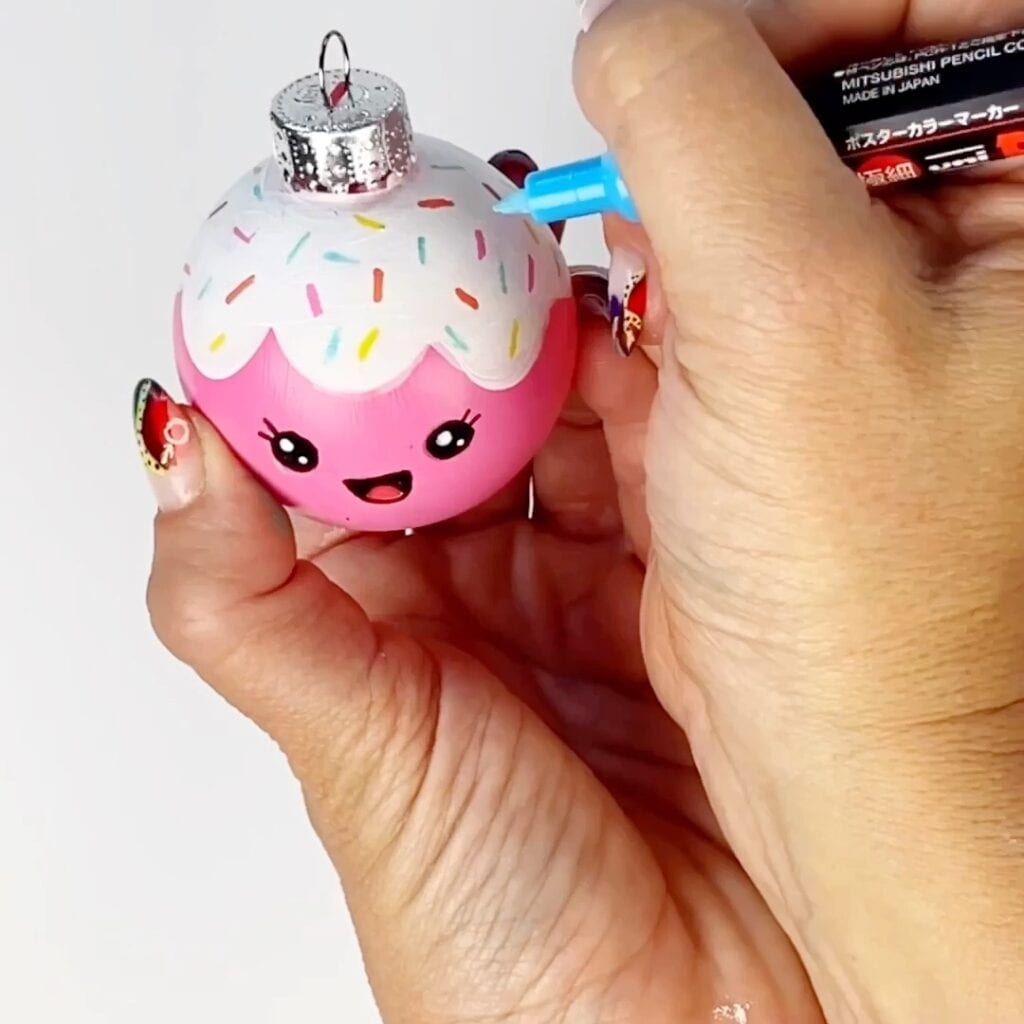
7. Put Sprinkles on the Ice Cream Ornament
Next, add sprinkles or whatever ever fun design you’d like to the top of the ornament. NOTE: Make sure the paint is completely dry before adding details with the paint pens.
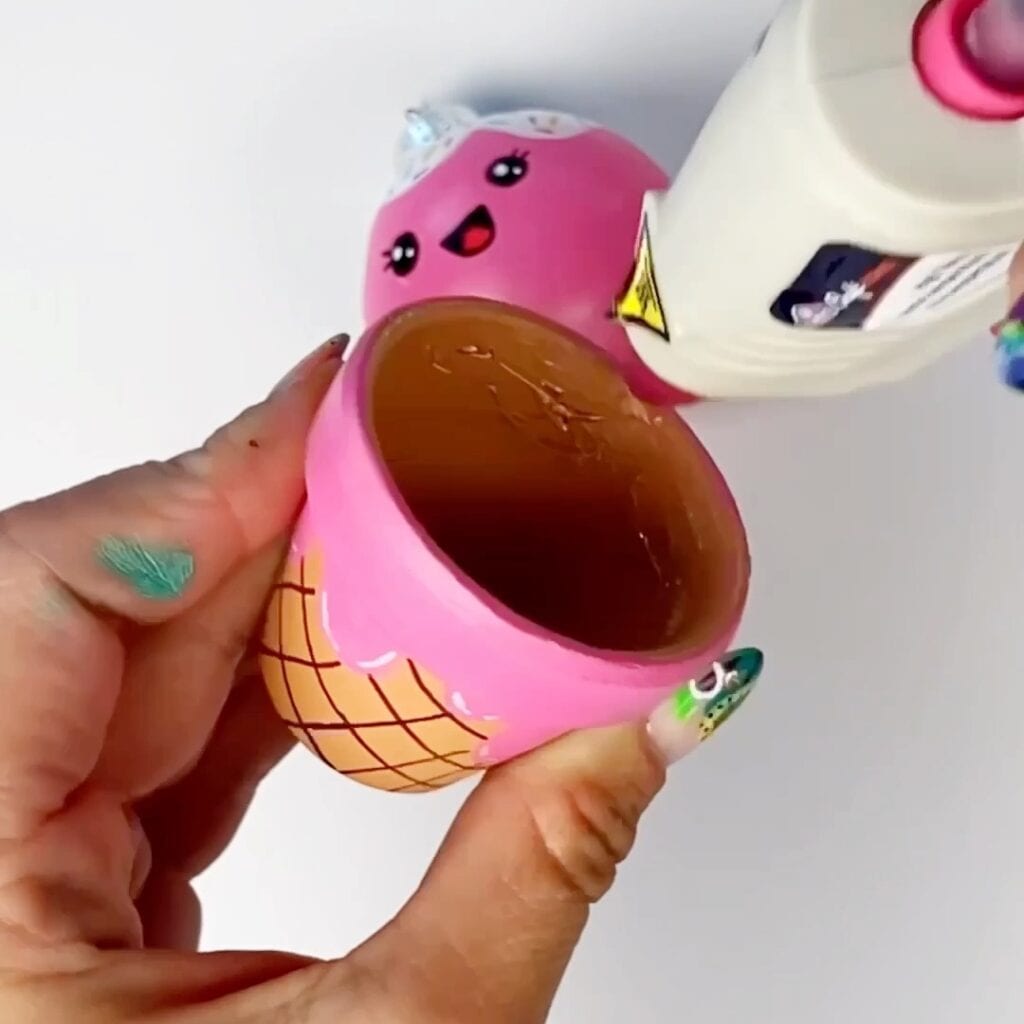
8. Hot Glue the Christmas Ornament Inside the Terra Cotta Pot
Hot glue the ornament to the inside of the pot. Make sure you use enough glue and give press it down for a few seconds so it sets and sticks!
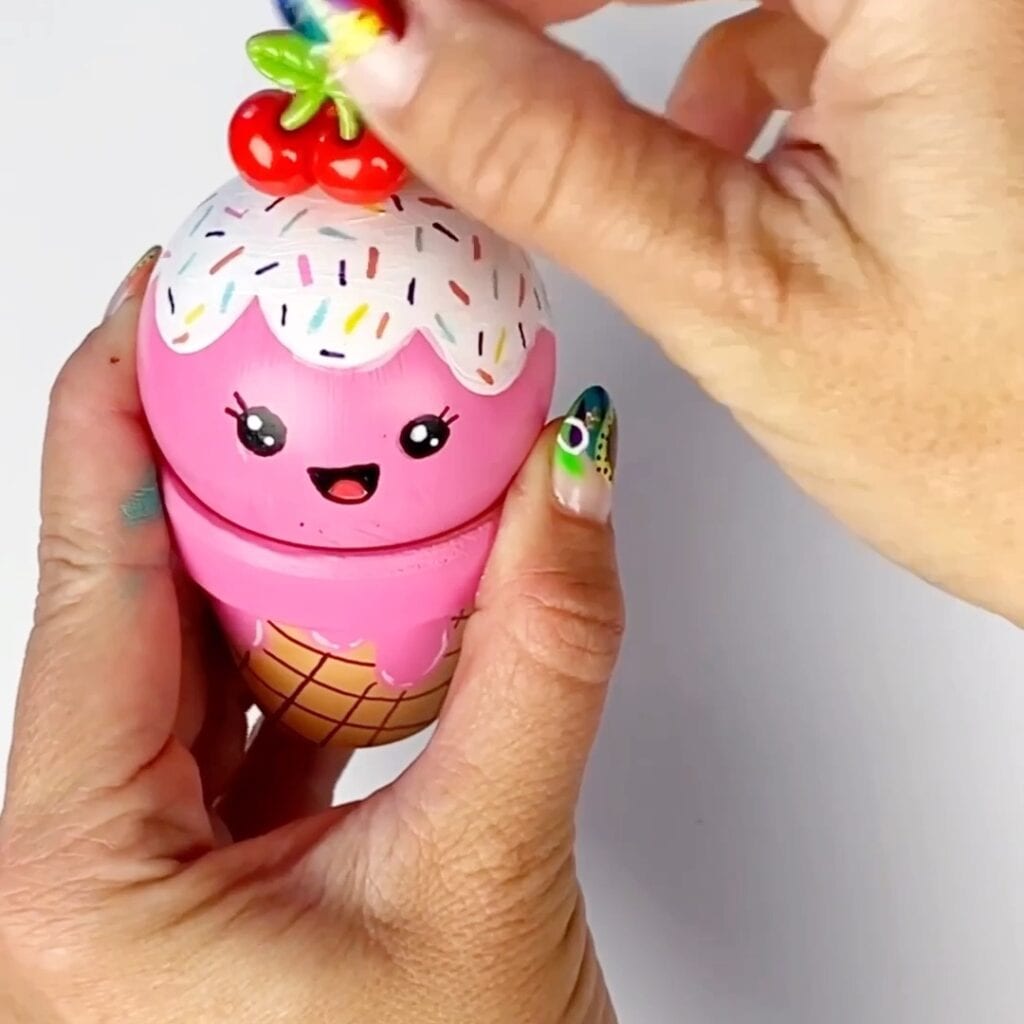
9. Add Craft Embellishments to the Ice Cream Cone
And finally, add a little cherry embellishment or you could also just use a red puff ball. This can be used to cover up the hanger top of the ornament.
Can I Hang This Ice Cream Ornament on a Christmas Tree?
Yes! This ice cream ornament craft makes a great Christmas tree decoration idea. Use it to decorate your own holiday tree in a colorful way, or create them as Christmas gift ideas. They’d make great crafts for kids to DIY and give away as gifts around the holidays too.
You could even create a whole rainbow of ice cream ornaments and make a really cool, unique Christmas tree!

I’d love to see your finished ice cream ornaments! Come share with me a picture on Instagram or Facebook! I love showing examples of my tutorials being made!