




DIY Polymer Clay Keychains
As an Amazon Associate, I earn from qualifying purchases. This post may contain affiliate links. See our full disclosure here.
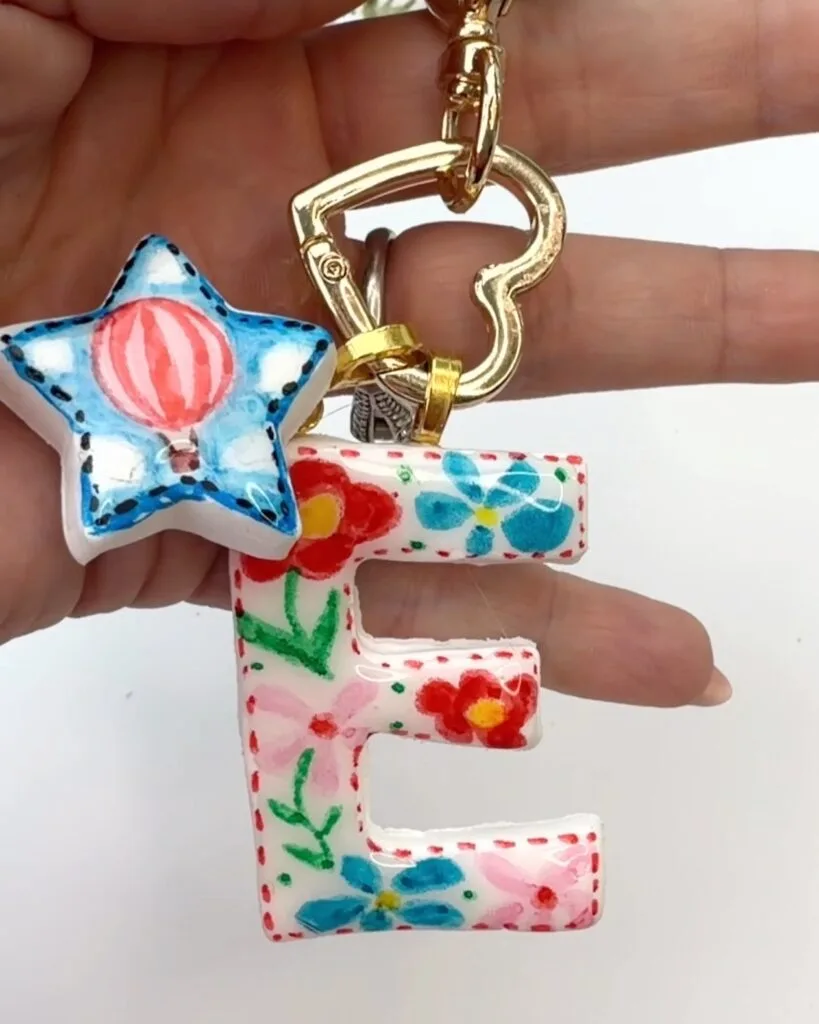
These DIY polymer clay keychains are such a fun way to create colorful personalized accessories that look polished and professional. For this project, I used FIMO polymer clay and Pigment Arts Pens from STAEDTLER to make custom letter keychains and charms with hand-drawn designs and a glossy UV resin finish.
This post is sponsored by STAEDTLER however I only share products I genuinely enjoy using, and all opinions are my own.
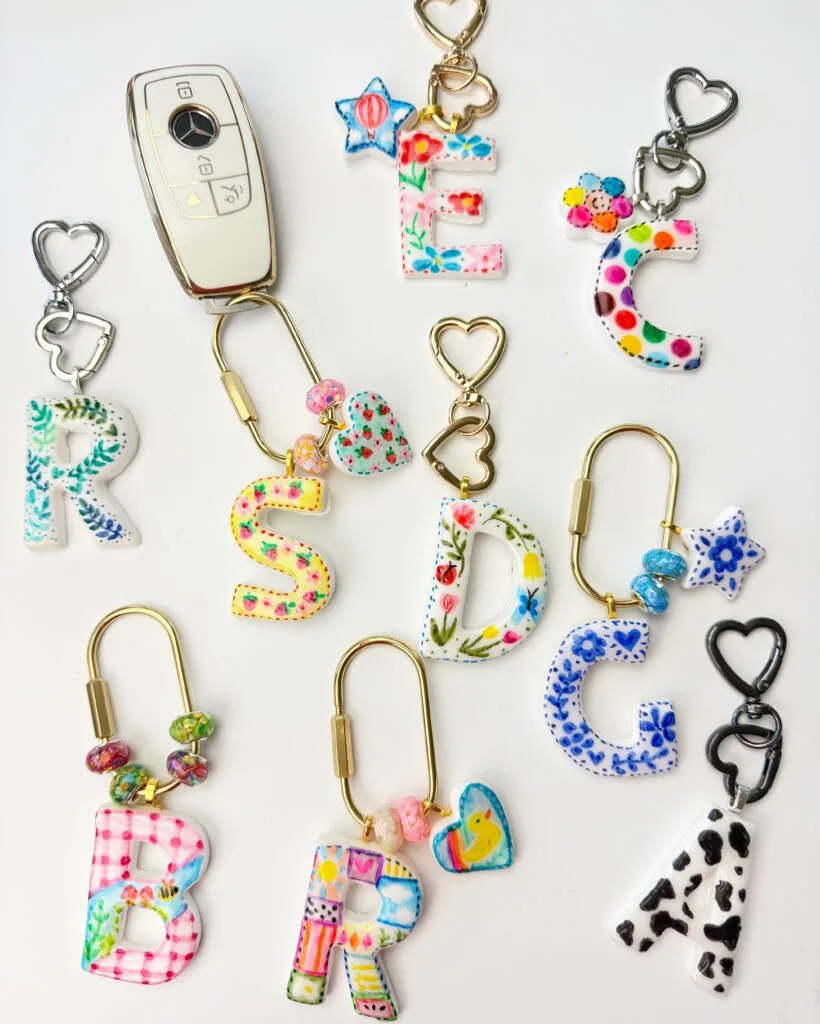
I love that these polymer clay keychains are easy to customize with different letters, shapes, colors, and patterns. They make cute backpack charms, purse accessories, personalized gifts, or even craft fair items.
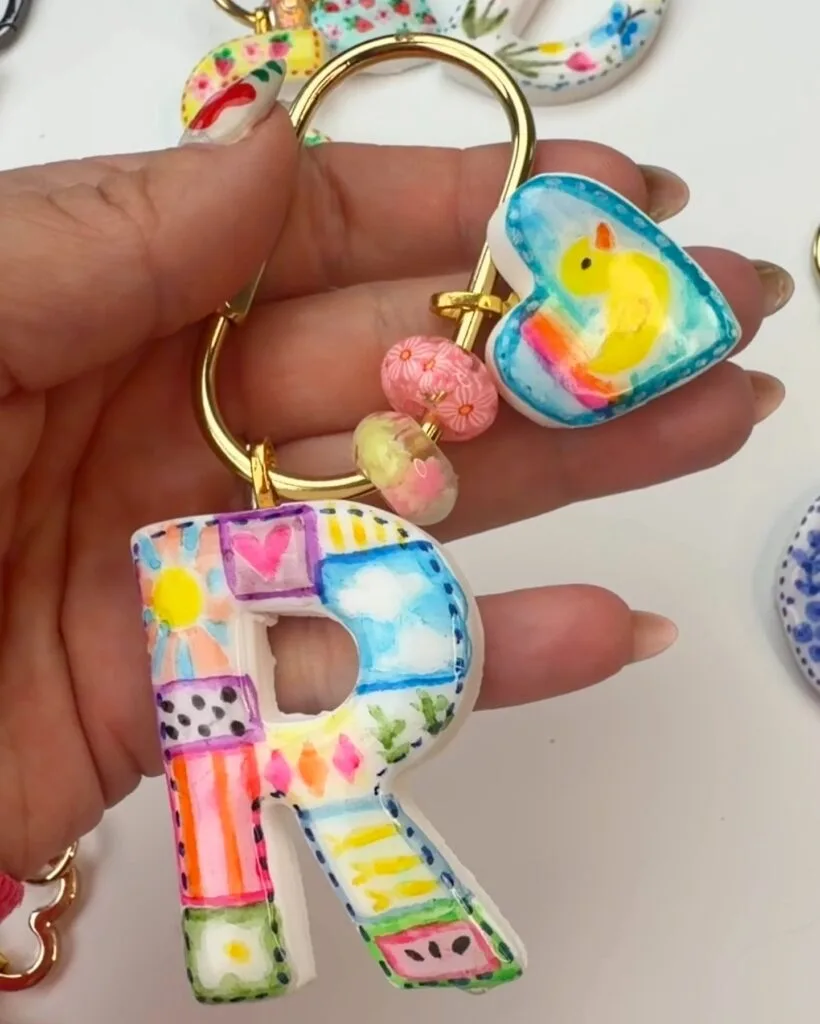
If you’ve been wanting to try making polymer clay keychains, this is such a fun beginner-friendly project.
Supplies Needed
- FIMO Polymer Clay
- Pigment Arts Pens
- Letter cookie cutters
- Shape cookie cutters
- Clay roller
- UV Resin – Safety Disclaimer: UV resin should be used with proper protective gear and ventilation. Always research and follow all recommended safety precautions. Use at your own risk.
- UV Light
- Glue on bails for jewelry
- E6000 Glue
- Keychain hardware carabiner or heart keychain
- Decorative beads
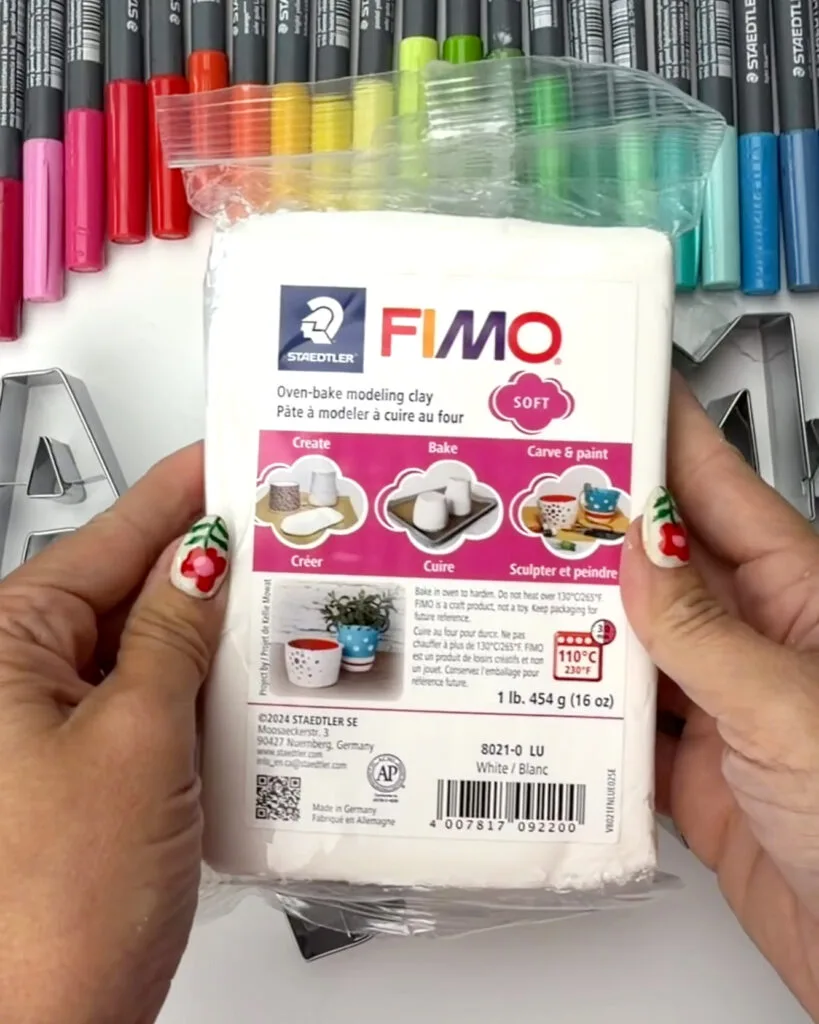
How to Make Polymer Clay Keychains
Step 1: Condition and Roll the Clay
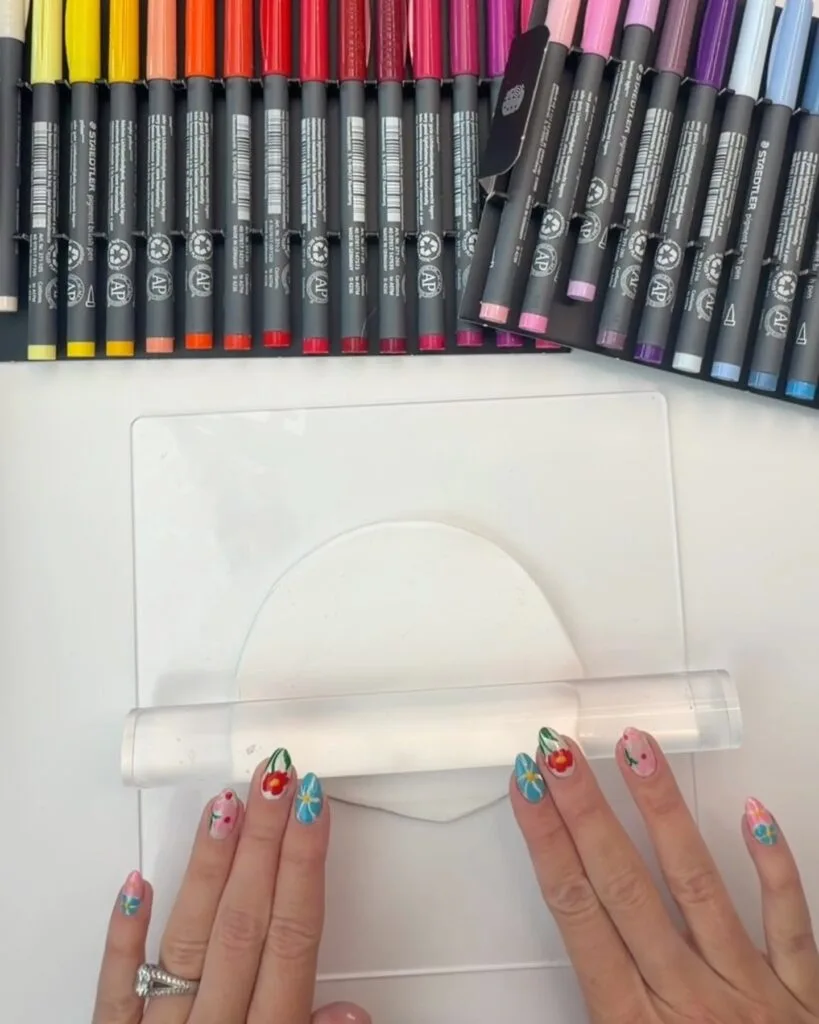
Start by conditioning the FIMO polymer clay until it feels soft and smooth. To condition the clay, roll it between your palms to warm it up. Then use a rolling pin to roll it flat. Fold the clay over itself and roll it out again to help remove air pockets and create a smooth, even texture. I use an acrylic sheet under the polymer clay to keep it from sticking to the surface.
Step 2. Cut the Polymer Clay
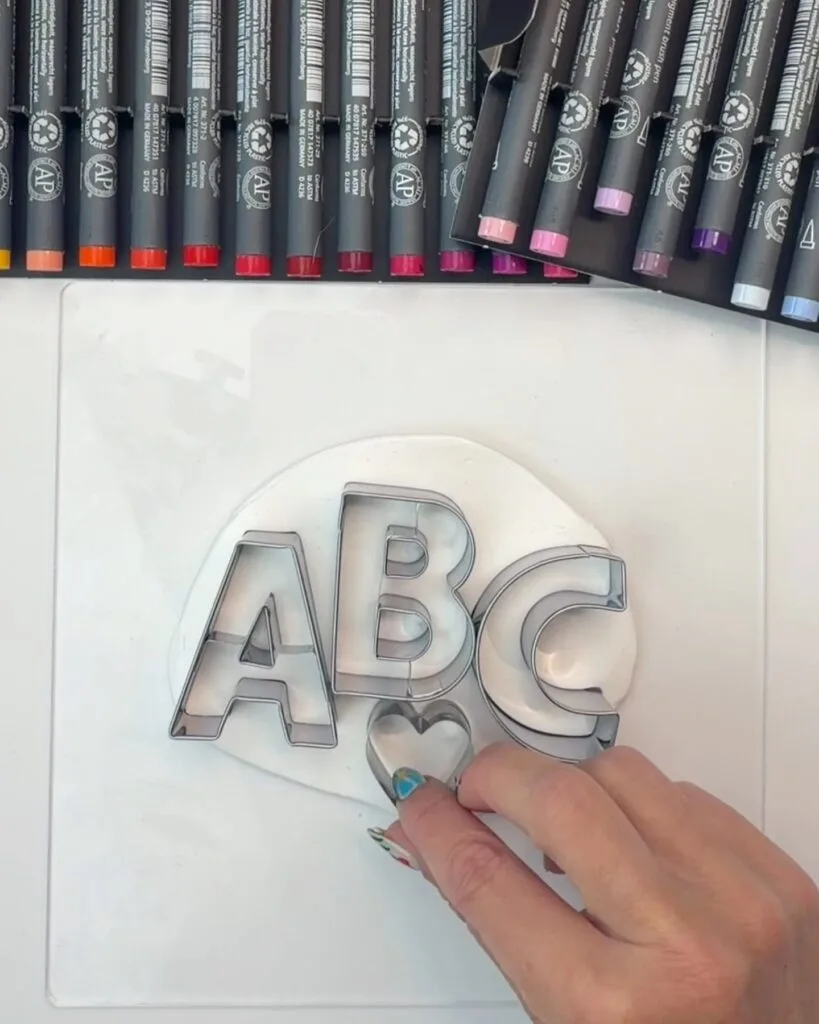
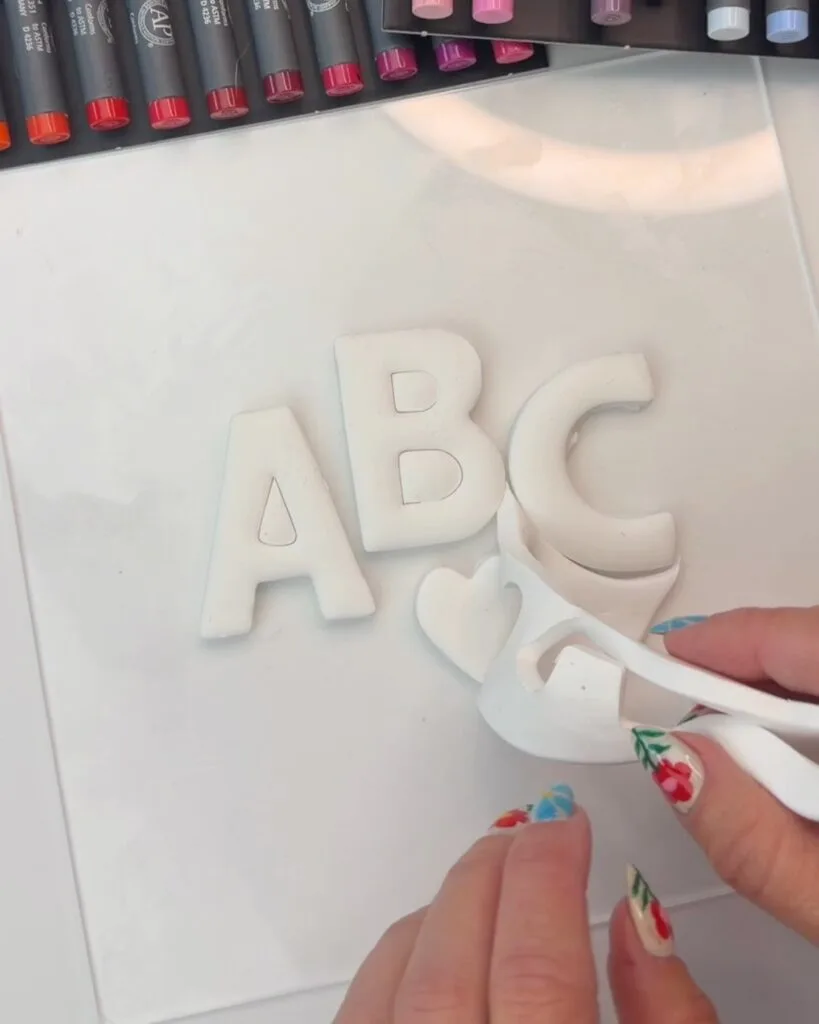
Use letter cookie cutters along with simple shape cutters to create your charms and keychain pieces. I used a combination of letters and small shapes to make a variety of charm designs. I chose not to add holes to my pieces because I wanted to keep them fully intact, but if you’d like to attach jump rings, you can use a small tool or straw to create holes before baking. This allows you to easily attach the charms to your keychain later instead of using a glue-on bail like I did.
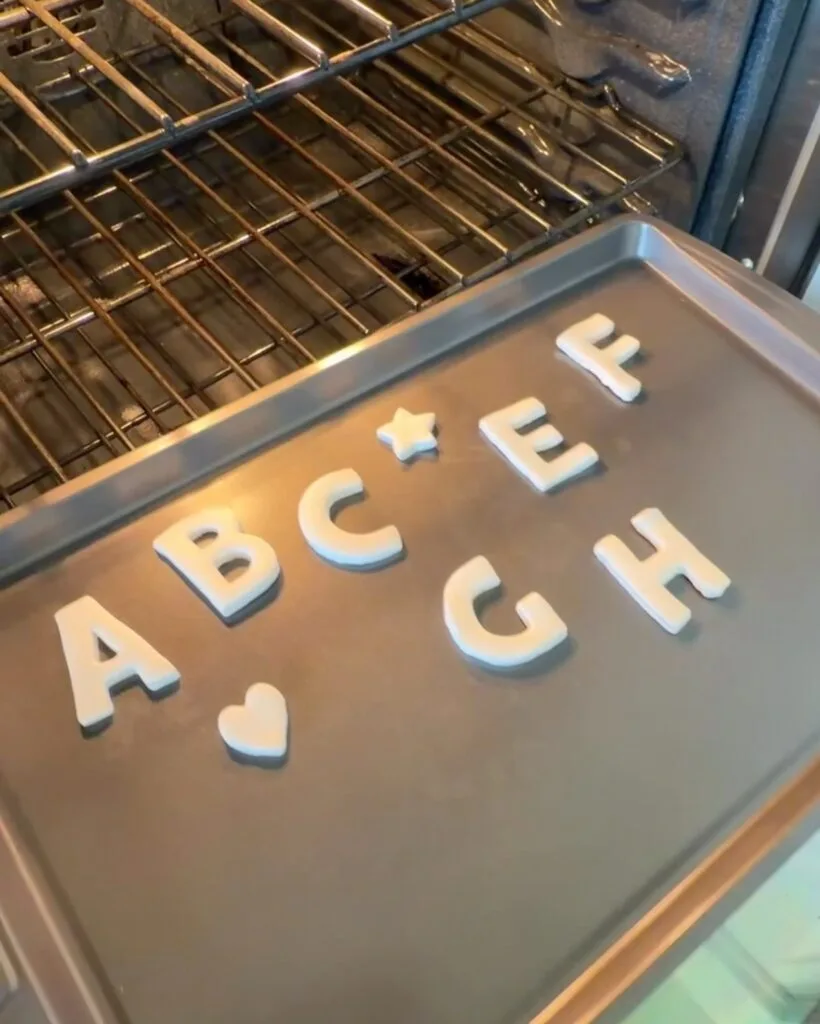
Step 3. Bake the Clay
Place the polymer clay pieces on a baking sheet (I recommend using parchment paper if you have it) and bake according to the package instructions. Once baked, allow the clay to cool completely before decorating.
Step 4: Draw Designs with Pigment Arts Pens
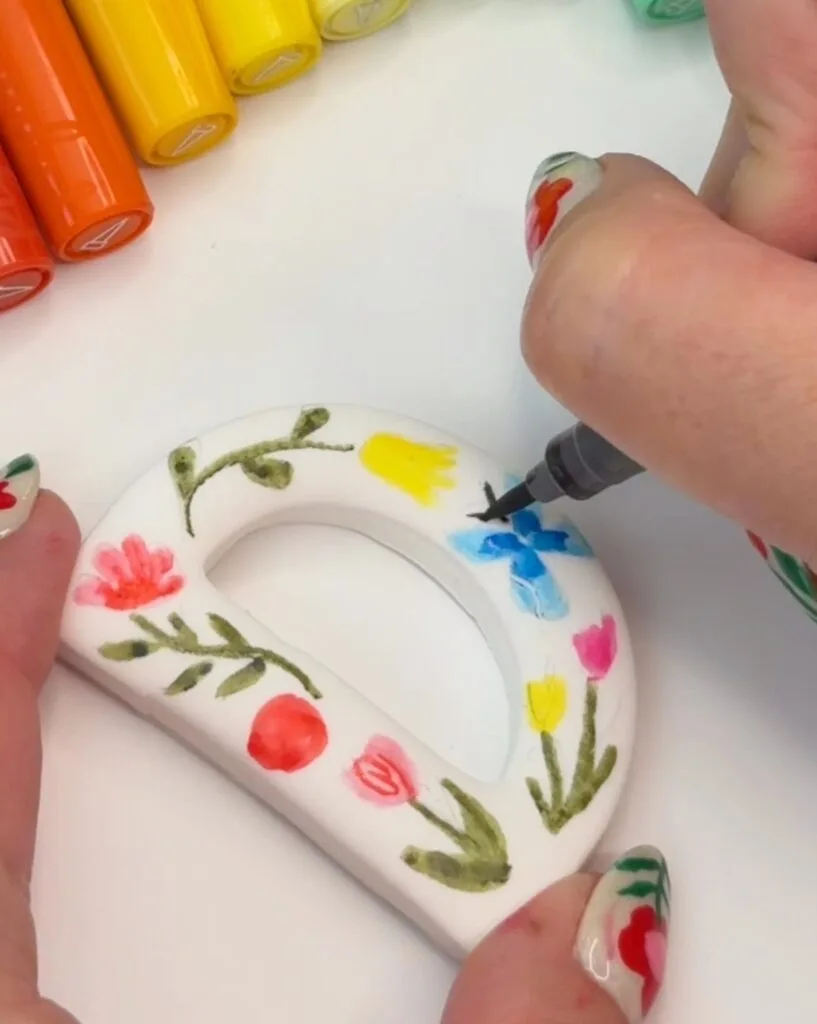
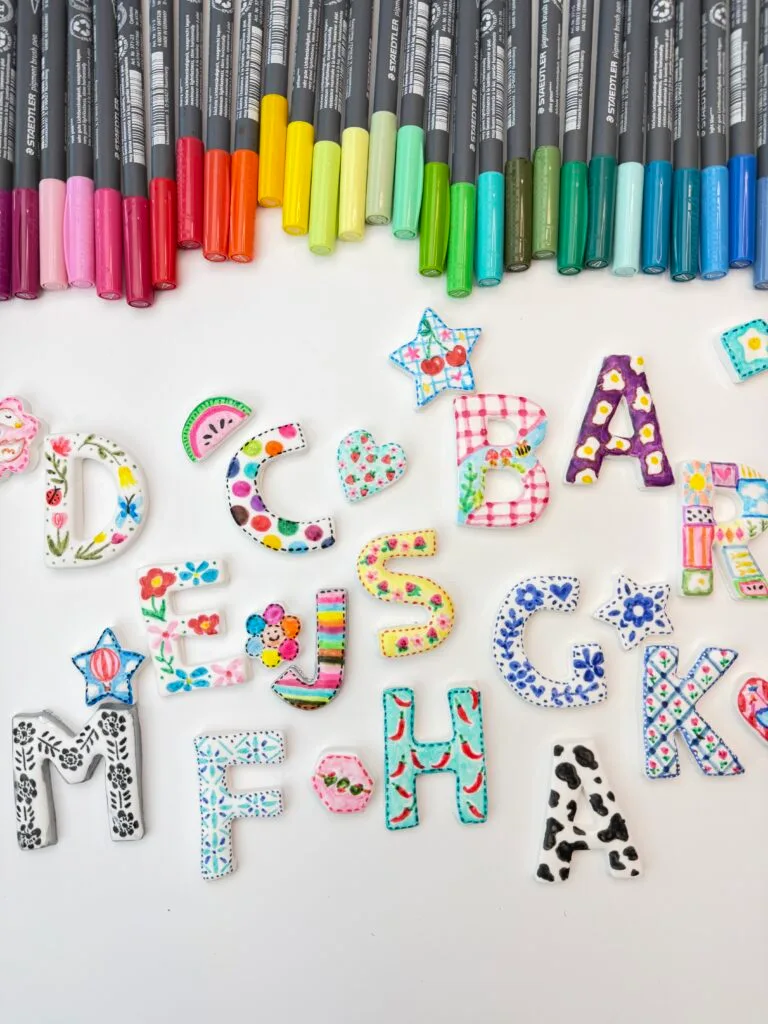
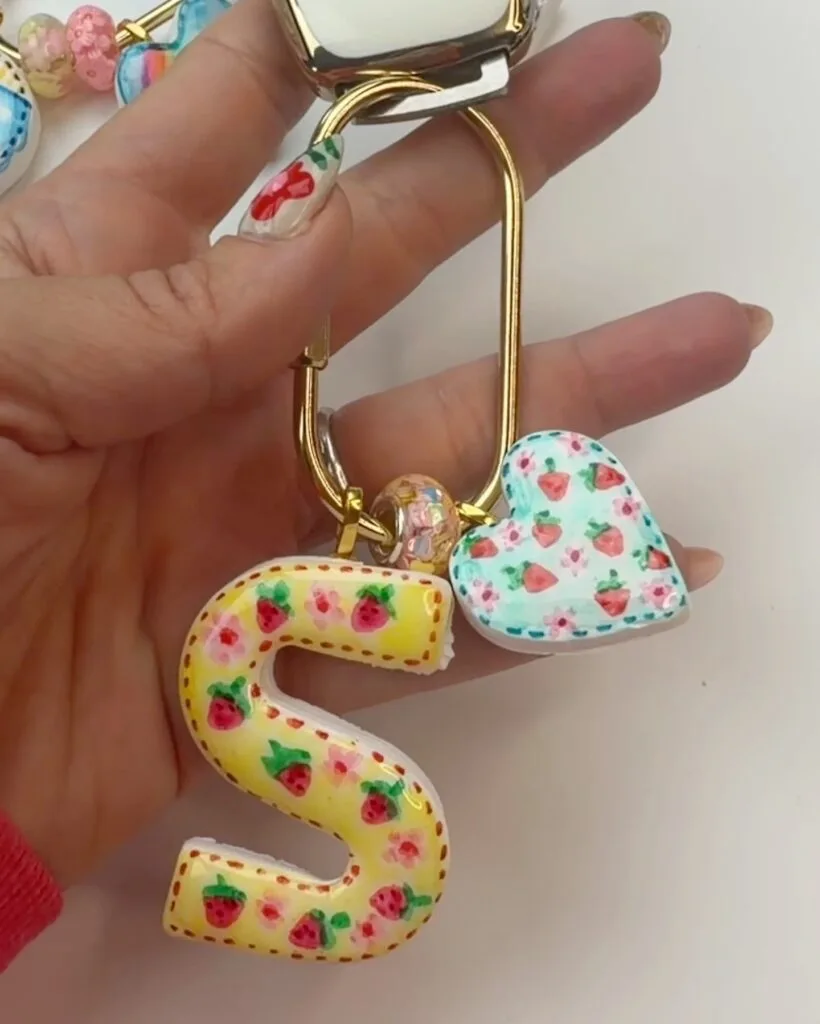
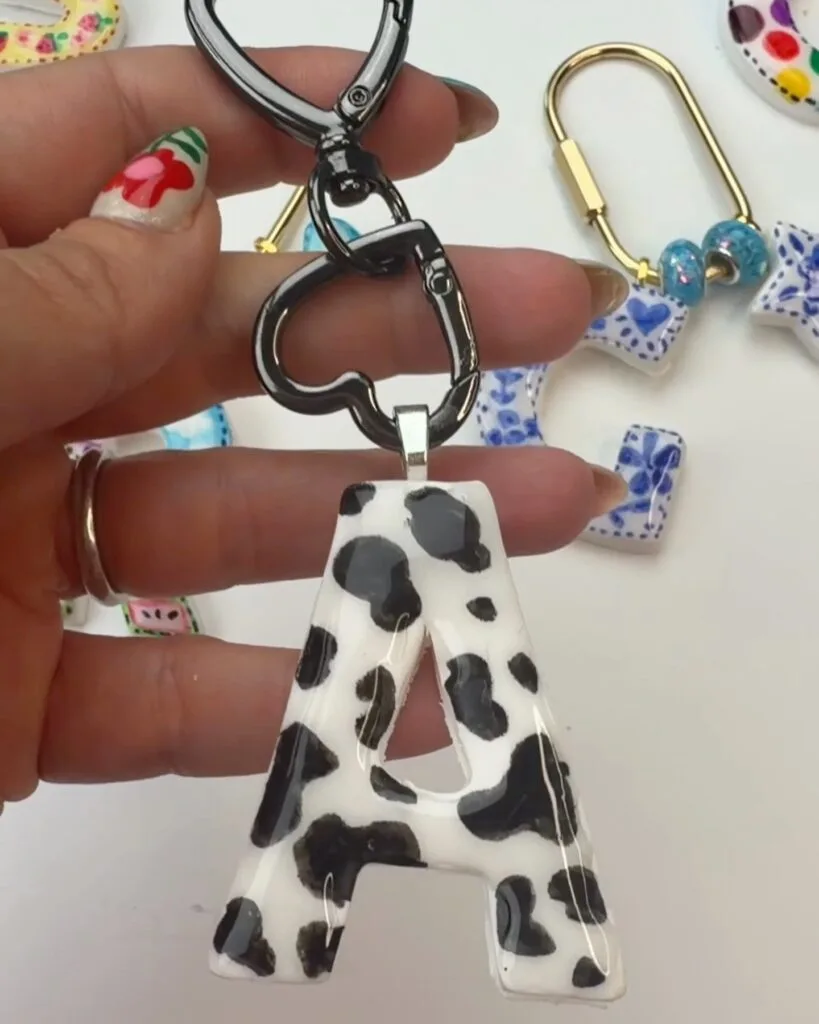
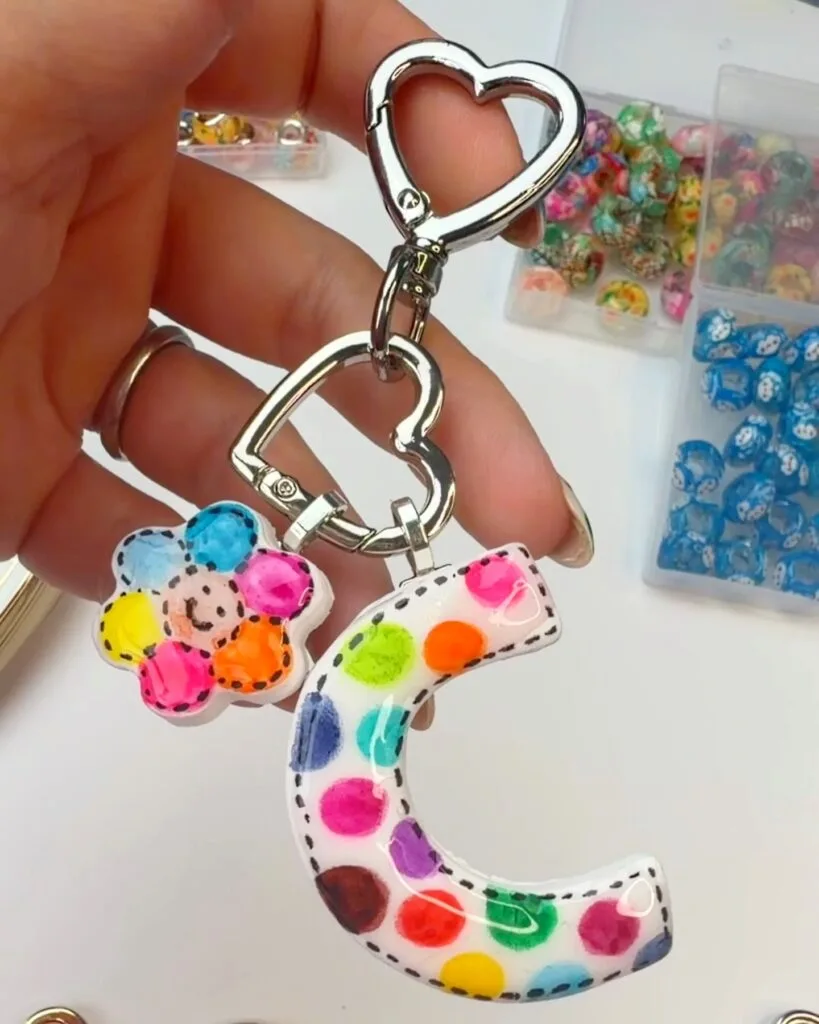
After the clay has cooled, use the Pigment Arts Pens to draw designs directly onto the baked clay pieces.This is where you can really customize your polymer clay keychains. I added playful doodles and patterns to each charm to make every piece unique. The pens make it easy to create detailed designs with a lot of control, especially on smaller pieces.
Step 5: Add UV Resin
To give the polymer clay keychains a glossy professional-looking finish, apply a thin layer of UV resin over each charm and spread with a cheap brush. Cure the resin under a UV light until hardened (mine took about 2-3 minutes).
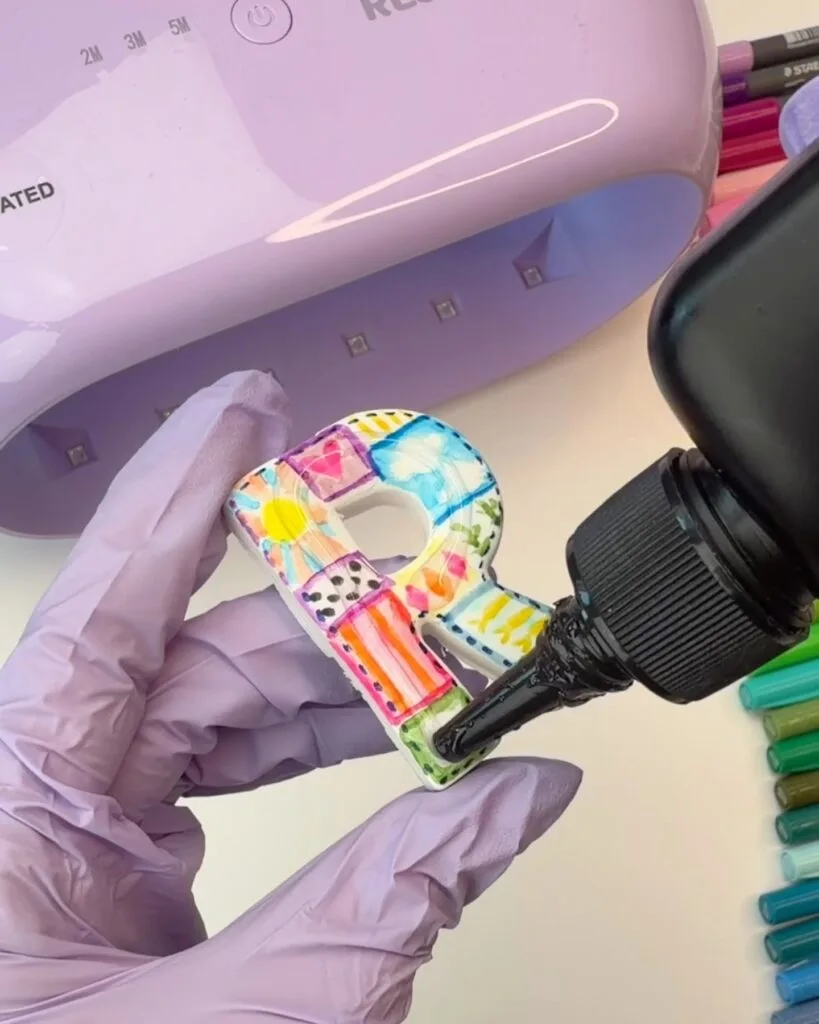
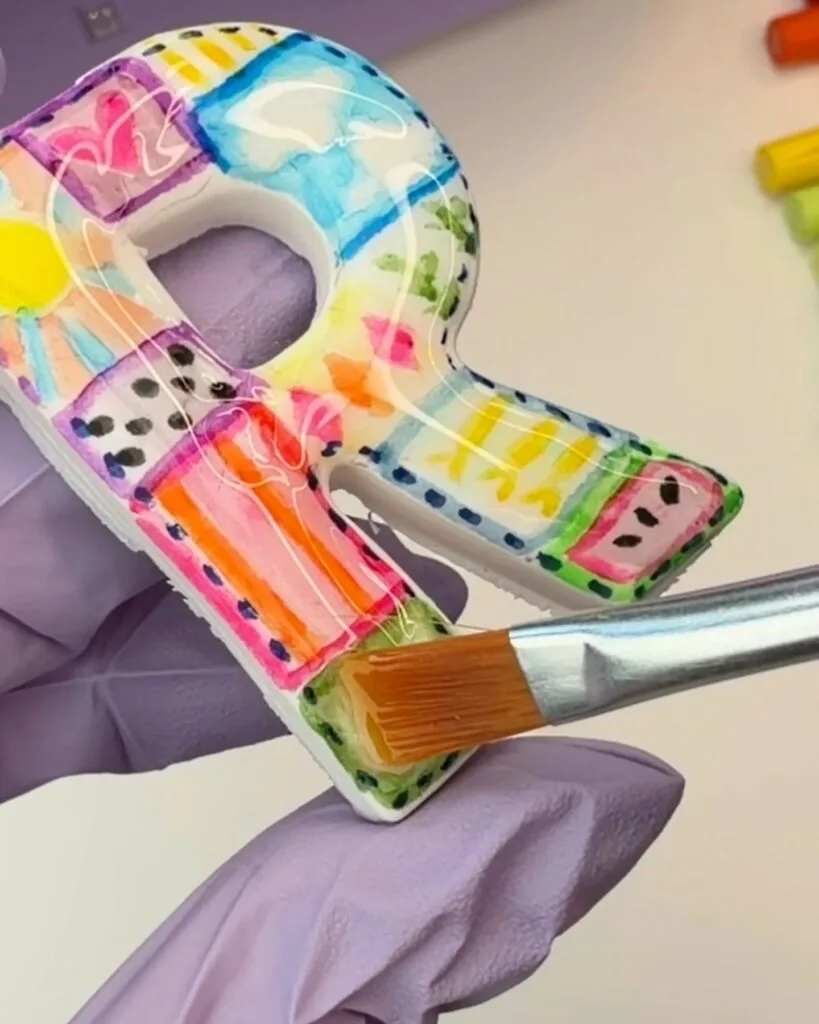
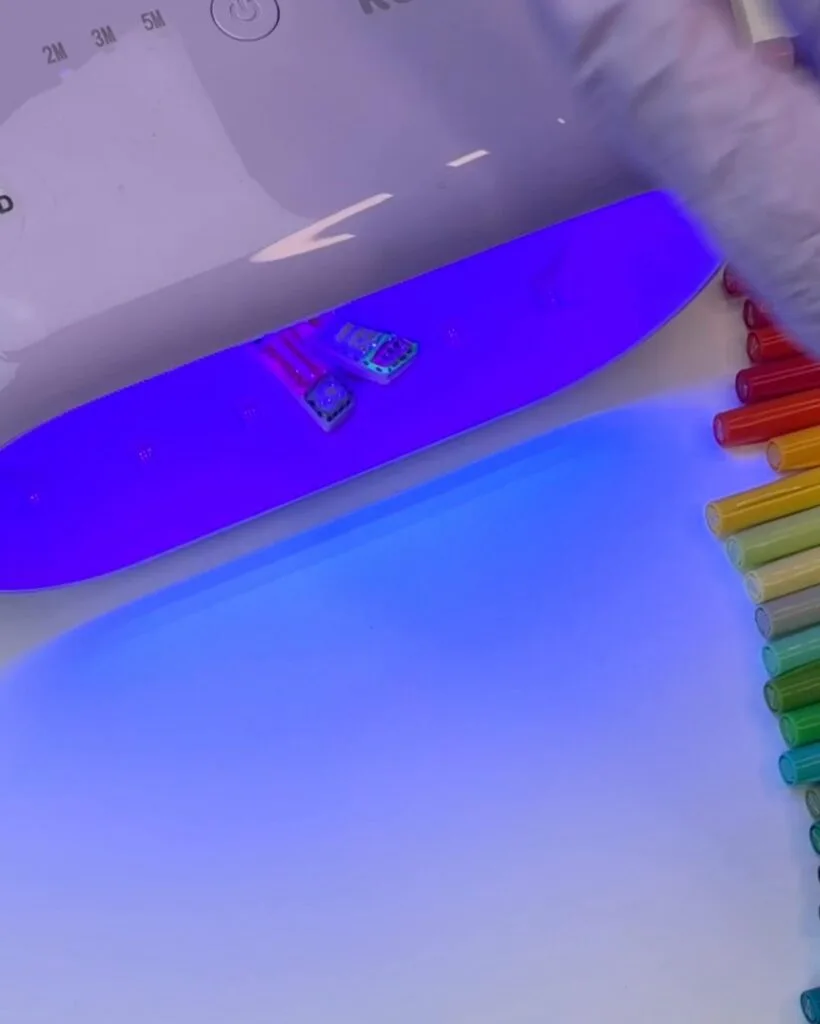
The resin helps protect the designs while also making the colors look even more vibrant.
Step 6: Assemble the Keychains
Once the resin is fully cured, attach the charms to keychain hardware using either jump rings if you have holes or pendant backings. I used jewelry bails attached to the charms and letters with E6000 glue, making sure the bails were large enough to slide directly onto the keychain hardware.
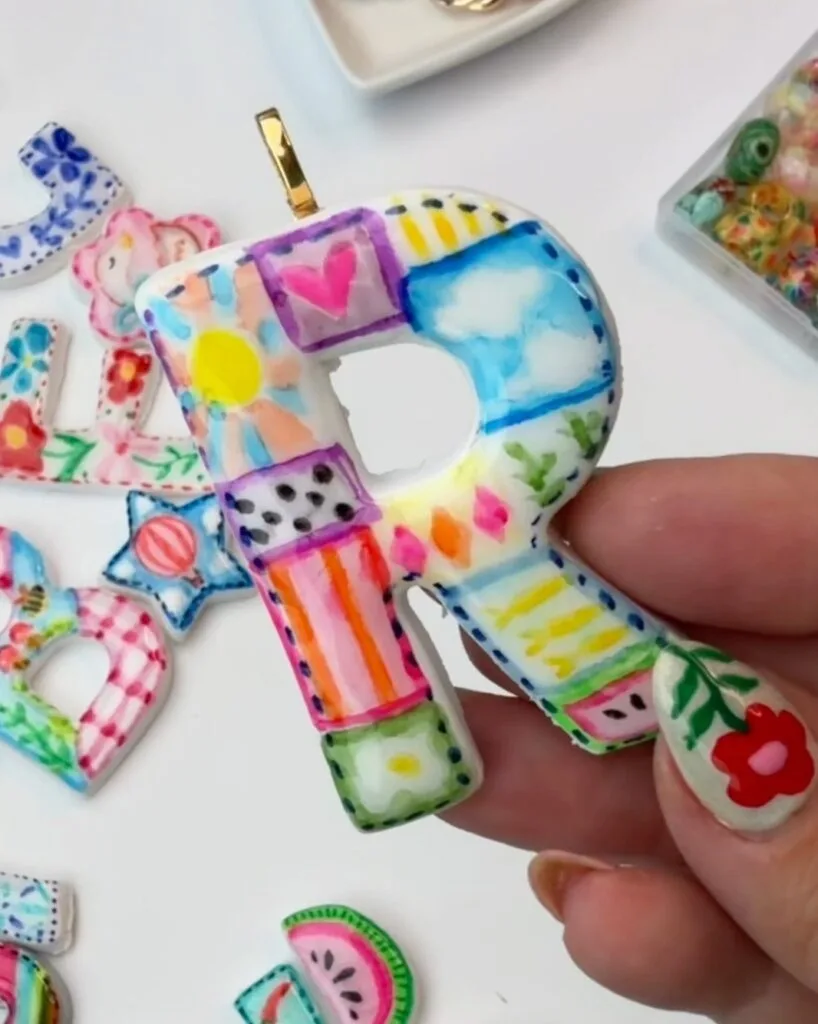
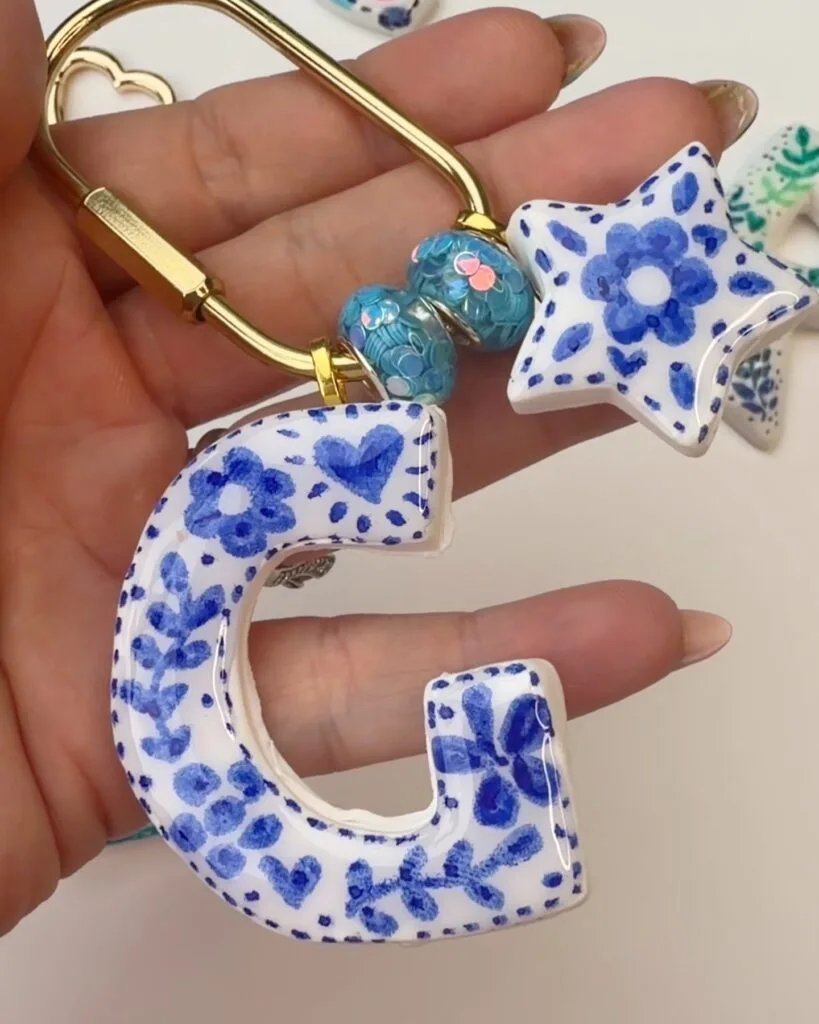
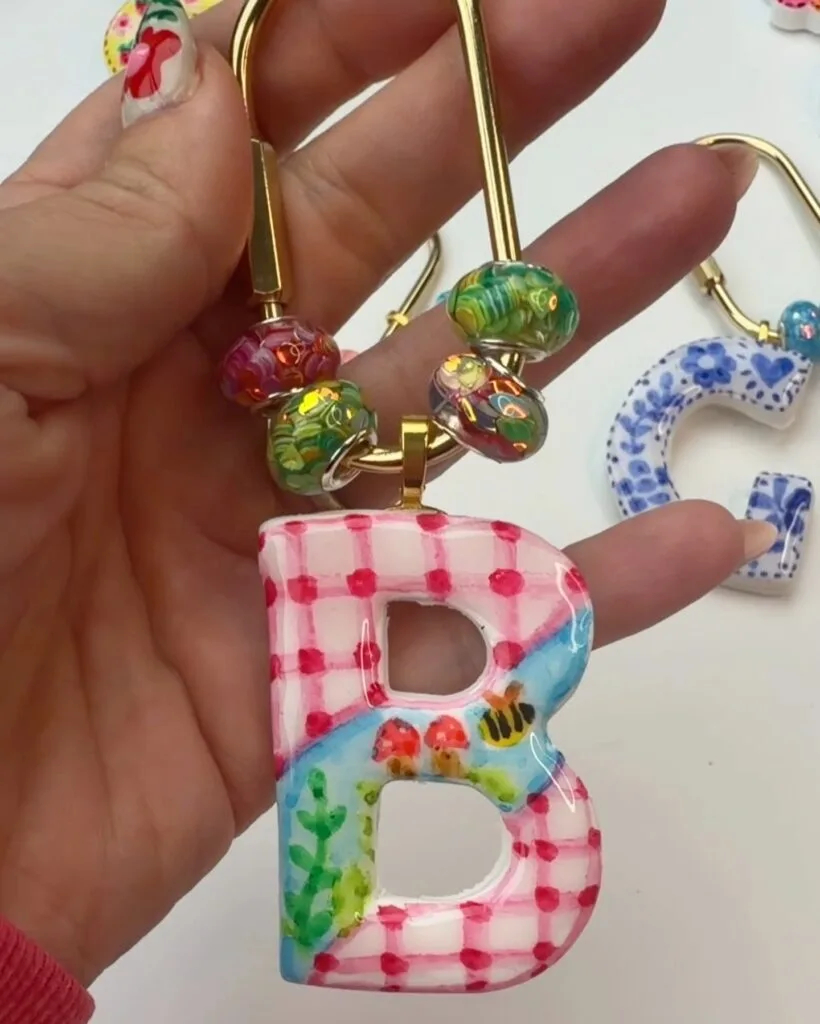
I also added decorative beads and extra charms to make the keychains feel more layered and personalized.
Tips for Making Polymer Clay Keychains
- Roll clay evenly for consistent baking
- Pigment Arts Pens are great for layering colors and adding details to your designs
- Keep resin layers thin to avoid bubbles
- Mix different beads and charms for added detail
- Use contrasting colors to make the designs stand out
Products I Used for These Polymer Clay Keychains
FIMO Polymer Clay
FIMO polymer clay worked perfectly for these keychains because it rolls smoothly, holds detailed shapes well, and bakes into durable charms that feel sturdy once finished. It also works beautifully with UV resin and keeps its shape after baking, which is especially helpful for smaller letter charms and detailed designs.
Pigment Arts Pens
The Pigment Arts Pens made it so easy to add colorful designs and detailed patterns directly onto the baked clay. I loved how much control the pens gave compared to using paintbrushes, especially for smaller doodles and line work. The colors stayed vibrant even after adding the UV resin top coat.
Why I Love These DIY Polymer Clay Keychains
One of my favorite things about these polymer clay keychains is how customizable they are. You can completely change the look depending on the colors, patterns, beads, and charms you choose.
These would be so cute for:
- Personalized gifts
- Backpack charms
- Purse accessories
- Teen crafts
- Craft nights
- Handmade shop items
The glossy resin finish really gives them that polished boutique-style look that makes them feel professionally made.