How to Decorate a Hair Brush (Easy DIY Using Marker Art + Resin)
As an Amazon Associate, I earn from qualifying purchases. This post may contain affiliate links. See our full disclosure here.
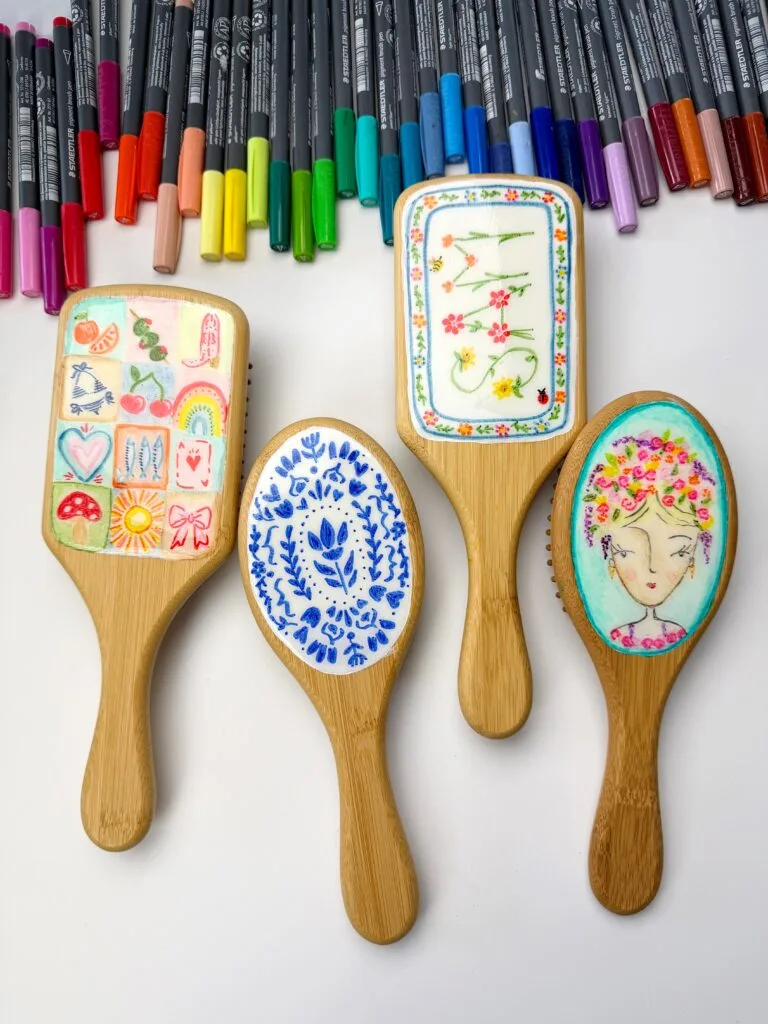
If you’ve ever wondered how to decorate a hair brush, this is one of the easiest and most fun ways to do it. I took a basic bamboo brush and turned it into a colorful, hand-drawn design using marker art and a glossy resin finish.
This post is sponsored by STAEDTLER however I only share products I genuinely enjoy using, and all opinions are my own.
What I love about this project is how simple it is, but it still looks really elevated when it’s done. It feels like working on a tiny canvas, except you end up with something you can actually use (or gift).
If you like this hair brush project you might also like my Pressed Flower and Resin Brush craft.
Why I Loved Using Staedtler Pigment Arts Pens
I used the Staedtler Pigment Arts Pens for this craft and they worked really well on the painted wood surface. The color goes on smoothly and I love that you can get both clean details and softer blended areas depending on how you use them.
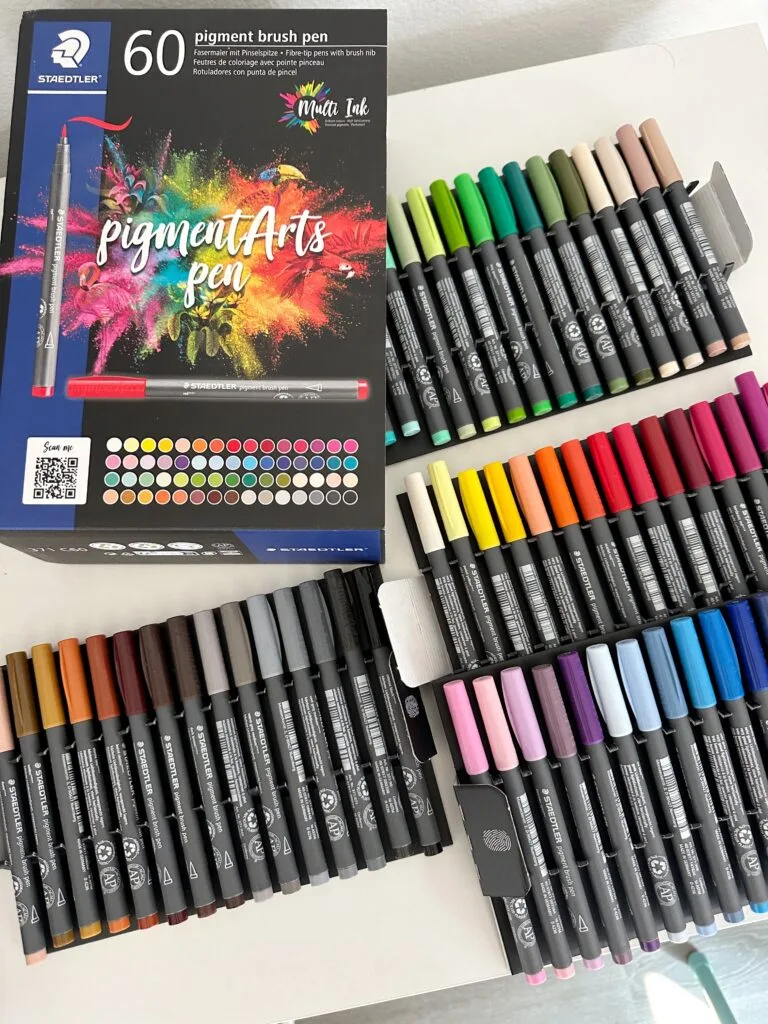
They also give you a lot more control than using paint and a brush, especially for smaller designs like this, so it’s much easier to add fine details without everything feeling overworked. What I also really liked is that they’re not overly opaque like paint markers, so the color can look softer in certain areas, creating a subtle watercolor effect that adds depth and keeps the design from feeling too flat. I also love that they’re versatile and work well on other surfaces like paper, canvas, polymer clay, and ceramic, which makes them really fun to use beyond just this project.
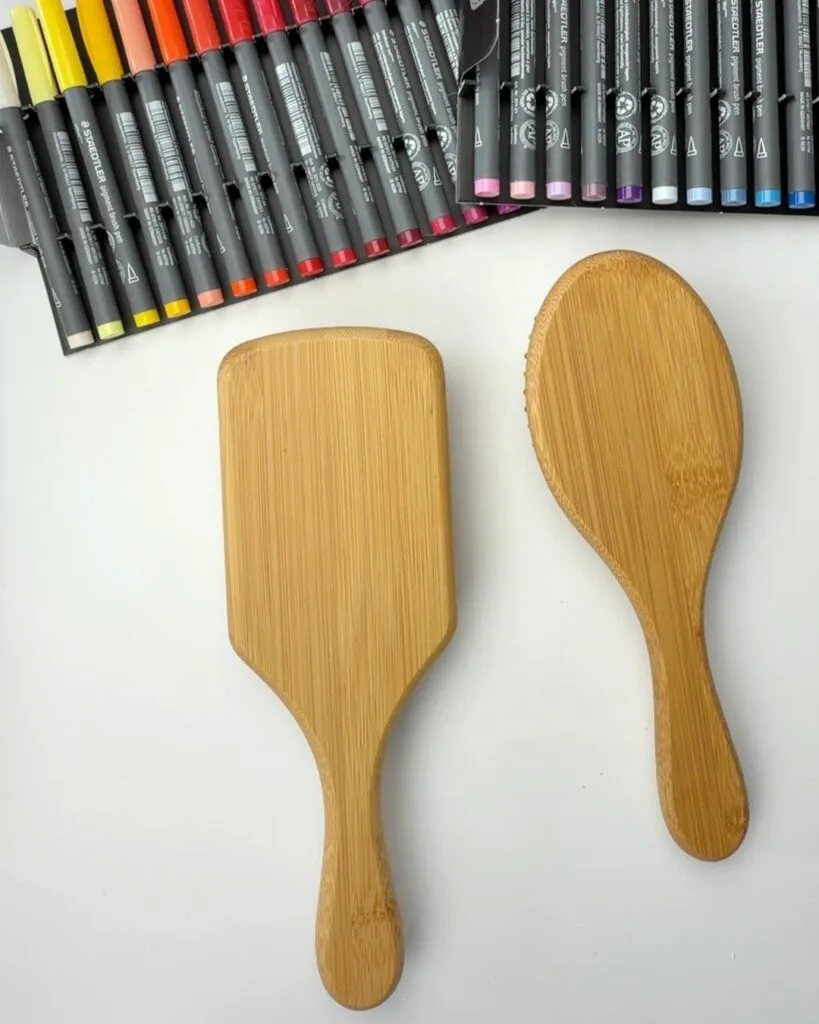
Supplies You’ll Need
- Bamboo brush rectangular shape or Bamboo brush oval shape
- Staedtler Pigment Art Pens
- Acrylic Paint for the base (I used this linen color but white would work as well)
- UV Resin – Safety Disclaimer: UV resin should be used with proper protective gear and ventilation. Always research and follow all recommended safety precautions. Use at your own risk.
- UV Light
- Mod Podge (optional) – You can also seal with Mod Podge if you don’t want to use resin. I prefer the dimensional look for the resin but Mod Podge gloss would work as an alternative.
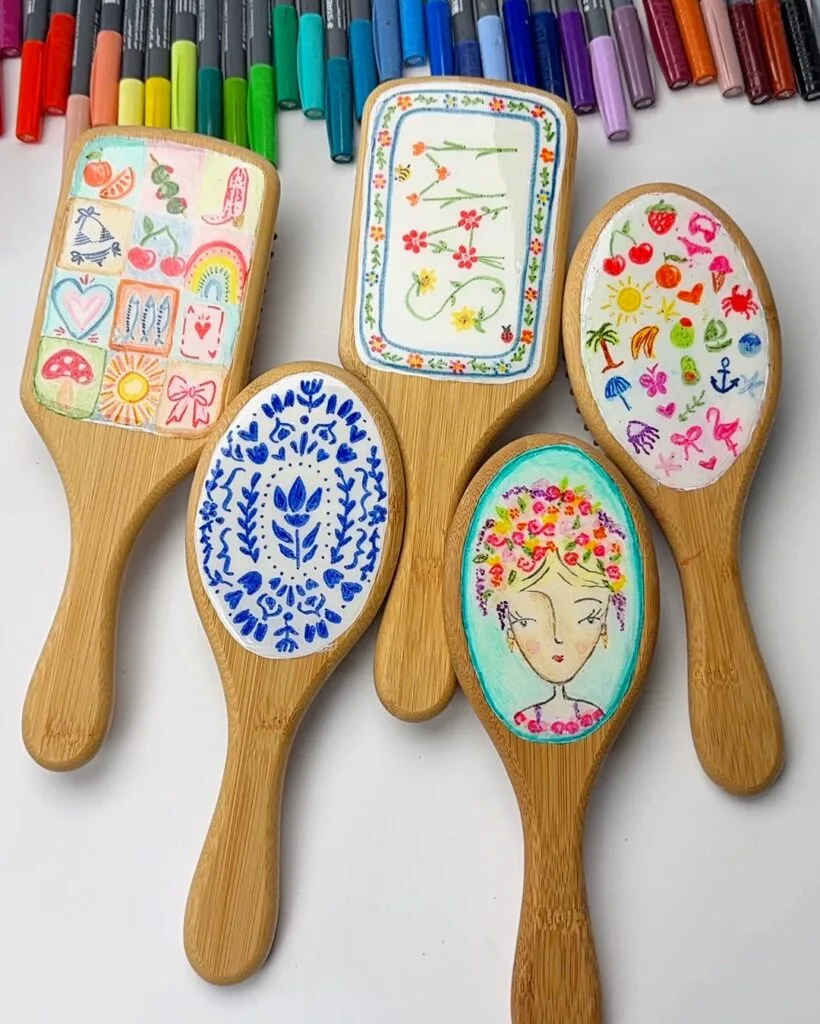
How to Decorate a Hair Brush (Step-by-Step)
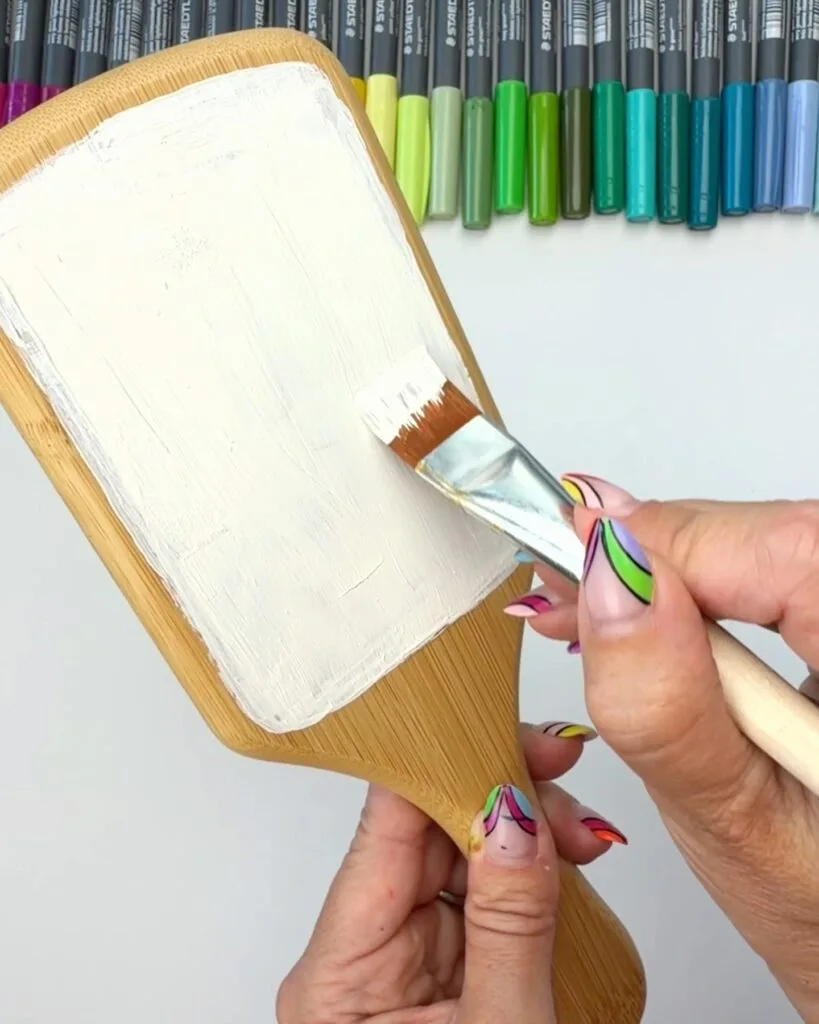
Step 1: Paint the Base
Start by painting the back of your bamboo brush with white paint. This helps the colors stand out and gives you a clean surface to draw on. Let it dry completely, and add a second coat if needed for full coverage.
Step 2: Plan Your Design
Before you start drawing with the pens think about the overall look you want and then lightly sketch the design onto the brush using a pencil. Some easy ideas:
- personalized with initials or name
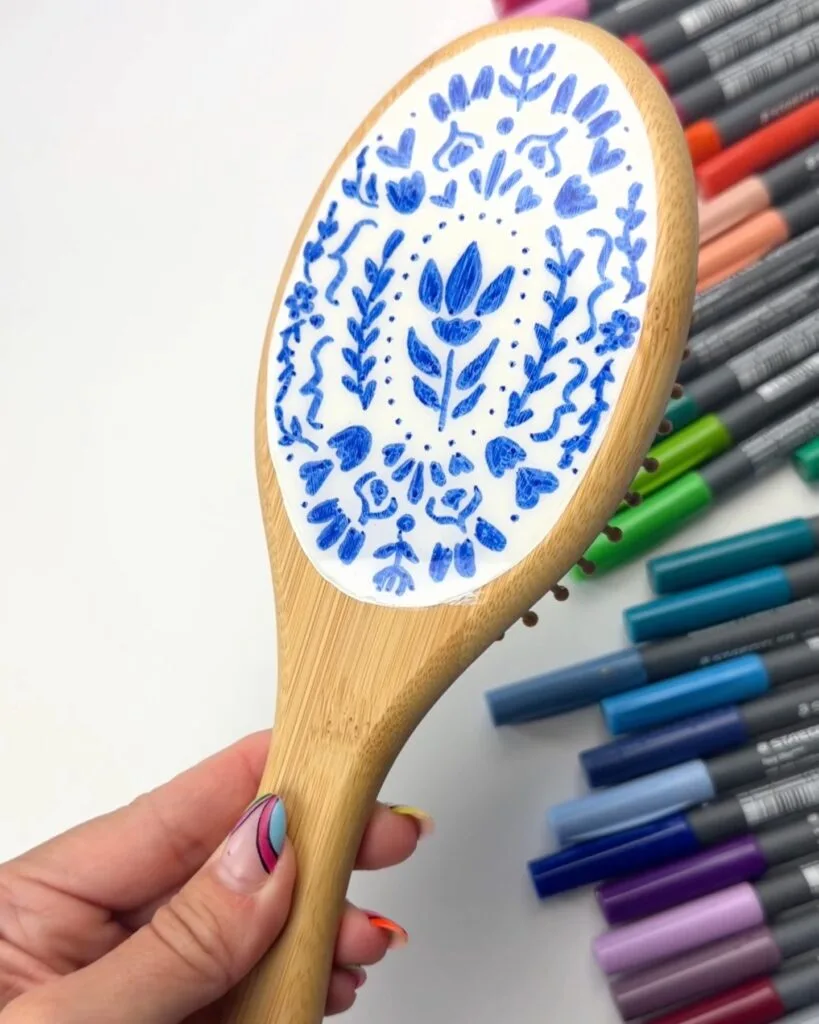
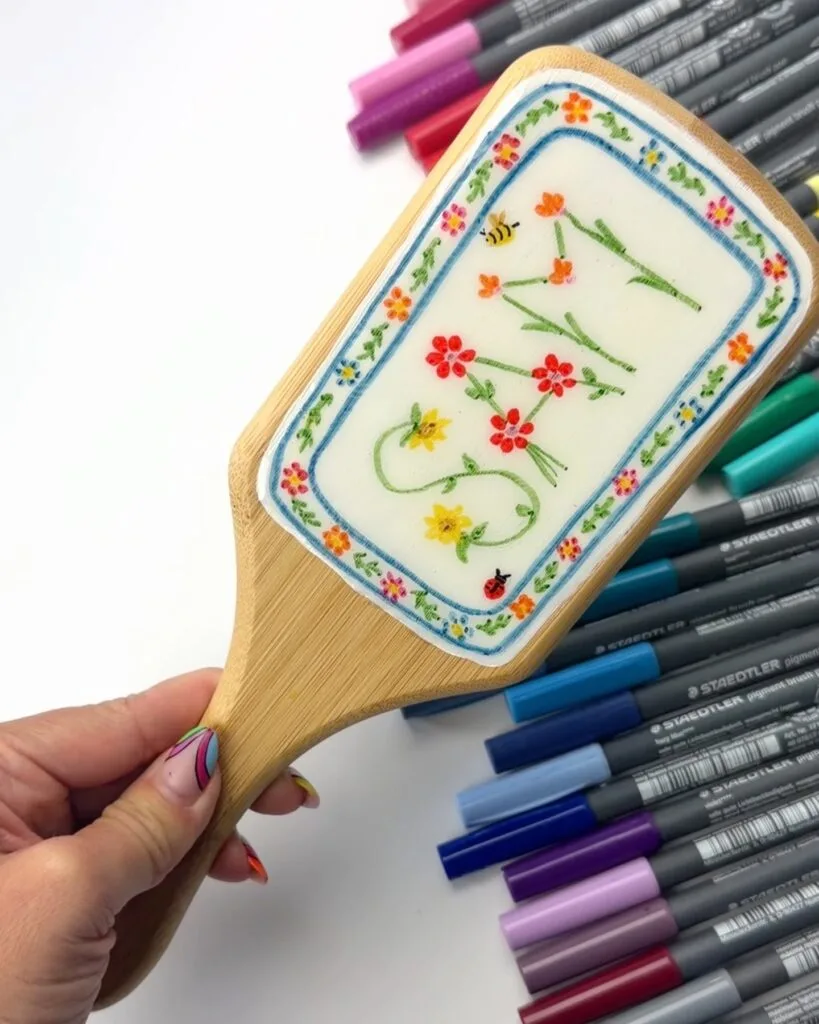
- florals
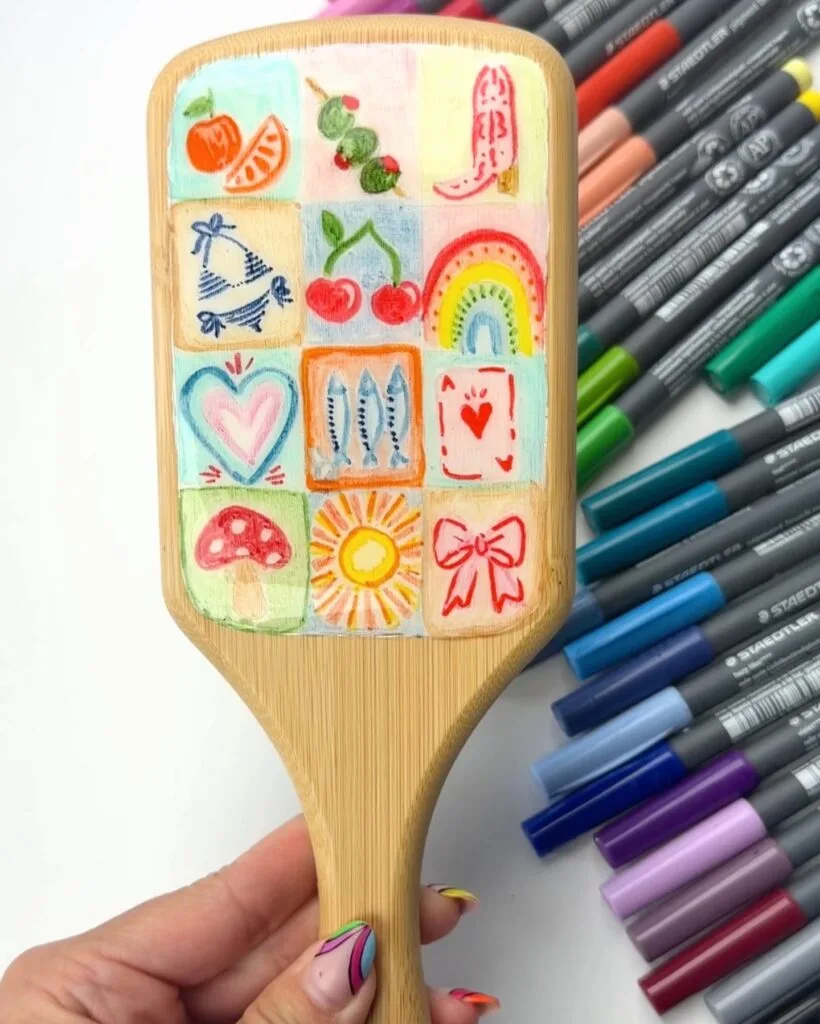
- fruit
- bows and hearts
- borders
- abstract patterns
- mini illustrations
I like to loosely map things out so the design feels balanced, but you don’t need to overthink it. The slightly imperfect, hand-drawn look is what makes it feel special.
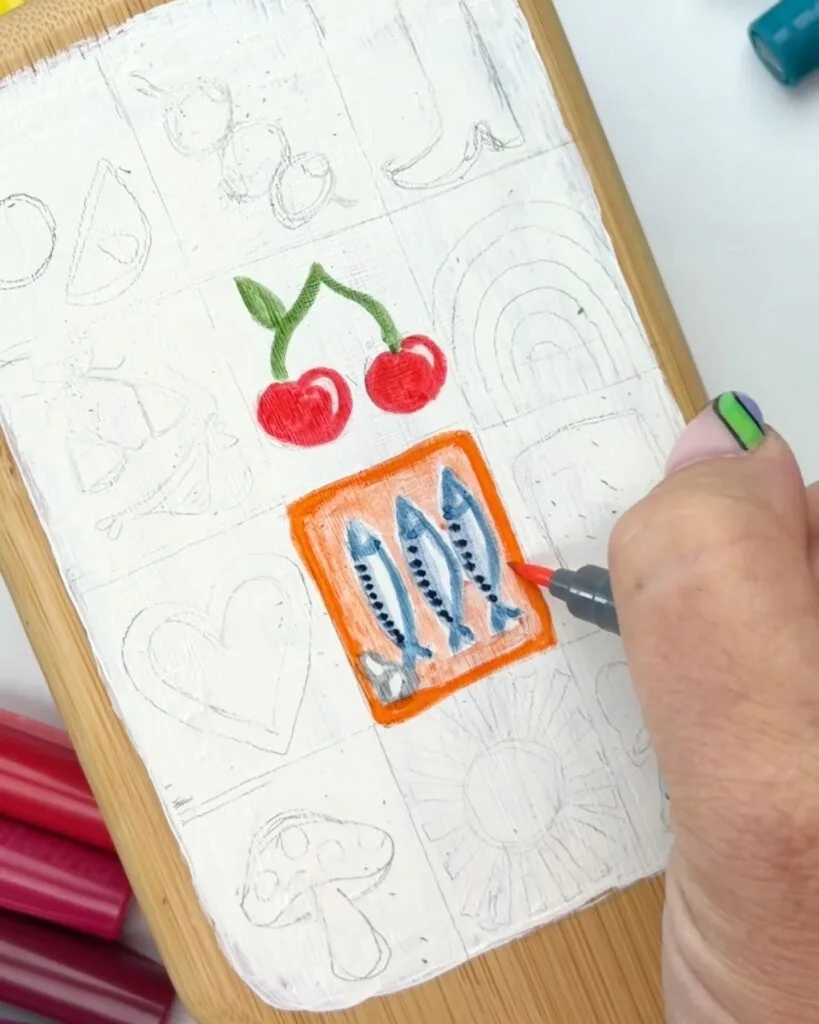
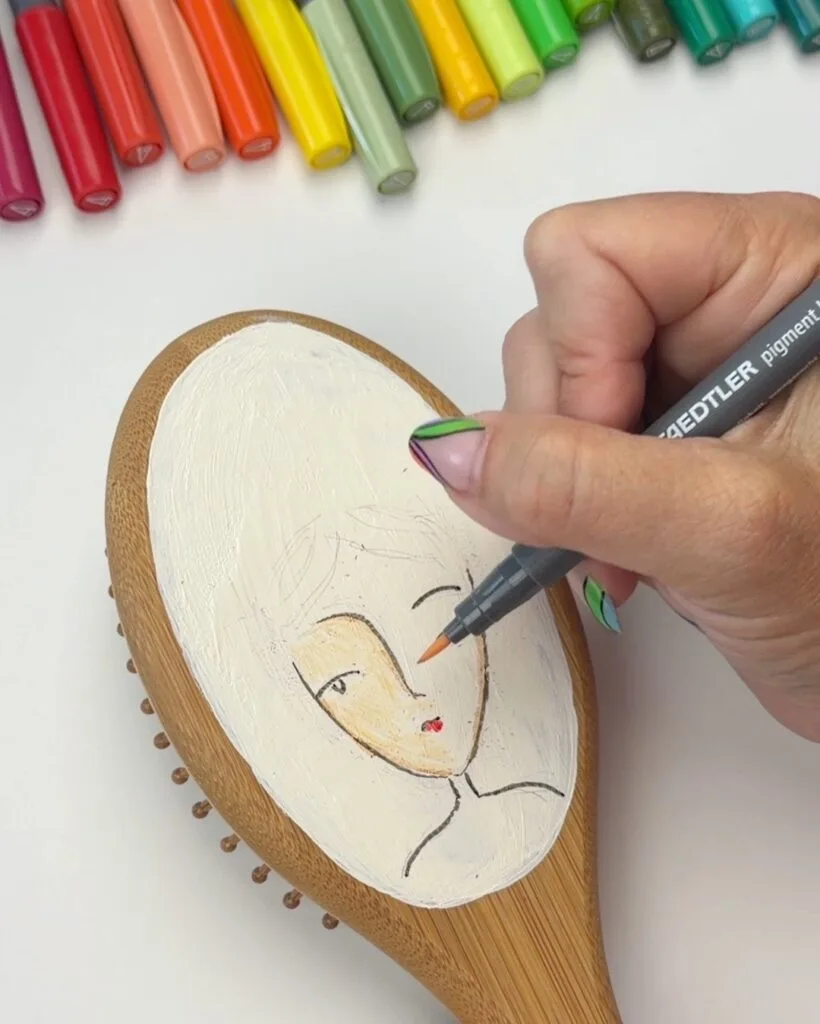
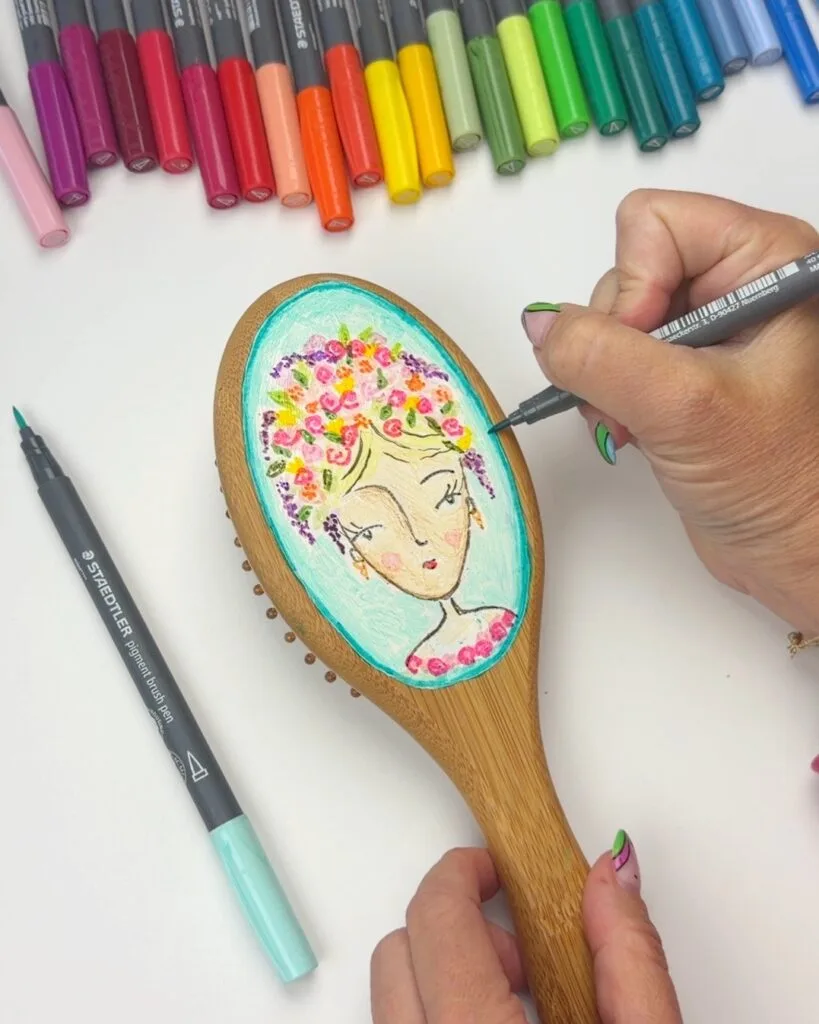
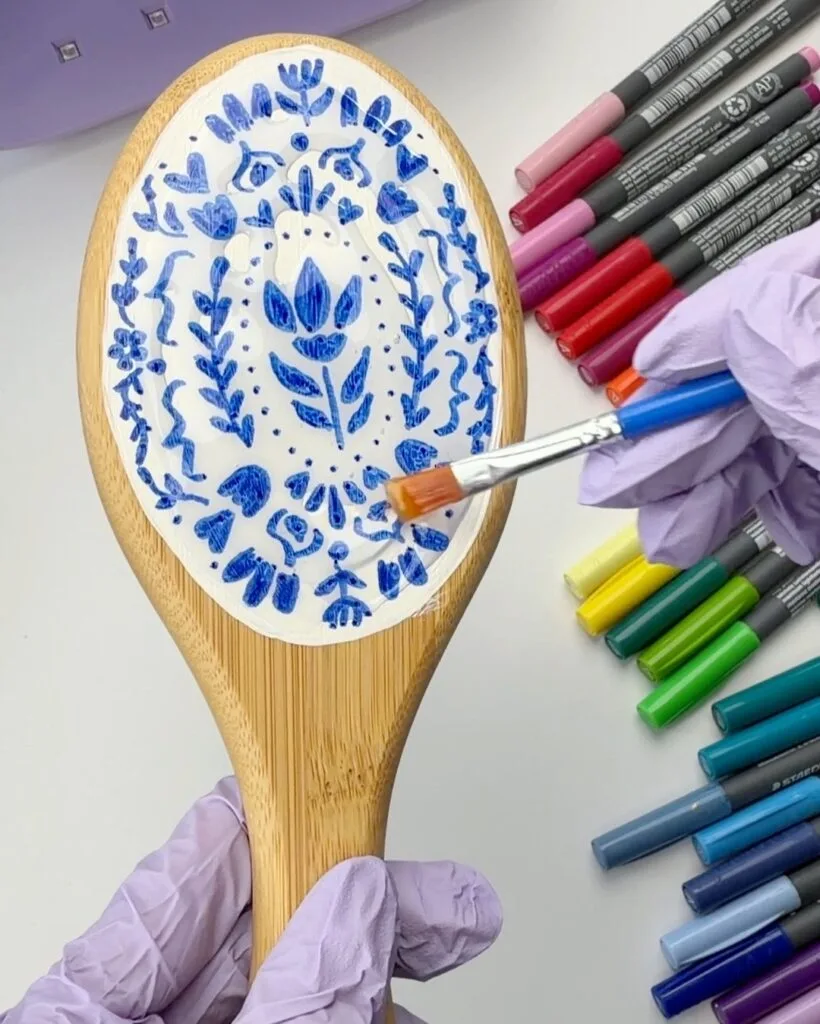
Step 3: Draw Your Design
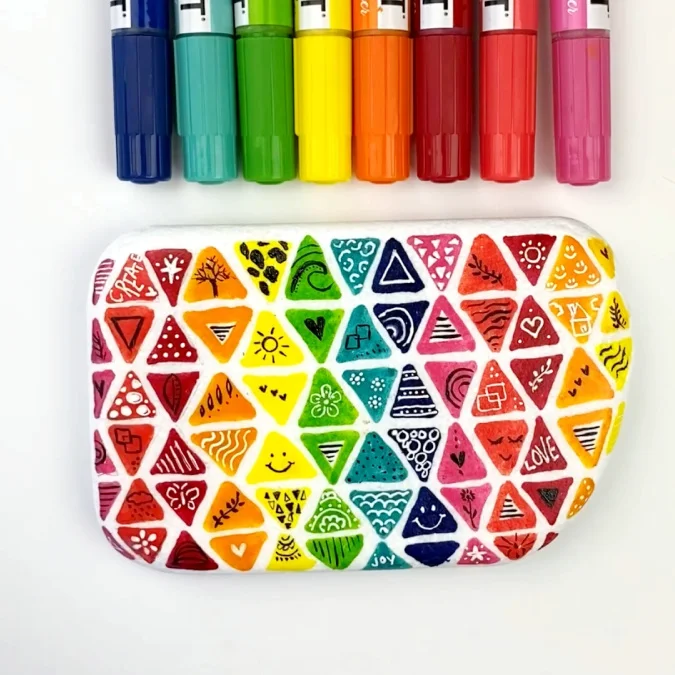
Once your base is fully dry and you have a pencil sketch on your brush, start drawing with the Staedtler Pigment Arts Pens. This is where you can really get creative. Layer colors, outline shapes, and mix simple and detailed elements. Some areas will naturally blend a little, which gives that soft, almost watercolor-style finish.
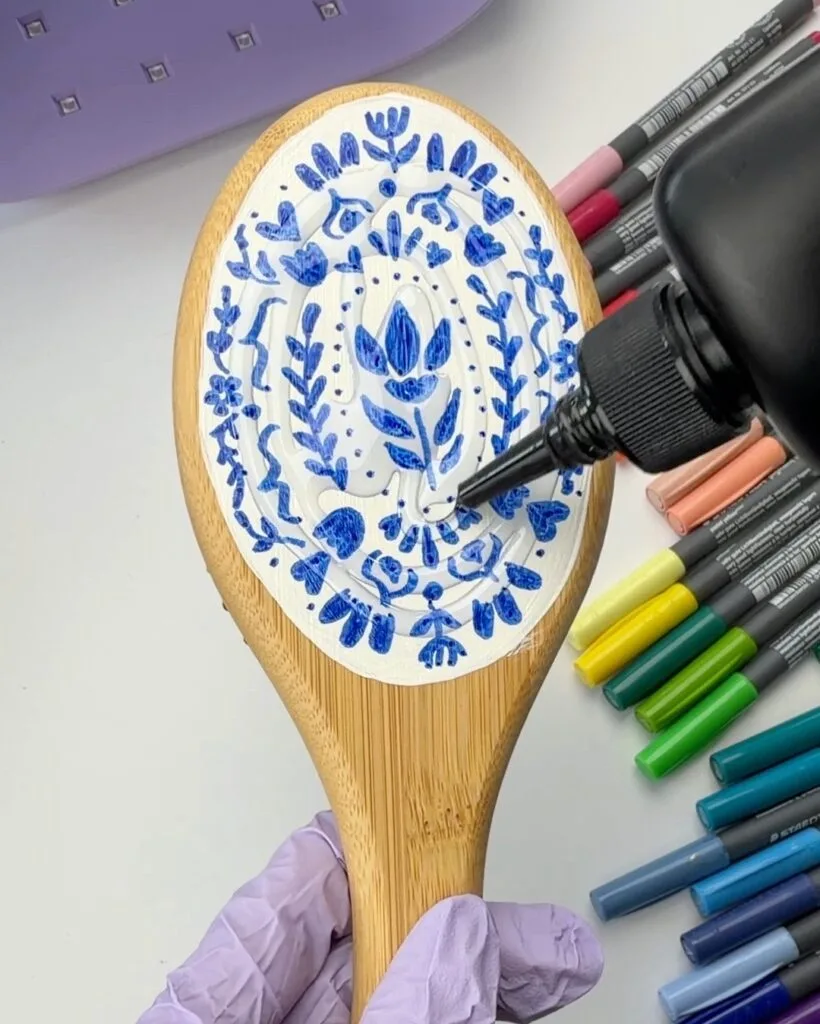
Step 4: Add a Glossy Resin Finish
To give your design that smooth, almost ceramic look, apply a thin layer of UV resin over the decorated area. Use a disposable paintbrush to spread it evenly and keep the layer thin. You just want enough to seal and give it that glossy finish without making it too thick. (If you don’t have resin available you can able a thin layer of Mod Podge gloss over your design to protect it).
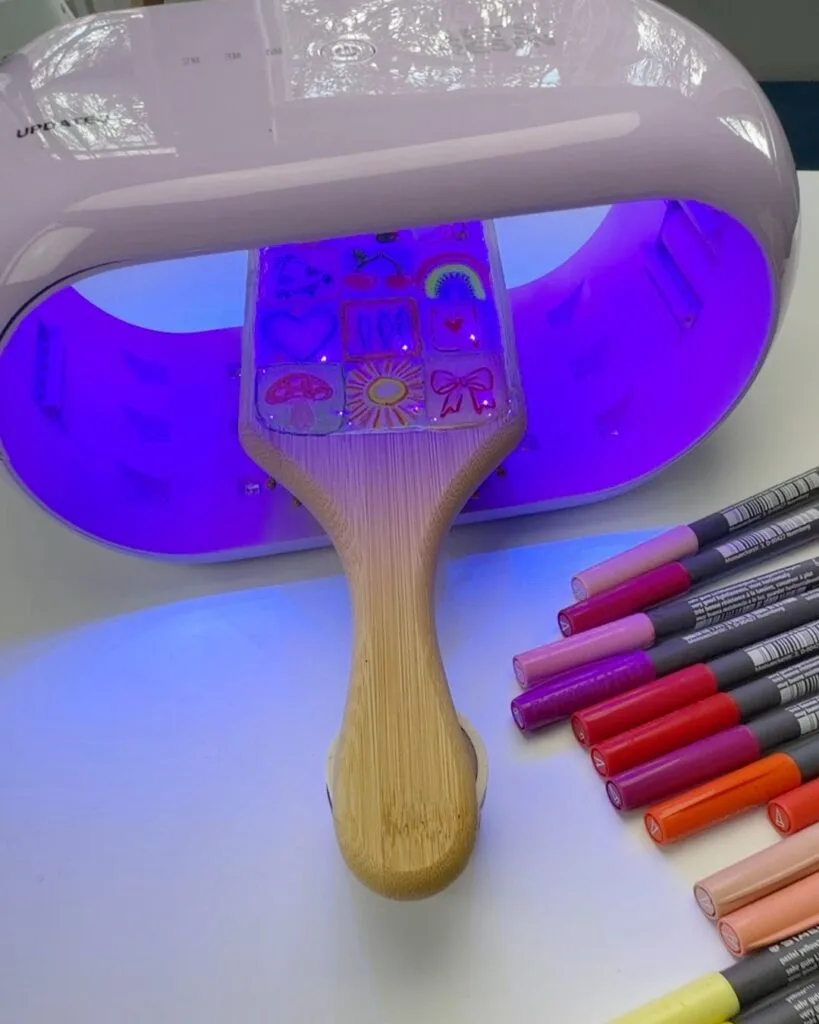
Step 5: Cure Under a UV Lamp
Place the brush under a UV lamp and cure according to your resin instructions. Mine took about 3 minutes.
Once it’s done, the surface will look glossy, smooth, and completely finished.
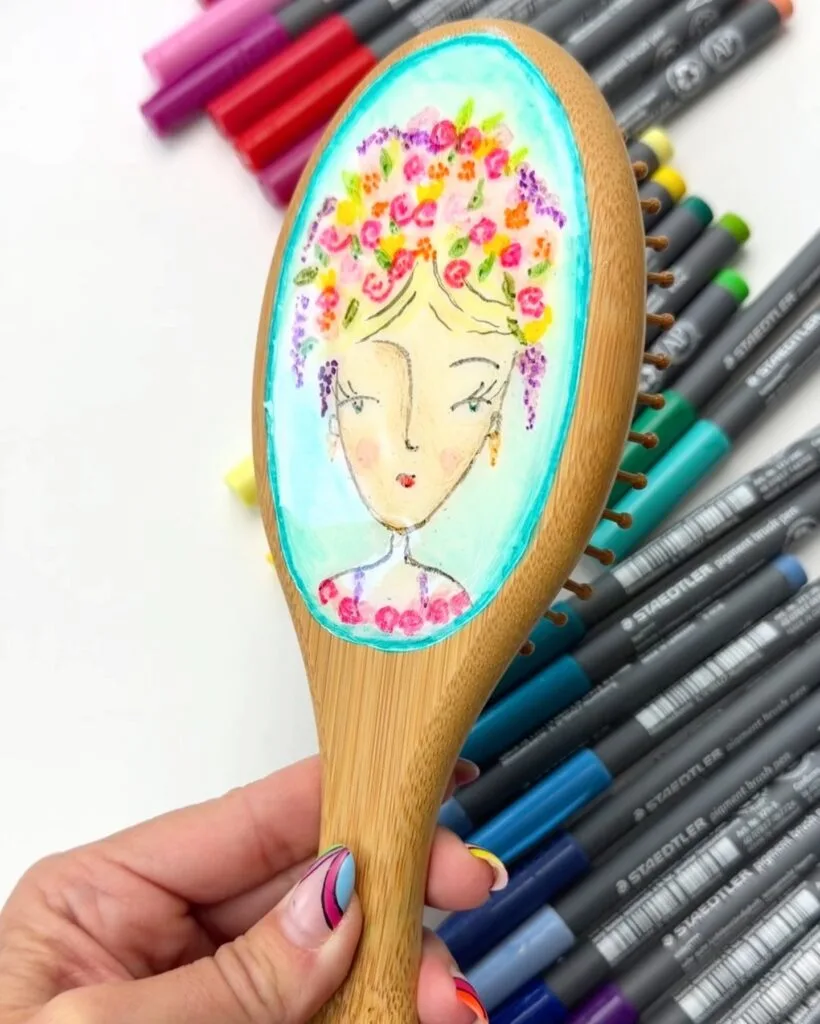
Final Thought
Once you know how to decorate a hair brush, it’s such an easy way to turn something basic into something really unique. This project is simple, creative, and gives you so much room to experiment with different styles.
If you’re into easy DIY projects, marker art, or just want a fun way to customize everyday items, this is definitely one to try.
And once you make one, you’ll probably want to make a few more.