Hot Air Balloon Painting Tutorial
As an Amazon Associate, I earn from qualifying purchases. This post may contain affiliate links. See our full disclosure here.
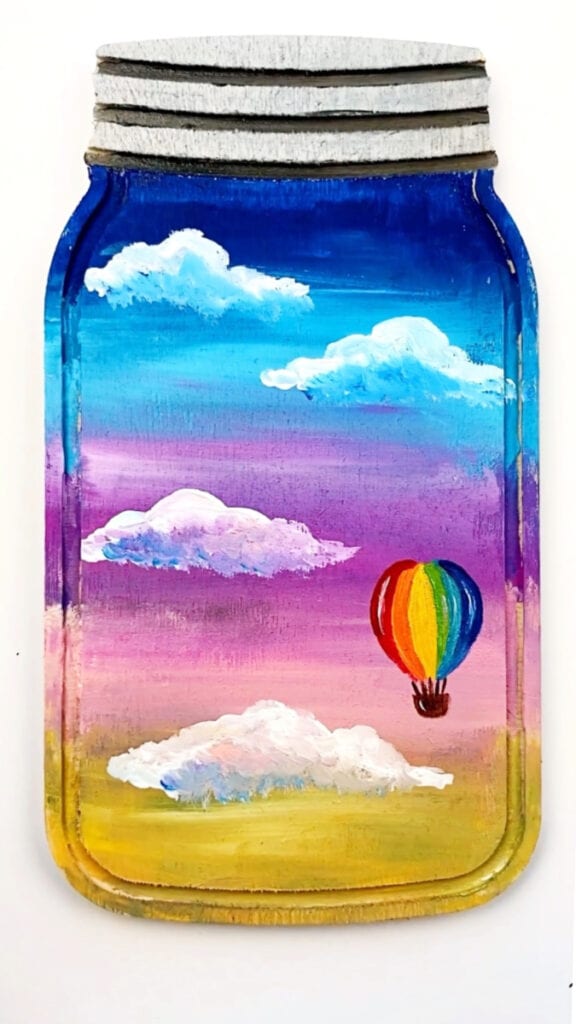
Follow this easy hot air balloon painting tutorial to make your own beautiful hot air balloon acrylic painting. The exact supplies are listed below. If you want another easy painting idea, check out this sloth acrylic painting on a wood slice tutorial as well.
This post contains affiliate links, and I may be compensated if you make a purchase through my link. See full disclosure here.
Supplies for Hot Air Balloon Painting Easy
- Mason Jar Wood Cutout – I used this wood mason jar. Similar option here and here.
- Acrylic Paint – I like Mont Marte acrylic paint and Liquitex Basics acrylic paint and Arteza Acrylic Paint
- Paint Brushes – I don’t use fancy brushes, but I do like to use a flat brush to blend the background colors.
Directions
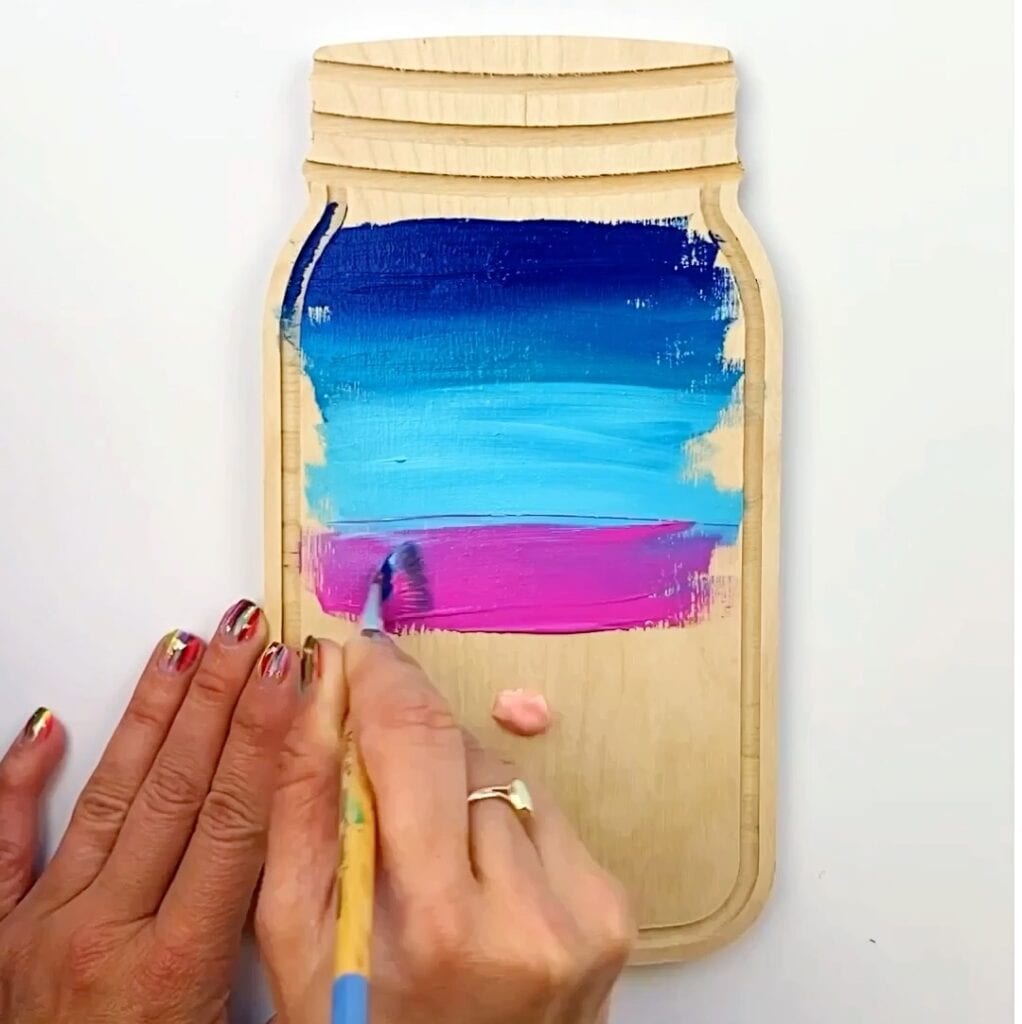
- Start by painting the background. I like to apply the paint directly to the wood slice and then use a flat flash to blend the paint colors. I typically blend two colors at a time, cleaning my brush between sections. I don’t mind the colors overlapping and streaking into one another and I find that a drier brush helps with adding dimension. Don’t worry about the blending being perfect.
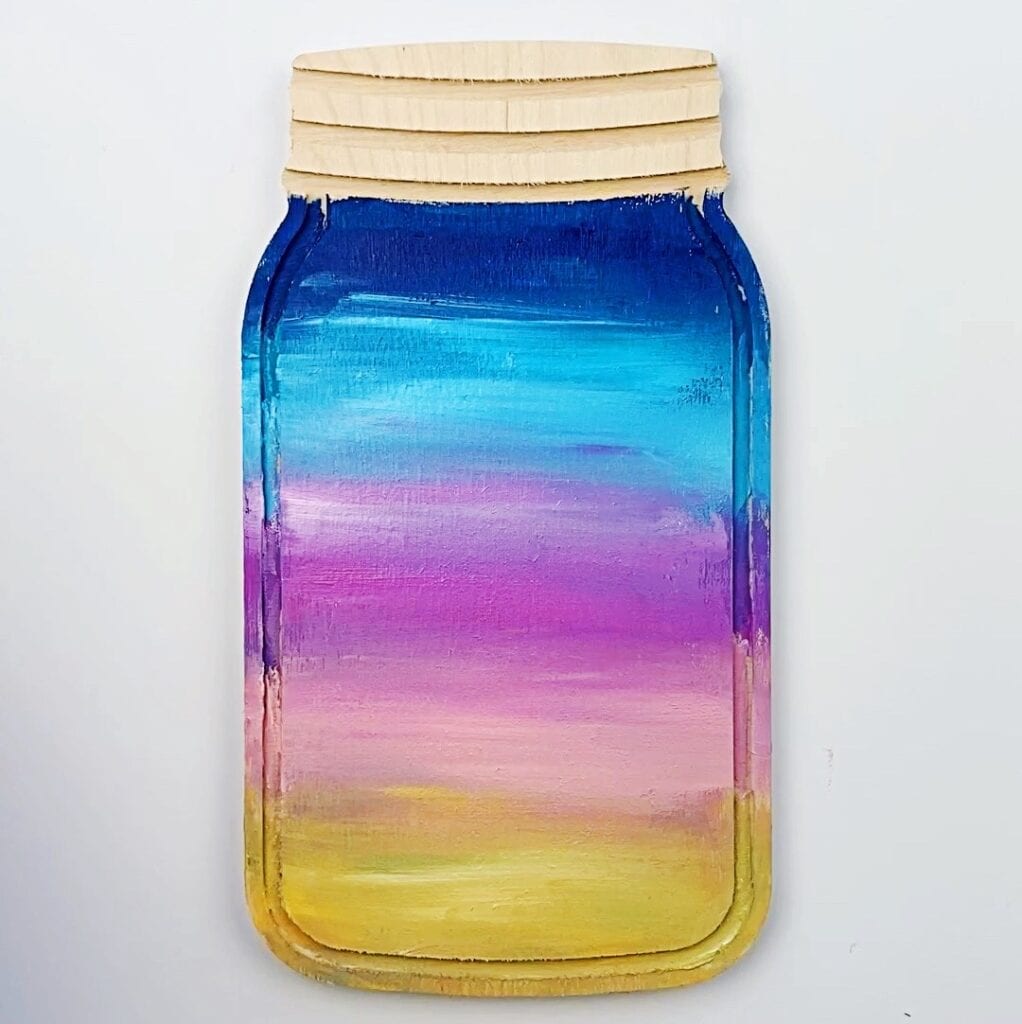
- To add the clouds use a round brush and start with just white.
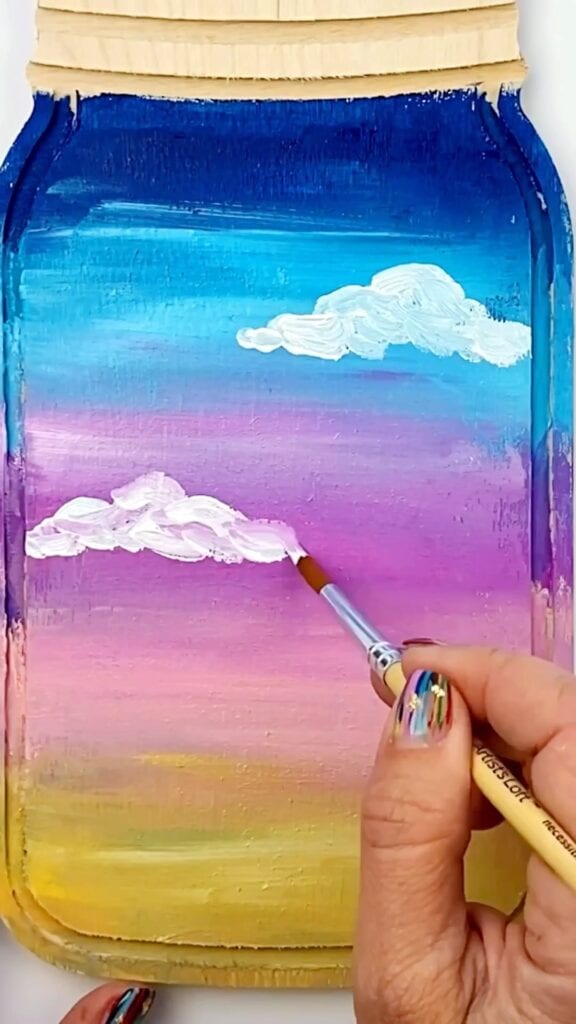
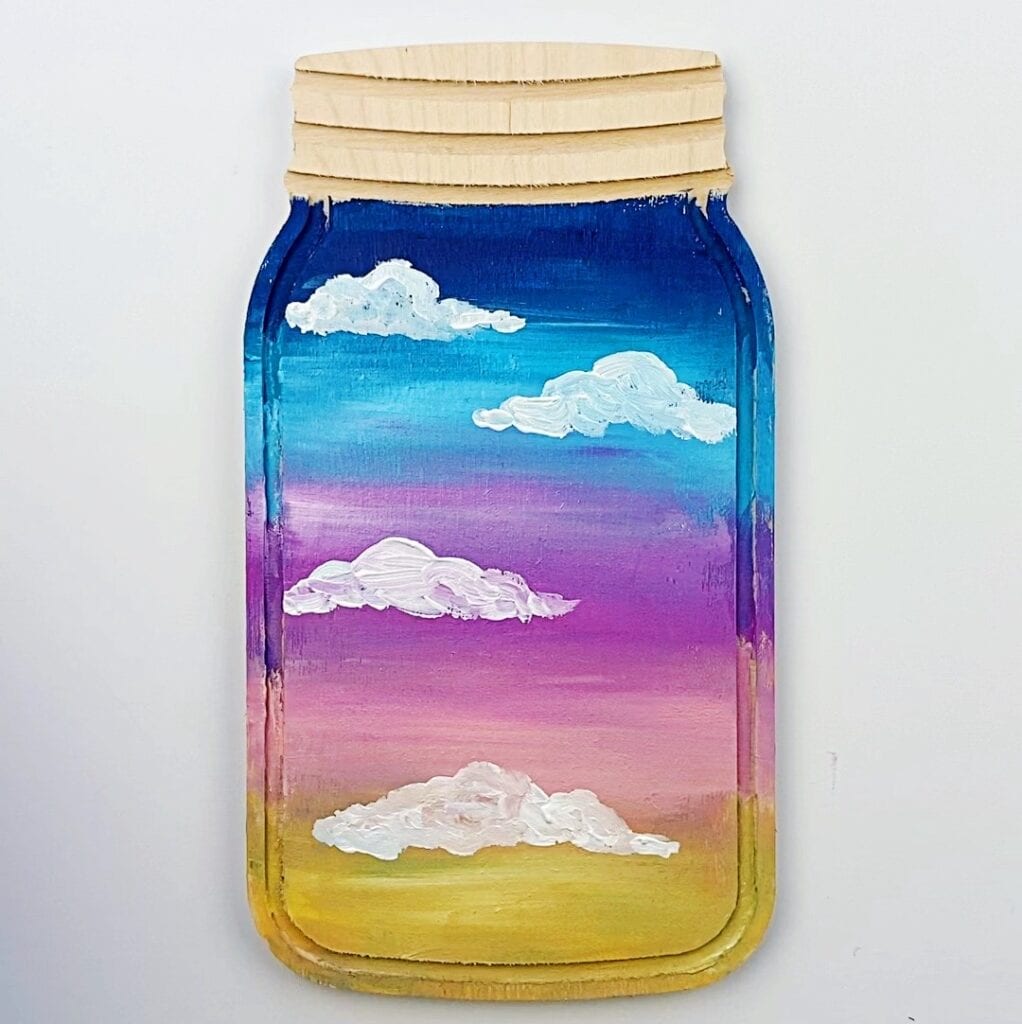
- At the bottom of each cloud add a bit of color. For the clouds in the blue background add blue and add blue and pink in the middle and lower clouds.
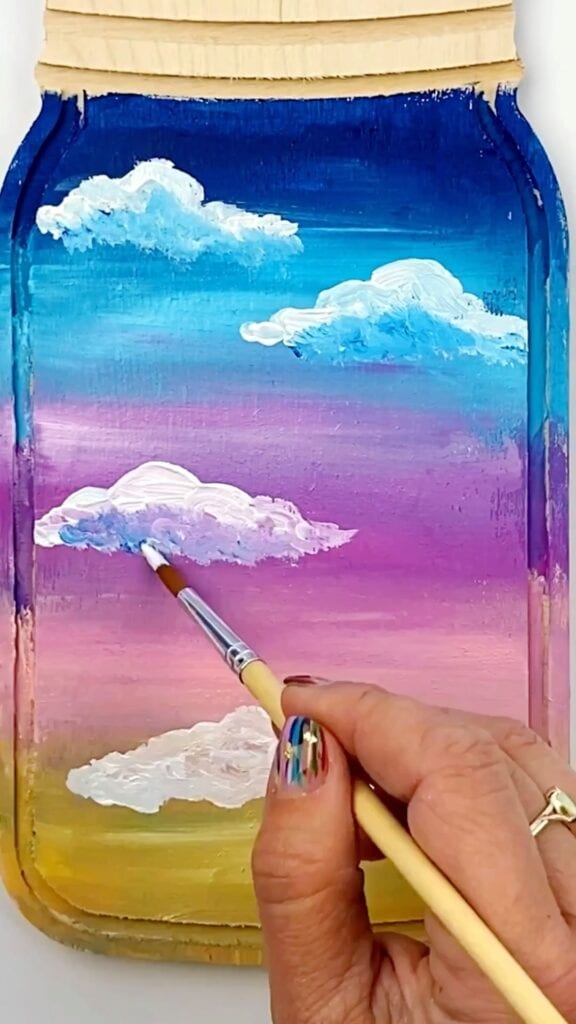
- Once the clouds are finished, draw in pencil an outline of the hot air balloon.
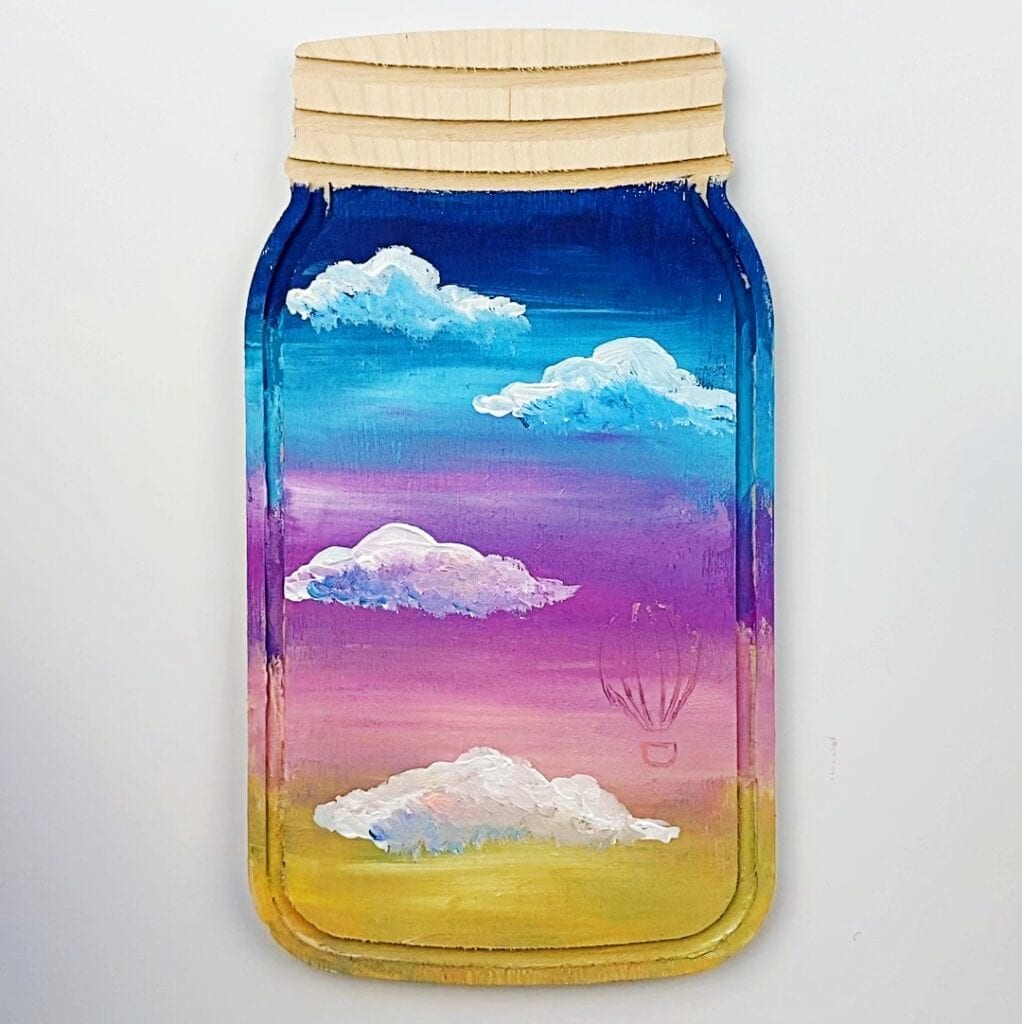
- Paint each section of the hot air balloon with a small round paint brush.
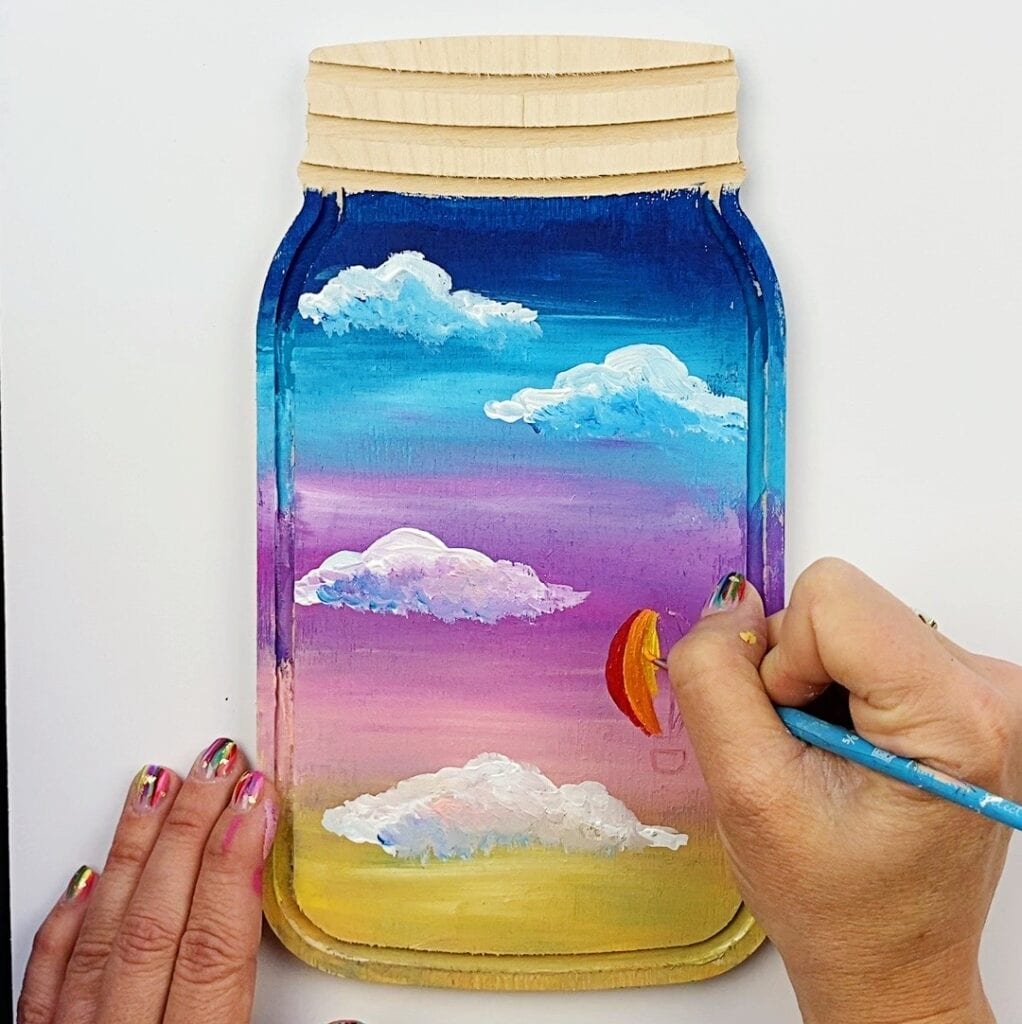
- Small white lines help to accent the balloon.
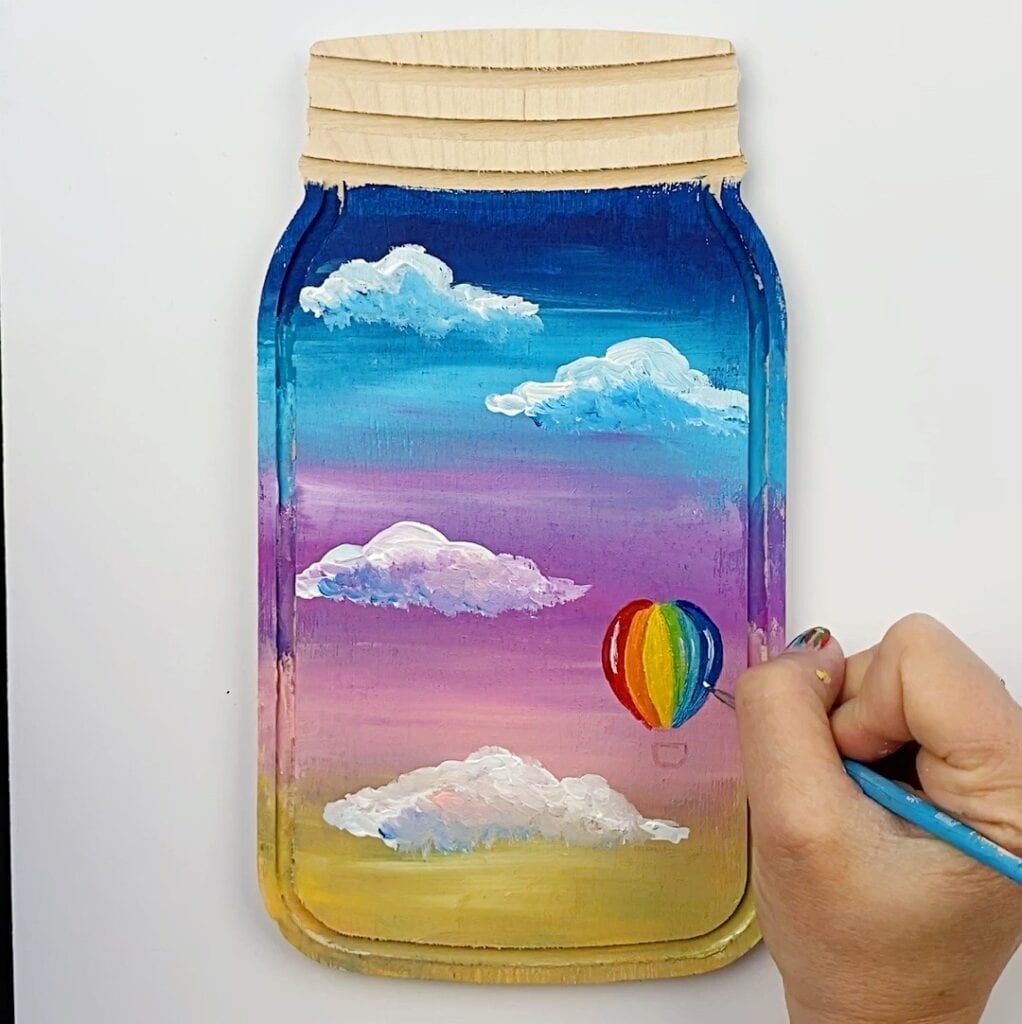
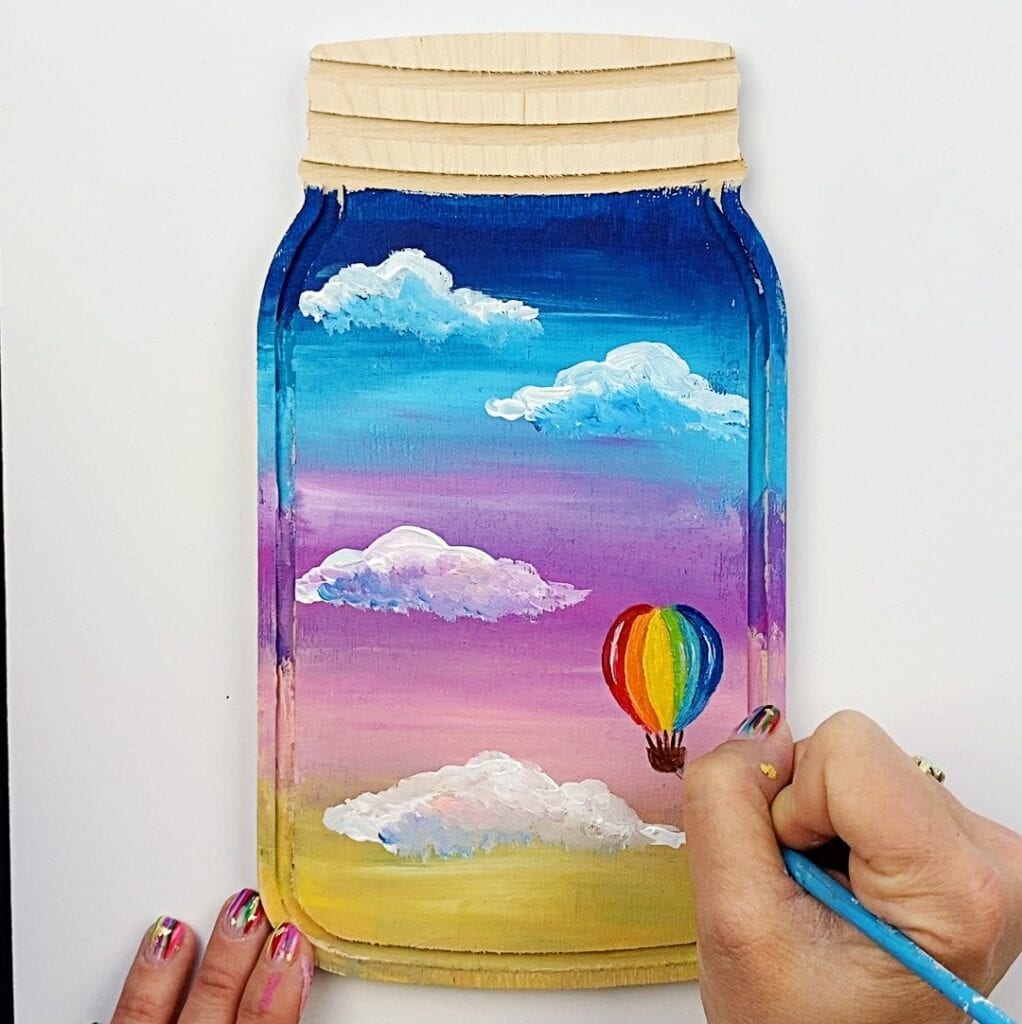
- Add the hot air balloon basket and ropes.
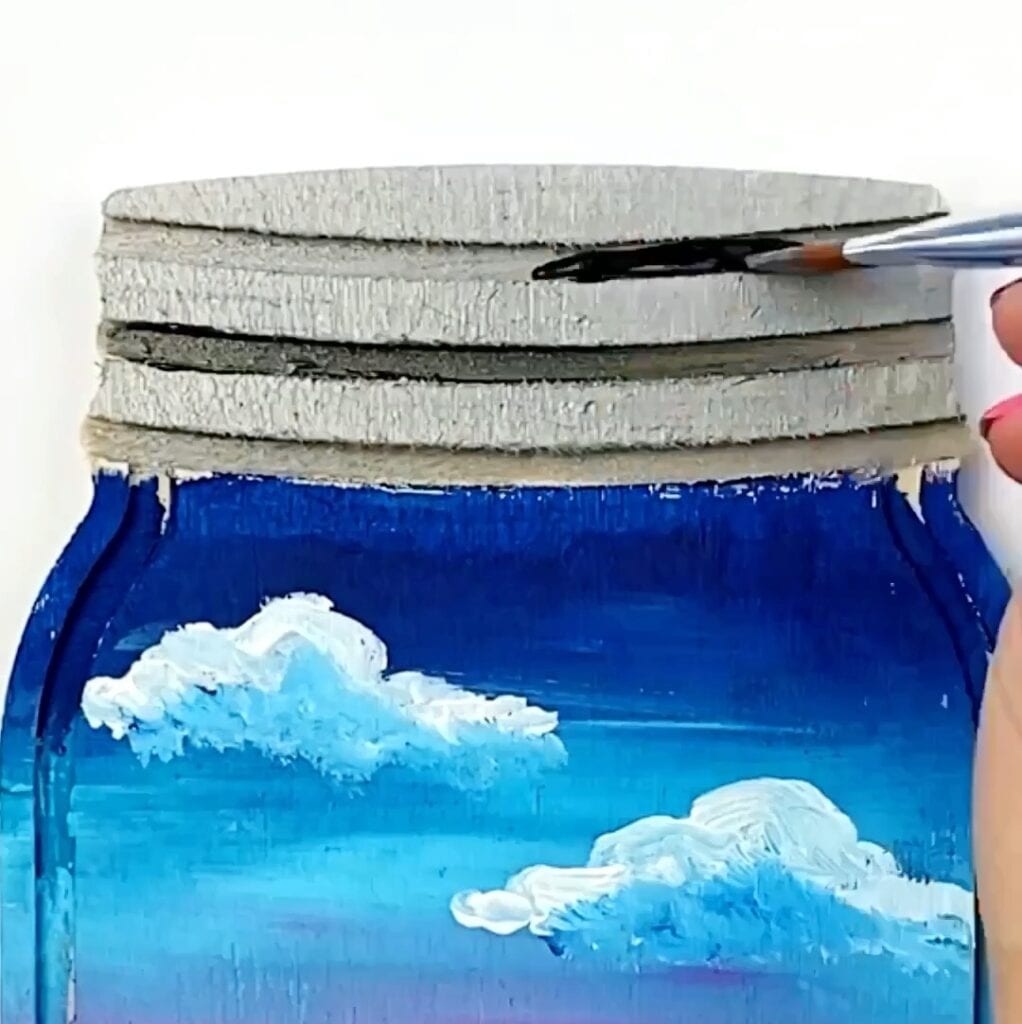
- At the top of the mason jar wood cutout paint silver for the lid and add dark gray lines.

I hope this hot air balloon painting tutorial was helpful. For more colorful and crafty projects, make sure you’re following me on Instagram page, Facebook page. and Tiktok.
