Easy Sloth Painting Tutorial
As an Amazon Associate, I earn from qualifying purchases. This post may contain affiliate links. See our full disclosure here.
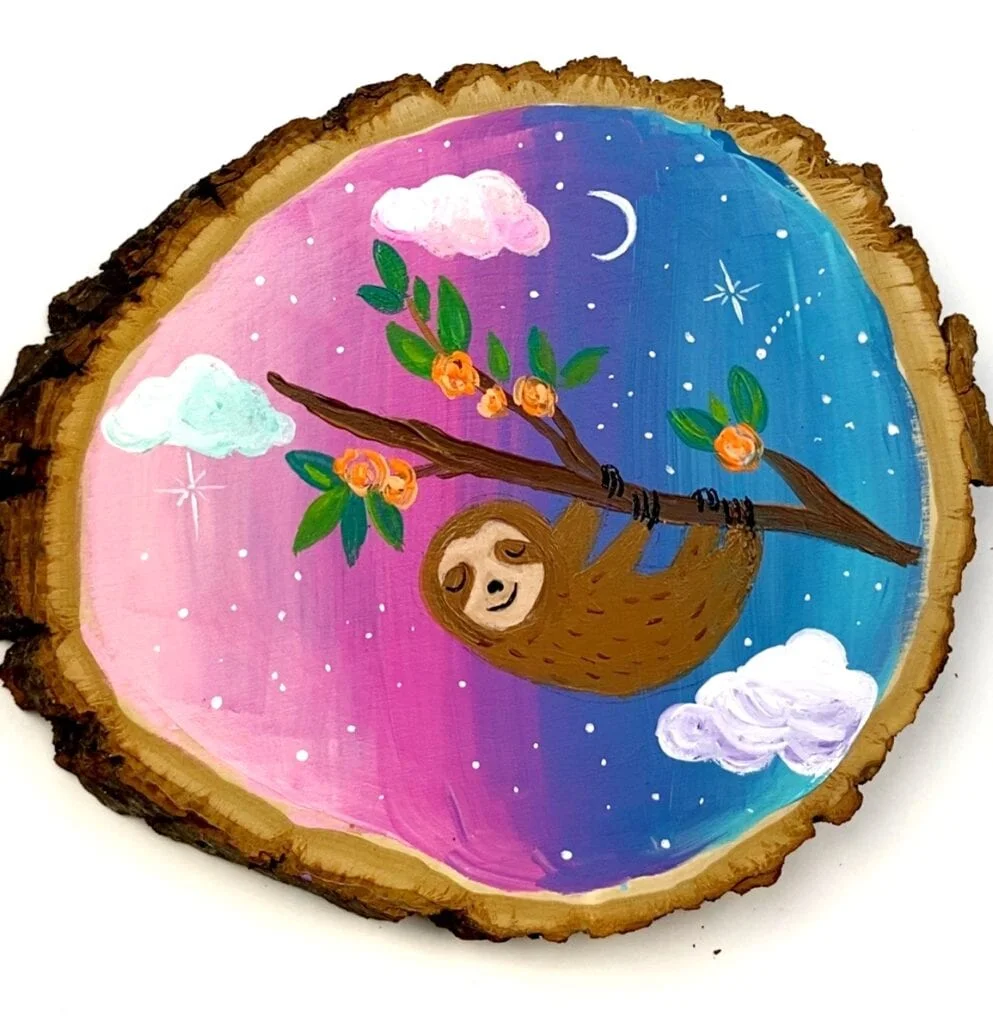
My son who loves sloths was the inspiration behind this easy sloth painting tutorial. This is a fun art project that can be done in one sitting. See below for the best painting supplies to use and the step-by-step directions.This post contains affiliate links, and I may be compensated if you make a purchase through my link. See full disclosure here.
Supplies for this Easy Sloth Painting
Directions for Sloth Art Tutorial
- Start by painting the background. I like to apply the paint directly to the wood slice and then use a flat flash to blend the paint colors. I don’t worry about the blending being perfect.


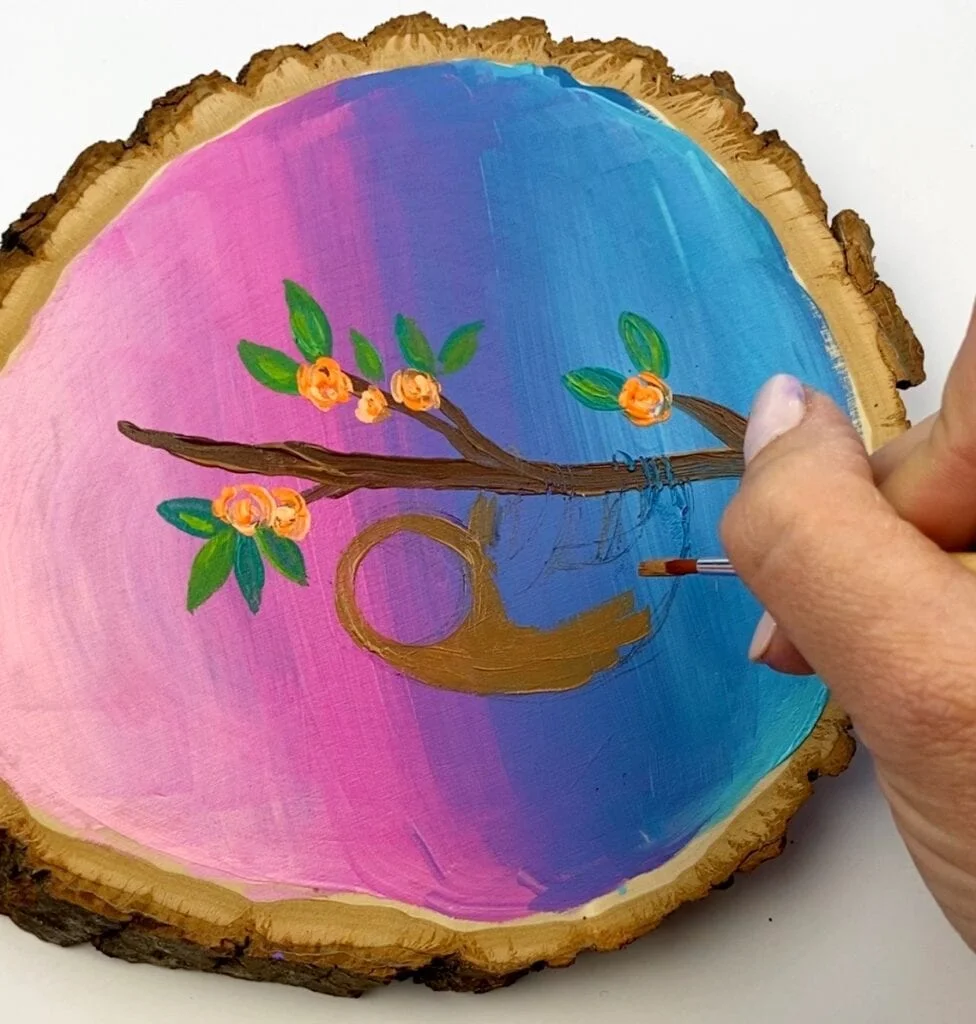
- Let the background dry completely. This should only take a few minutes as acrylic paint dries quickly as long as you don’t put too much on. Once dry, paint the tree branch with several smaller branches coming off.

- Next add a variety of leaves to the tree branch. I like to use several different colors of green.

- For the flowers don’t worry about a clean design. Make a variety of half circles with different shades of orange to create a flower design.

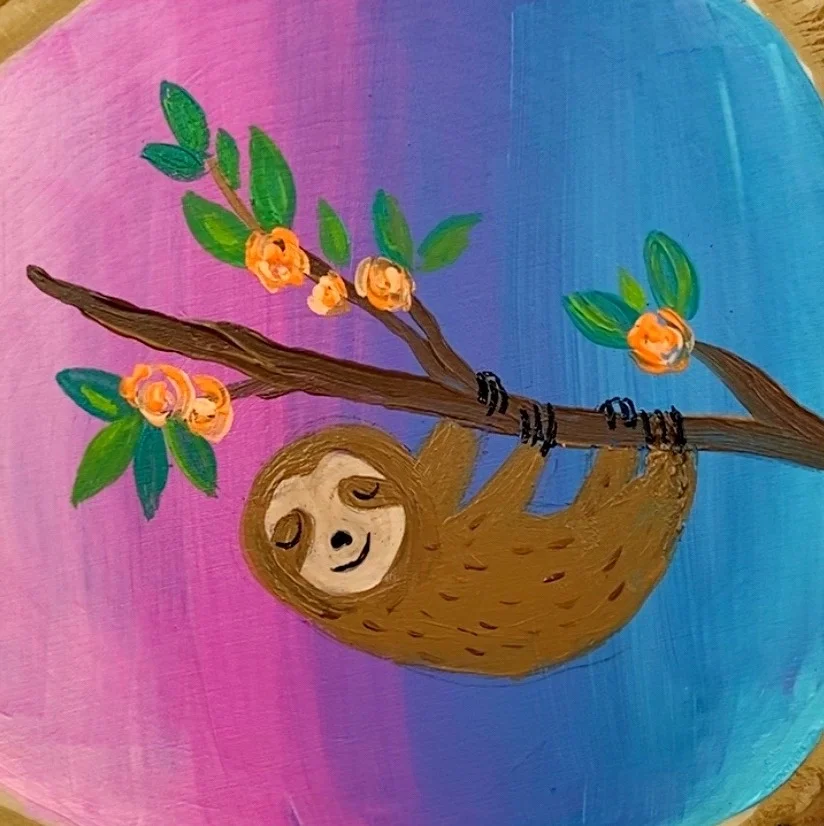
- Lightly outline the sloth design with a pencil and then paint it.
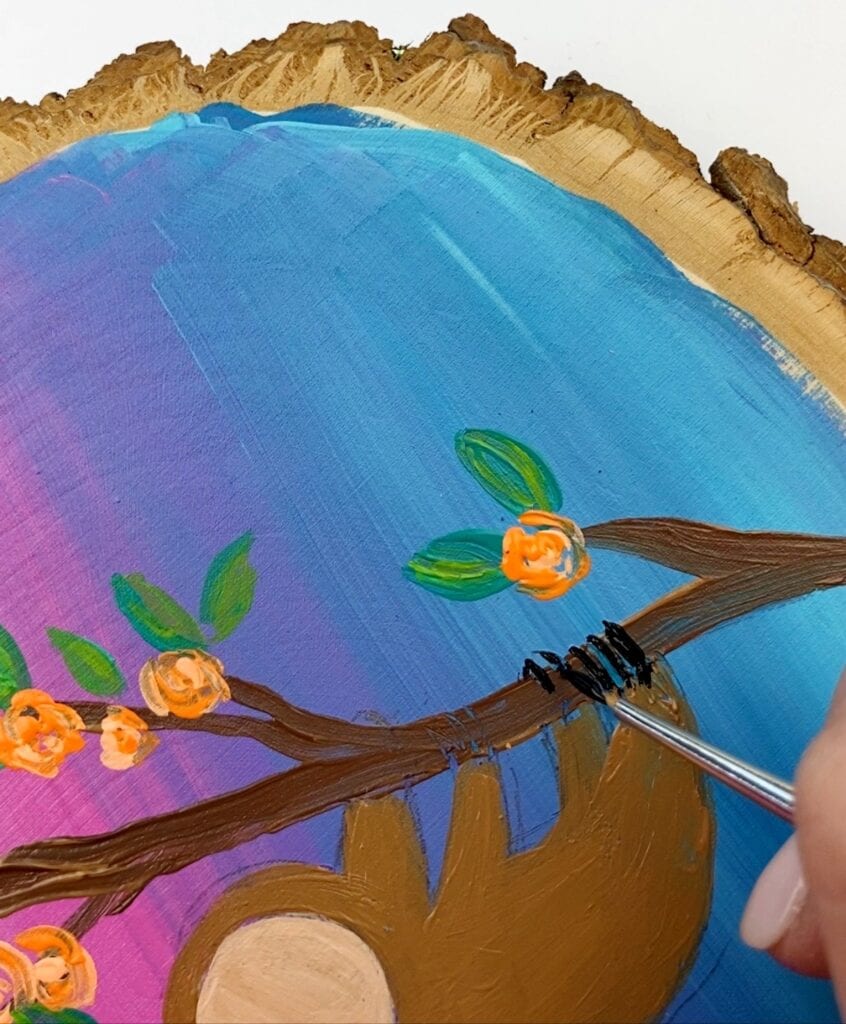
- Add the sloth details for the claws and the face using a small paint brush.
- To paint the clouds start with white and then an additional color like pink or blue.
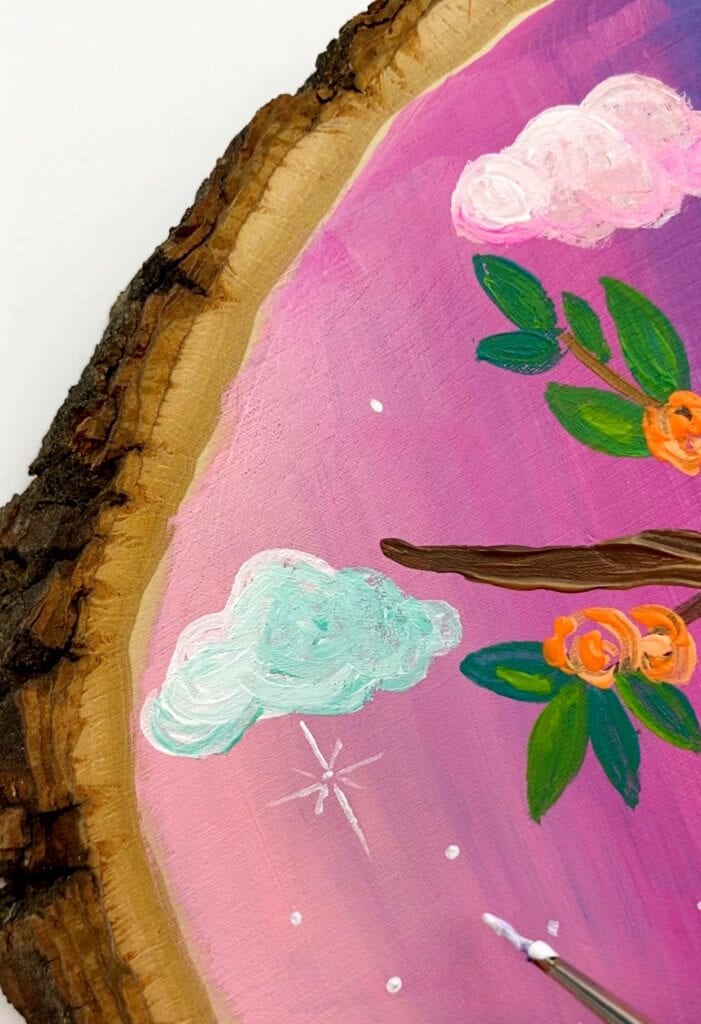
- As a finishing touch, add stars and a moon.

See how painting your very own sloth can be easy. Make sure you are following along with me on Instagram, Facebook and TikTok to see more colorful and crafty projects. And be sure to come share your finished craft. I love sharing pictures of my tutorials that have been made.