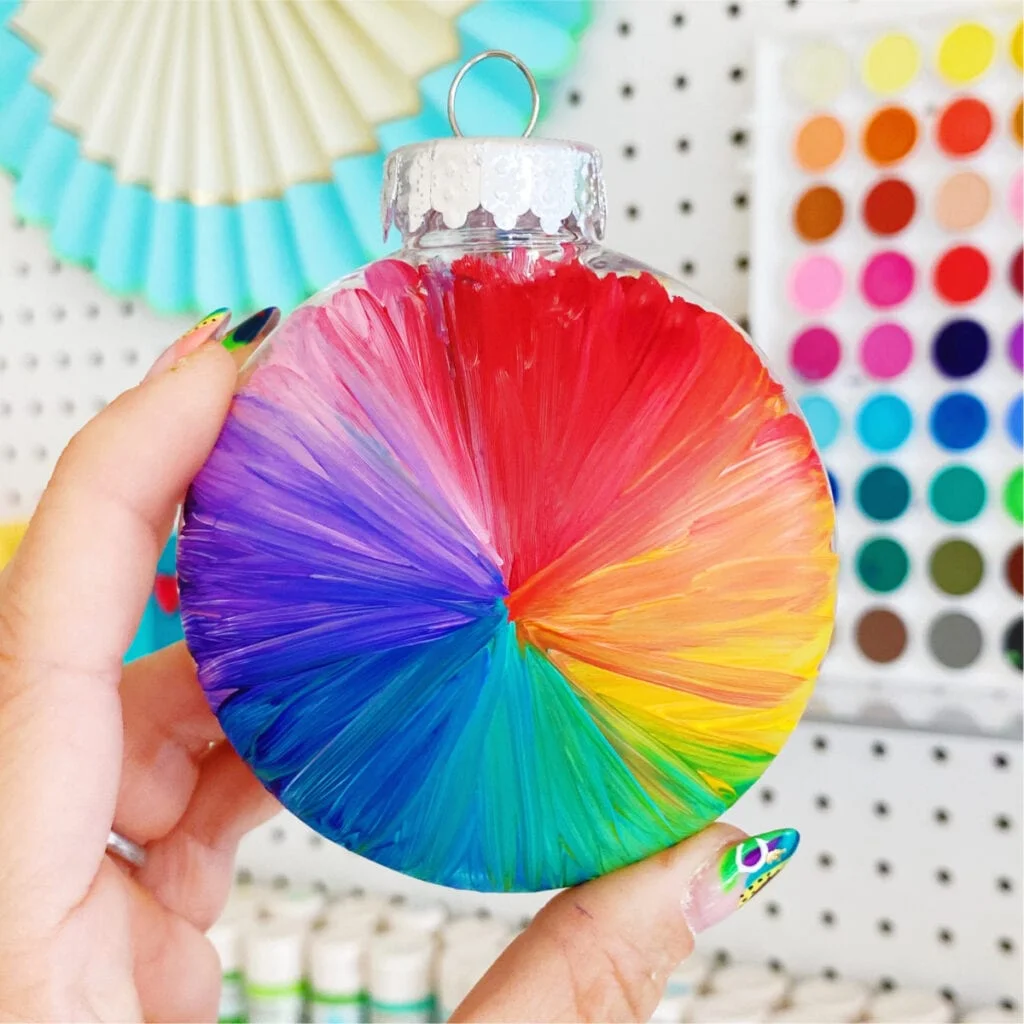
Color Wheel Painting Technique
As an Amazon Associate, I earn from qualifying purchases. This post may contain affiliate links. See our full disclosure here.
Typically a color wheel is a visual guide for artists and designers to help them understand color combinations and provide guidance for creating designs that have good color composition. Taking my love of color and the color wheel as inspiration, I’ve created my favorite painting technique that I call color wheel painting.
This is a fun and easy painting technique that doesn’t take long to master and can be done by anyone. The best part is that it’s very quick and in just minutes you can achieve the final result.

Favorite Paint for Color Wheel Painting
Acrylic paint is the best medium for this painting technique but gouache could work as well. The key is to look for thick acrylic paint. You don’t want anything too watery or it could be difficult to blend. Here are a few of my favorite brands for this technique:
Surfaces for Painting
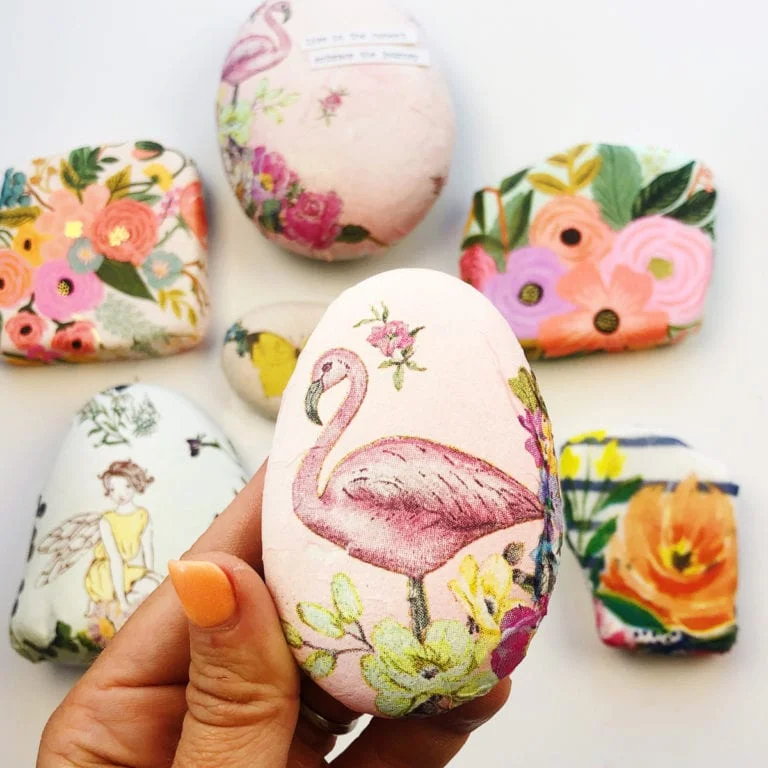
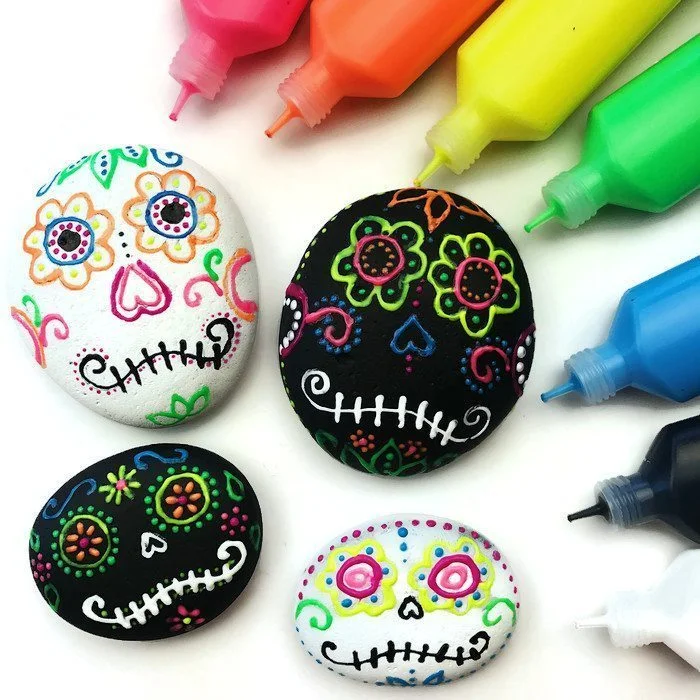
Color wheel art doesn’t have to be done on just paper or canvas. In fact, I love to use a variety of surfaces like wood cutouts, rocks, and more. Below are some of my favorite surface to paint on.
Don’t worry too much about paintbrushes. I like to use inexpensive paint brushes that vary in size.
Directions for Color Wheel Painting
Step 1. Start by organizing your workspace. You’ll need a towel or paper towel to wipe your paint brush, a cup of clean water, your paint and the surface you’ll be working on.
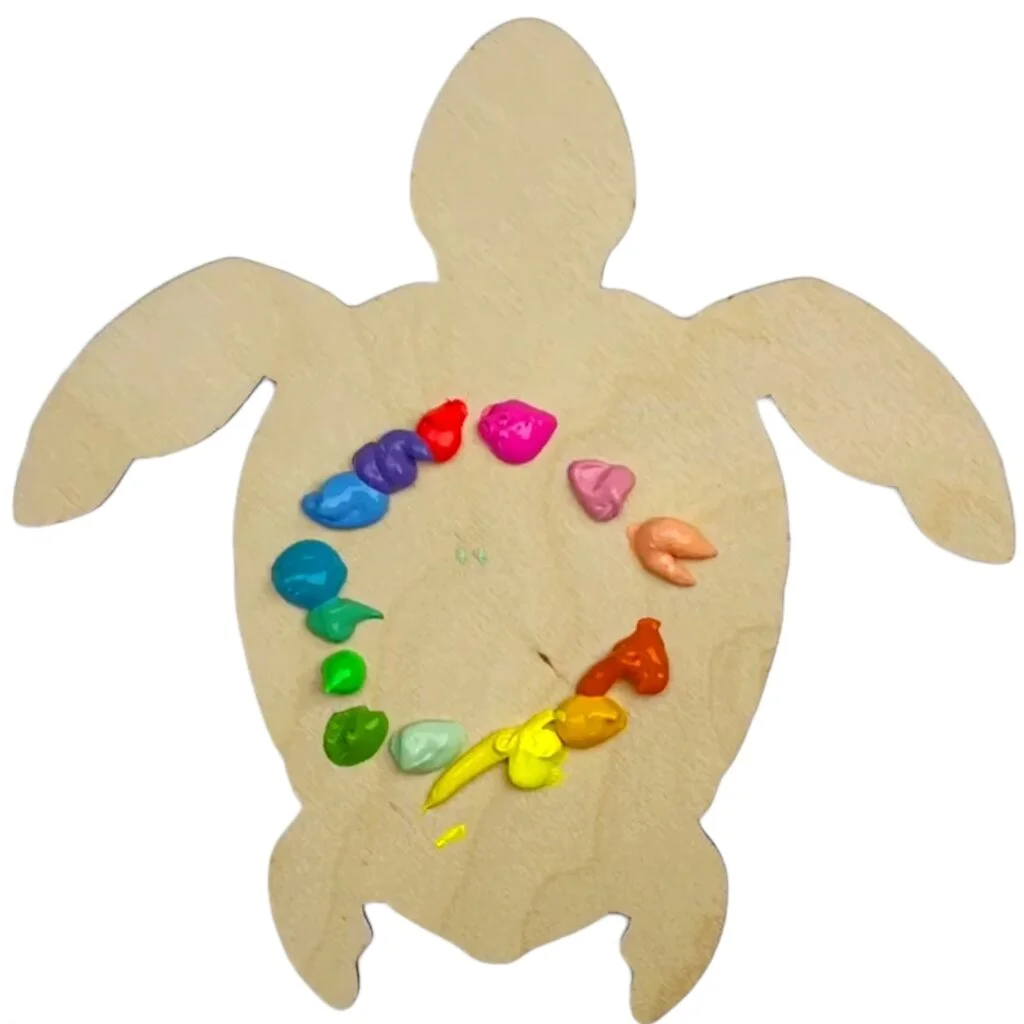
Step 2. First I apply acrylic paint in rainbow order directly to the surface I’m working on in small drops. Another option which may be a bit easier when you’re first trying this technique is to apply the paint to a palette or paper plate before you start painting if you’d like.
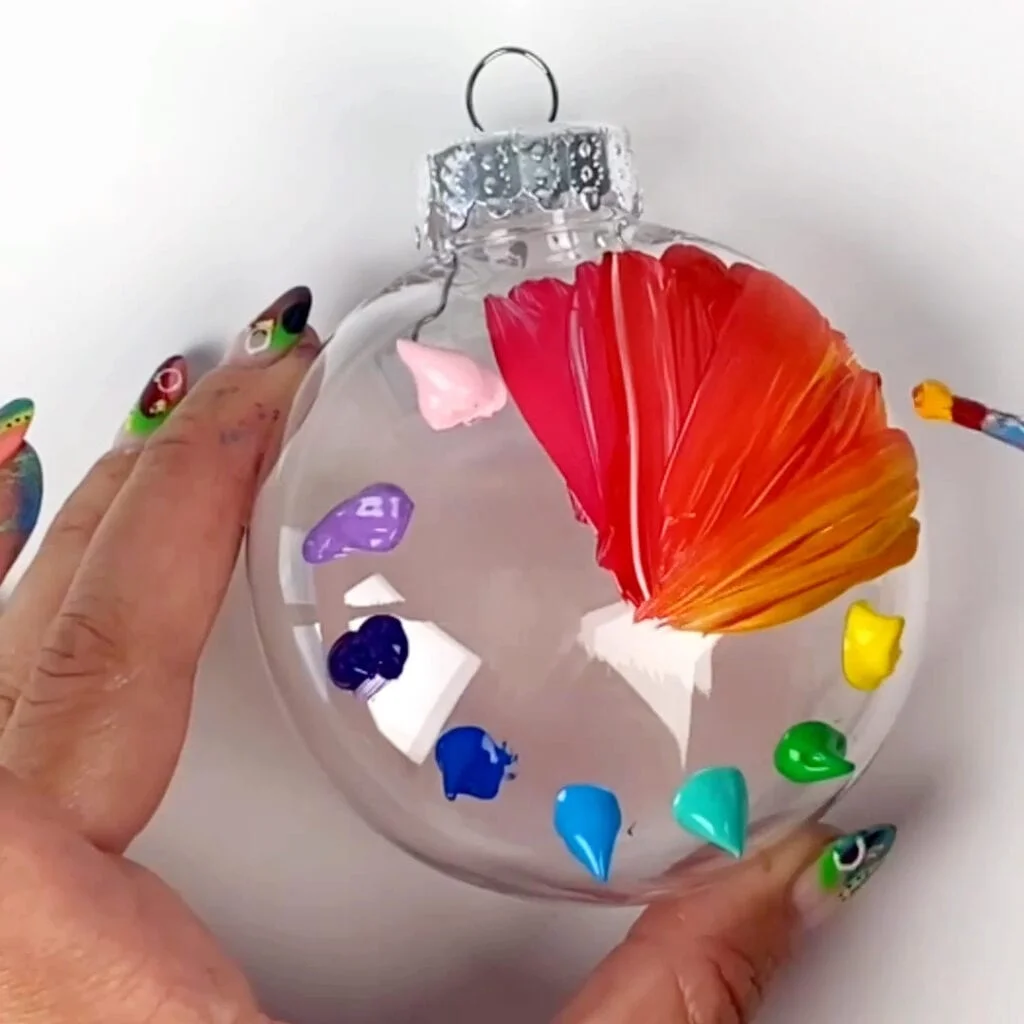
Step 3. Begin by blending the first two colors, which are typically red and orange or pink and orange (which I prefer). Wipe off your brush before you move onto the yellow. I prefer to just wipe my brush on a towel, keeping the bristles dry, instead of using water to help create texture. It’s okay if a little color stays on the brush as it will be blended in.
Step 4. Repeat step 3 as you work your way around the surface of your painting. I like to sometimes blend in a touch of white on my brush to add definition or lighten a color.

Step 5. Once I work my way around the entire surface I like to go around again to slightly smooth and blend the colors a little bit more. It’s important to still wipe the brush so that the colors don’t get muddled.

Step 6. Finally you can seal your finished artwork with a spray sealant although it’s not required.
Tips for Color Wheel Painting
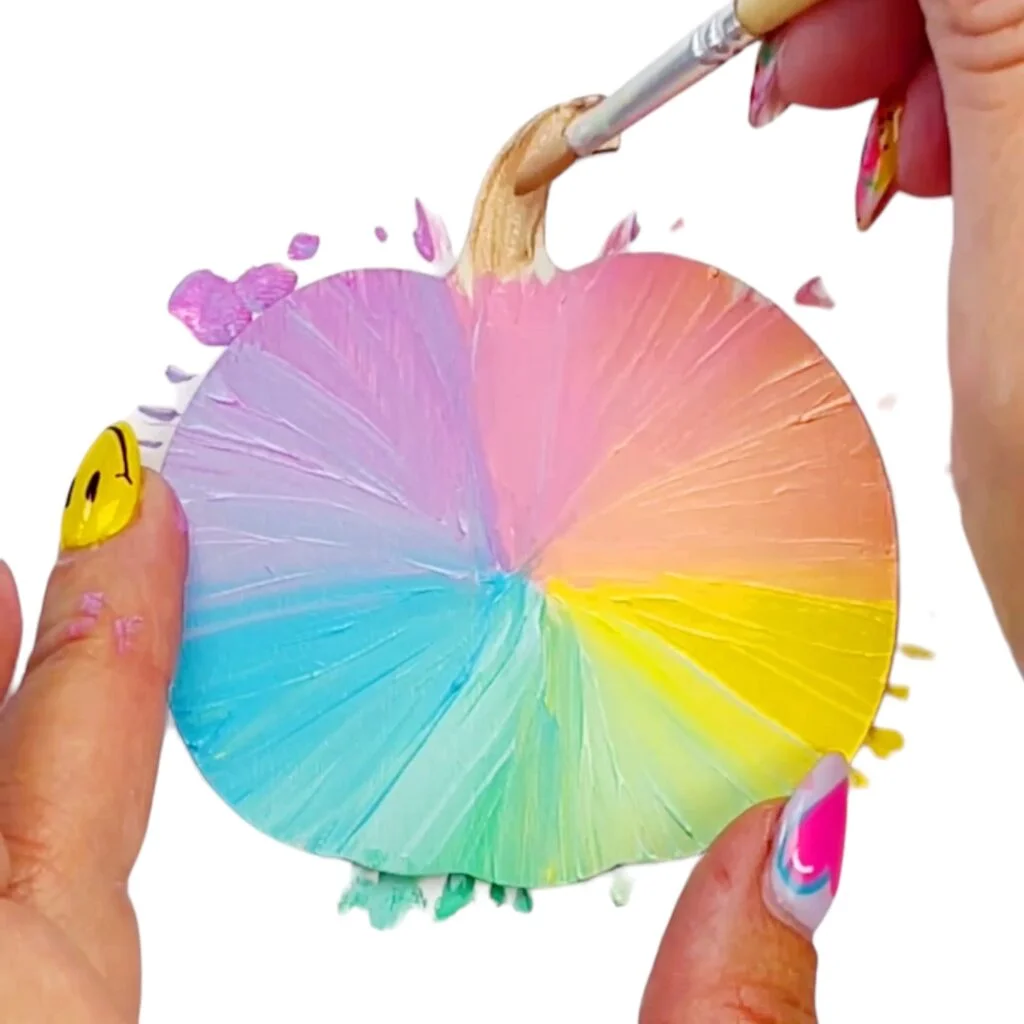
Once you get the hang of this painting technique, have fun playing around with different color palettes. It’s fun to try pastels or darker rainbow palettes like I did on these wooden pumpkins.

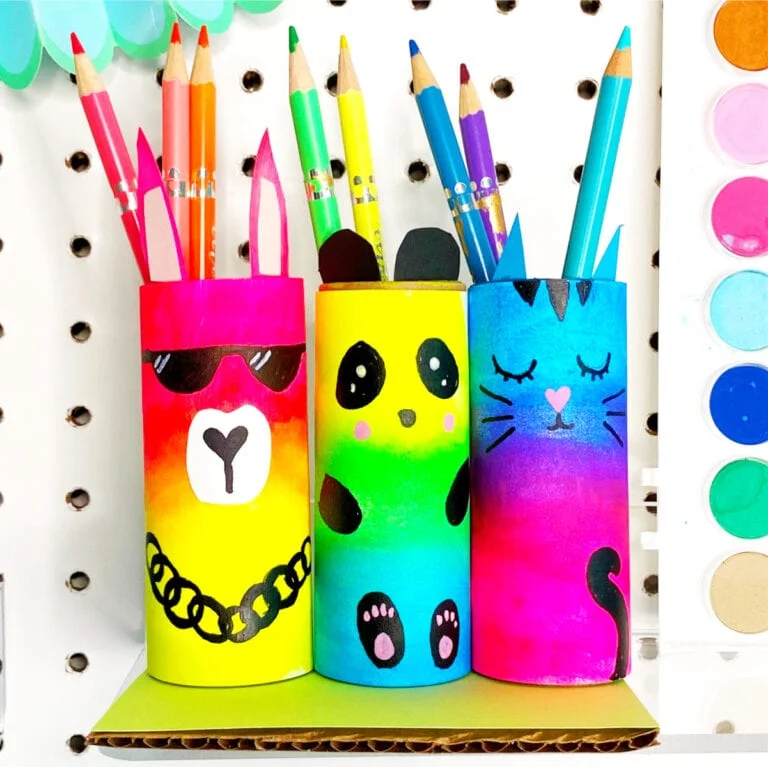
Add additional details on top of your finished painting. The color wheel provides a great background for designs.

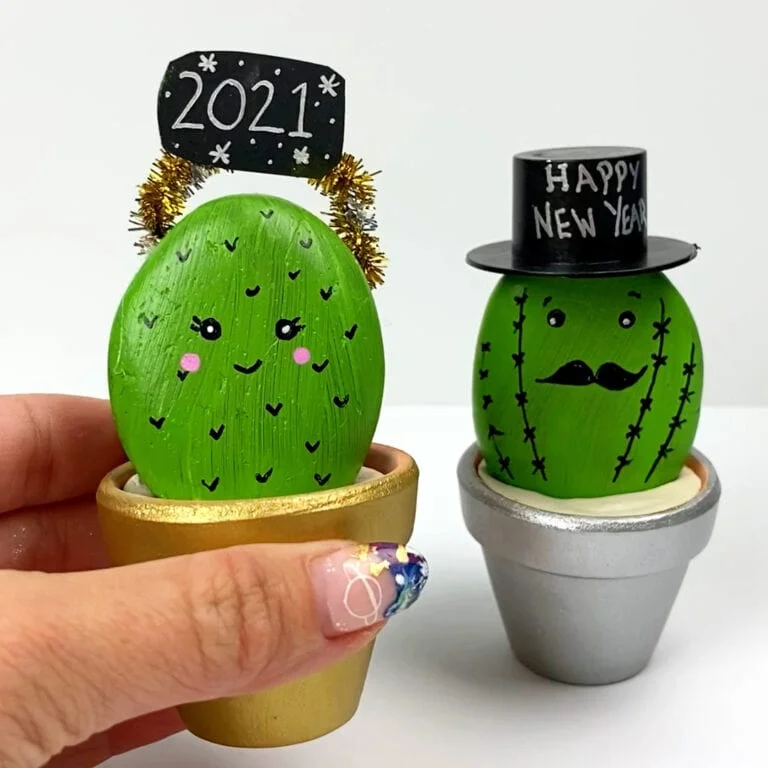
Have fun with different surfaces. You can paint a colorwheel design on just about anything including wooden eggs and ornaments!