How to Decoupage Easter Eggs
As an Amazon Associate, I earn from qualifying purchases. This post may contain affiliate links. See our full disclosure here.
Learn how to create stunning decoupage Easter eggs with this easy step-by-step tutorial. Perfect for adding a unique touch to your holiday decorations and Easter decor!
I’ll be showing you my favorite decoupage technique which uses napkins but you could use this same technique to add other decoupage papers, scrapbook paper, tissue paper, and more.
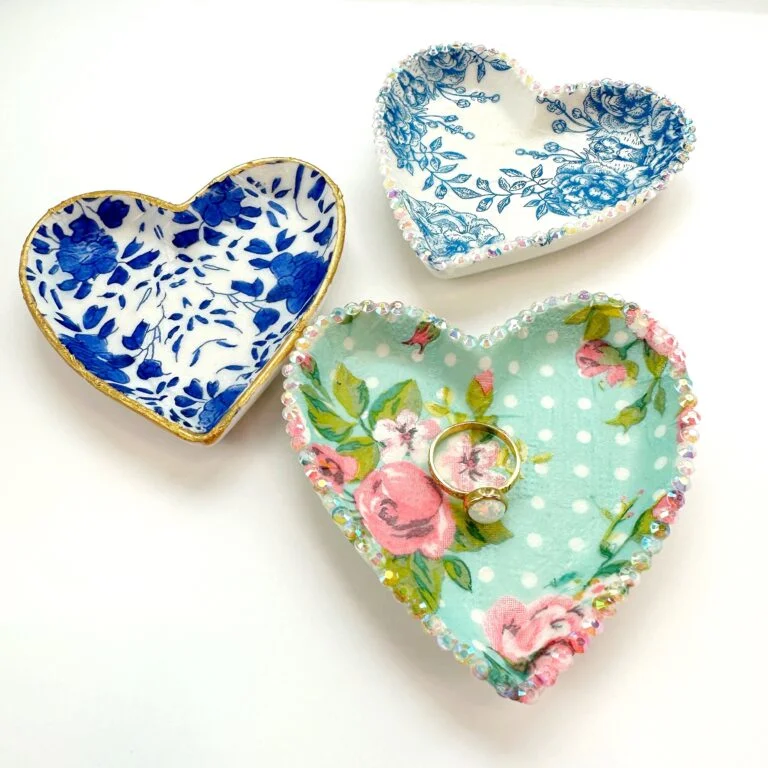
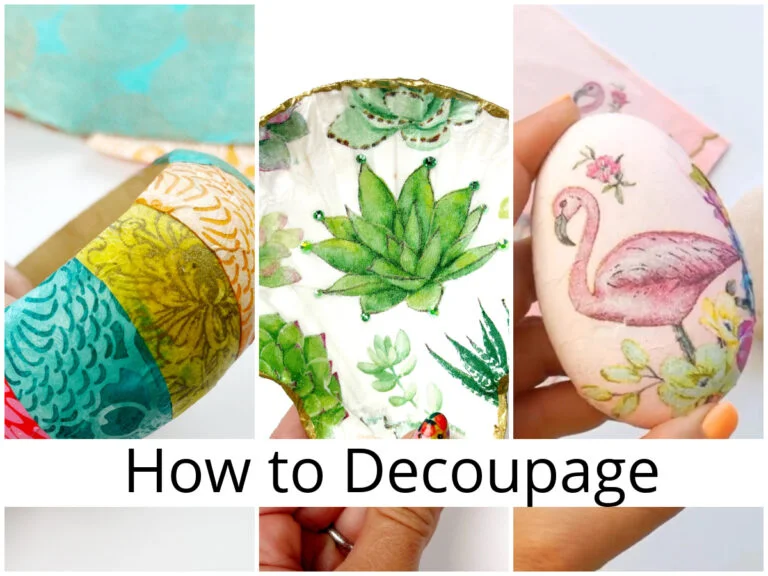
Napkins are a popular choice for decoupaging because they are light weight, easy to tear and layer well. You can decoupage napkins on a variety of surfaces. See my How to Decoupage a Shell and How to Decoupage a Heart Dish for more decoupaging ideas.

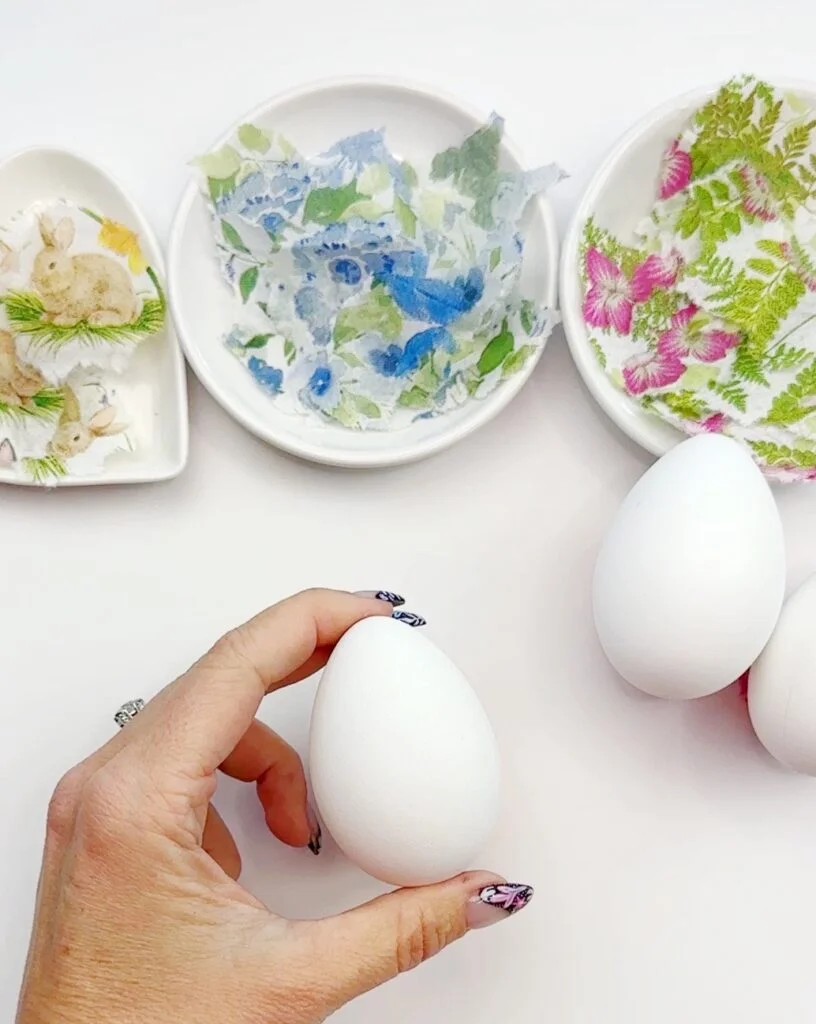
Supplies for Decoupage Easter Eggs
- Napkins – Here are a few favorite napkins I’ve found online:
- bunny napkins
- floral napkins
- blue floral napkins
- Assorted easter napkins pack
- Look for paper napkins at the craft store, Home Goods, The Dollar Store or purchase them Amazon.
- Mod Podge – I prefer the matte finish but you could use also use a gloss finish.
- Paint brush – I like to use a flat paintbrush but a foam brush would work as well.
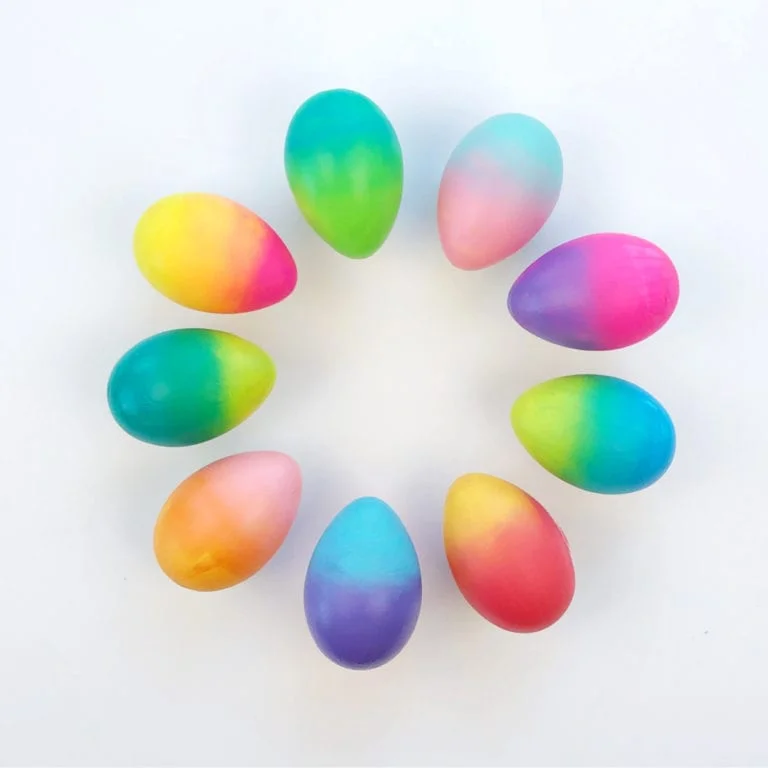
- White faux eggs – I prefer faux eggs so that they can be kept for years.
Step-by-Step Directions
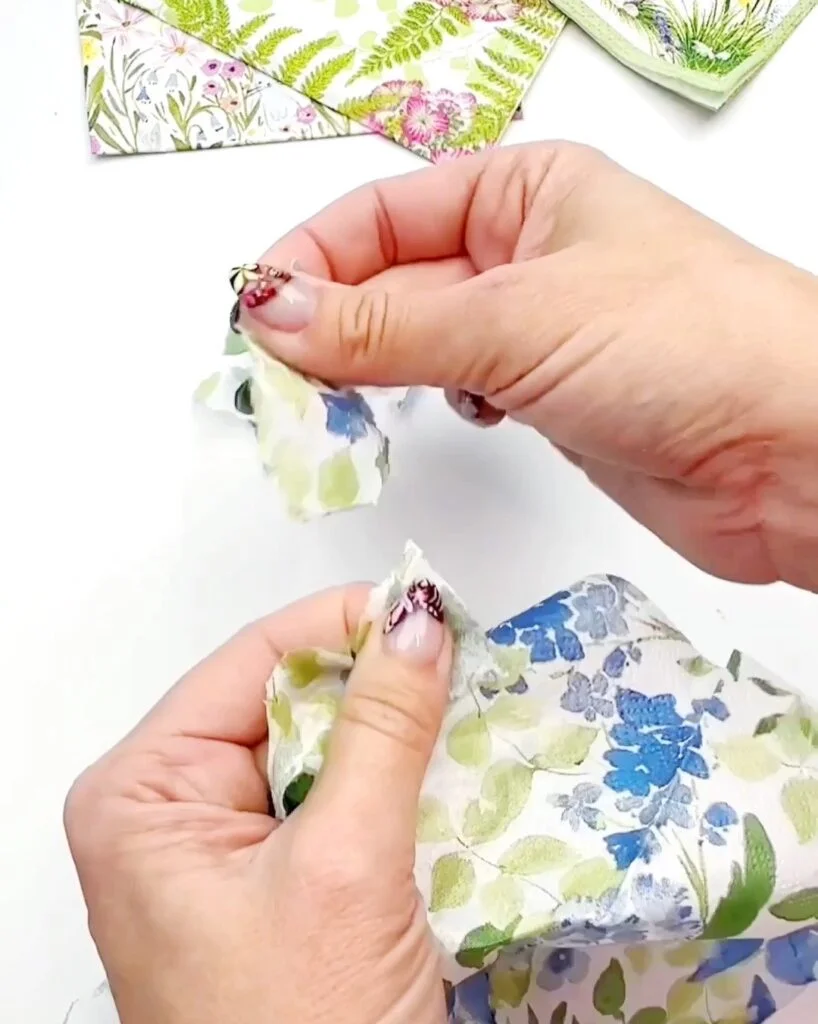
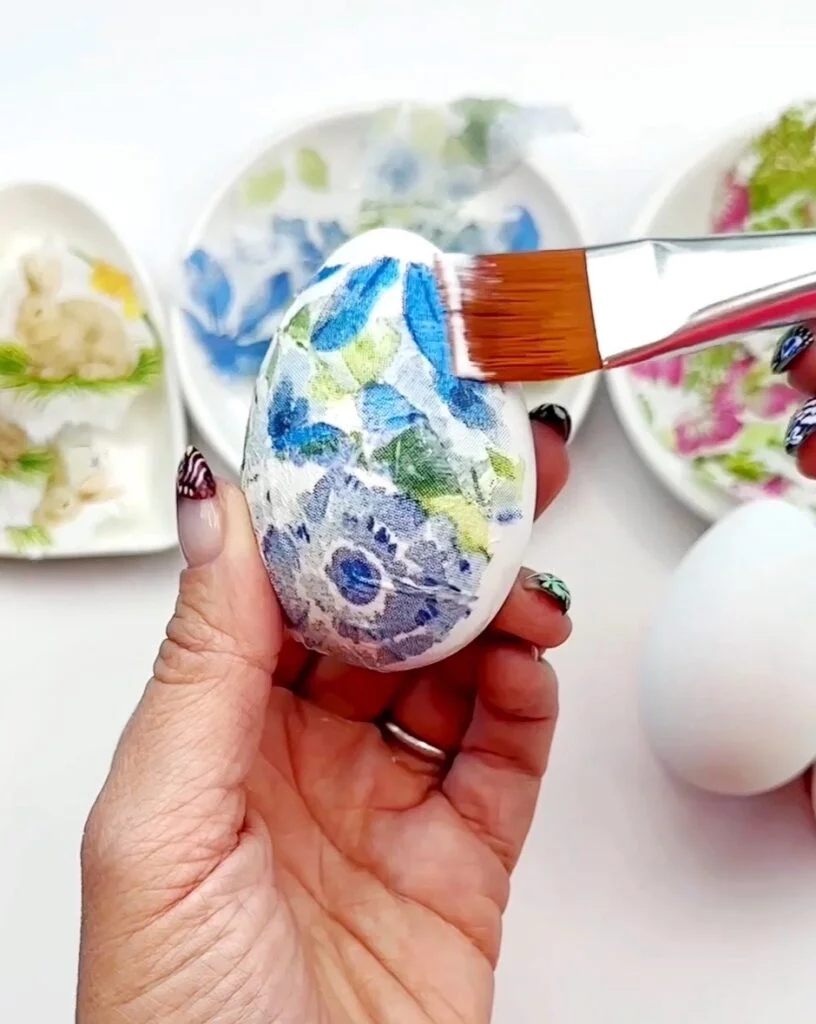
Step 1. Start by separating the napkin layers so that it is only 1-ply. Most paper napkins are 2-3 ply.
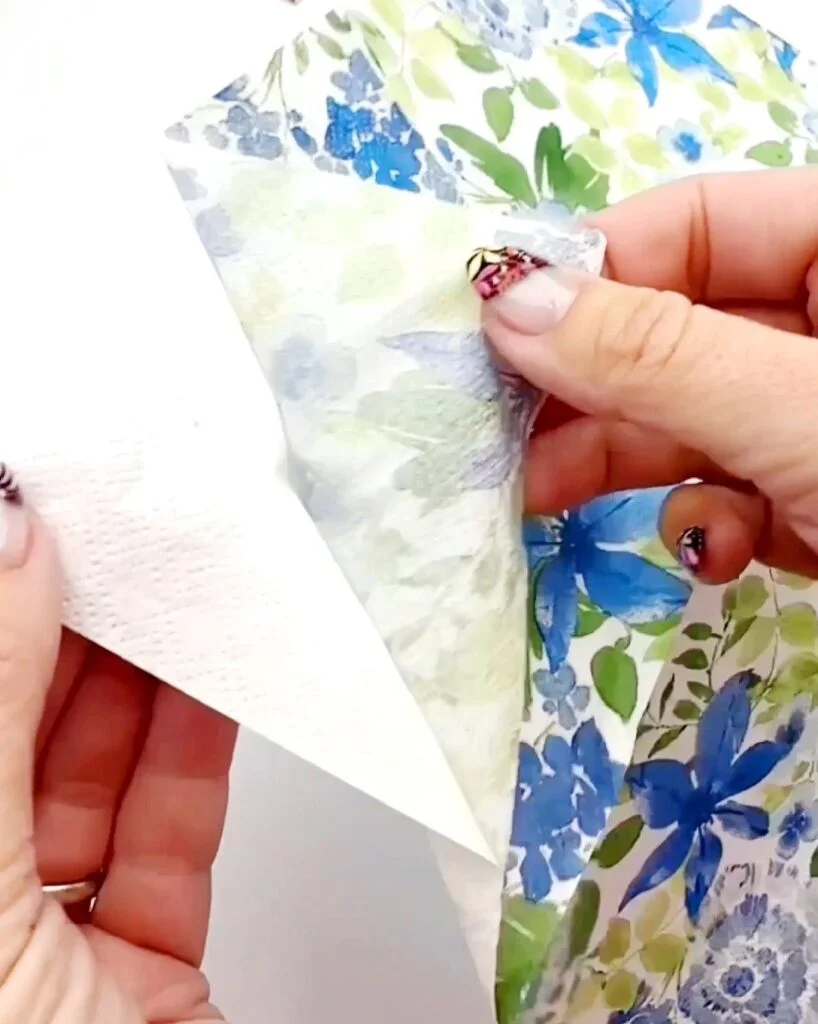
Step 2. Tear the napkin into small pieces. Smaller piece will make it easier to keep apply the napkin to the egg without getting wrinkles.
Step 3. Beginning in the middle of the egg, apply the Mod Podge decoupage glue directly to the egg.
Try to keep the glue from the top and bottom of the egg so that you have somewhere to put your fingers without them getting sticky.
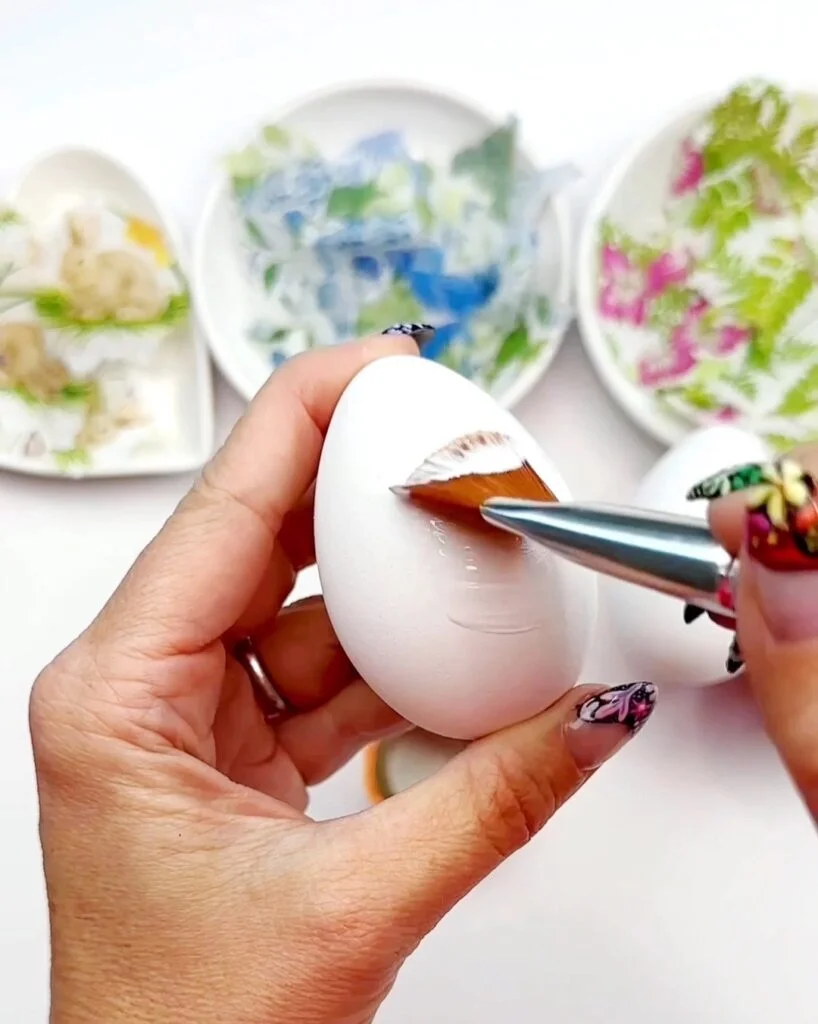
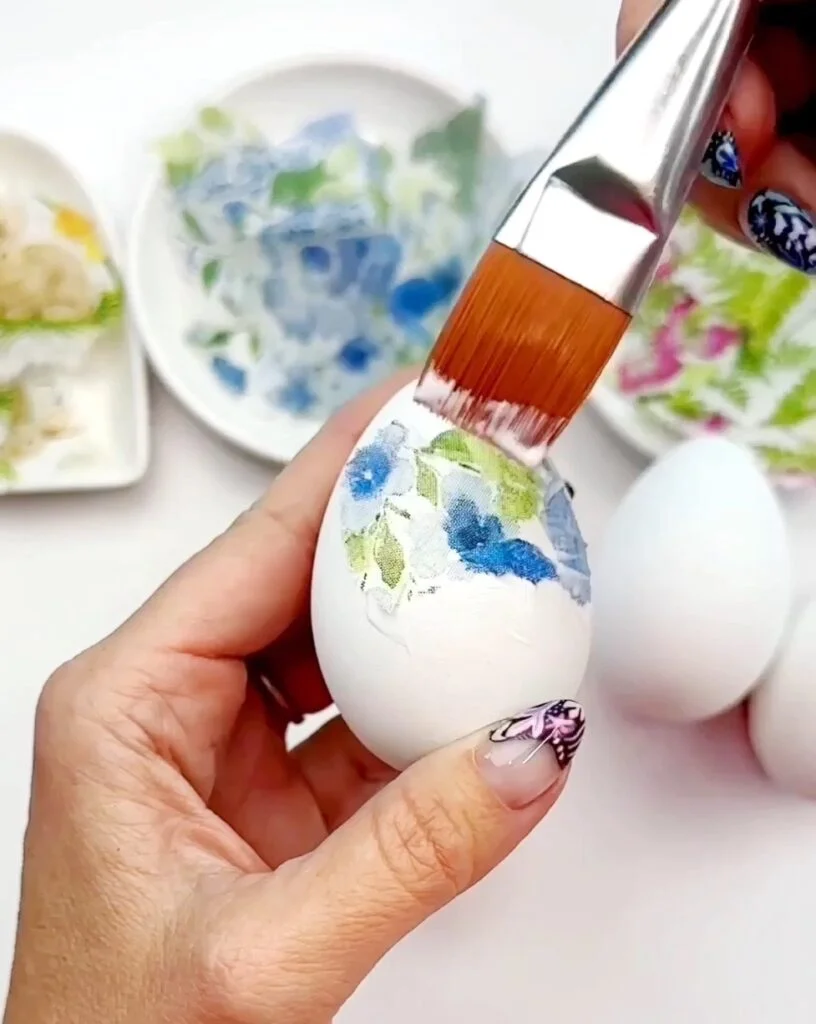
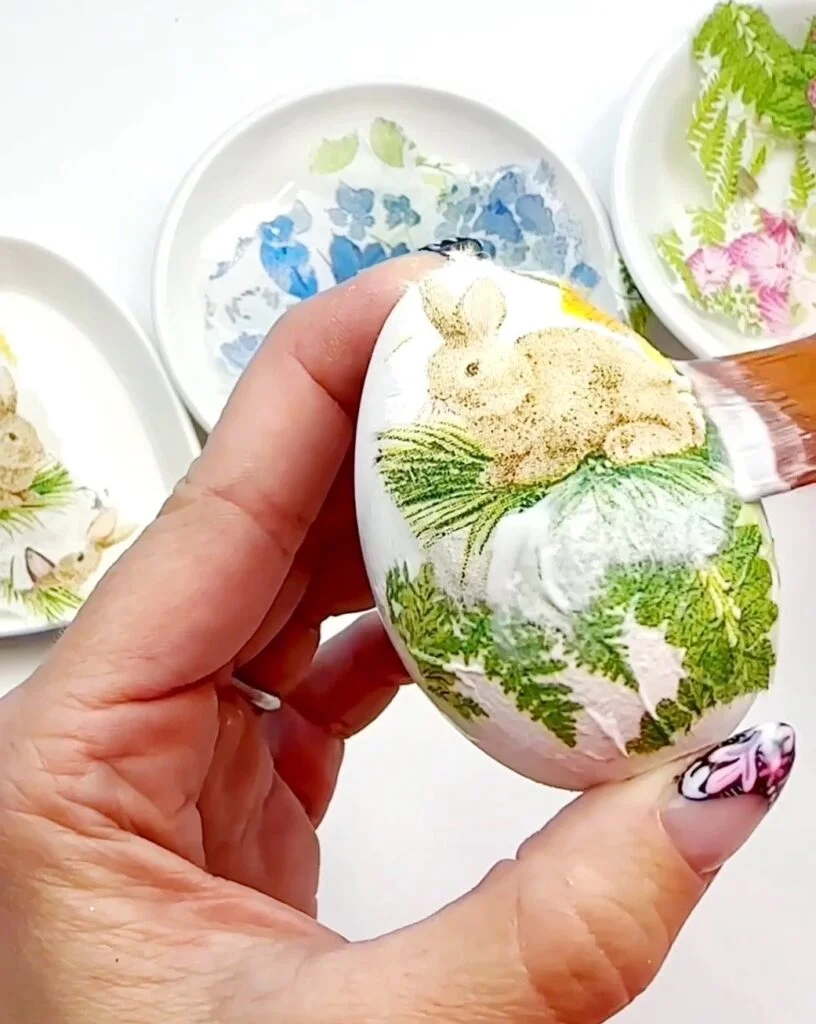
Step 4. Add the napkin pieces one by one applying a light layer of glue on top of each one. Don’t be afraid to slightly overlap the pieces as you go. You can even mix and match different napkins to create a collage egg.
Step 5. Before you start on the top and the bottom of the egg, let the middle dry. If you try to cover the entire egg at once, your fingers may stick to the napkins and cause them to tear or pull-up from the egg.
While the egg is drying start another egg and go through each step again.
Step 6. If you think your egg needs it, you can seal the finished decoupage easter egg with one last layer of Mod Podge.

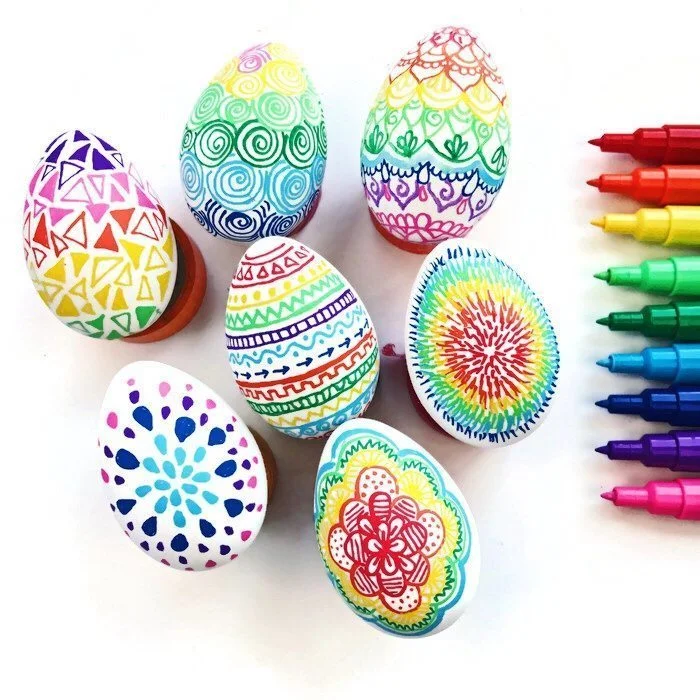
How to Customize Your Decoupage Eggs
While napkin decoupaged eggs look great on their own, there are many ways you can customize your eggs to elevate the design even further.
- Find napkins that have small shapes that you can cut-out to make collages.
- Add pressed flowers.
- Decorate with rhinestones on top of the finished design.
- Add a bit of sparkle with a sprinkle of glitter over the egg.
- Decorate with old book pages or sheet music.
- Tie a piece of ribbon or twine around the egg.
- Use stickers and other embellishments.
Takeaway
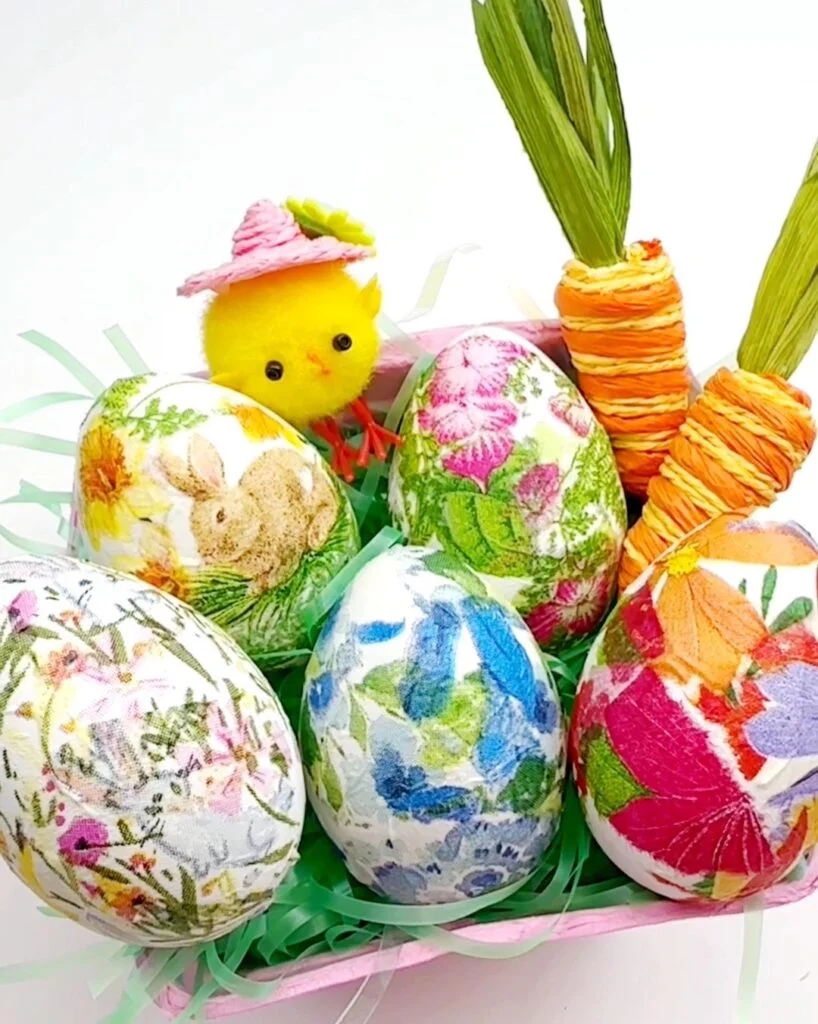
Making decoupage easter eggs is a fun and easy Easter craft that is great for all ages. Use your finished eggs to brighten up tabletops, mantels or Easter baskets and bowls. Beyond decor you can give away your finished eggs to friends and family as heartfelt, personalized gifts.