How to Draw a Unicorn
As an Amazon Associate, I earn from qualifying purchases. This post may contain affiliate links. See our full disclosure here.
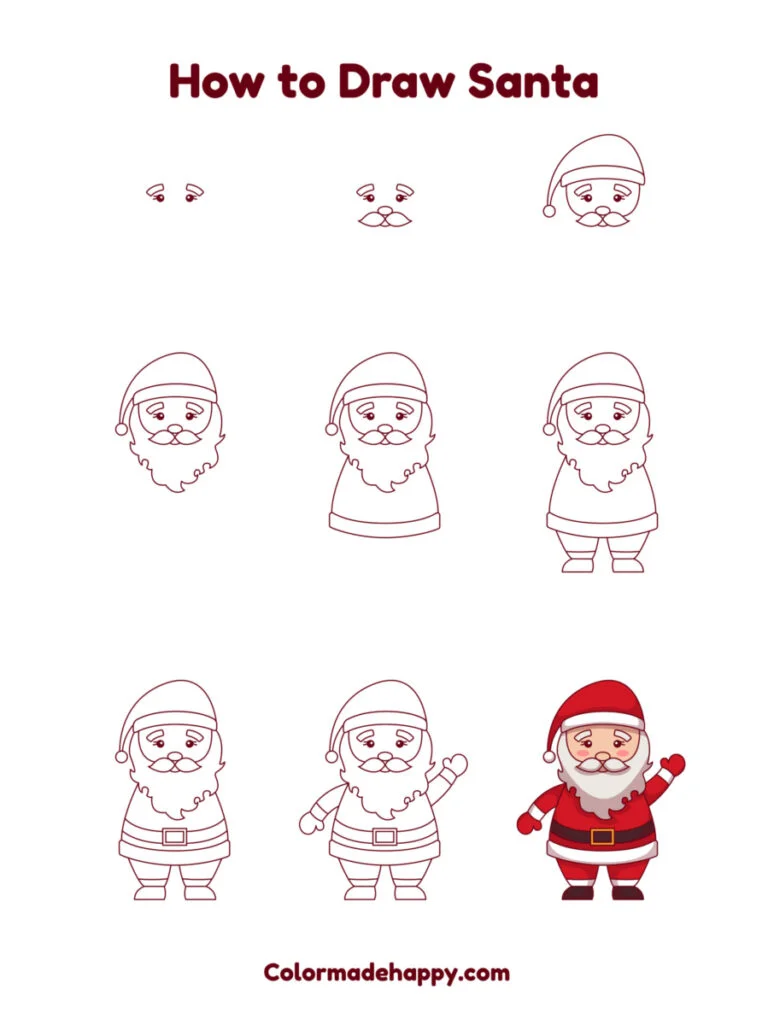
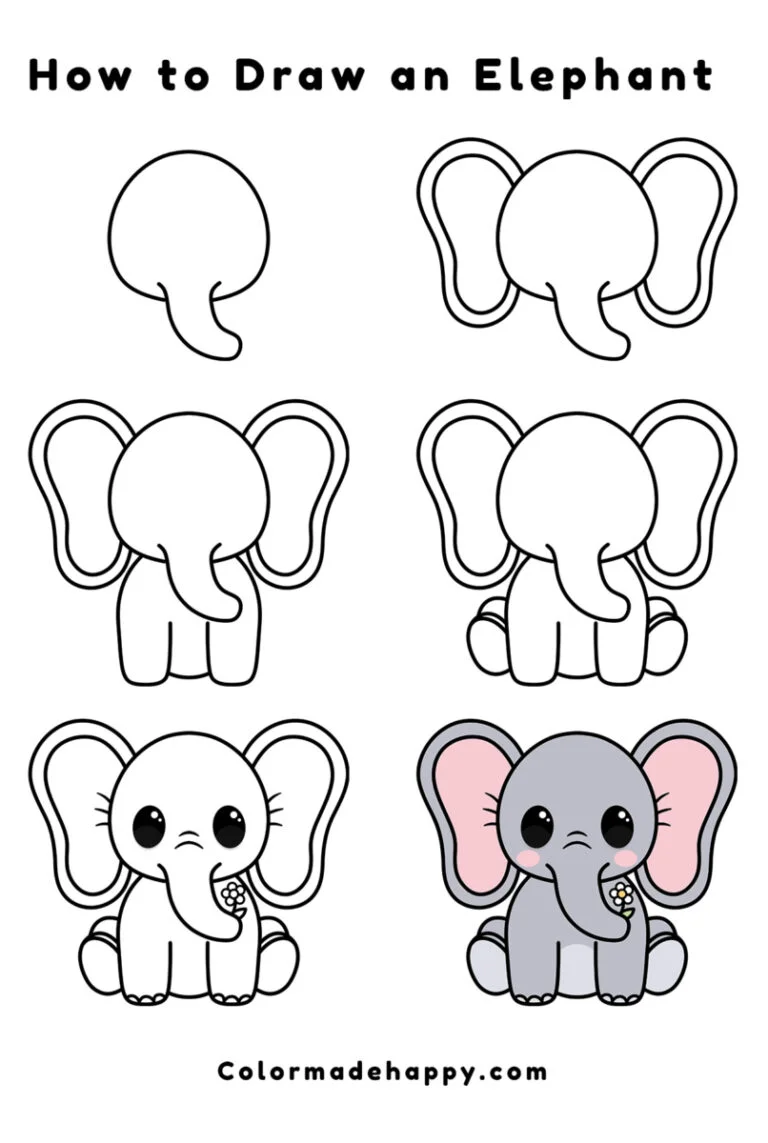
Unicorns are a little more complicated than some of our other drawing tutorials but, just like with anything in life, this one is a lot easier when you break it down step by step. Which is exactly what we did here so you can learn how to draw a unicorn step by step.
If you’re new to drawing, take things one step at a time and don’t be afraid to make mistakes!

I do recommend referring back to the full drawing while looking at each step to see how it all goes together. That will make adding each individual part easier — especially when you’re trying to eyeball some of the lines that eventually form the head and body.
Supplies Needed
- Drawing paper or sketch book
- Pencil and sharpener
- Good quality eraser
- Fine tipped marker
- Coloring supplies

How to Draw a Unicorn: Step by Step
Isn’t that unicorn drawing cute? It might seem intimidating at first but it’s actually pretty simple once you get started. With a little bit of practice you’ll be drawing majestic unicorns like a pro!
Step 1: Start the Head
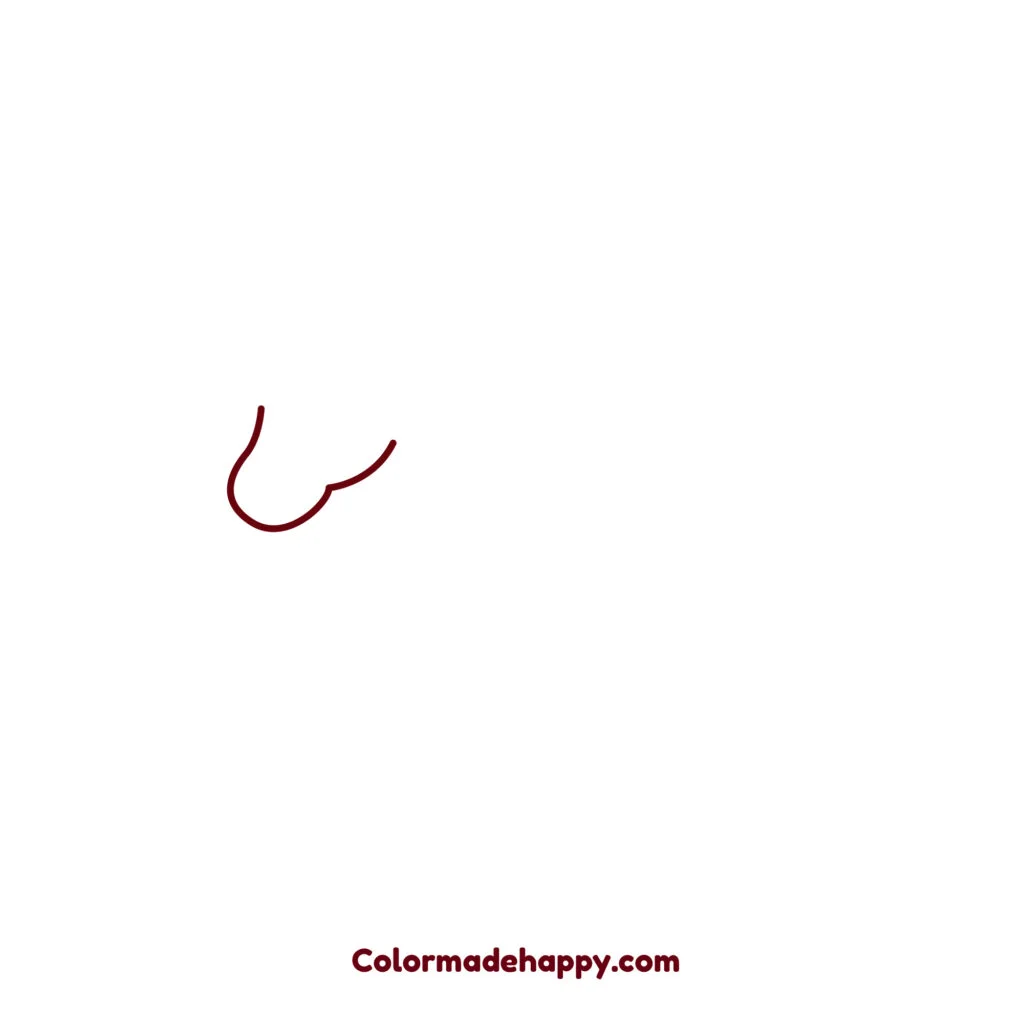
To get this unicorn drawing going you’ll first need to sketch out the lower part of its head. It might be hard to envision right now, but the end of the rounded part at the end will be the nose and mouth and the second, wider bump is meant to look like the unicorn’s chin.
Step 2: Add a Mouth, Nose, and Eye

Since you’re drawing a side profile you only need to draw one half of the face. To make the mouth, start from the bottom of your head shape just a little away from the right side. Draw a short line that curves upward (for a smile!) and stops just before the chin.
Step 3: Add Head Details
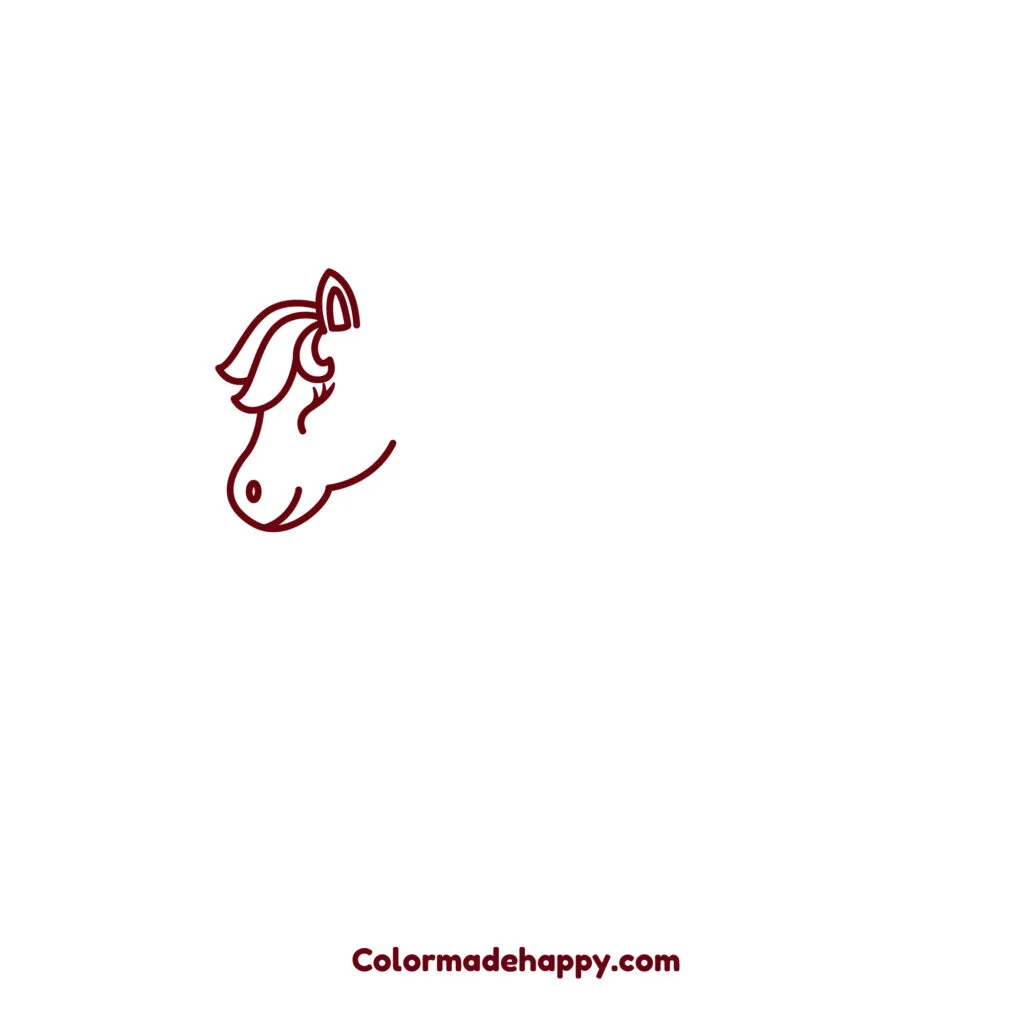
The bottom of the head is drawn but don’t close it off just yet. We’re going to just add a mane (that looks like hair) towards the front of the head. I find that drawing the middle “strand” first is the easiest way to do this step since it will define the shape along the top of the head. Then add the top and bottom parts to finish it off.
Once you’re happy with the mane, draw an ear with a pointed tip just to the right.
Draw Unicorn Horn

It wouldn’t be a unicorn without its single, majestic horn! This is a unicorn, not a rhinoceros, which means you need something more fun than a regular triangle shaped horn.
To draw a fancy unicorn horn first start with a long triangle shape, but keep the tip slightly rounded. Then add angled stripes for extra detail.
Add the Back “Hair” (Mane)

Now that your head is done you can finish drawing the unicorn’s mane. You could draw a more realistic mane but I think the “hair” style look is cute for this unicorn drawing.
Again, start with a line to create the head shape then build off it for a flowing mane.
Finish the Mane
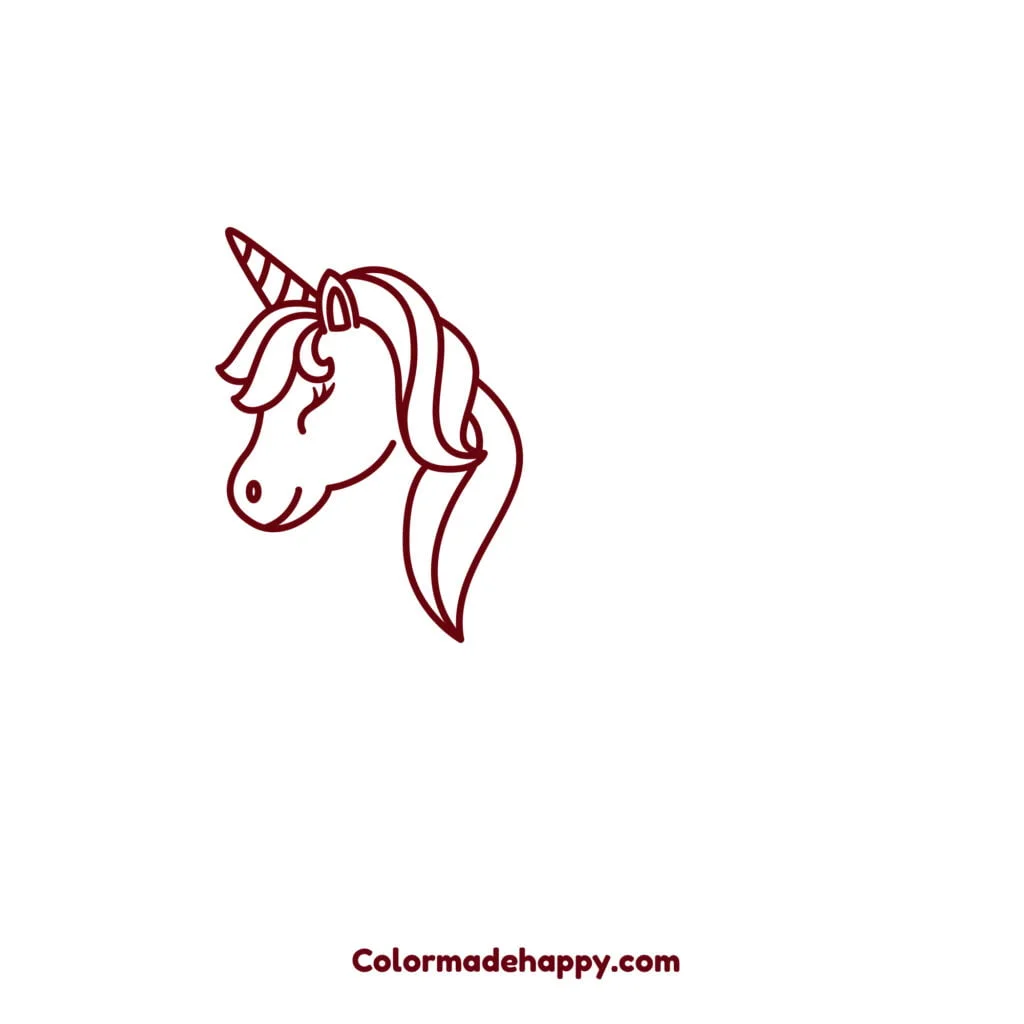
After you draw the upper section continue with the lower part of the mane. You’ll need to guess how long to make this but my general rule is to make it approximately the same height as the unicorn’s head (minus the horn).
Draw the Chest and Back

You’re through the most challenging part — now that your unicorn’s head is done it’s time to add the body. First, draw a curved line coming down from the head to create the neck and chest. Then add the second line going towards the back for the top of the body.
Make sure the body is long enough to fit the legs, but not so long that your unicorn is stretched out.
Add Left Legs

You could draw the unicorn standing but it’s more fun to give it a pose. The legs on this side of the body are going to be straight so we’ll start with that first. The front leg is fairly simple; attach the top to the chest that you drew earlier and draw a long curved leg down and back up again to roughly the same height.
Next, do the back leg. This one is a bit tricker because you have to create the bump for the hind leg joint. (Unicorns are basically horses after all.) Make sure you draw this leg the same length as the other one!
You might have to take a few tries to get the legs right, but once you have them done add in a curved line to connect them for the stomach and lines to the bottom of each leg to create hooves.
Add Right Legs
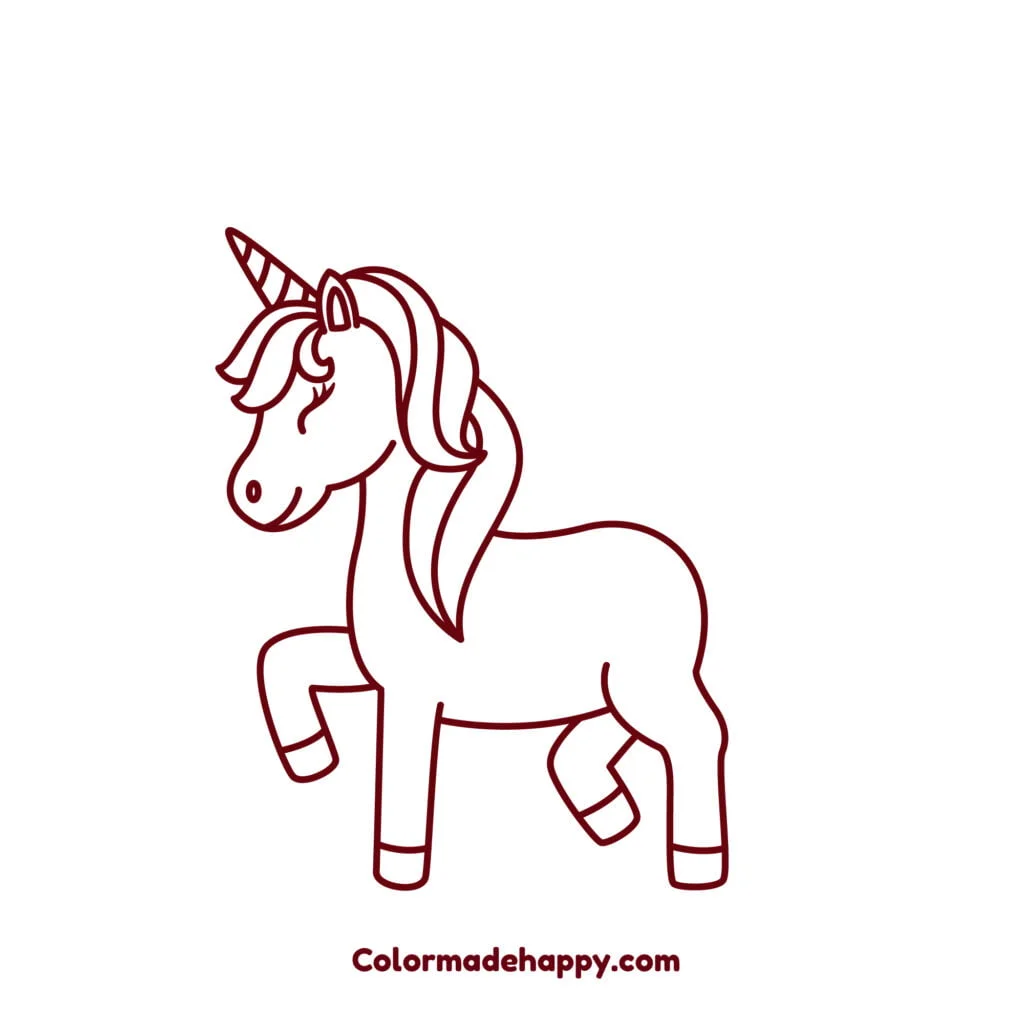
Now that the first two legs and the body are done you can add the background ones (your unicorn’s right).
Star each higher on the body to give the perspective of them being on the other side. You can have fun with how you pose the legs but I think having them bent so the unicorn looks like it’s walking is pretty cute.
Draw a Tail

There’s only one thing missing now; a majestic tail. This is drawn in a similar style to the mane. If you find it tricky to draw each piece on its own you can draw the outside shape then add the extra lines inside.
Add Finishing Touches and Color
You don’t have to color your drawing but who doesn’t love a colorful unicorn? Before you start filling in your masterpiece it’s a good idea to go over your pencil lines with a thin marker. This is also a good time to correct any mistakes and clean up any extra pencil marks.
Once you’re happy with your finished drawing, get creative by giving the mane, tail, and horn some fun colors!
Other Unicorn Drawing Ideas
After you’ve practiced drawing a simple unicorn you can easily change up this drawing idea with a different expression, mane and tail style, or pose.
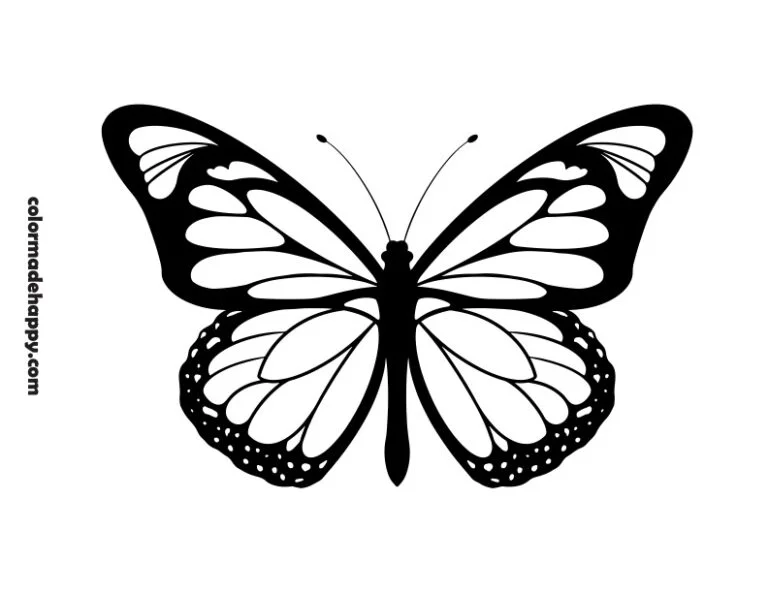
Or try expanding on your drawing to create a scene with other magical creatures like dragons, a princess, or even butterflies. I think this drawing would look great with a colorful pattern as a background too!