Temporary Tattoo Easter Eggs
As an Amazon Associate, I earn from qualifying purchases. This post may contain affiliate links. See our full disclosure here.
 If you want an easy way to make beautiful Easter eggs, this Easter egg decorating craft is for you! Temporary tattoos are a great way to turn a simple dyed Easter egg into a masterpiece. There are so many fun options when it comes to making temporary tattoo Easter eggs. Below I share some of my favorite temporary tattoo packs. (affiliate links provided for convenience)
Temporary Tattoo Easter Egg Supplies
- Eggs – I made a tie dye watercolor background on mine using this fun marker technique. Or you can also just use a regular Easter egg dying kit. You could even use watercolors. I love this watercolor set that has a ton of colors.
- Temporary Tattoos – You’ll want a great selection of temporary tattoos to choose from. I love these glitter temporary tattoos, these metallic temporary tattoos and also these.
- Sponge or paper towel.

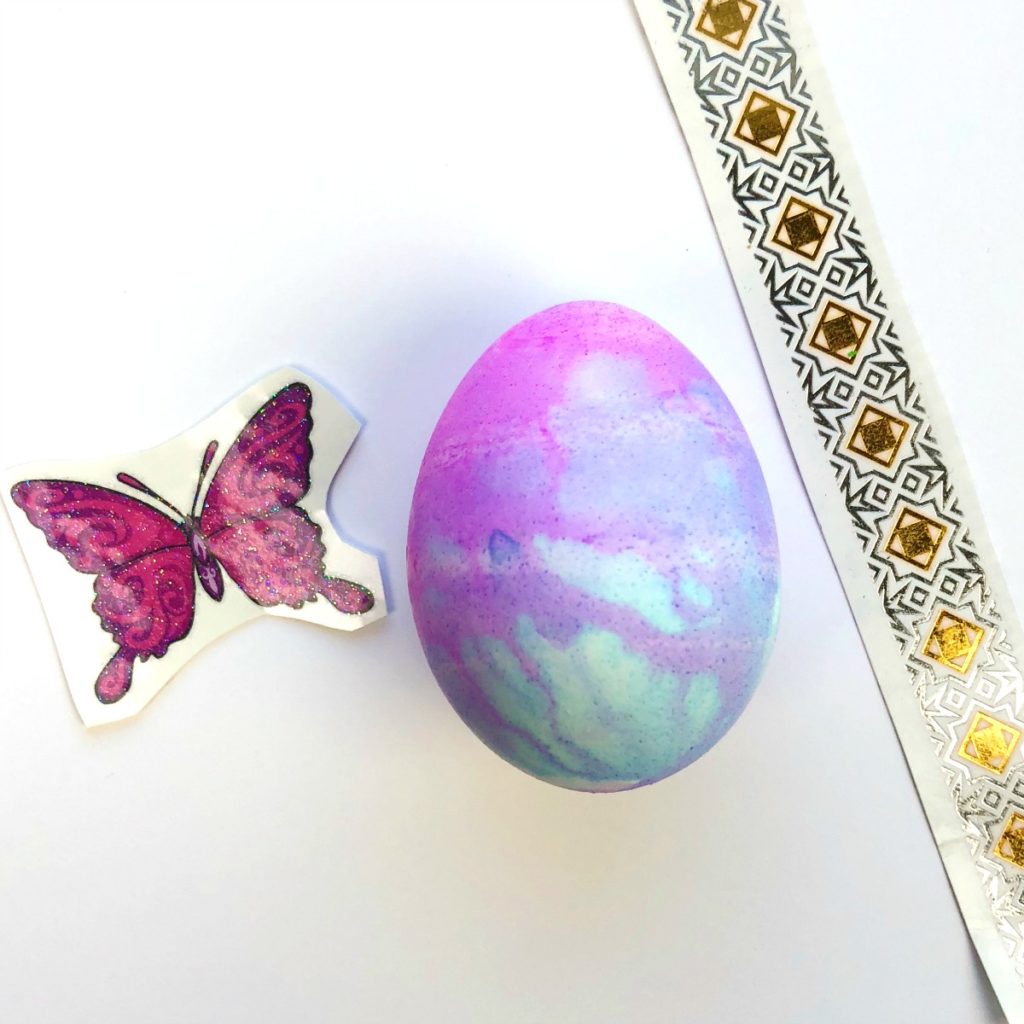 Directions for Applying Temporary Tattoos to Easter Eggs
- Step 1: Cut the temporary tattoo to fit the size of your egg.
- Step 2: Peel the clear plastic sheet from the top of the tattoo and place it face down on the egg.
- Step 3: Using a damp paper towel or sponge, place it over the the back of the tattoo and hold it in place for 30-40 secs.
- Step 4: Slowly peel the backing off the tattoo.


If you’re looking for more Easter egg inspiration check here. And also come check me out on Instagram @Colormadehappy or Facebook for more colorful inspiration and craft projects.
