No Carve Pumpkin Decorating Idea – Nail Art Slices
As an Amazon Associate, I earn from qualifying purchases. This post may contain affiliate links. See our full disclosure here.
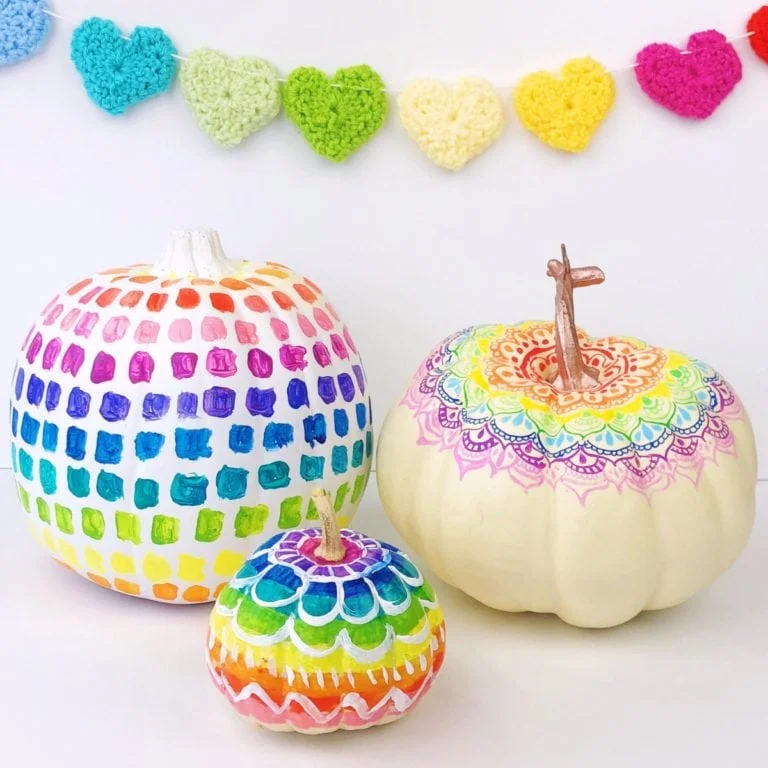
I’m all about the no-carve pumpkin decorating ideas and I came up with this creative pumpkin decorating idea that is perfect for mini pumpkins. This pumpkin uses nail art slices to create a cool design that you definitely won’t see anywhere else this fall.
You’ve probably seen clay nail art slices before but did you know those little slices are great for crafts! This keychain tutorial is another great craft that uses the same nail art slices.
This pumpkin craft definitely looks like it takes longer than it really does. I finished in about 30 minutes. You can make it even faster if you space the clay slices further apart. Below are the exact supplies I used along with directions.
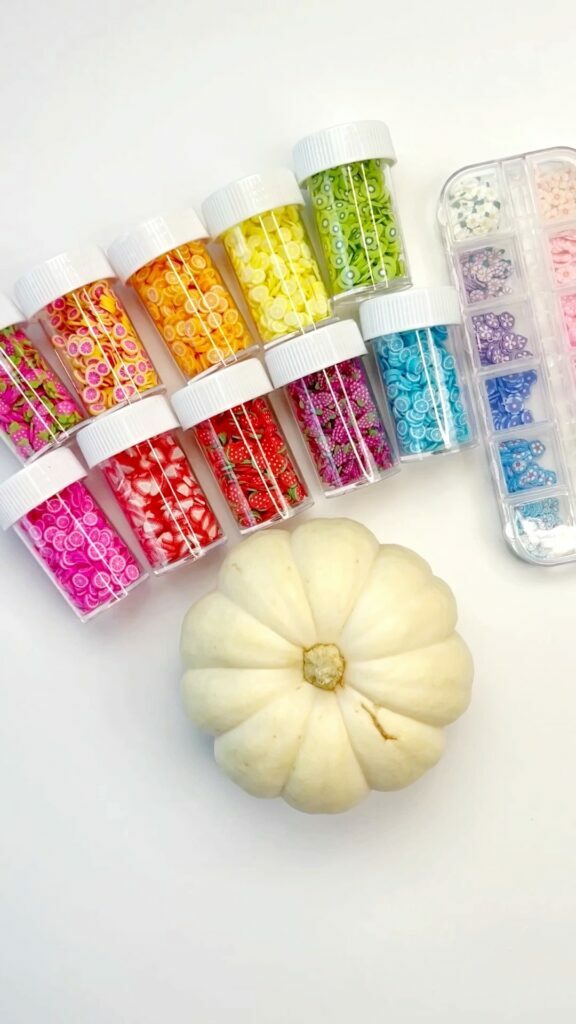
Supplies for Nail Art No Carve Pumpkins(affiliate links provided for convenience)
- Mini Pumpkins – I got mine at Trader Joe’s. You can also use these faux mini pumpkins so you can display your no carve pumpkin each year.
- Nail Art Clay Slices
- Glitter Paint or glitter glue
- Tweezers
- Paint Brush
Directions to Make Colorful Pumpkins Decorated With Nail Art Slices
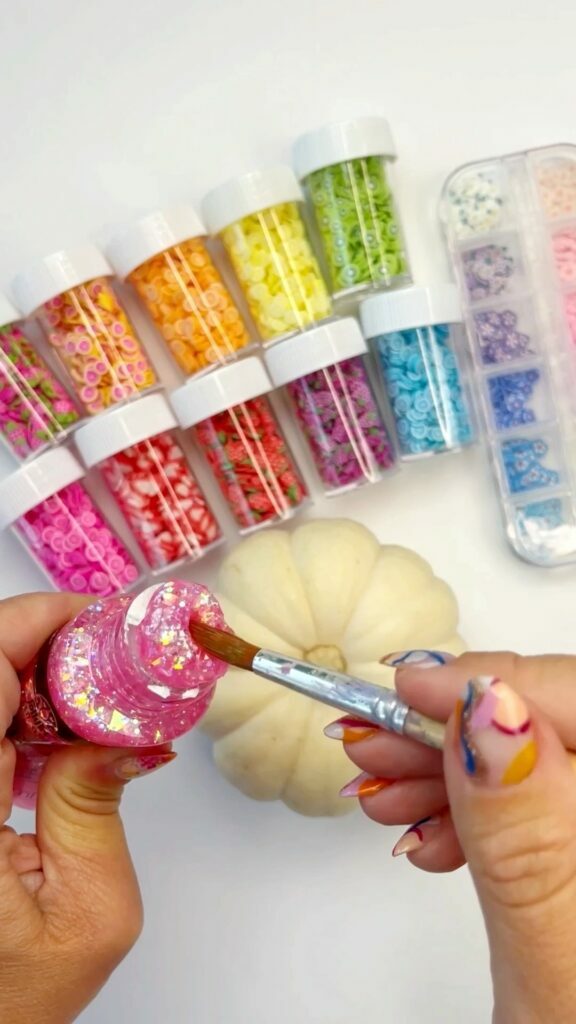
Step 1 – Glitter Paint
Start by adding some glitter paint or glue to a small section of the pumpkin. You’ll only want to add a small amount of paint at a time as it dries quickly.
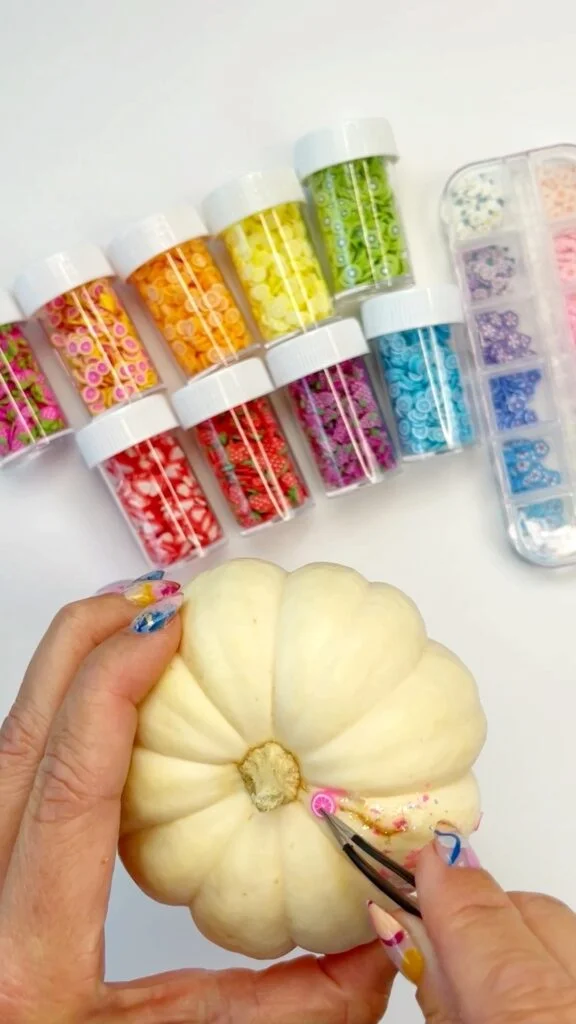
Step 2 – Add the Clay Slices
Using tweezers and start to add the clay slices. Since the paint is wet it will be easy to move them around to make them fit. I even started to add 5+ slices at once and I would straighten them out and move them into place once they were on the pumpkin.
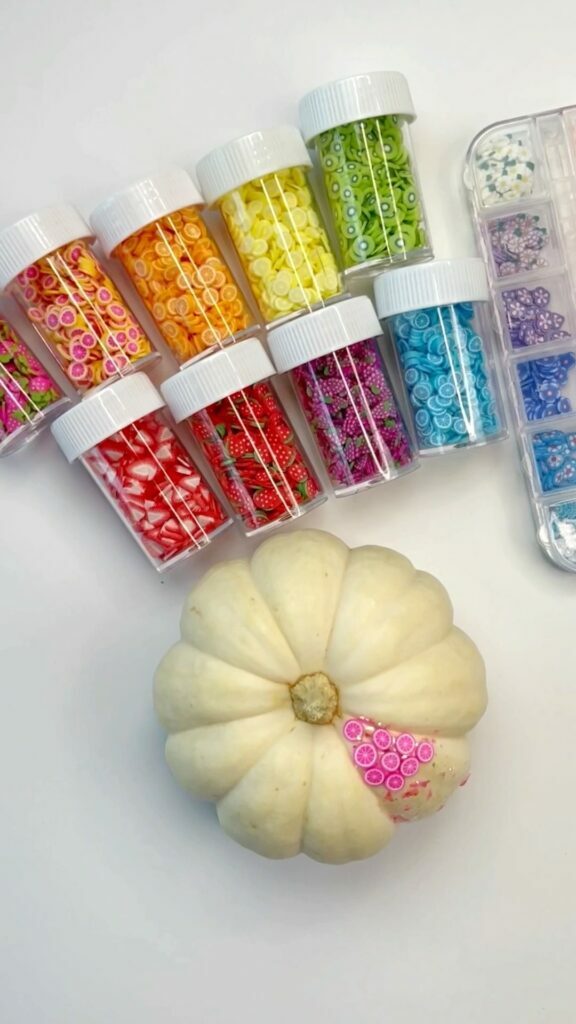
Step 3 – Continue Adding More Slices

Keep going with slices in the same section. Once you finish the whole section, add glitter glue just to the next one and keep going.
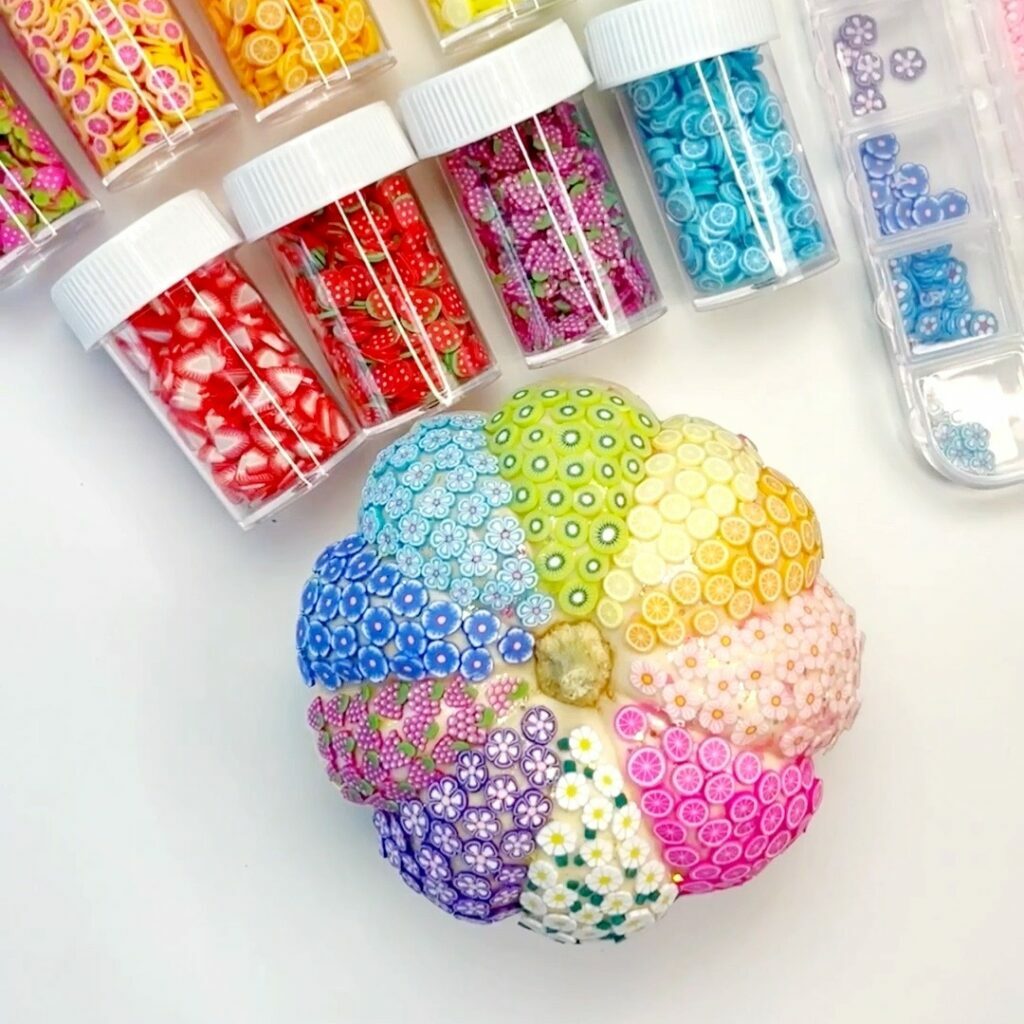
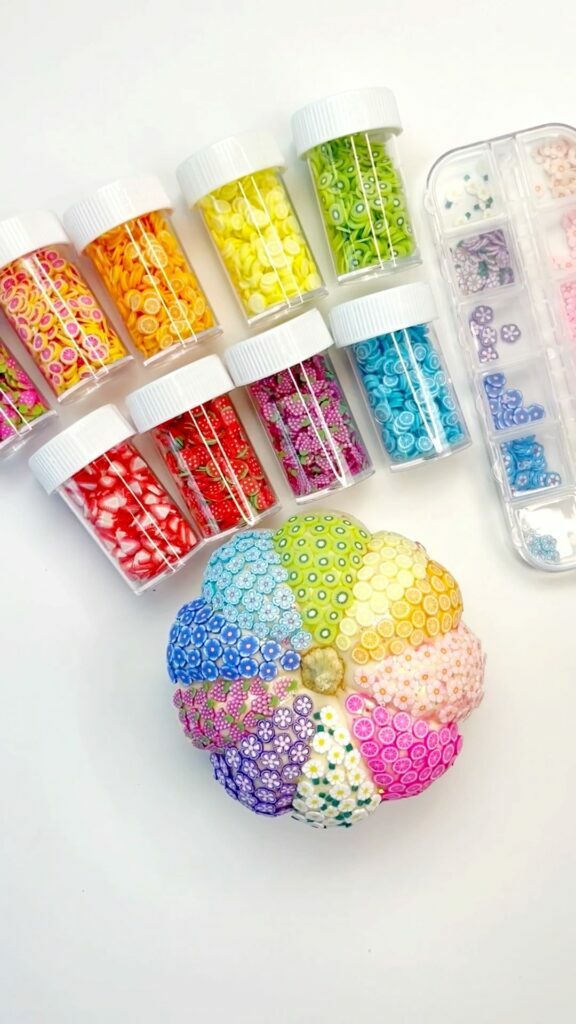
Step 4 – Cover the Pumpkin With Nail Art Slices
Once your pumpkin is completely covered with the nail art slices you are done! It’s that easy to decorate and make a colorful and creative pumpkin.
If you’re looking for more pumpkin decorating ideas, check out these other fun pumpkin tutorials that can be created by all ages and abilities:
- Glow in the Dark Pumpkins
- Pumpkin Camper Tutorial
- Colorful Pumpkin Decorating Ideas
- Galaxy Painted Pumpkins
- Nail Polish Marbled Pumpkins
Tips for Making This No Carve Nail Art Pumpkin Craft
If you have multiple colors of glitter glue available, it will look better to match the glitter with your nail art slices. You can also swap glitter glue with another type of glue that dries clear, but you’ll lose that sparkle.
For extra strength, you can spray the pumpkin with a sealant afterwards so the pieces stay on. Make sure you let your pumpkin dry completely before moving it or you can shift the nail art slices. Handle your finished pumpkin with care so no pieces fall off.
Try different designs and patterns out!