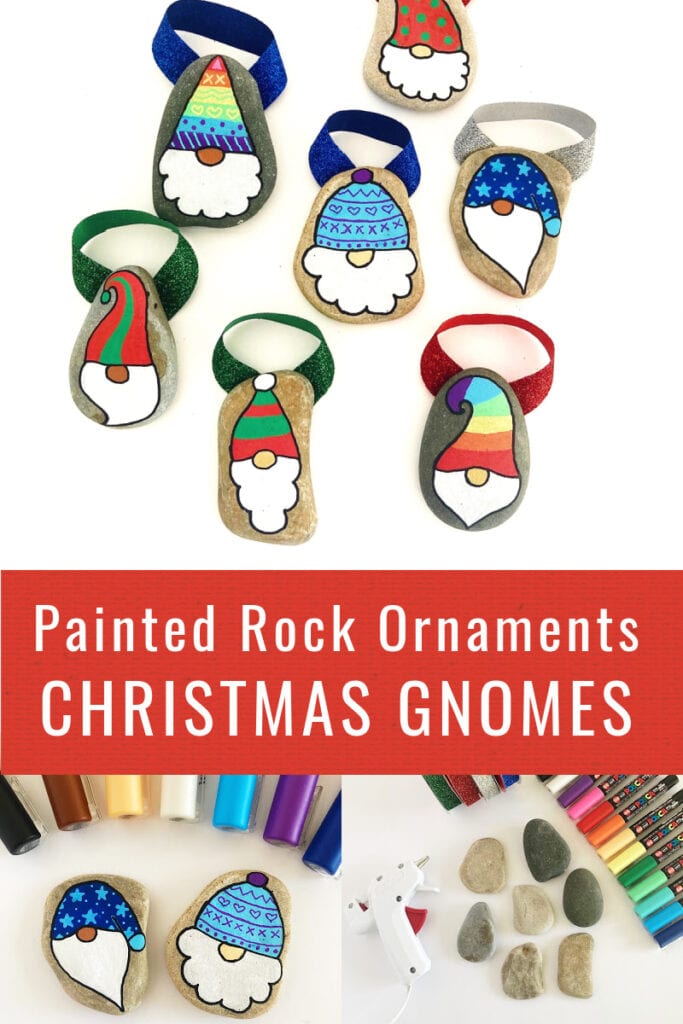
Christmas Gnome Painted Rock Ornaments
As an Amazon Associate, I earn from qualifying purchases. This post may contain affiliate links. See our full disclosure here.
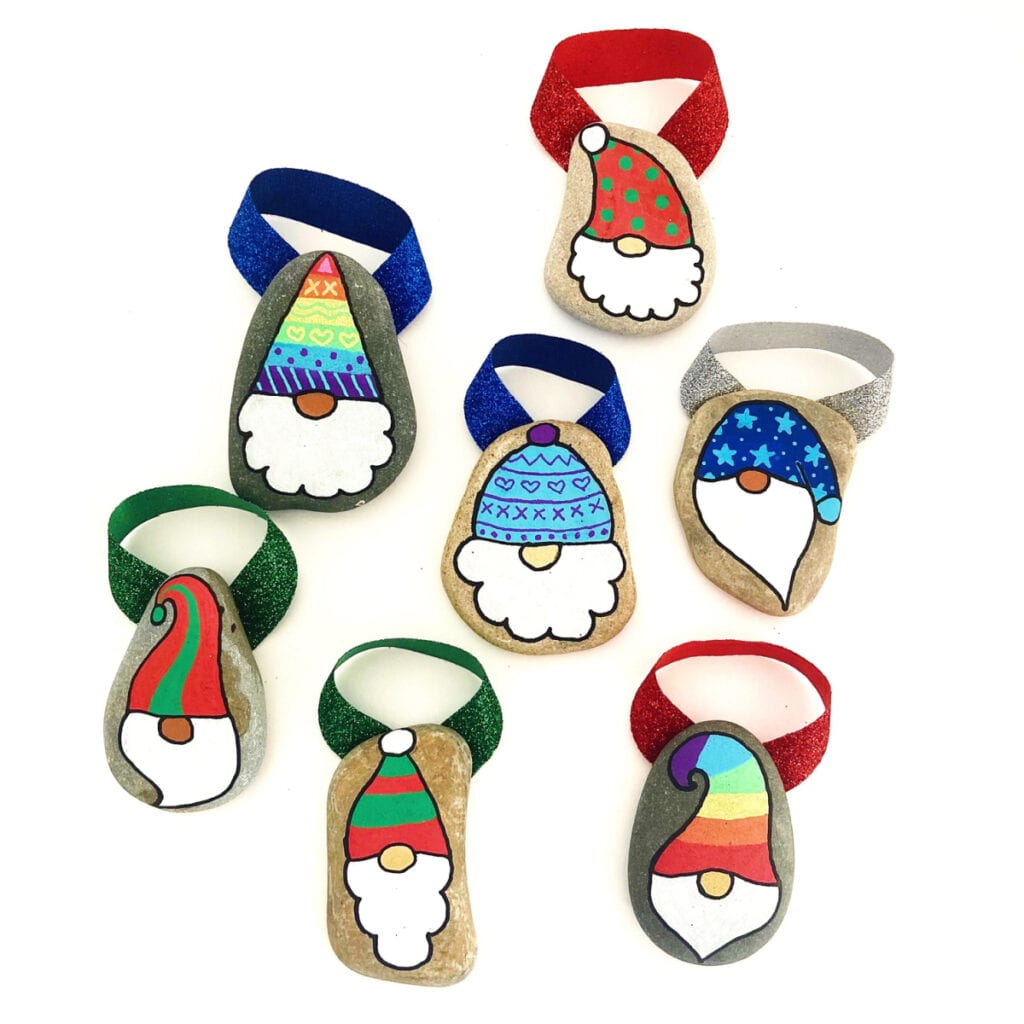
There are so many fun ways to decorate painted rocks for Christmas and the holidays, but how about turning your finished painted rocks into ornaments! See below for how to create a fun and easy Christmas gnome painted rock ornament.
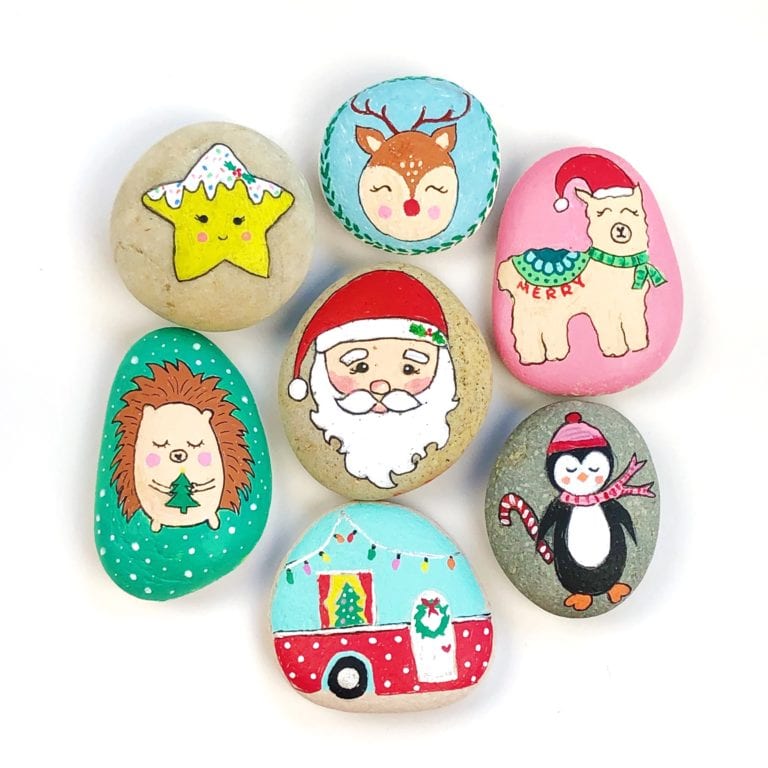
Related: Christmas Painted Rocks, Gingerbread House Painted Rocks
Supplies for Christmas Gnome Painted Rock Ornaments (affiliate links provided for convenience)
- Rocks
- Paint Pens
- Posca extra fine paint pens – this was the set used on this rock.
- Tooli-Art acrylic paint markers -Another great option that has lots of colors for a great price.
- Artistro – Another great affordable pen option
- Ribbon
- Glue Gun
- Sealant (optional) I like this sealant because it gives a very glossy finish.

How to Make Gnome Painted Rock Christmas: Step by Step Tutorial
Follow the instructions below to make these colorful gnome Christmas tree decorations. The first part involves painting the gnome on the rock. Then you need to add the ribbon so it can be hung on the tree!
To Create Your Gnome Rock Painting
1. Draw the Shape on the Rock
With a pencil, draw the shape of your gnomes. Some can have smooth beards, some can have fluffy, etc. The hats should also be different shapes and sizes.
2. Color Large Areas of the Gnome
Color in the beards with white. Each hat can be different! Color them with stripes, stars, snowflakes, polka-dots, etc.
3. Add Details
Next, color the nose of the gnome and any remaining details.
4. Outline Your Gnome Rock Art
Outline the details of the gnome in black. If you choose to spray your rocks with sealant, do so at this time.


How to Turn Your Christmas Gnome Painted Rocks into Tree Ornaments
1. Prep Your Supplies
Plug in your glue gun and cut strips of ribbon while the glue gun heats up. Depending on how large or small your rocks are, it is best to go with 6-8 inches of ribbon.
2. Add Glue
On the top part of the back of the rock, dab some glue.
3. Glue the Ribbon On
Quickly lay your ribbon down on an angle. Make sure that the sparkly/decorated side of the ribbon is facing down.
4. Loop the Ribbon
Make a loop with the ribbon big enough that you can hang the rock on a tree branch.
5. Finish Glueing
Add a dollop of glue on top of where the current ribbon is glued down. Press the remaining ribbon down. If you have an excess ribbon, you can trim it off with the scissors.

Gnome Rock Ornaments Are Complete!
Once the glue is dried, your gnome rocks are finished!
I’d love to see what your finished gnome ornament rocks look like. Come share with me a picture on Instagram or Facebook! I love showing examples of my tutorials being made!