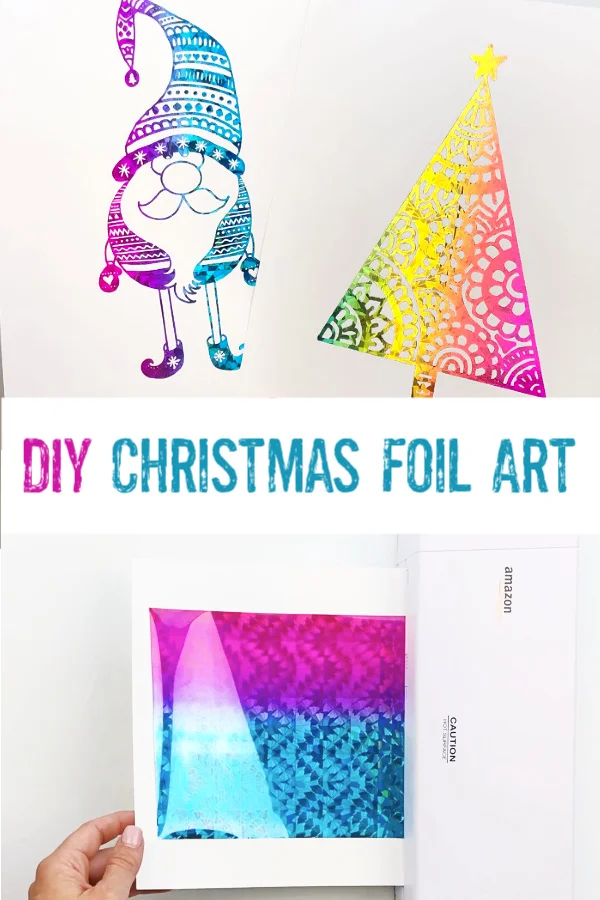
How to Make Christmas Foil Art
As an Amazon Associate, I earn from qualifying purchases. This post may contain affiliate links. See our full disclosure here.

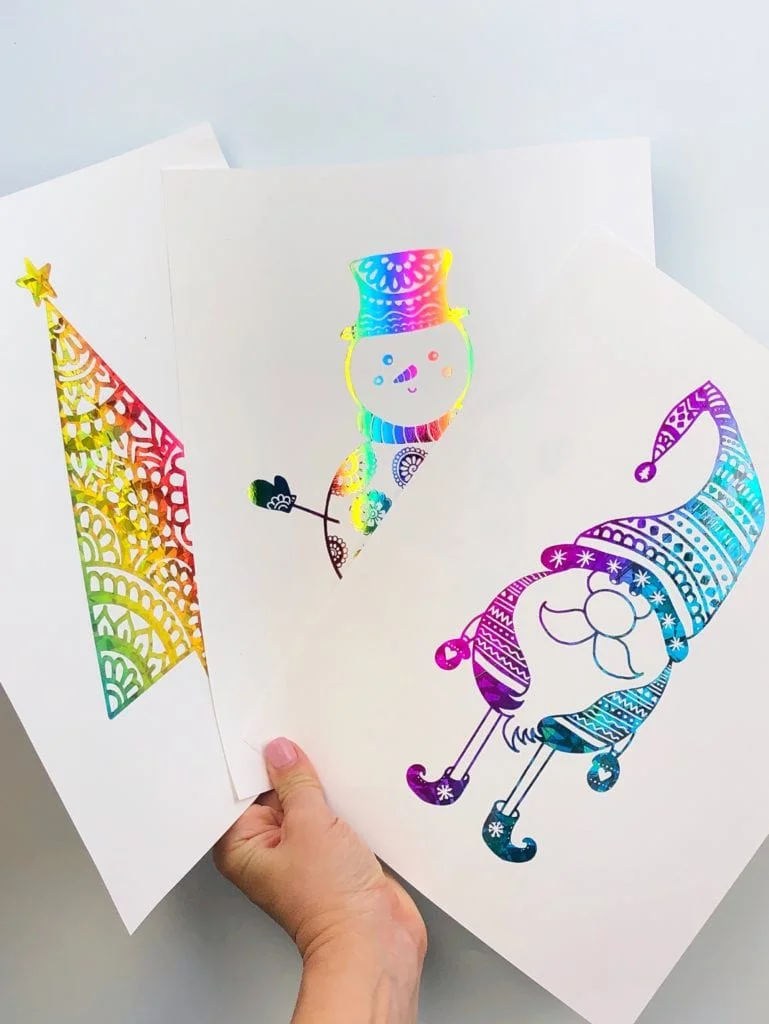
I’m a HUGE fan of making foil art! In this post I’ll show you how to make foil art for Christmas using my FREE downloadable designs. Once you know how to do it, you can make your own foil art designs or use the ones I’ve provided. And even though I love rainbow colors, you can make your foil art in any colors you like!
Christmas Foil Art – Easy Craft Idea
I’ve provided links to lots of foil color options below under supplies. If you like these Christmas foil designs, check out my other foil art post that has downloadable designs for a llama, whale and flamingo.
See my Foil Art FAQs for commonly asked questions that may not be covered in this post.
.
Watch the video below to see how make foil art for Christmas and then see the supplies and step-by-step directions in the post so you can make your own.
Foil Art Prints Supplies (affiliate links provided for convenience):
- White Cardstock – I use 65lb white cardstock.
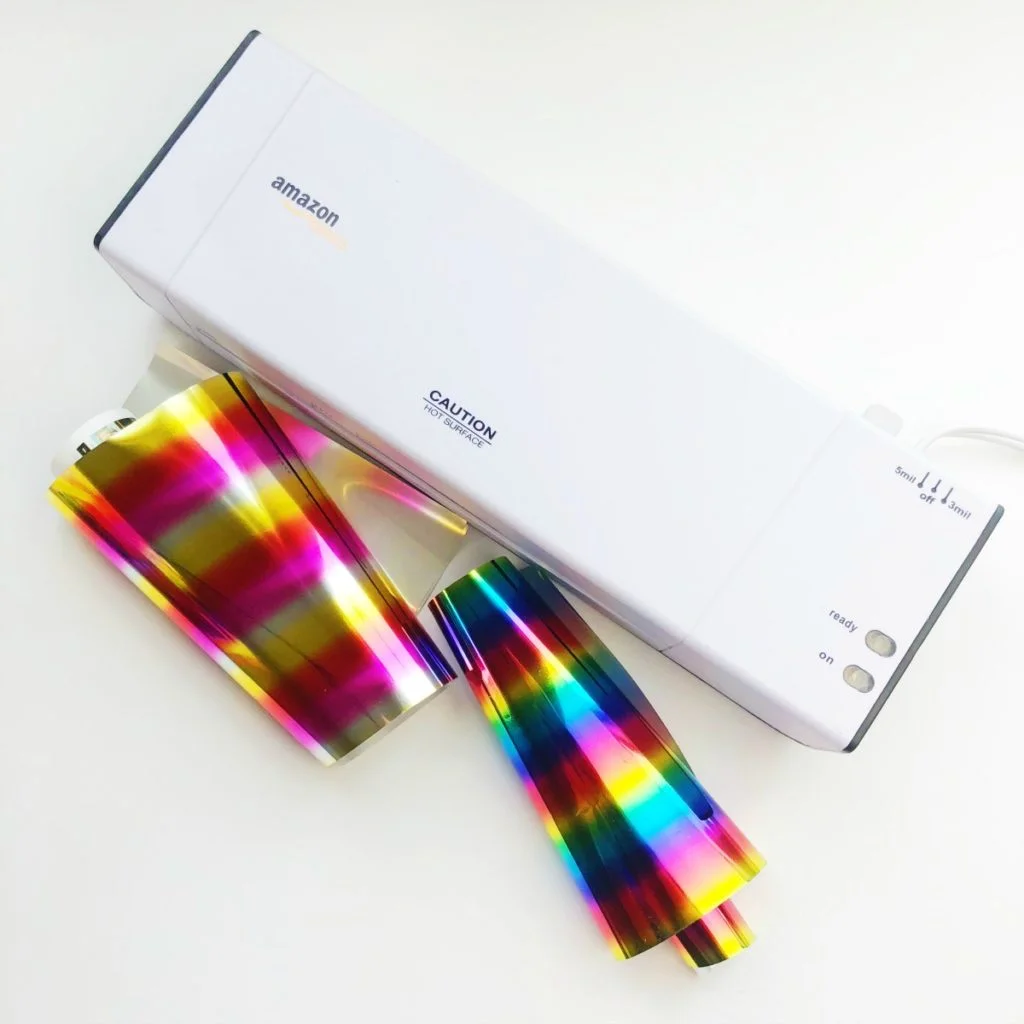
- Foil Transfer Sheets – I used this rainbow shattered glass foil and I also used this rainbow foil. There are a ton of other transfer foil options like this metallics bundle set and this vibrant colors set that has a lot of great Christmas colors.
- Laminator – I have this inexpensive laminator and it works wonderfully!
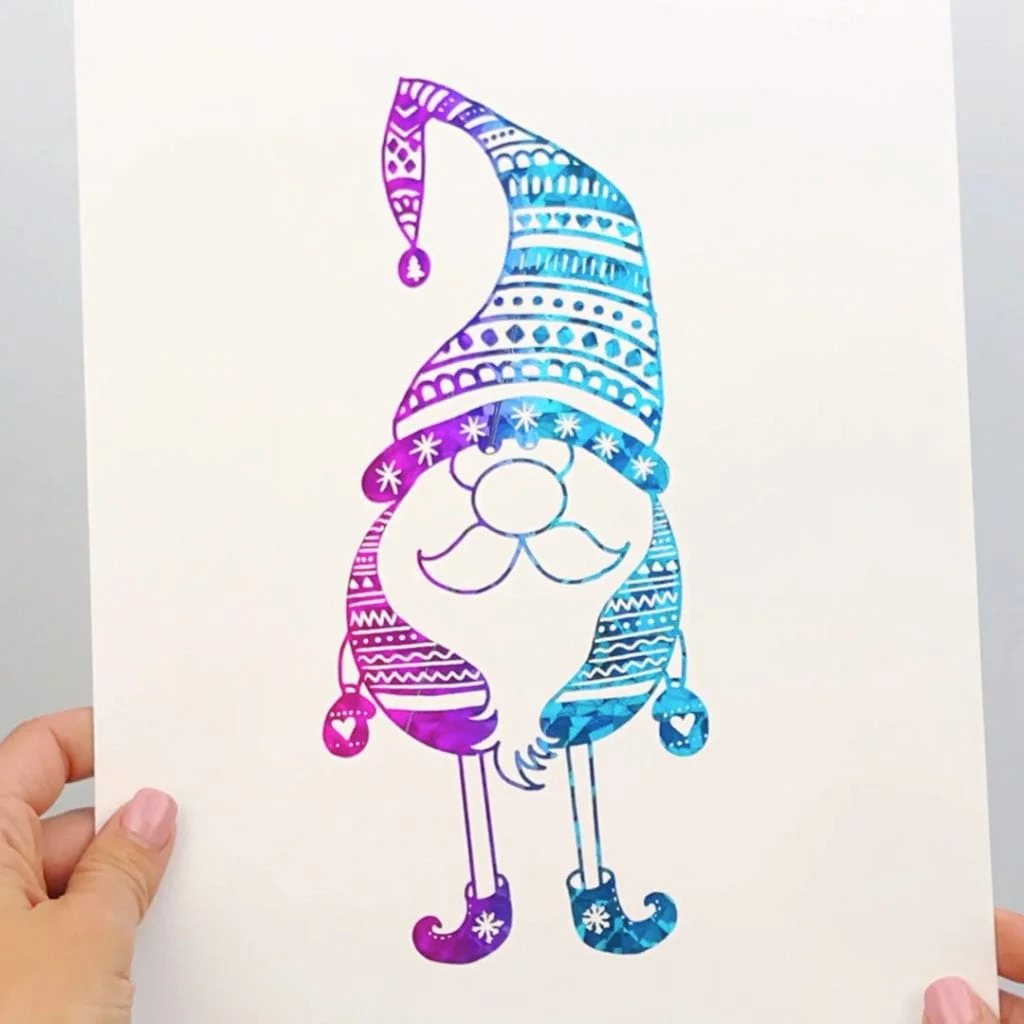
- Art Files – I’ve created three to get your started. You can use any other art files, but it will need to be printed in black and white. Download the files here: Christmas Tree, Christmas Gnome, and Snowman.
- Laser Printer – I have this laser printer. But don’t worry if you don’t have one, just head to your nearest Staples, Office Depot, FedEx Office or anywhere that makes prints and copies and have them make the prints for you. Just be sure they are made with a laser printer.
How to Make Foil Art – Step by Step Directions
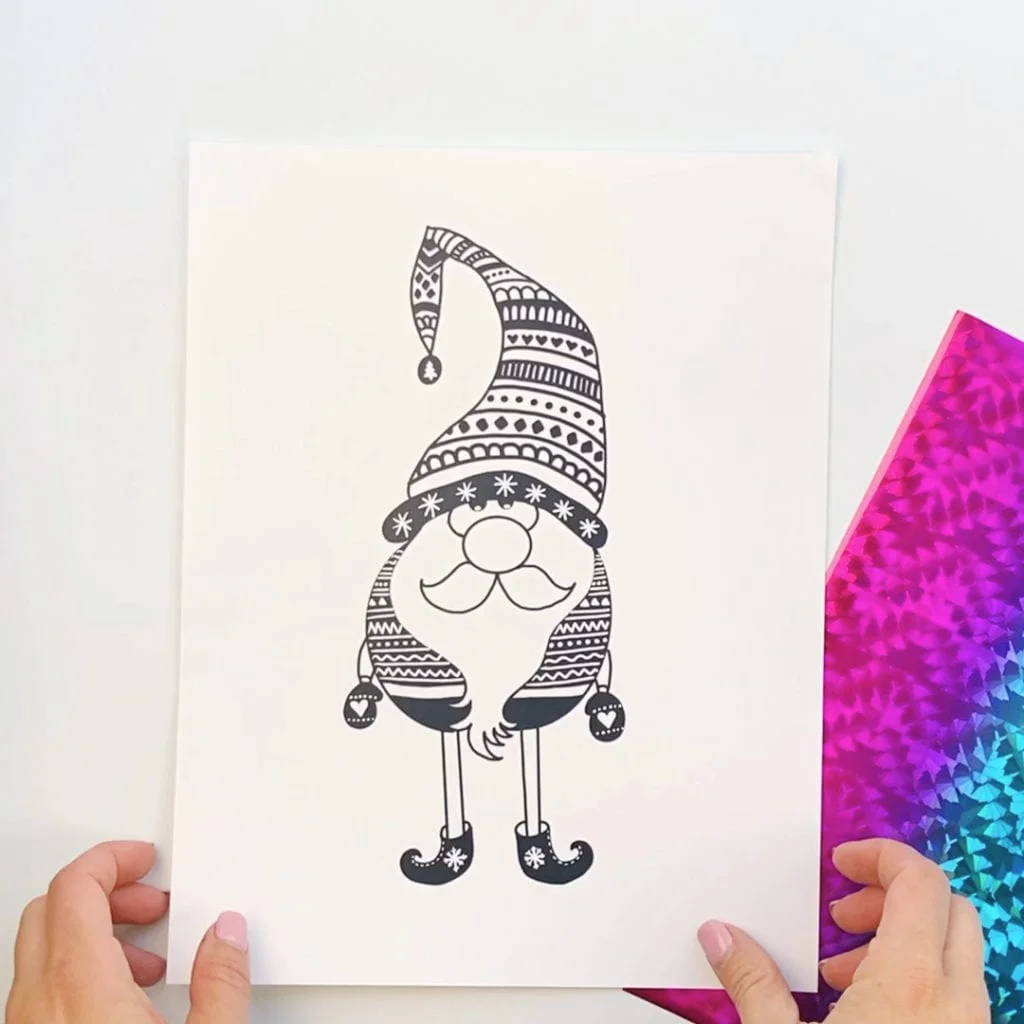
1. Print Your Template
Print your art prints on white cardstock using a laser printer. Use your own or download the Christmas designs I created here: Christmas Tree, Christmas Gnome, and Snowman. If you’re looking for other designs, check out my other foil art post. You might need to reduce or increase the printing % based on the the size of the foil piece you are using.
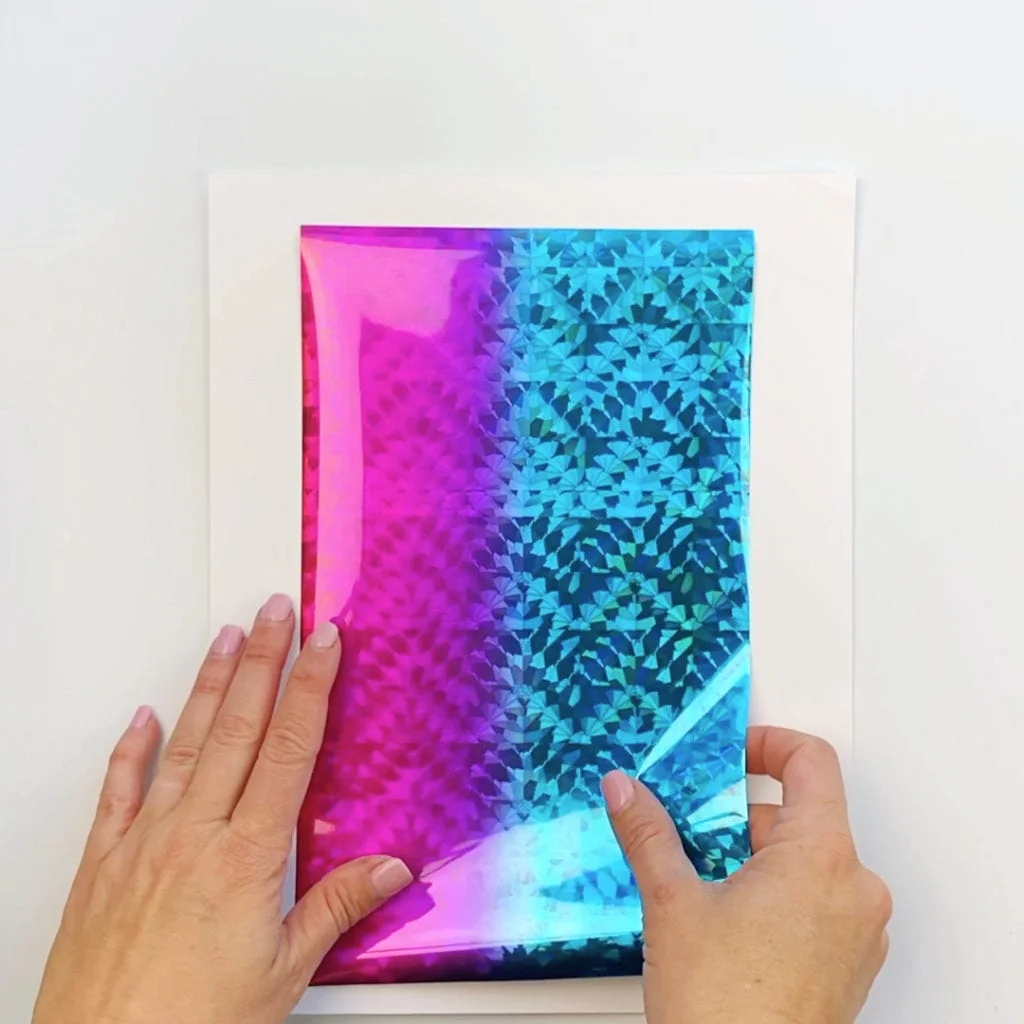
2. Trim the Foil
Cut the foil down to size and place a single piece of art foil over the image. The foil should have the color side up. See above under supplies for my favorite foil colors.
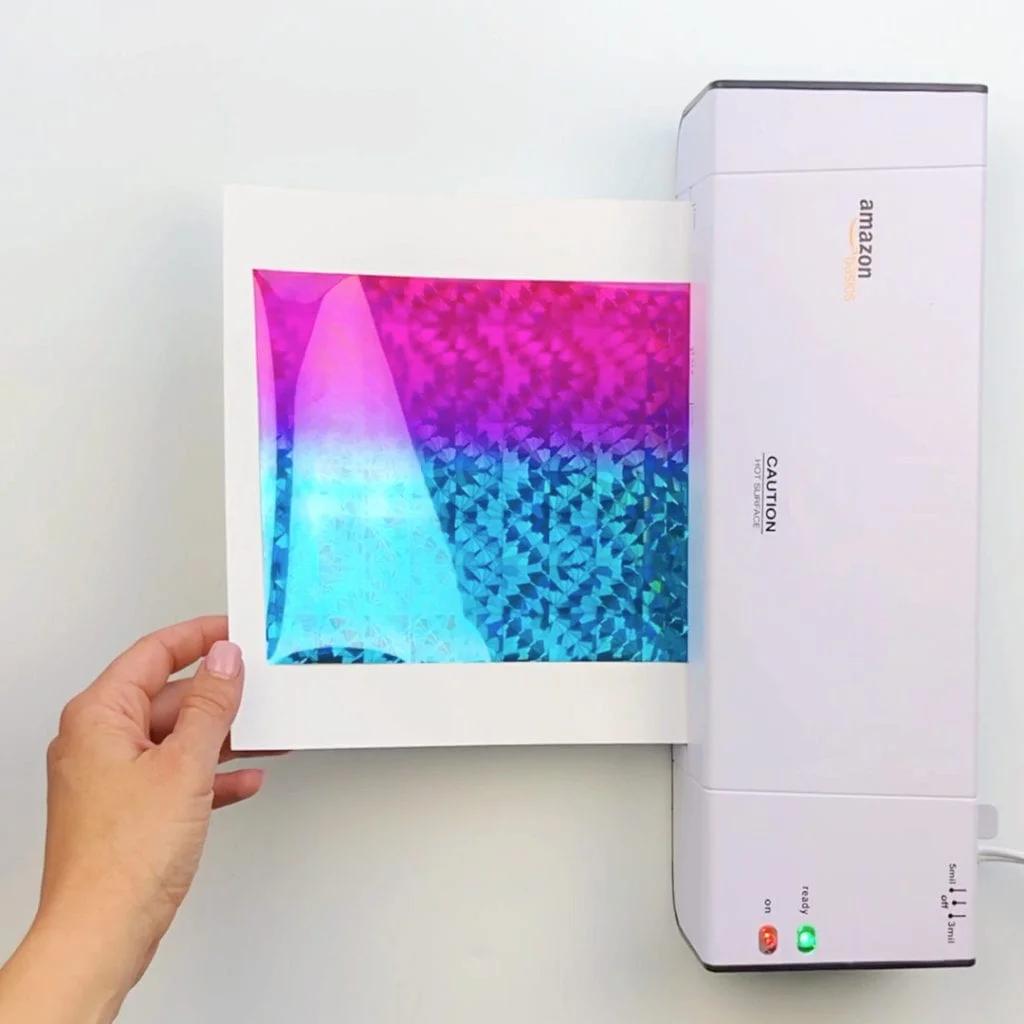
3. Laminate
Turn on the laminator and once heated, feed the card stock art print with the foil on top through the laminator. I use my laminator at the 5mm setting. It works on 3mm as well, but I prefer the 5mm setting. I hold the foil in place as it’s going through the printer until it takes hold.
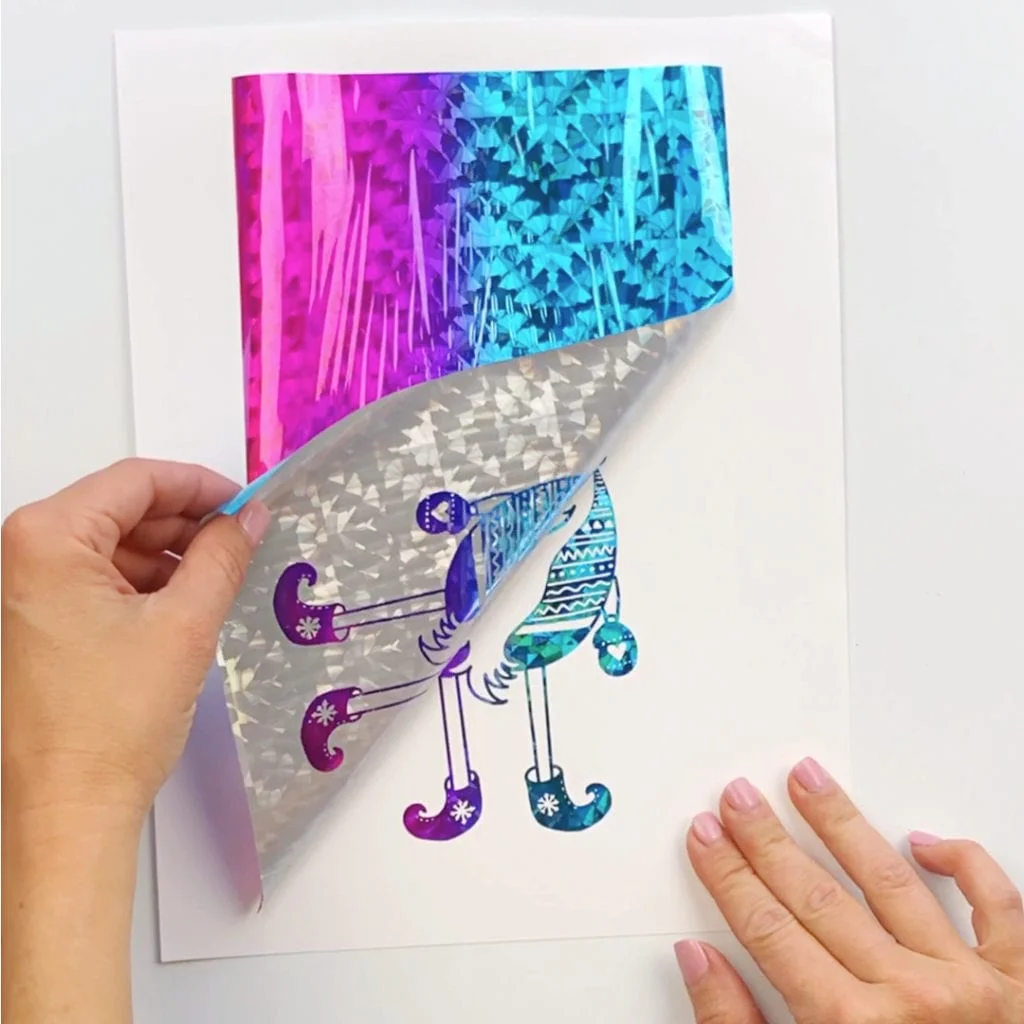
4. Peel the Foil Back
Once through the laminator, slowly peel the foil back from the cardstock.
5. Display Your Christmas Foil Art
Preserve your completed foil art prints with a frame and add them to your wall decor.
Christmas Foil Art FAQs
Have questions about foil art? See this post with commonly asked foil art questions.
For more colorful inspiration, head over to my Instagram page or Facebook page And be sure to come share with me pictures of your finished foil art prints. I love sharing projects that were inspired by my tutorials with my followers.