How To Make Wood Slice Ornaments: A Step By Step Tutorial
As an Amazon Associate, I earn from qualifying purchases. This post may contain affiliate links. See our full disclosure here.
Do you love crafting for the holidays and making homemade decor and presents? This tutorial will teach you how to make your own wood slice ornaments. These Christmas ornaments could be a fantastic gift for anyone on your list! They also make beautiful Christmas decor and are the perfect handmade addition as a gift tag for wrapped Christmas gifts.
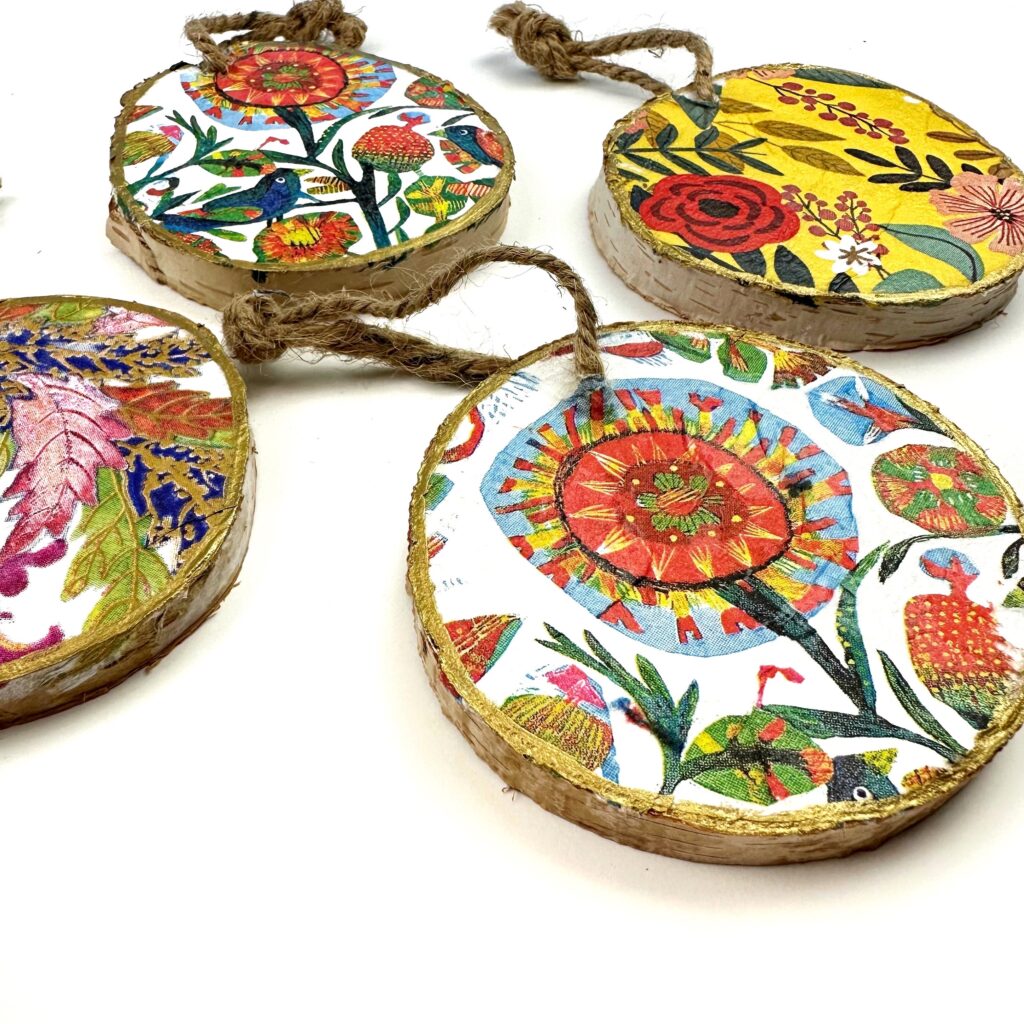
DIY Wood Slice Ornaments Tutorial
Supplies
- I used these wood slice ornaments. And here is another great option for Wood Slice Ornaments Blanks
- Cocktail napkins that I used: flower folkart, yellow floral napkins, and sophisticated floral napkins
- Similar napkins variety pack
- Mod Podge
- Flat paint brush or foam brush (flat brush is preferred when working with napkins because they are so thin.
- Gold acrylic paint
- White acrylic paint
- Saran Wrap
Step by Step Directions for Making Wood Slice Ornaments
Step 1 – Prep the Wood Slice
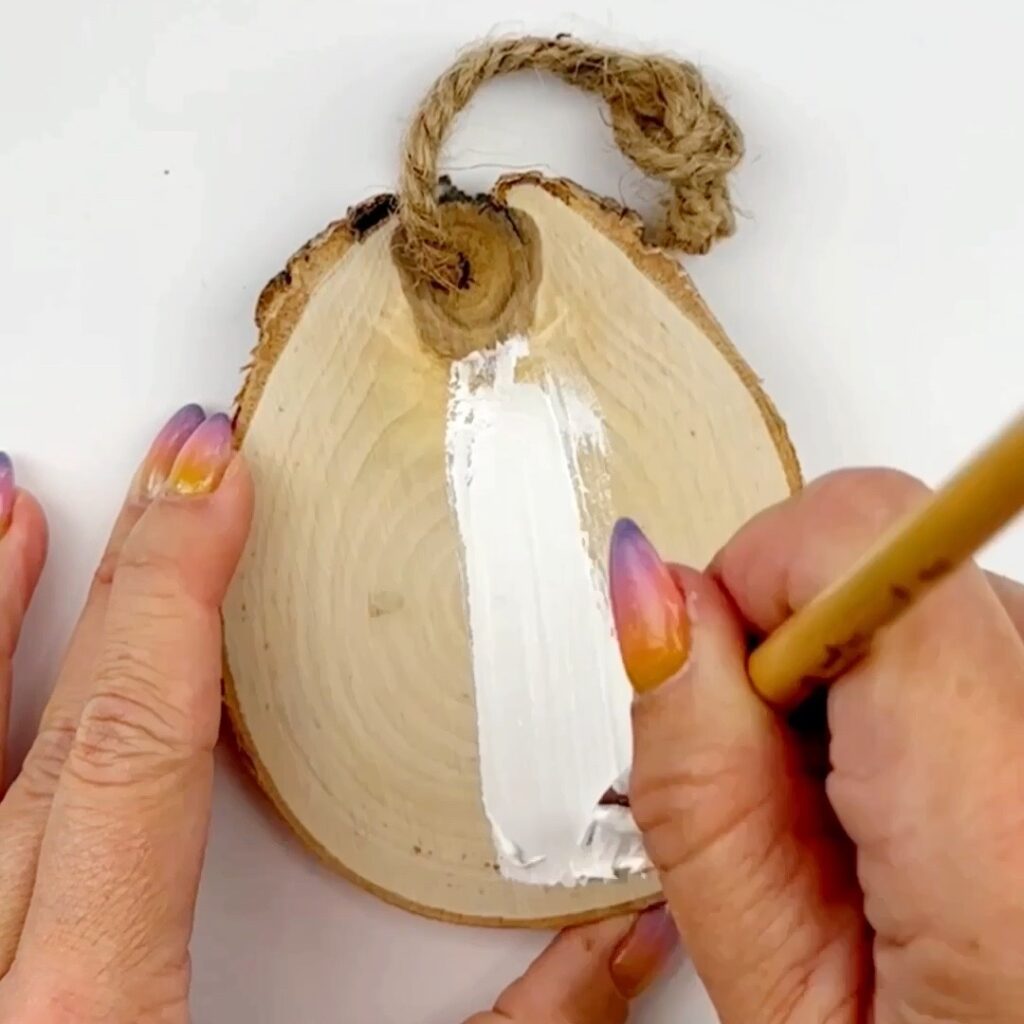
To start you want to paint the wood slice with white acrylic paint. The white background will make the napkin design stand out more.
Step 2 – Prep the Napkin
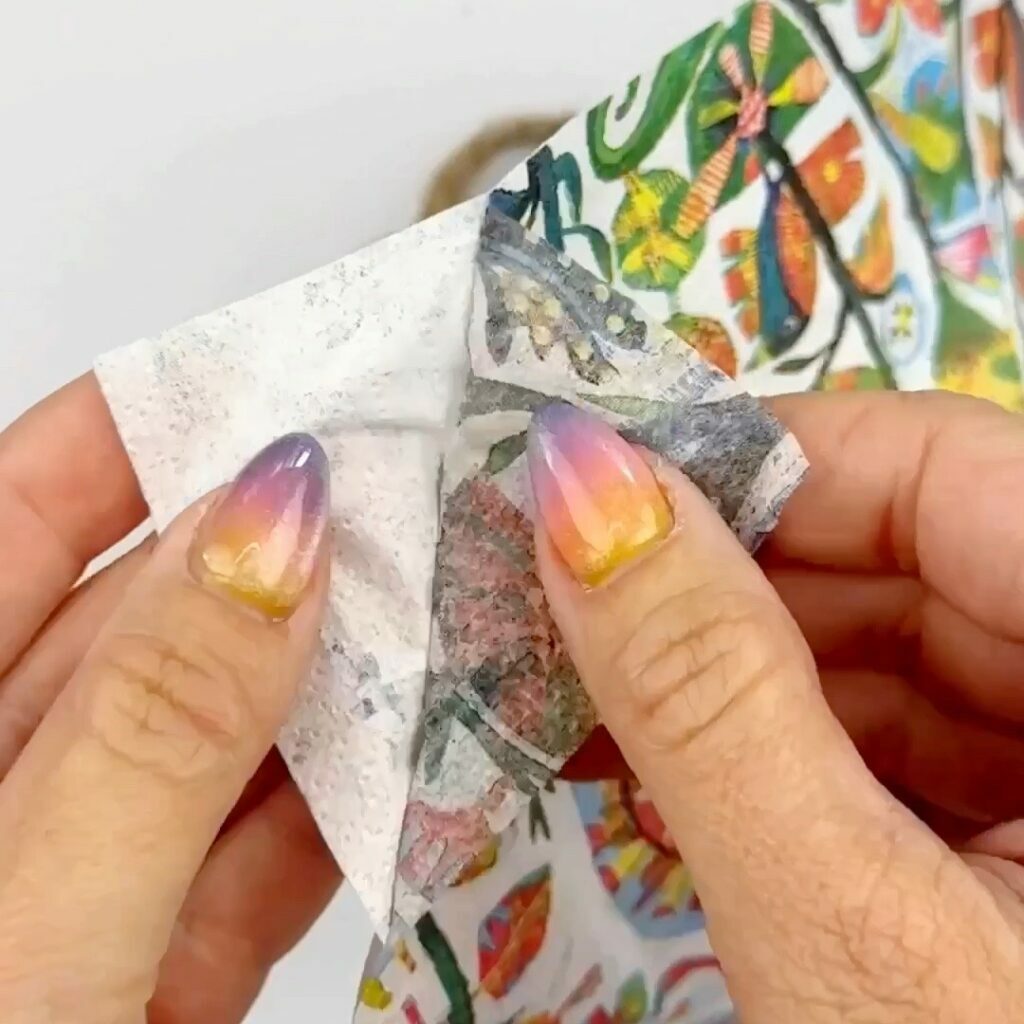
Next you’ll separate the napkin to 1-ply. You’ll need to either remove one or two layers depending on the ply count of the napkin you are using. Once separated, select the part of the napkin you’d like to adhere to the rock.
Step 3 – Tear the Napkin
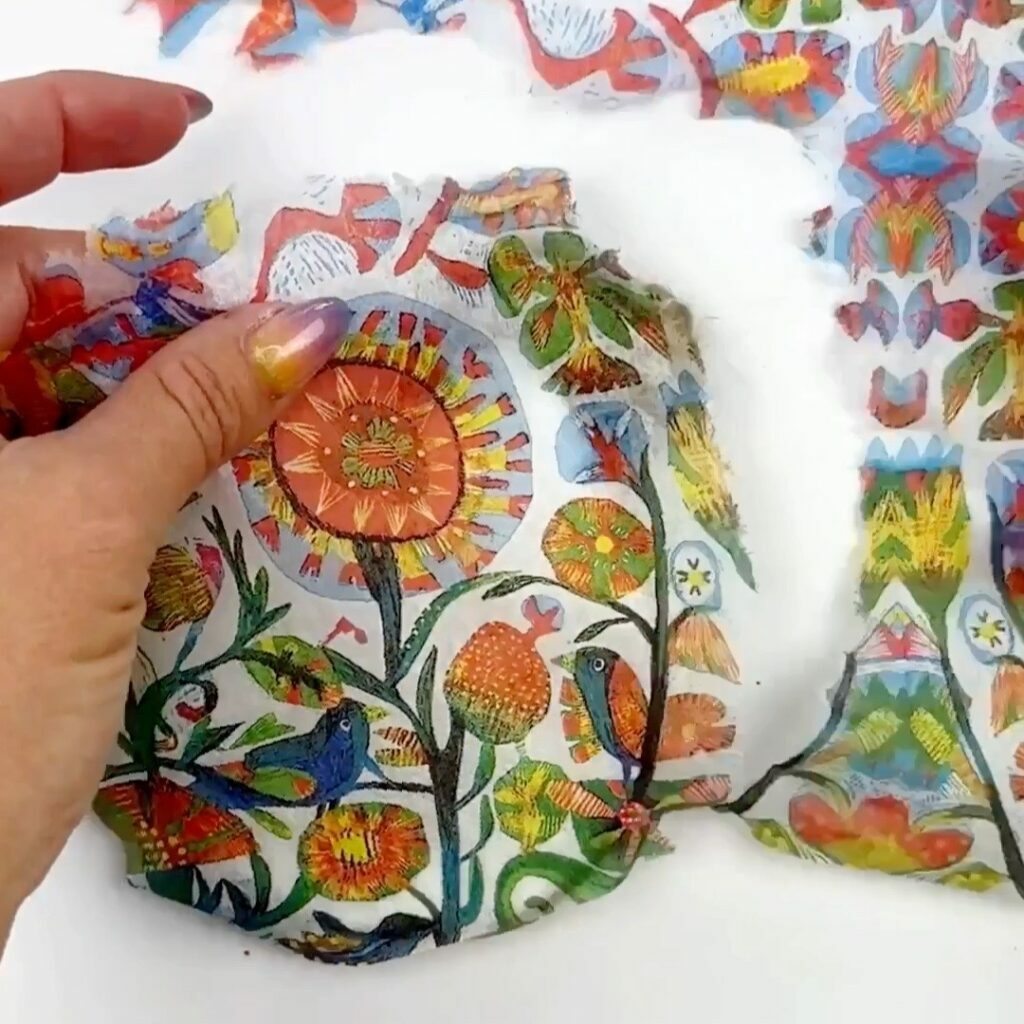
Using a wet paintbrush that has been dipped in water, draw an outline around the image you want to use. This step makes it easier to tear the napkin without ruining the image. Slowly tear along the water outline you just made. Let the napkin image dry completely.
Step 4 – Decoupage the Napkin
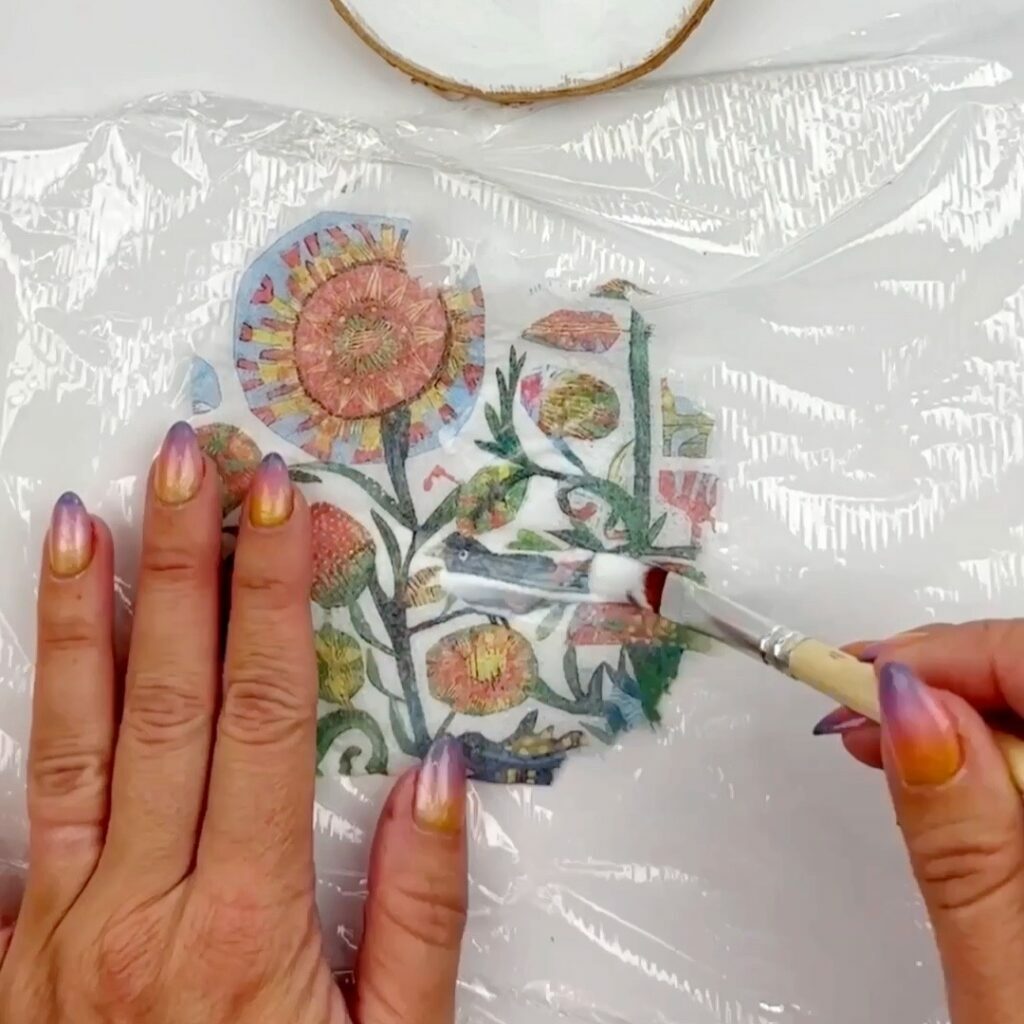
Place the napkin with the design face down on top of the saran paper. Apply a thin layer of decoupage glue over the napkin. Pick up the Saran wrap and turn it over to place the napkin directly onto the wood slice.
Step 5 – Finalize the Placement
Gently pull on the sides of the Saran wrap to even and smooth out wrinkles on the napkin. You can also run your finger over the outside of the wrap. Remove the Saran wrap. You’ll find that the napkin stays perfectly in place on the wood slice
Step 6 – Remove the Extras
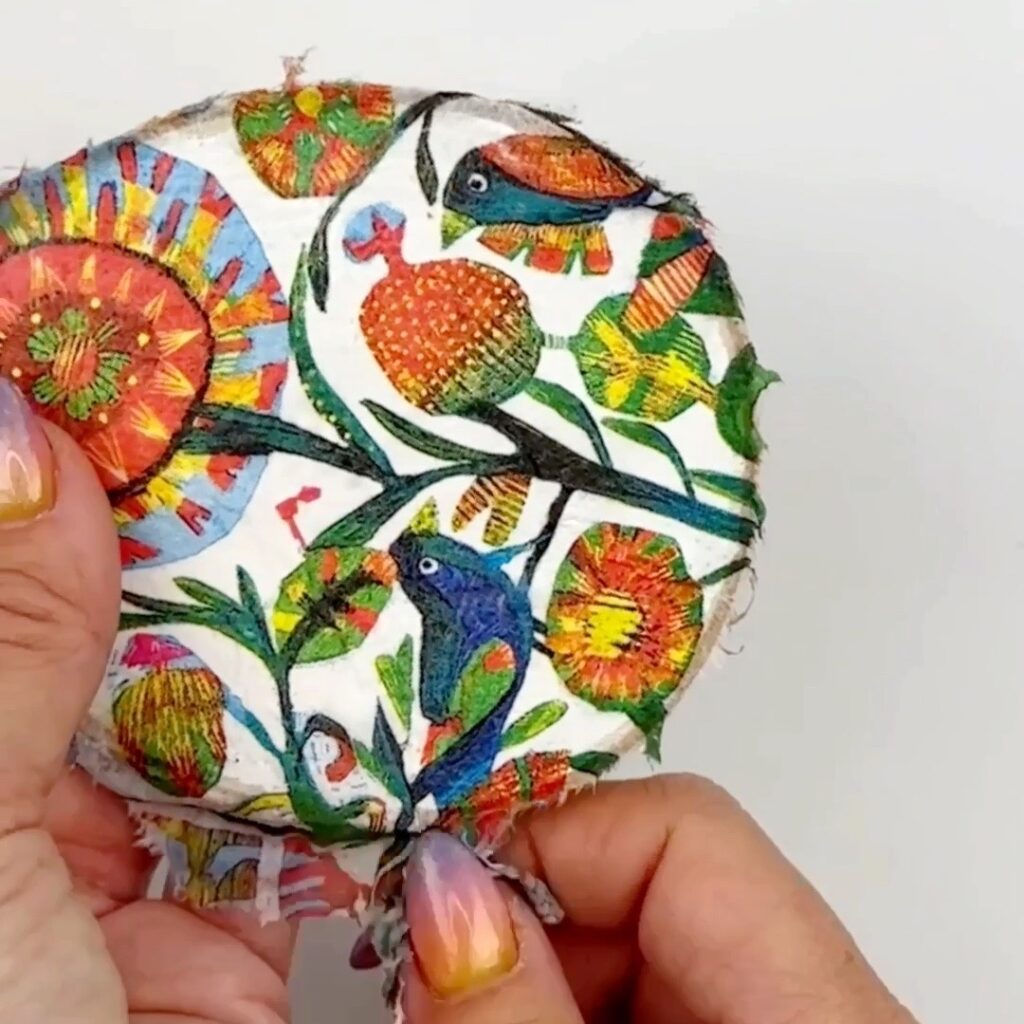
You’ll probably have some left over edges that are not completely on the rock. You can either wait for them to dry completely and then use a nail file to file them off.
Step 7 – Seal the Design
Finally you’ll want to add a thin layer of decoupage sealer over the top of the napkin and wood slice.
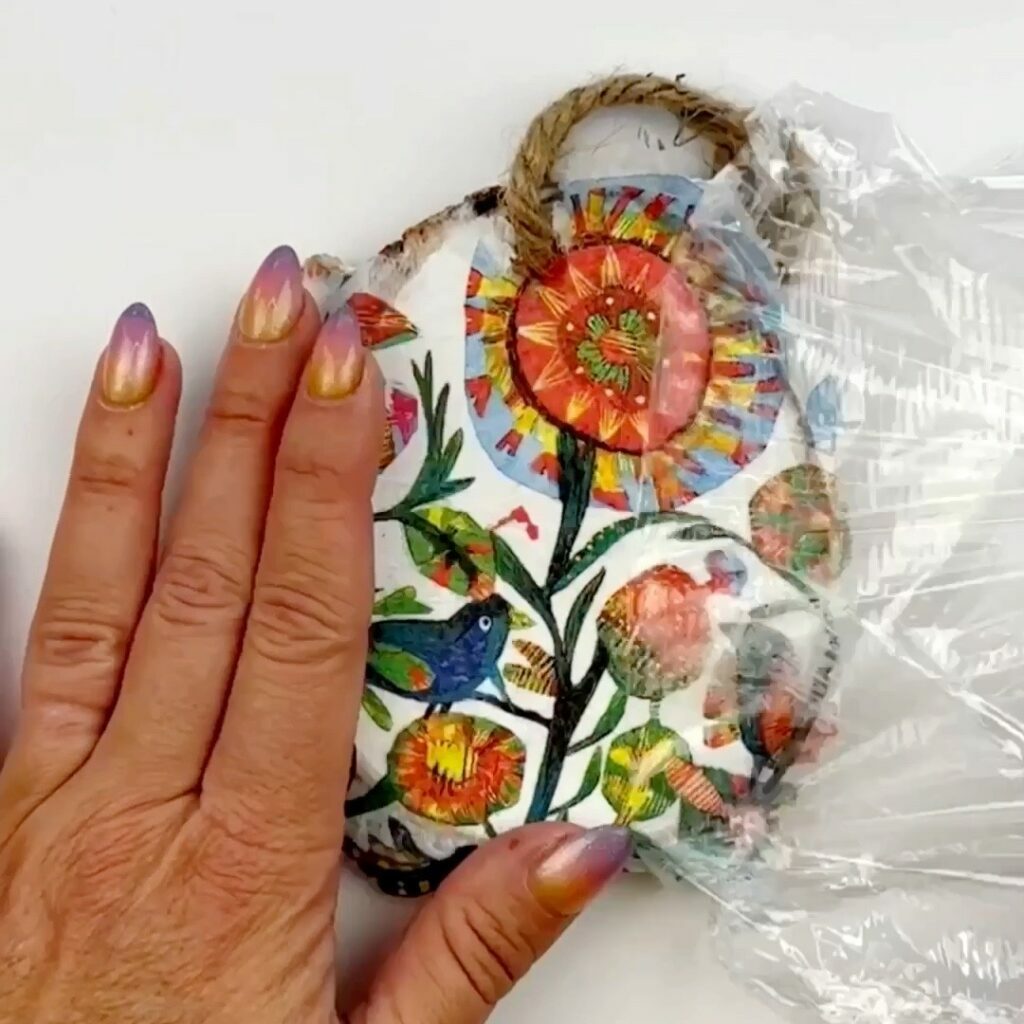
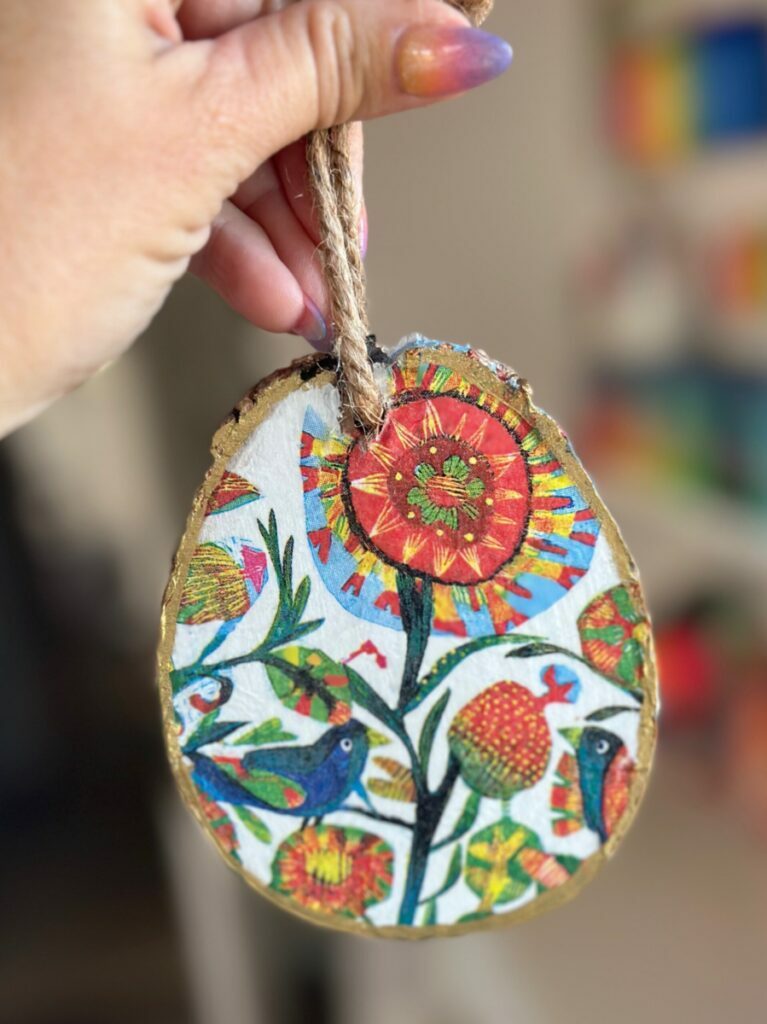
Step 8 – Finishing Touches
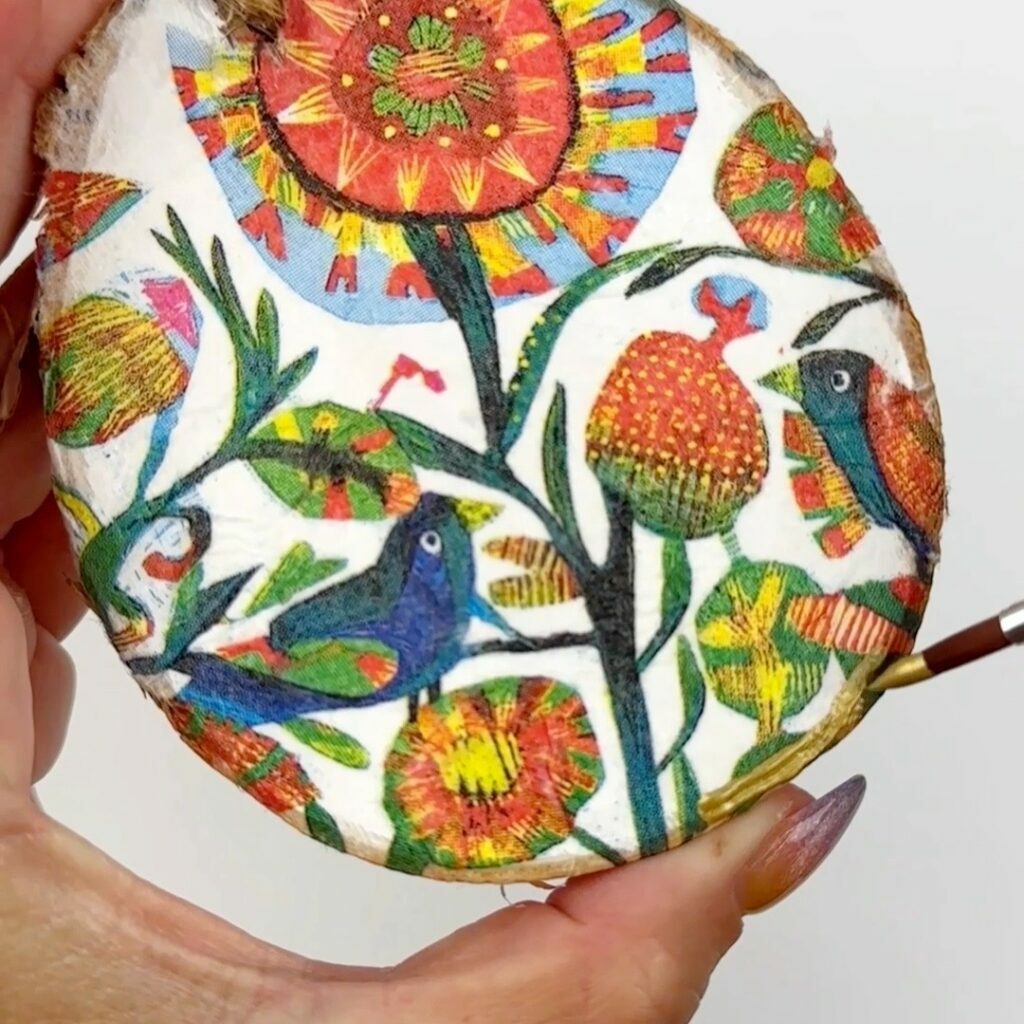
Add an outline of gold acrylic paint around the outer edge of the wood slice. And as a final step add ribbon or twine to the hole in your wood slice so that the finished ornament can be hung on a Christmas tree. You can also turn the ornament into a keepsake with a note on the back of the wood slice and the year.
Tips for Making Wood Slice Ornaments
- When working with kids, the key is to teach them to use a thin layer of Mod Podge on the napkin. If they apply too much the napkin will tear.
- A flat paintbrush works better than a foam brush as it’s easier to apply a delicate touch so as to not tear the napkin.
- Make sure to paint a white background on the wood slice or else the napkin design won’t appear vibrant.
- Look for wood rounds that already have drill holed.
More Ideas for Wood Rounds
There are so many different ideas for how you can decorate your own wood slices for ornaments. out
- Use a Cricut to cut a cute vinyl design that can be applied directly to the slice.
- Turn your wood slice into a cute snowman ornament using acrylic paint. You can even add several wood slices together to create a snowman body.
- Add a hand-lettered design using paint pens.
- Add some twigs to the top of the wood slice for antlers and turn the ornament into a cute Rudolph.
Other Fun DIY Ornament Ideas
If you’re looking for more crafty ornament ideas check out some of these popular posts.