The Best Way to Make Glitter Ornaments
As an Amazon Associate, I earn from qualifying purchases. This post may contain affiliate links. See our full disclosure here.
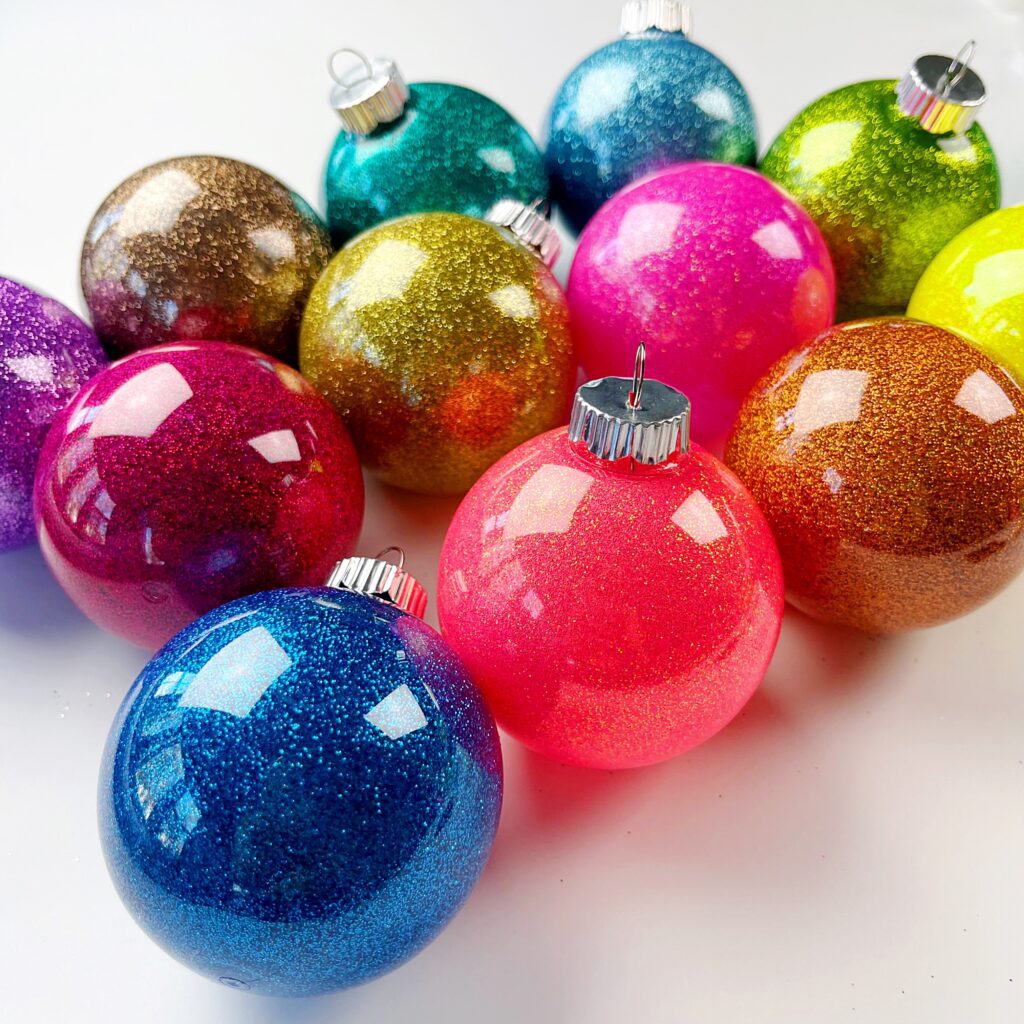 I’ve tried many different ways over the years to make glitter ornaments and this way is definitely the easiest and the ornaments turn out the best! Finally an easy way to make DIY glitter ornaments that really doesn’t make a mess. The best part is that once your ornaments are made you can do so many fun things with them like painting cute designs, adding vinyl designs or using paint pens for intricate designs. These sparkling ornaments are a great background for many fun DIY ornament ideas.
Looking for more fun DIY Christmas ornaments? Check out these 15 Easy Ornaments Ideas.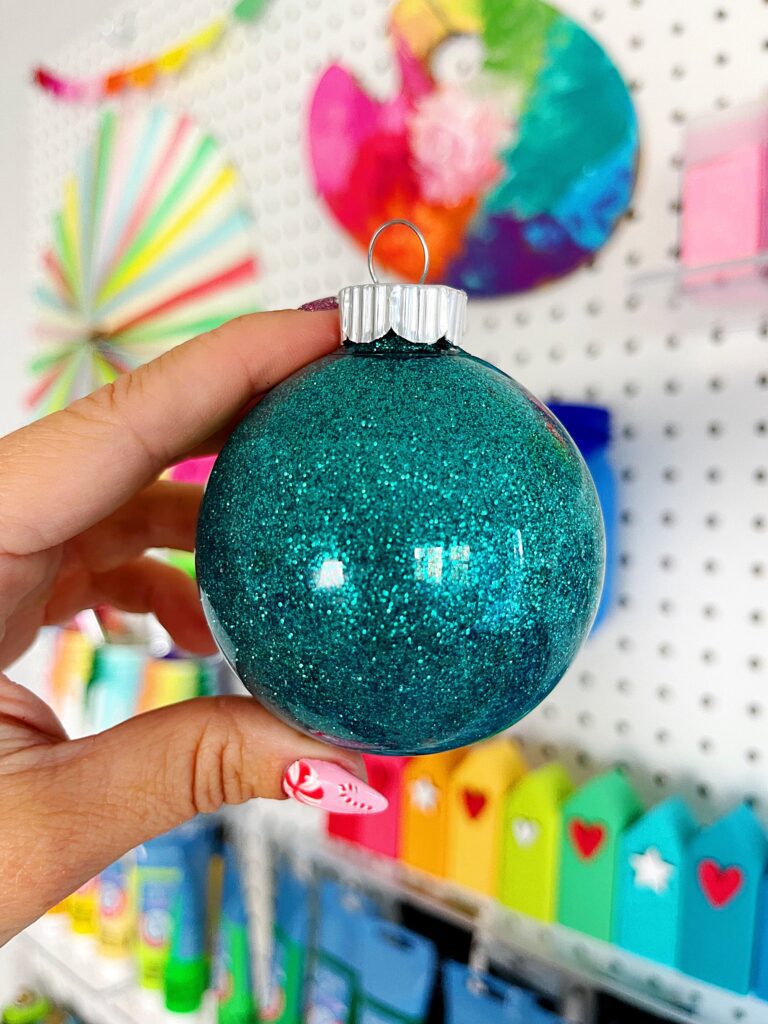
DIY Glitter Ornament Supplies (affiliate links provided for convenience)
- Clear plastic ornaments. I used plastic ornaments because I didn’t want to worry about them breaking.
- Polycrylic Clear Gloss- You can also fine Polycrylic at Lowe’s.
- Fine Glitter – I used this amazing glitter from Arteza. So many glitter colors to choose from and the opening is the perfect size for pouring directly into the ornament.
- Medicine dropper/syringe
- Mini plastic cups (optional)
Directions for making Easy Glitter Ornaments
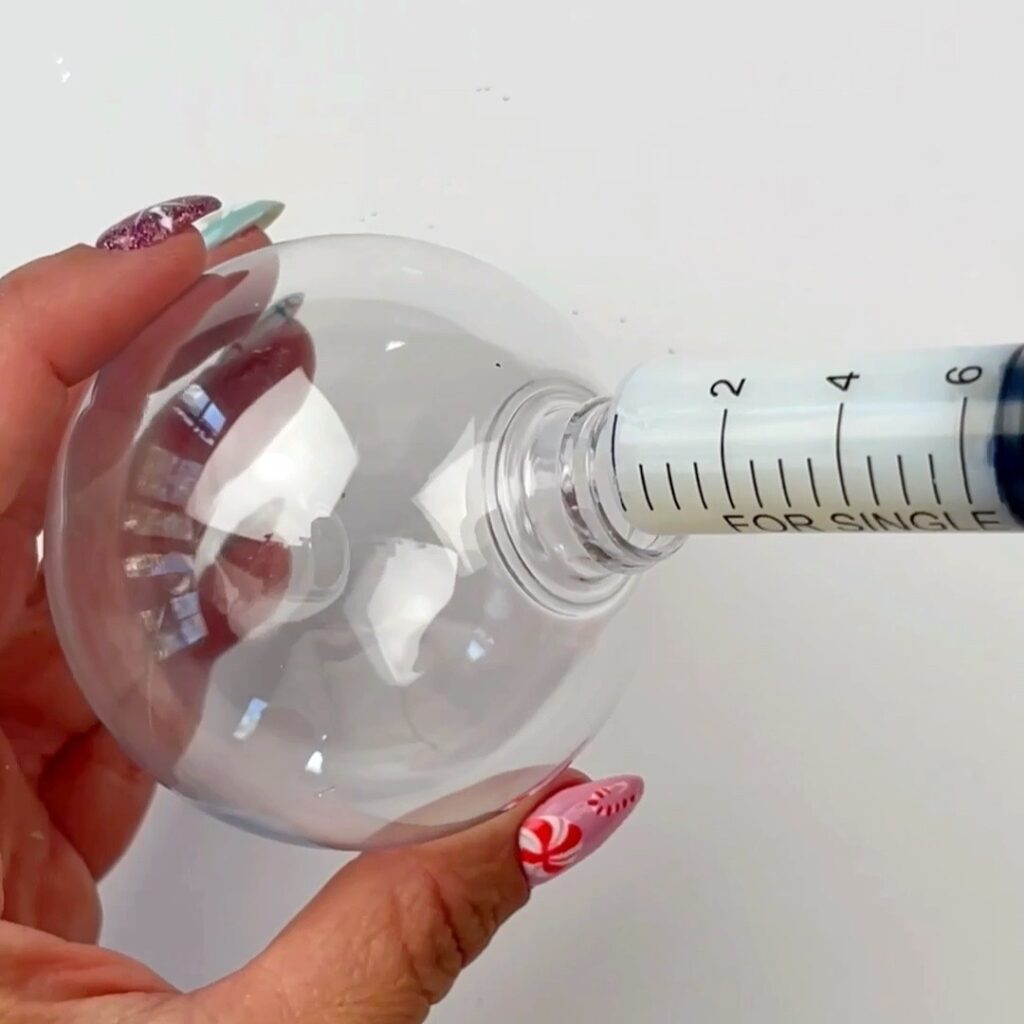
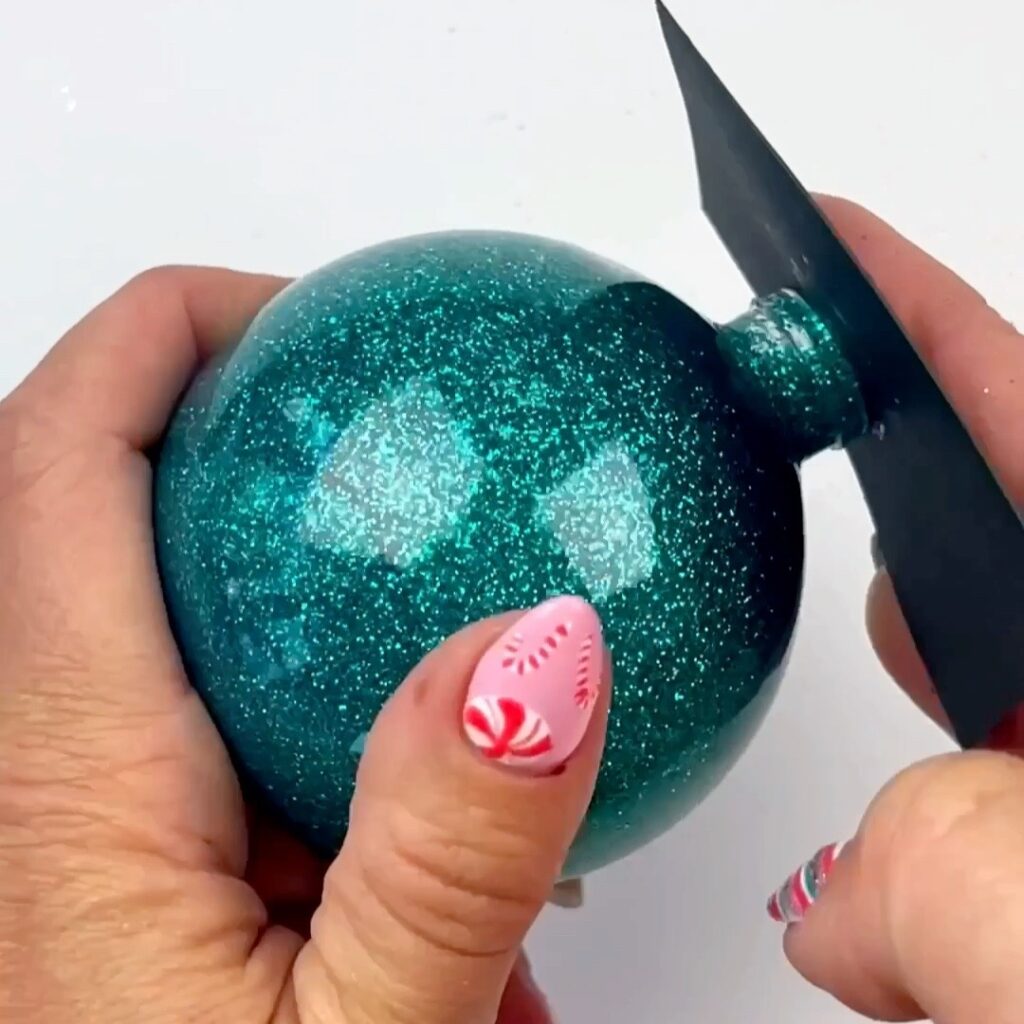
- Remove the top of the ornament and fill a medicine dropper with polycrylic. You don’t need to much polycrylic. I used about 5ml. Squeeze the polycrylic from the dropper into the ornament.
- Swirl the liquid around the entire ornament until it is completely coated.
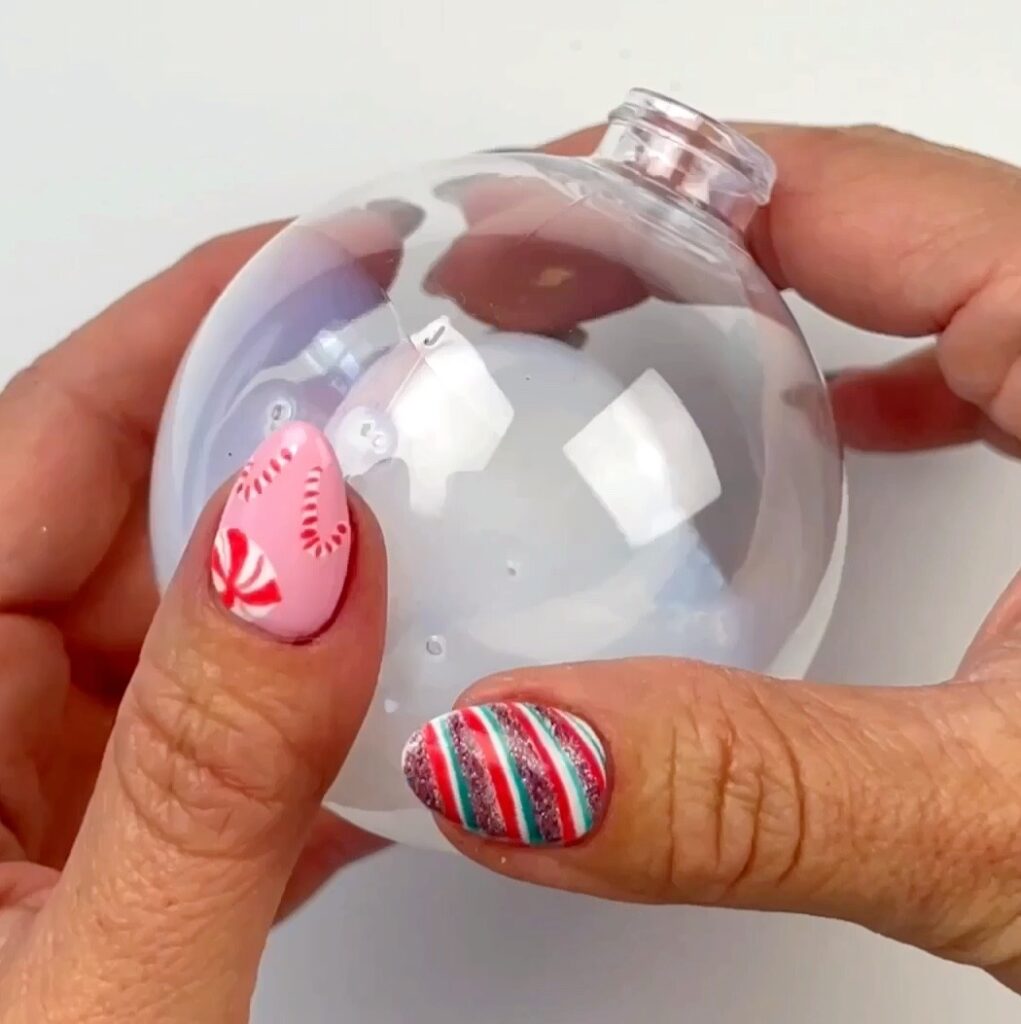
- Turn over the ornament and let the excess liquid drain. I used tiny cups to allow the liquid to drain so that I could coat 2-3 ornaments at a time. You can always pour the excess liquid back into the polycrylic can.

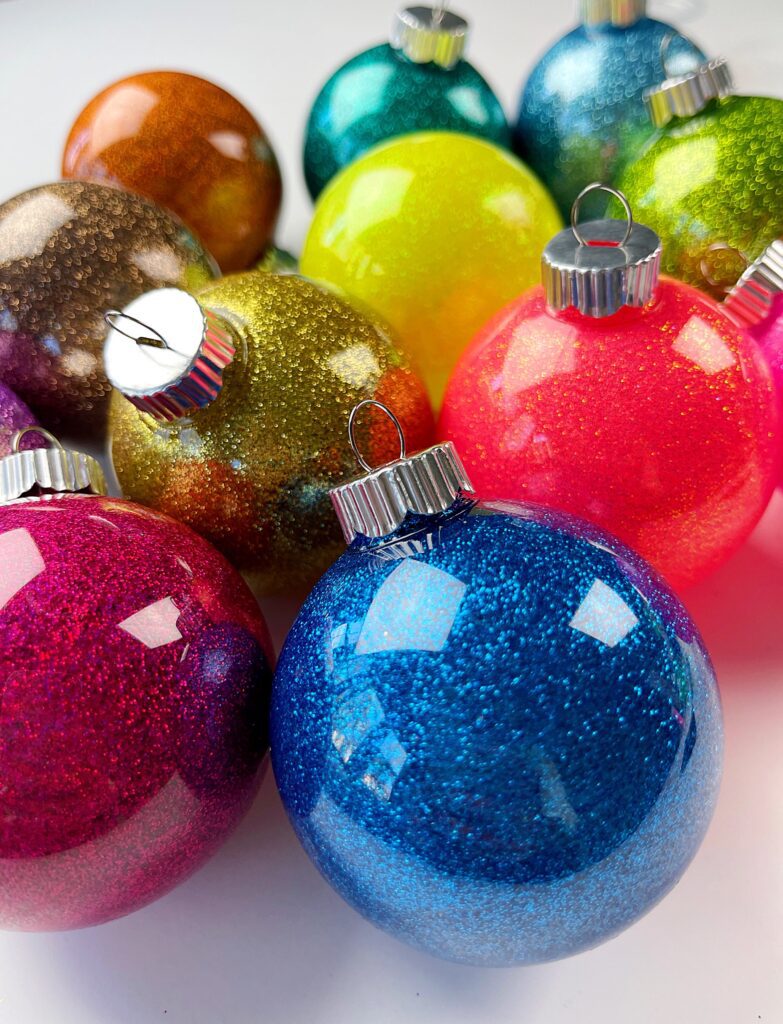
- Pour glitter directly into the ornament. I didn’t need a funnel because the glitter opening poured easily, but you can use a funnel if needed.
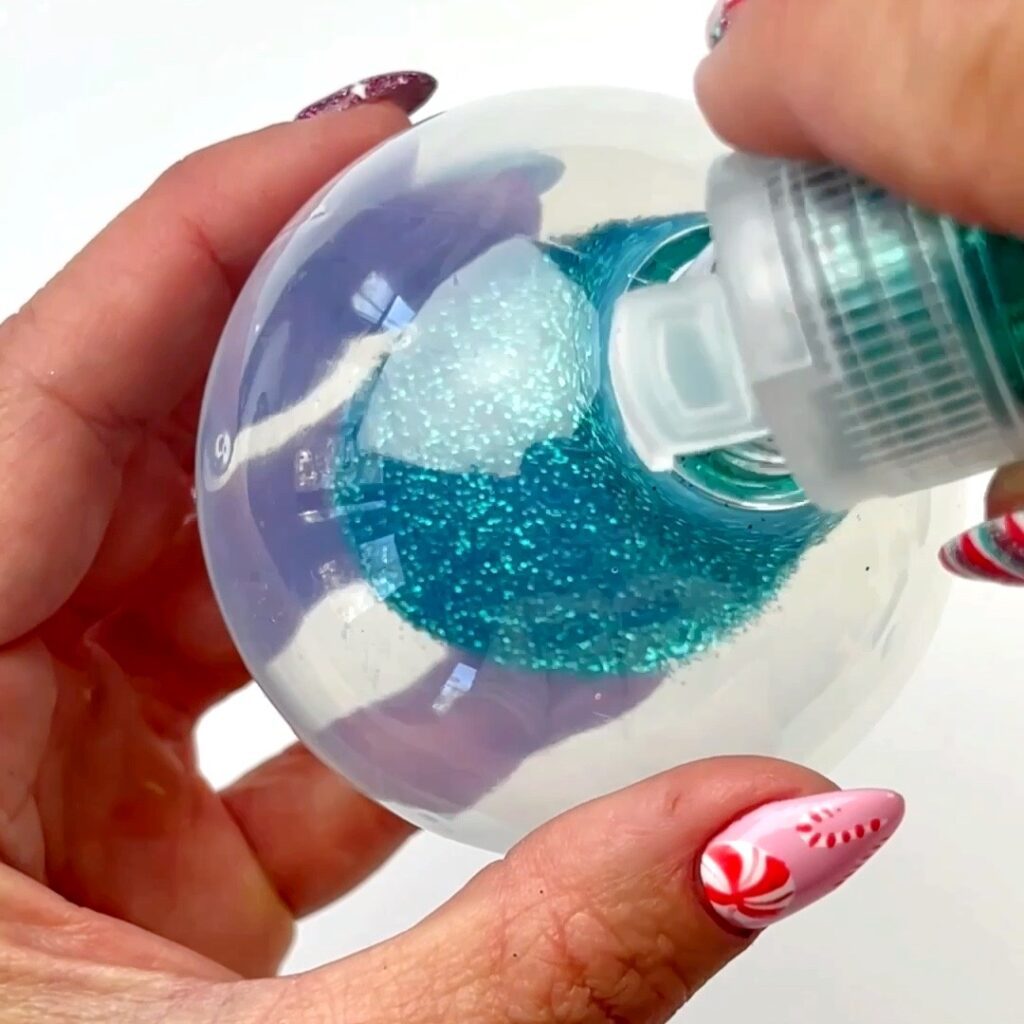
- Swirl the ornament to cover the inside with glitter.
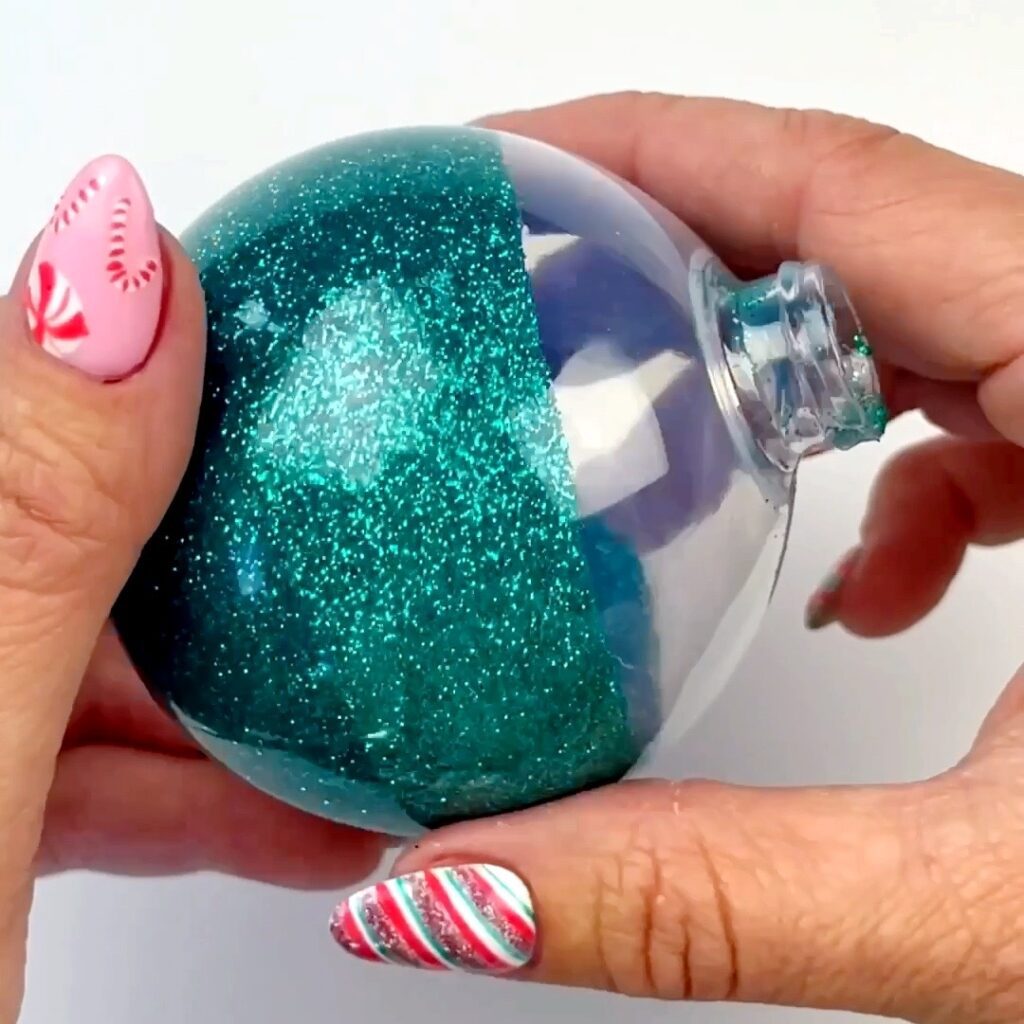
- To get the last little bit of the top covered take a piece of paper and place it over the top and give the ornament a few shakes.
- I placed my finished ornaments in cupcake liners as they dried and then placed the lid back on. I only waited about 15-20 minutes for them to dry. You can even put the top on earlier if you don’t have much time.
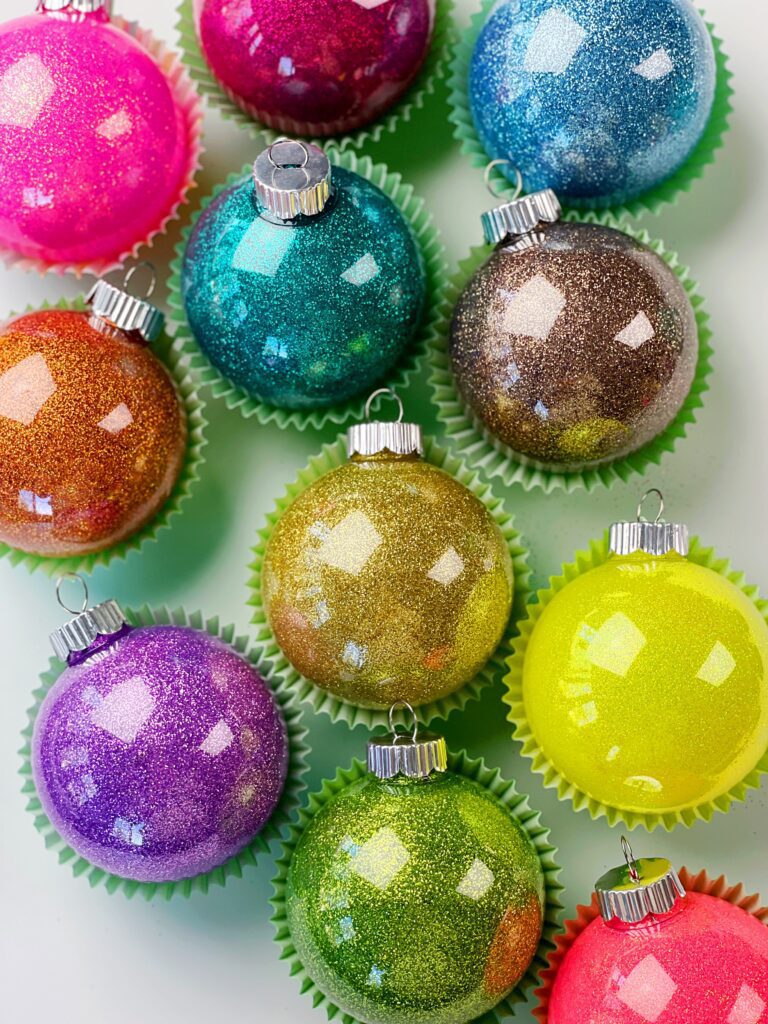
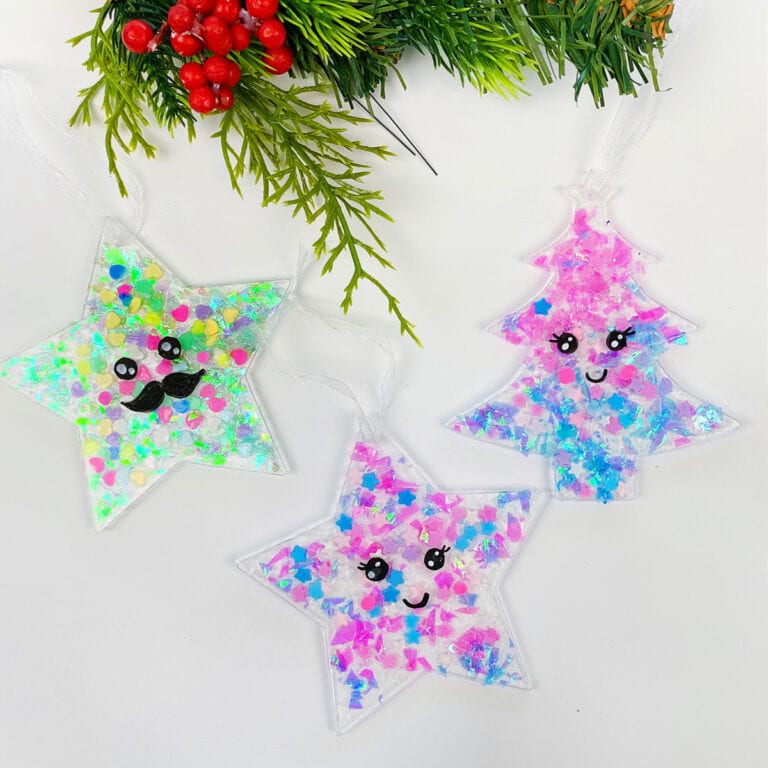
This is definitely a great Christmas craft for all ages and can even be done with kids. Once your ornaments are finished you can decorate the outside to make them even more festive. You can use paint pens, acrylic paint, vinyl and more. Christmas