DIY Glitter Mason Jars Craft
As an Amazon Associate, I earn from qualifying purchases. This post may contain affiliate links. See our full disclosure here.
 Who doesn’t love a good mason jar craft? It’s amazing how you can take a simple glass jar and turn it into a piece of art. If you’ve seen some of my other posts, you may already now that I’m kind of in love with decorating mason jars. Here are some of my favorite mason jar projects to check out: rainbow fruit mason jars, animal mason jars and my doodle mason jars. I think that my latest mason jar craft might be my new favorite because it combines my love of mason jars, rainbows and glitter all into one gorgeous glitter mason jars craft!
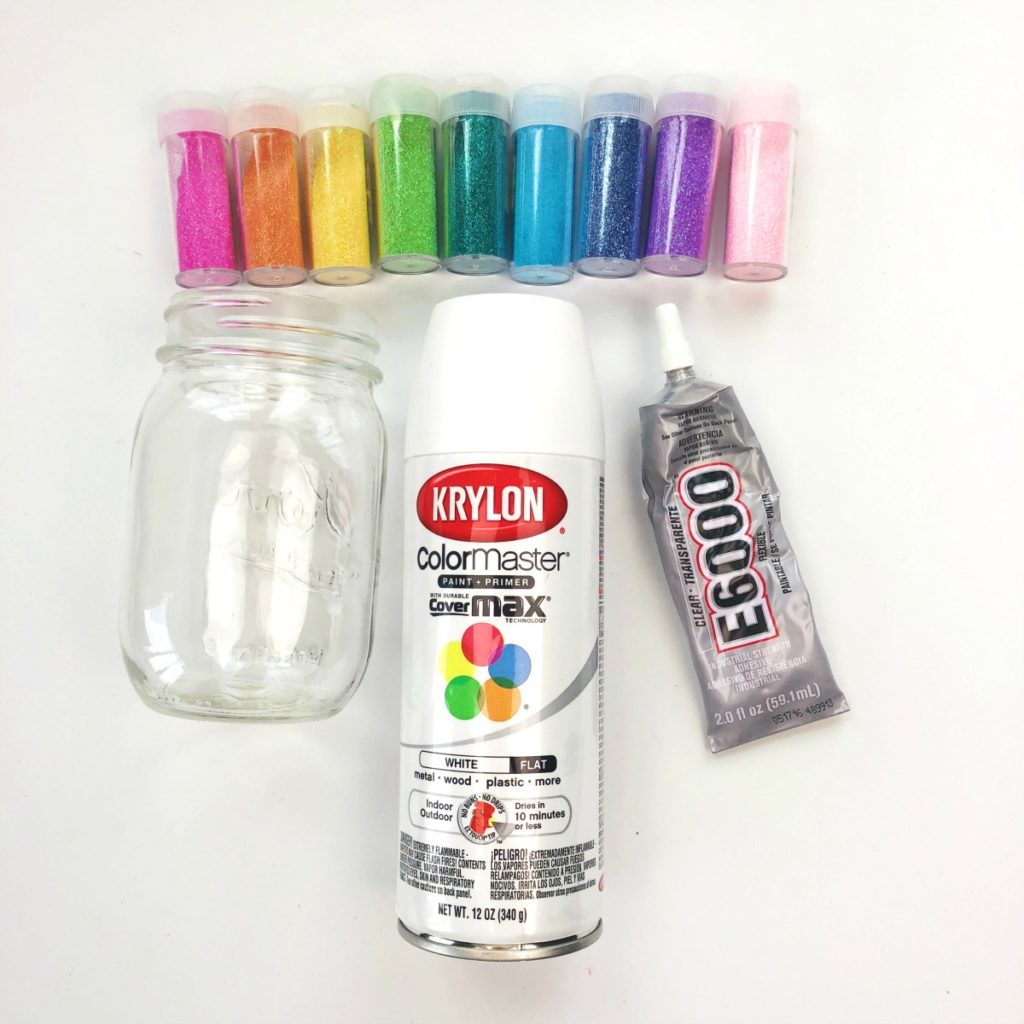
Glitter Mason Jars Supplies (affiliate links provided for convenience):
- Mason Jars – I use these 16oz mason jars because there’s a logo only on one side which leaves the other sides blank and perfect for decorating. I also love that the lid is two pieces in case you want to leave it on and remove the middle. No cutting required!
- White Primer – This is my favorite primer because it’s a flat primer and paint in one.
- Glitter – I used extra fine glitter.
- Glue – I used E6000 glue because I like the thickness and it doesn’t drip too much. Glitter also adheres really well to this glue.
- Sealant (optional)
Glitter Mason Jars Directions:
Step 1: Place mason jars mouth down on top of a piece of cardboard and spray evenly with a the flat white primer.  Step 2: Add glue for the first section of glitter.
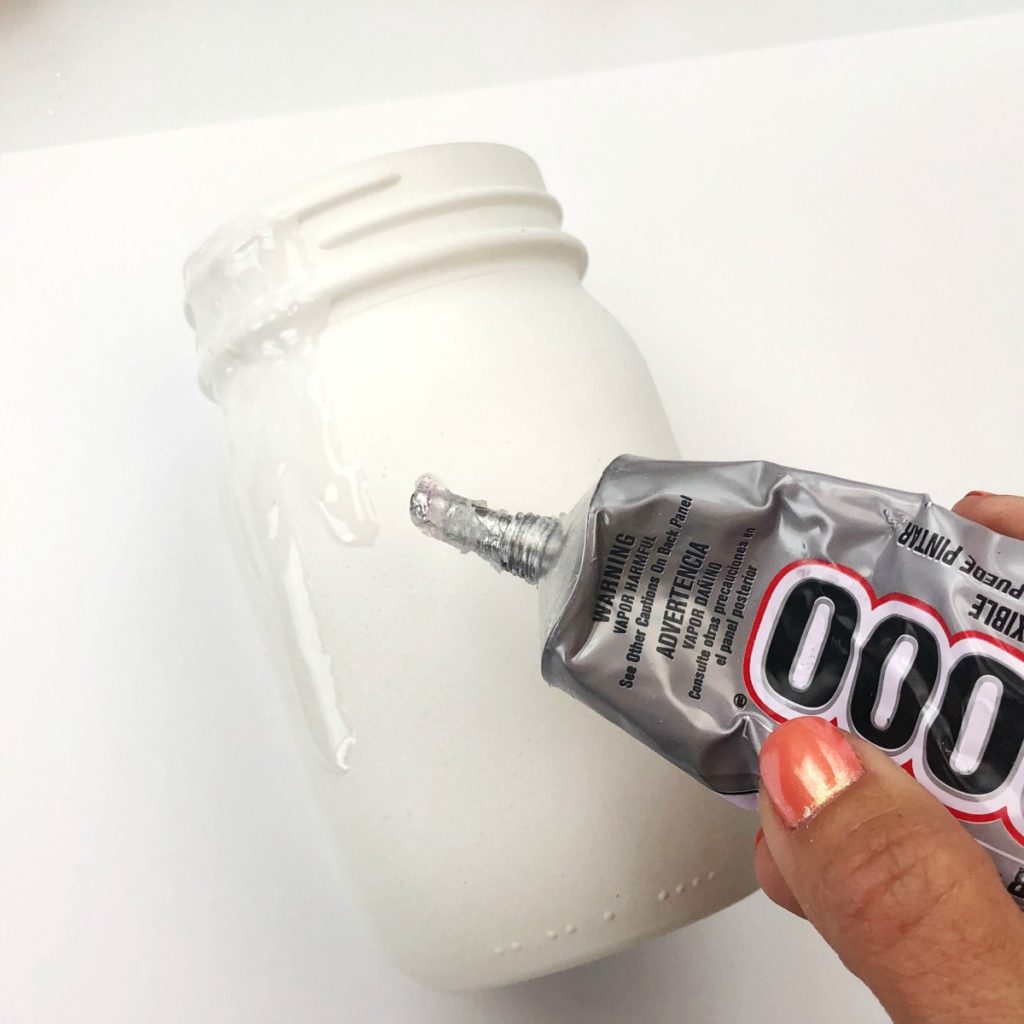 Step 3: With a scratch piece of paper underneath, pour glitter over the glue section. Pour off the excess glitter onto the paper and then fold the paper and pour the glitter back into the container. Keep your jar flat on the paper instead of standing it upright. If you stand it up before the glue is dry the glue and glitter will run down the jar.
TIP: Don’t worry if there are some loose specks of glitter on the jar. Once you are done with all the colors and the glue is dry, you can use a soft paintbrush and work your way around the jar to brush off any excess glitter. 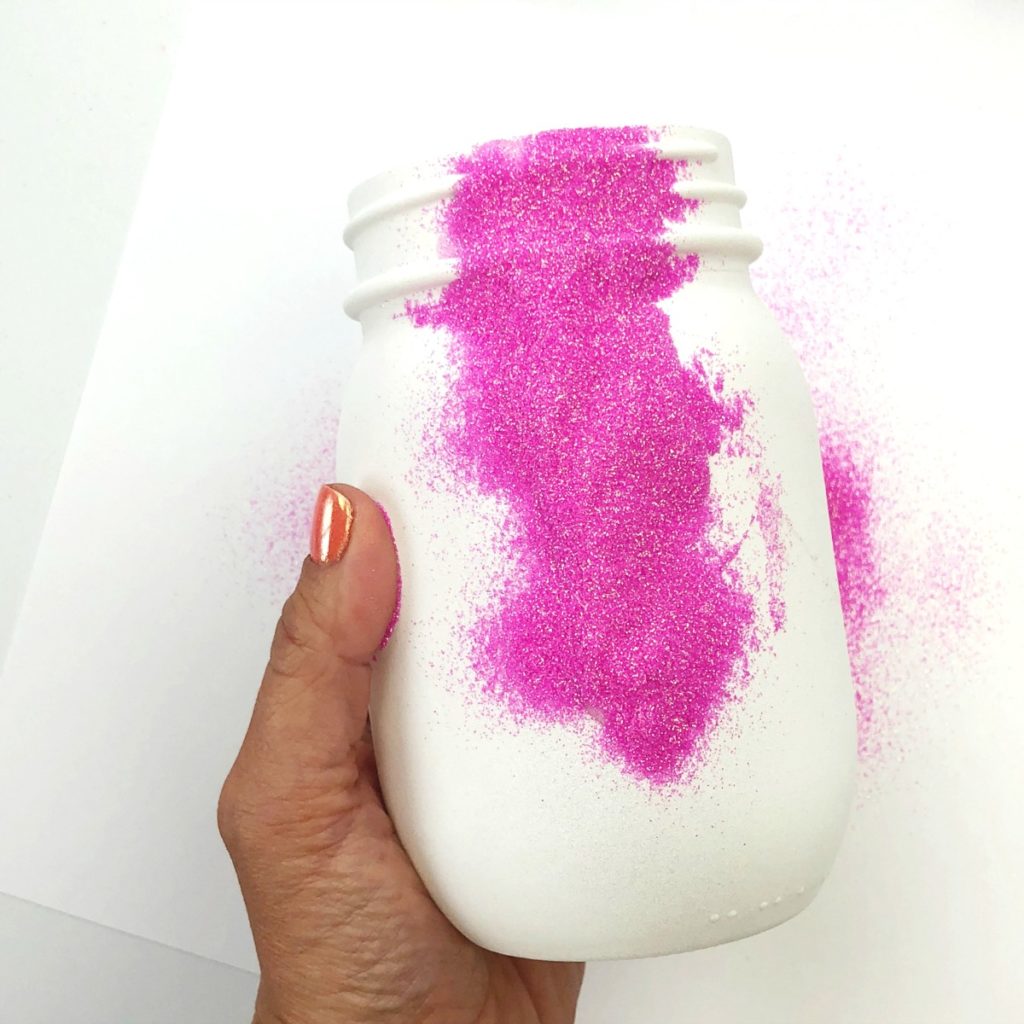 Step 4: Repeat step 3 with your next two colors. If you want to continue a rainbow around the entire jar, I suggest waiting until your first 3 colors are dry. I say 3 colors because that’s the amount that can fit on each side of the jar. If you keep adding more colors before the first are dry, the glue will start to run sideways as you turn the jar.
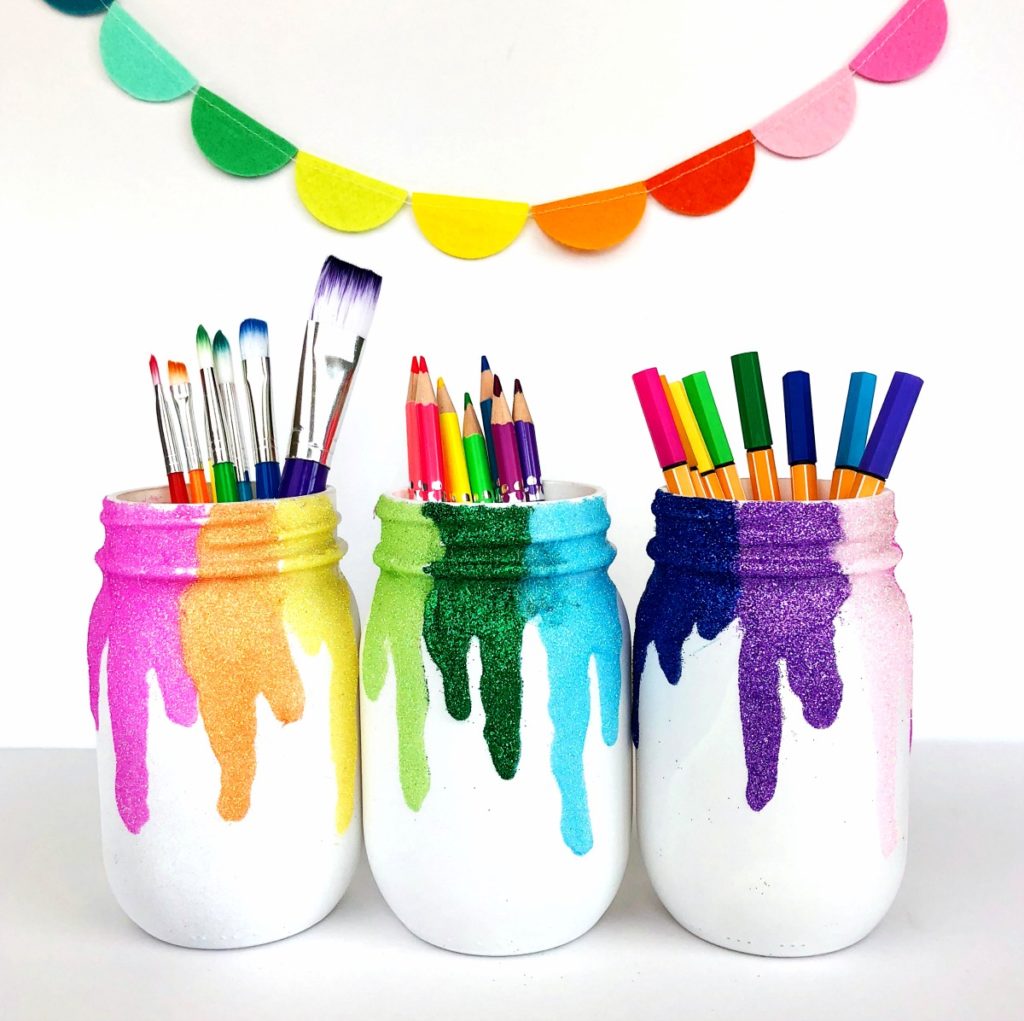
 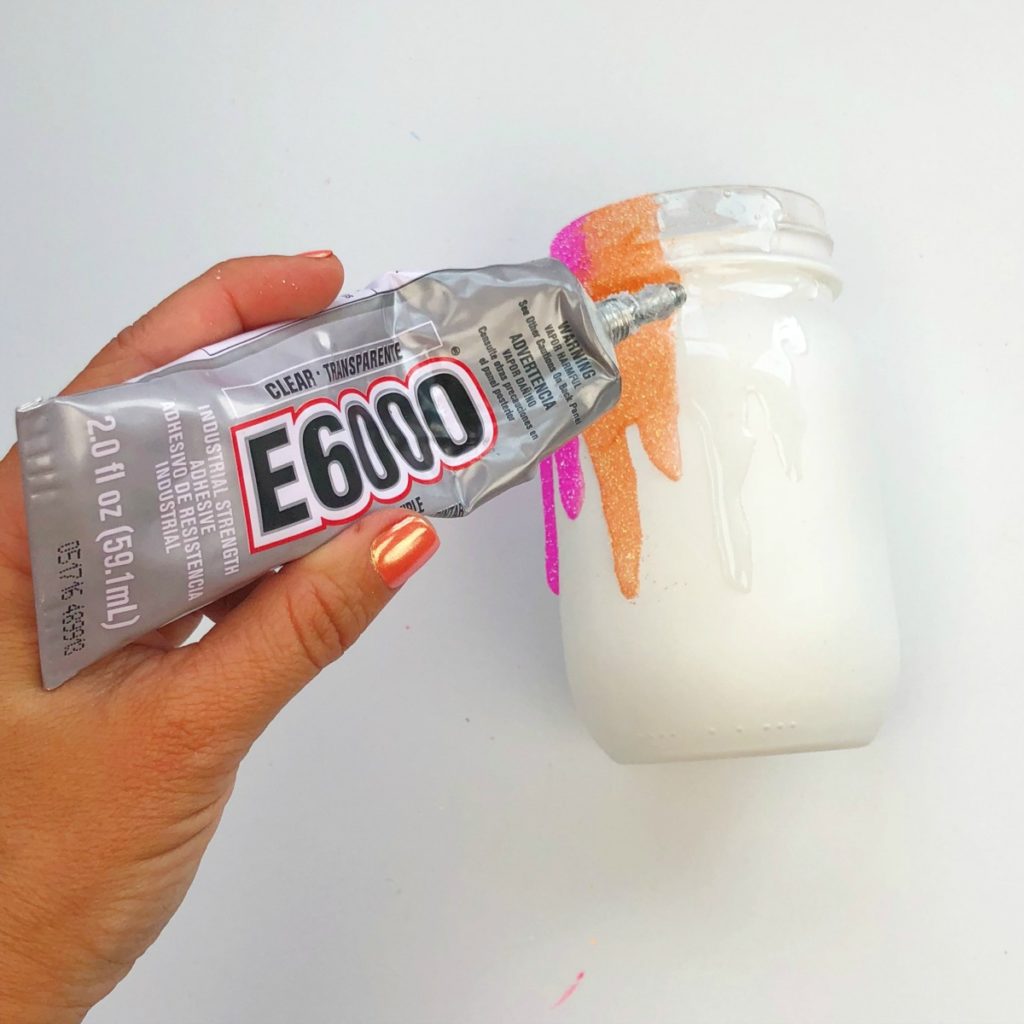 If your jars are only going to be facing forward, I wouldn’t worry about putting glitter around the entire jar. Just pick different colors for each jar to create a rainbow.
Step 5 (optional): I skipped sealing my final glitter mason jars because I didn’t feel like they were shedding much glitter. However, if you want to add an extra layer of protection for the glitter you can an a thin layer sealant by mixing glossy Mod Podge with a little bit of water to thin it out. Add it directly on top of the glitter using a soft paint brush. Another option is to spray a thin layer of spray sealant like this glossy Rust-Oleum sealant.
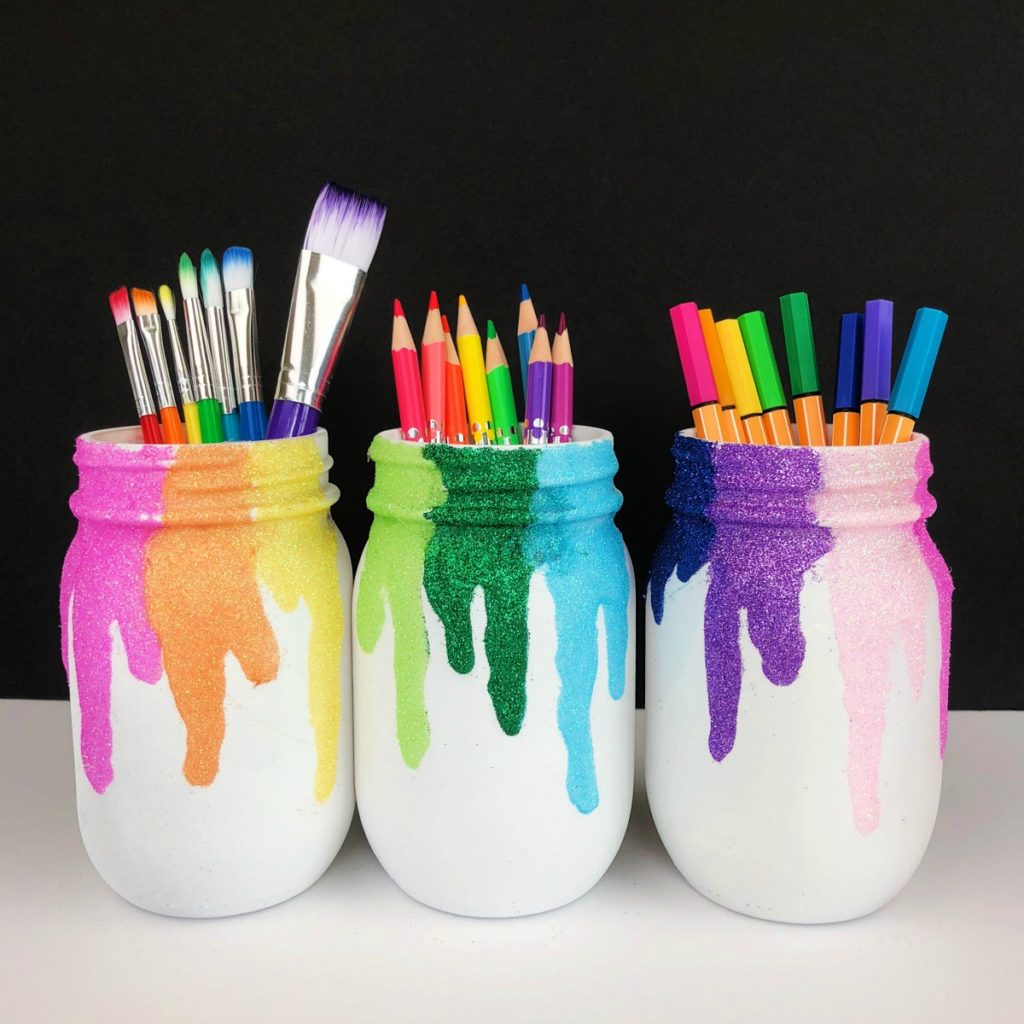
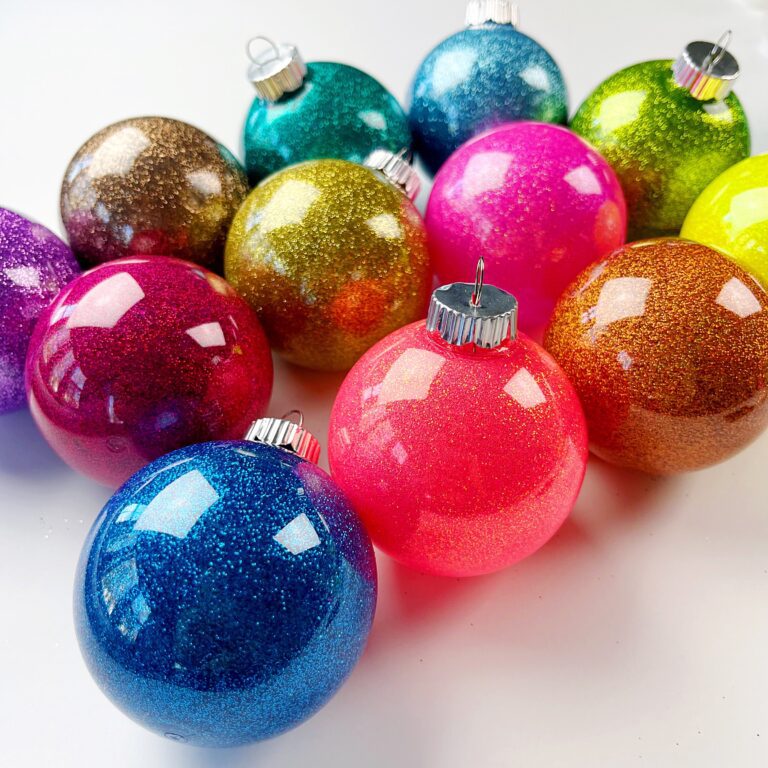
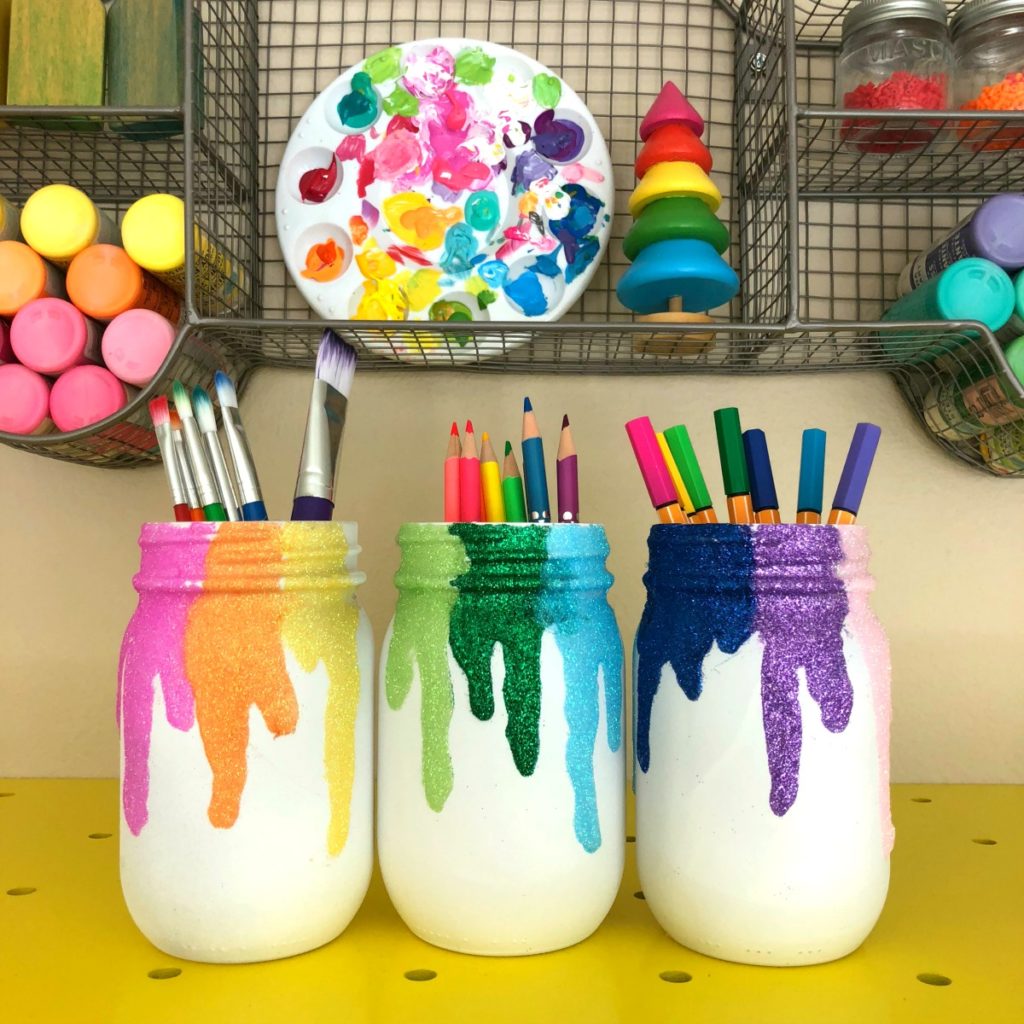
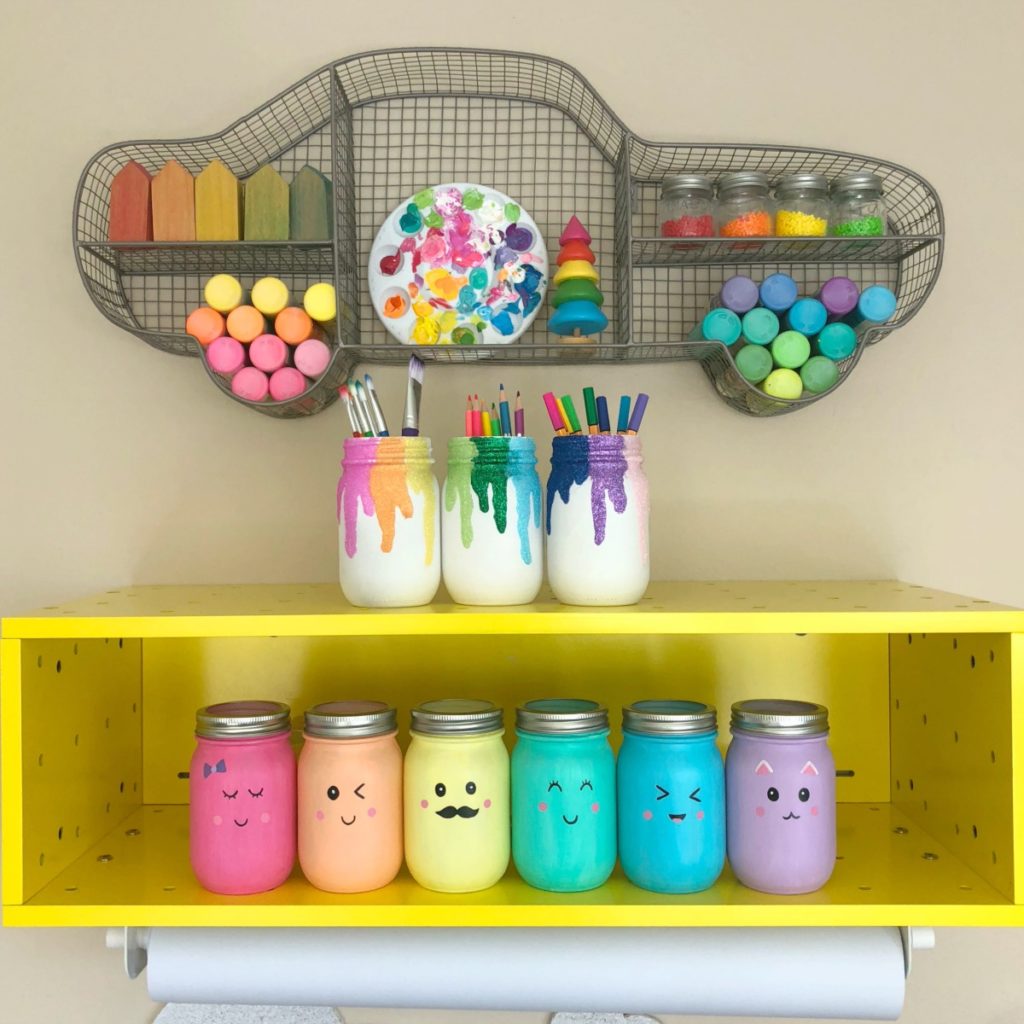
It’s so hard to show you just how shiny and pretty these glitter mason jars are in person, but trust me on this…they look SO pretty and would be an awesome addition to a desk, art room or classroom. Not only can you use them to hold art supplies, but you could also use them to hold flowers or even as a container for your paint water when your crafting.
Don’t forget to check out these other mason jar crafts:
For more colorful inspiration, head over to my Instagram page or Facebook page And be sure to come share with me pictures of your finished mason jars. I love sharing projects that were inspired by my tutorials with my followers.