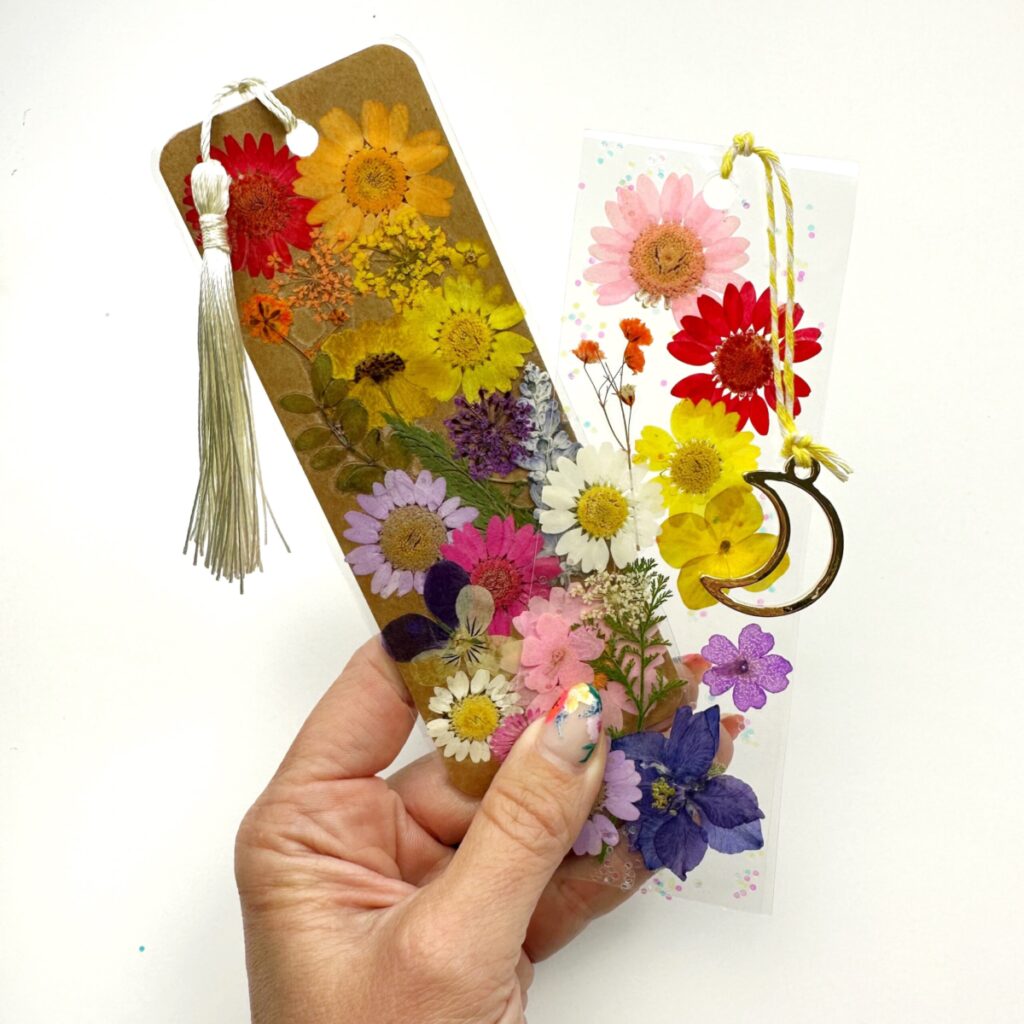
Pressed Flower Bookmarks
As an Amazon Associate, I earn from qualifying purchases. This post may contain affiliate links. See our full disclosure here.
Once you learn how to make these easy pressed flower bookmarks you’ll want to make them as gifts for all of your friends and family.
This simple craft is perfect for all ages from kids to adults and the best part is that you don’t even have to press your own flowers. I found all of the flowers I used on Amazon! See the supply list below for links to pressed flowers. If you want to press your own flowers, check out this post on how to press flowers.
These colorful bookmarks also make a great homemade gift for book lovers and they are also a beautiful addition to a sketchbook, journal or coffee table books. Have fun with your designs…you don’t have to stick
How to Make Pressed Flower Bookmarks
- Pressed Flowers
- Glue Stick
- Paper Bookmarks
- Laminating Machine
- Laminating Sheets (I used 3 mil pouches but 5 mil would be even sturdier)
- String, Ribbon or Tassel
- Pair of Tweezers
- Single Hole Punch
- Charms (optional)
How to Make Pressed Flower Bookmarks Step by Step
- 1. Gather Your Flowers
For convenience I purchased all of my flowers on Amazon. It’s much easier than pressing your own fresh flowers. Before I begin I like to put the dried flowers in rainbow order to help with the creative process. I also keep the flowers on the card stock they were packaged with and hold onto any plastic protective covering so that I can easily put the unused flowers away when I’m done.
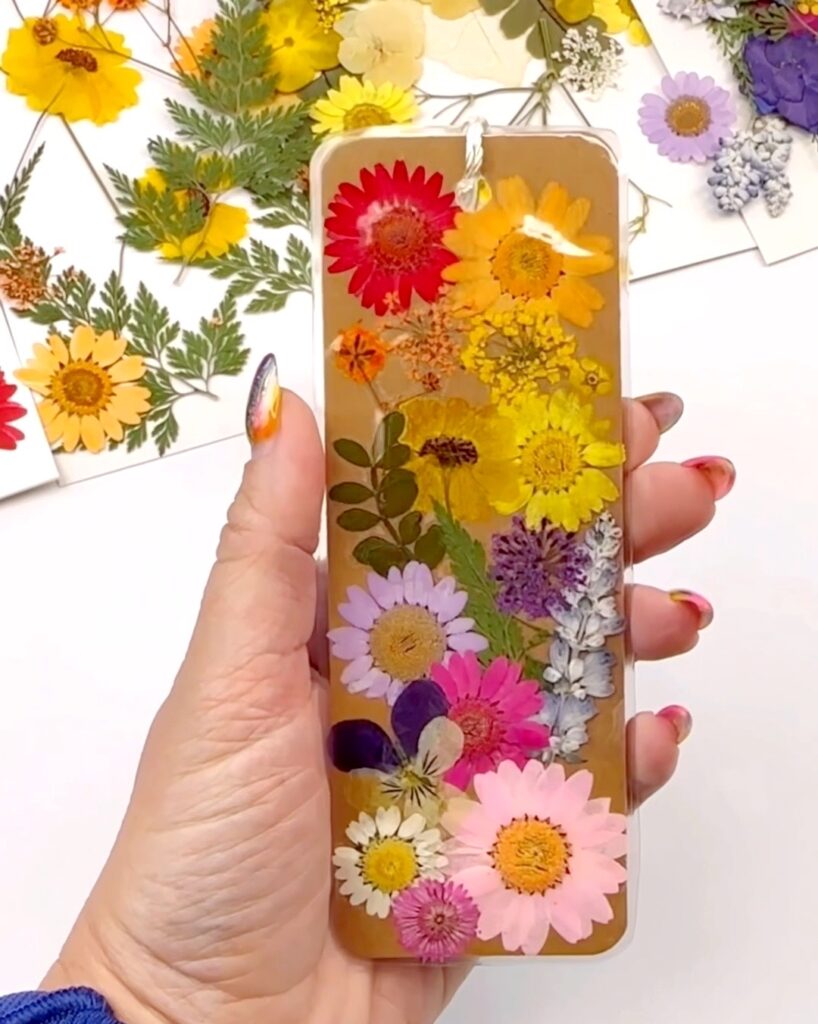
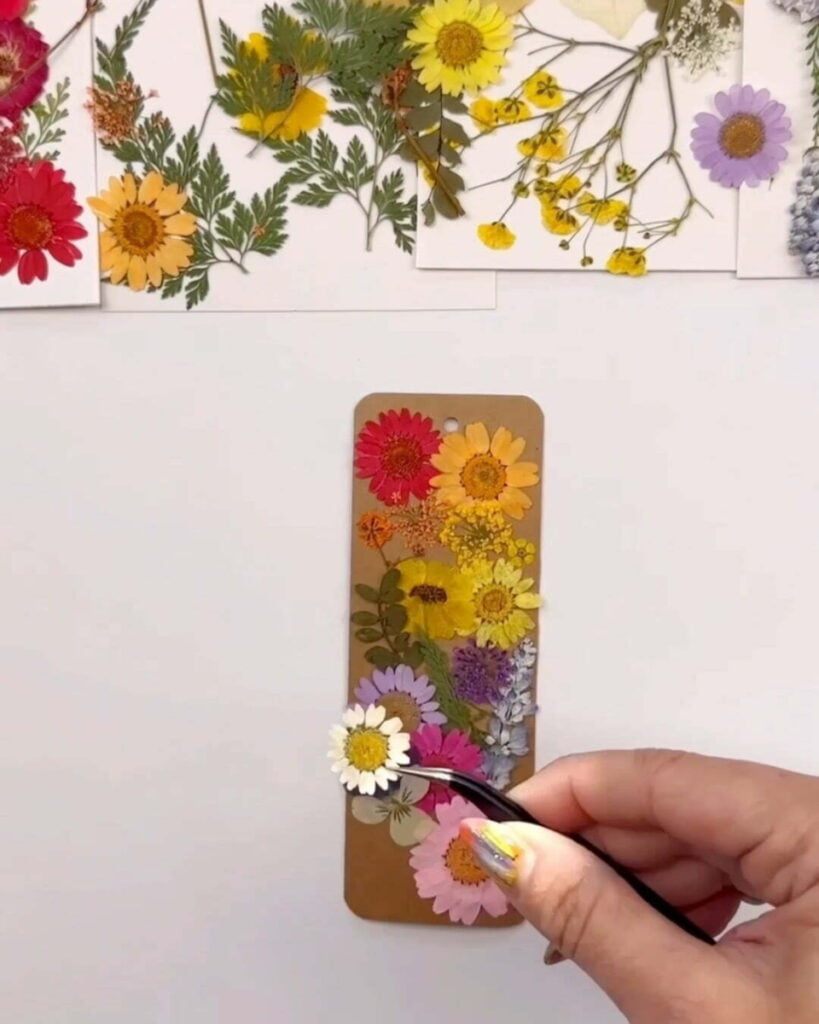
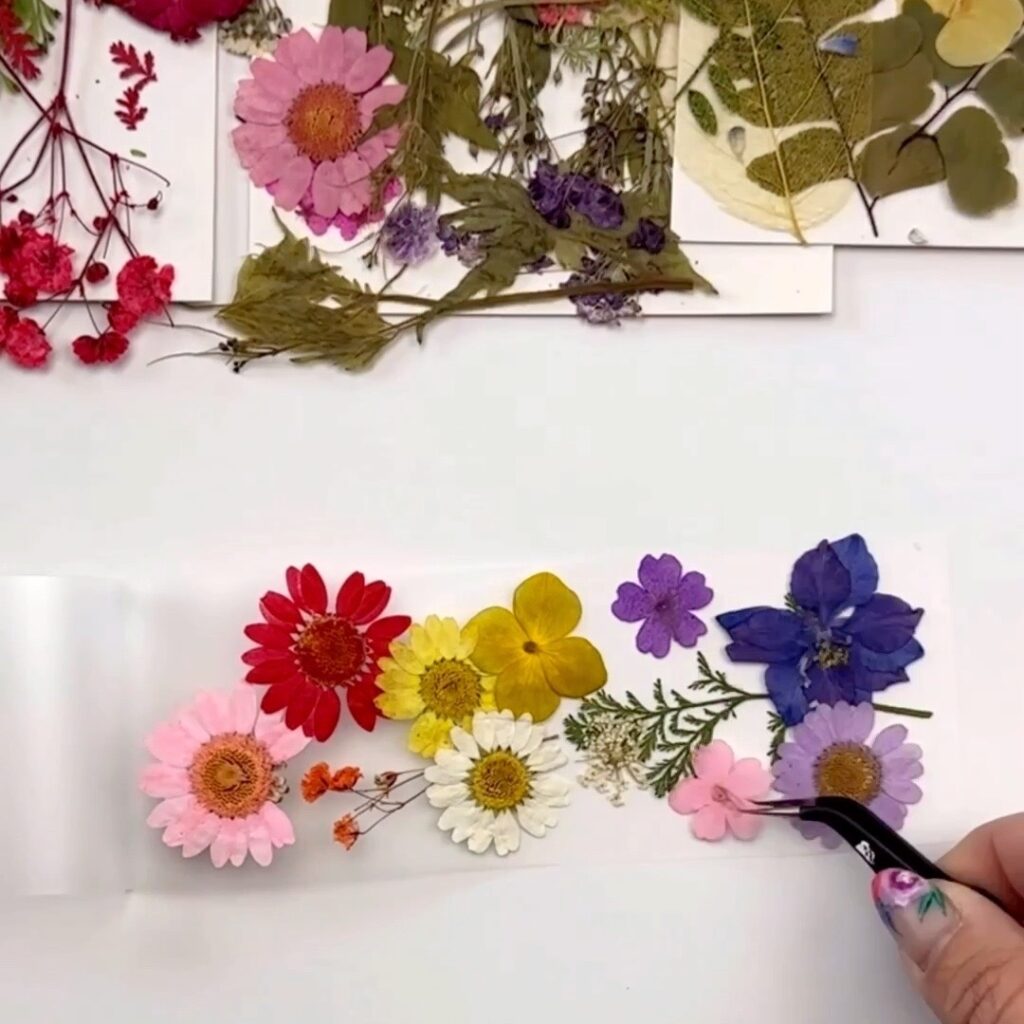
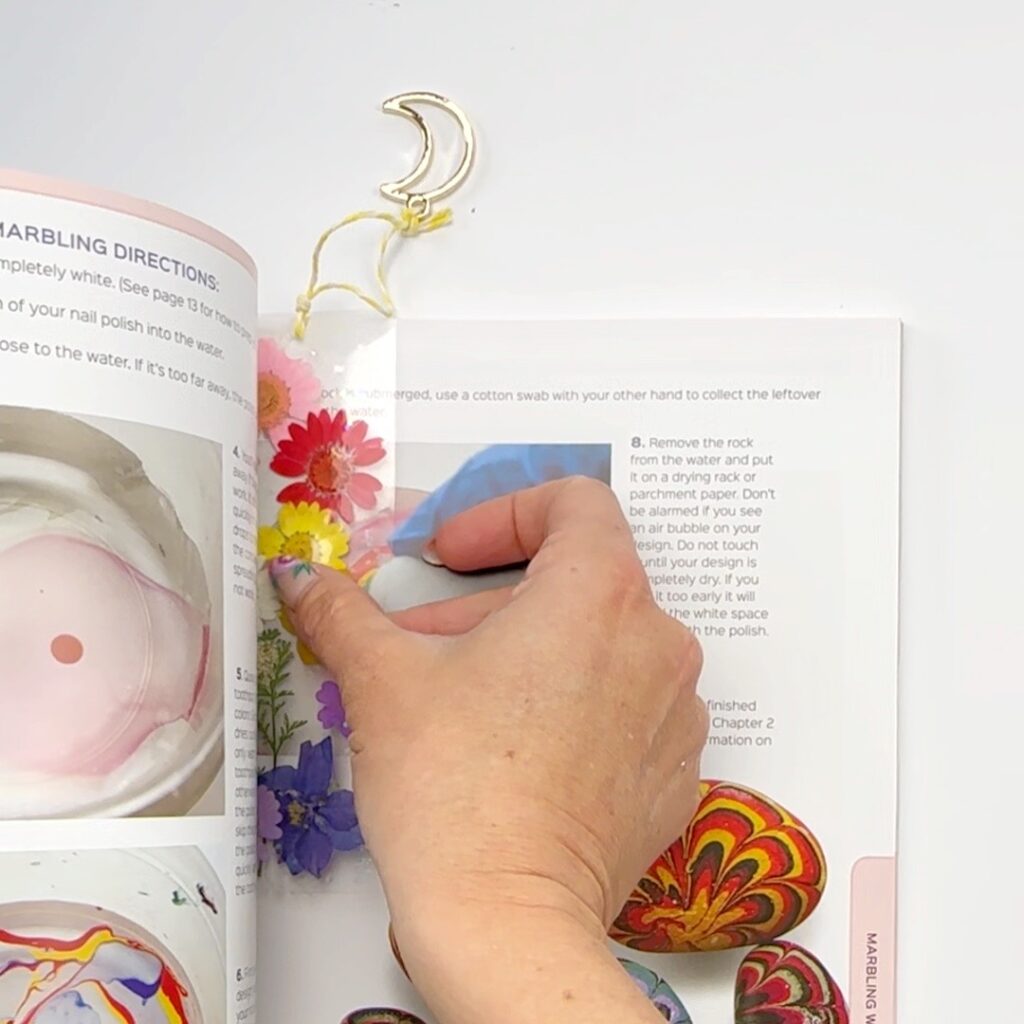
- 2. Arrange Flowers
Using tweezers, arrange the pressed leaves and flowers in a design that you like. The tweezers help to move the delicate flowers without damaging the petals.
If you’re using a cardstock bookmark for the background, you can use a glue stick to
keep the flowers in place. Keep in mind that you only need a very small amount of
glue.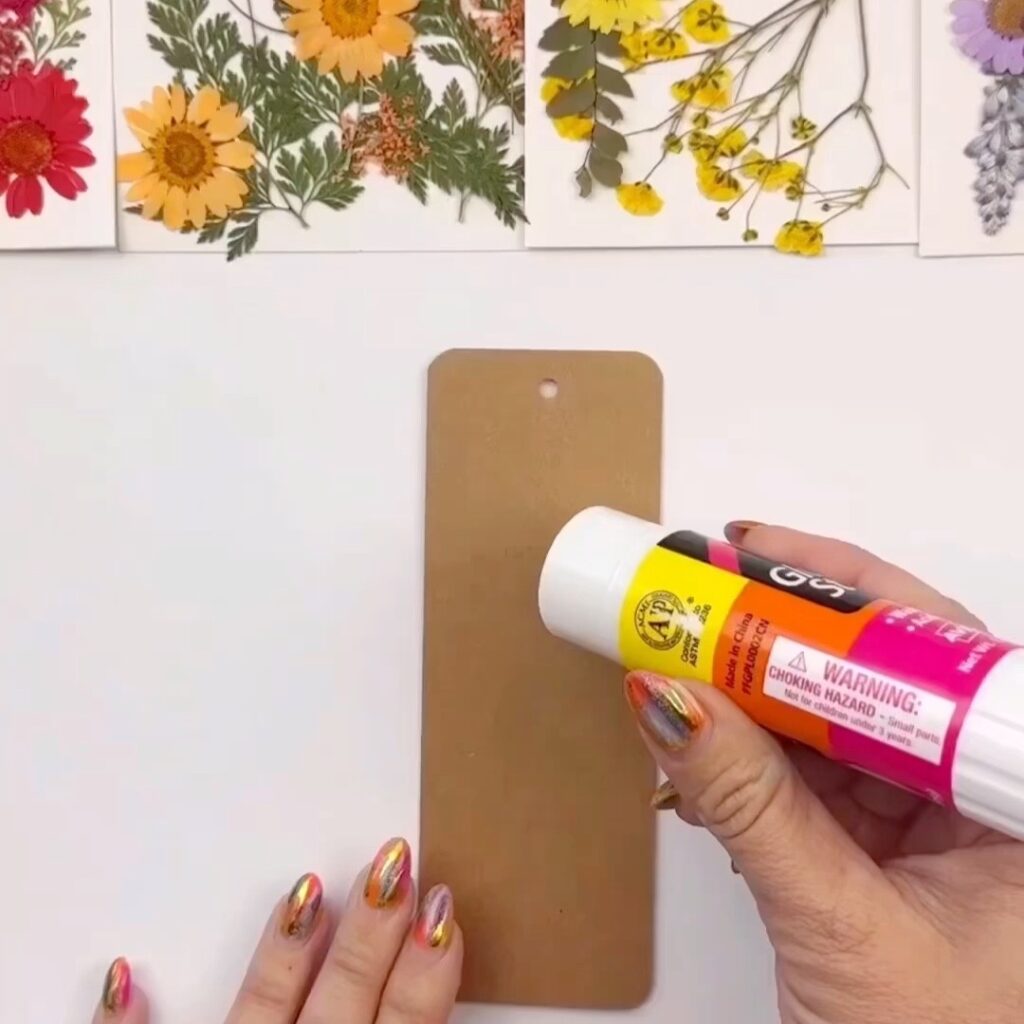
If you prefer a clear background for your bookmark, you can cut a laminating sheet to bookmark size and apply the flowers directly between laminating sheet pages.
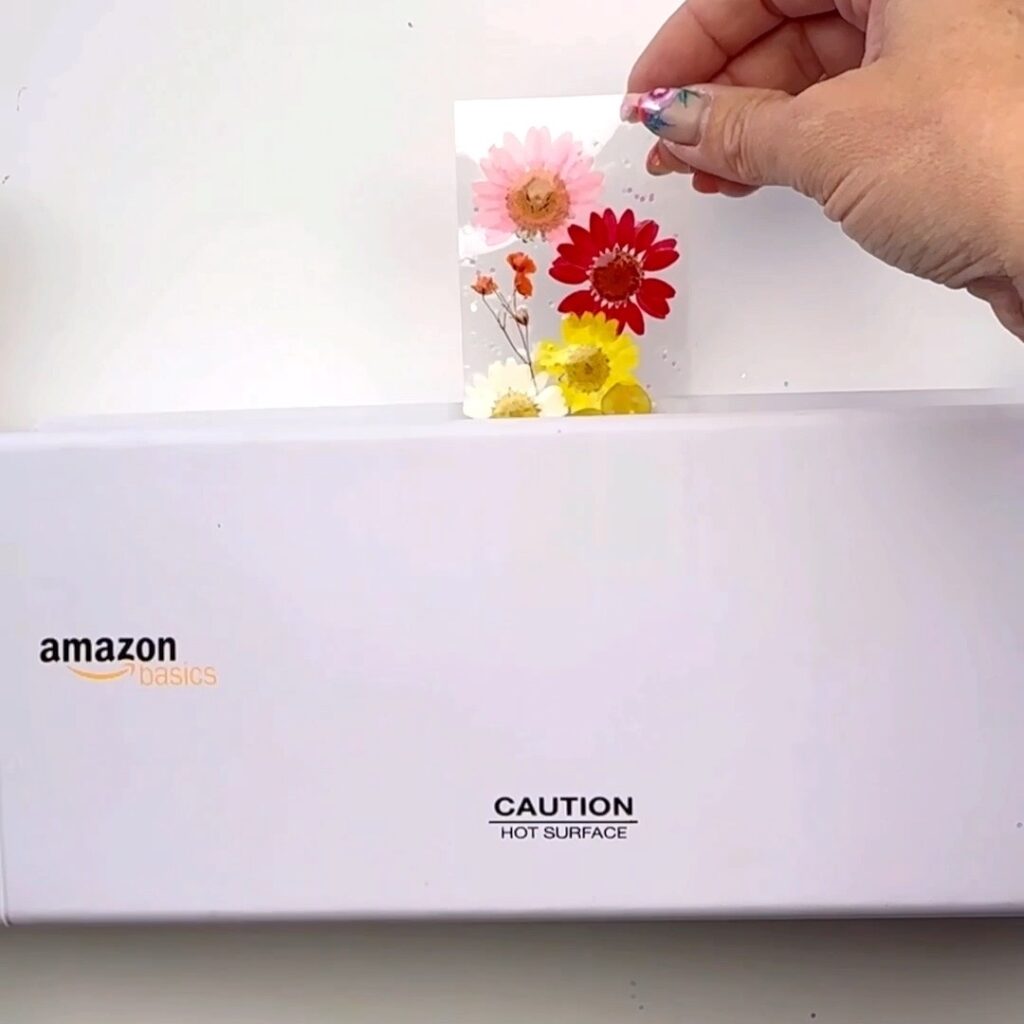
- Laminate the Bookmark
If your design is on a cardstock bookmark, put the bookmark between the lamination pouch. You can either cut the laminating sheet before or after you run it through the laminator machine.
If your design is directly on a laminator sheet you’ll just place the sheet directly into the laminator.
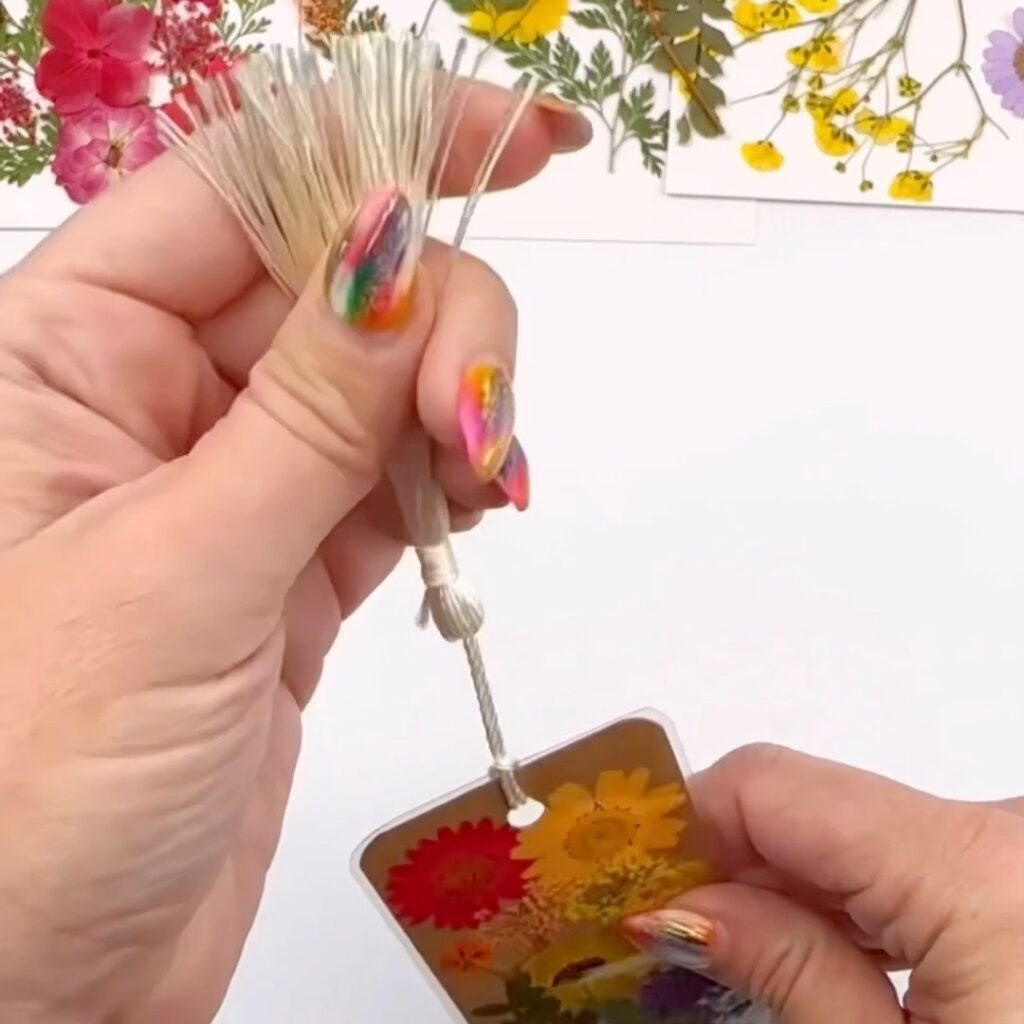
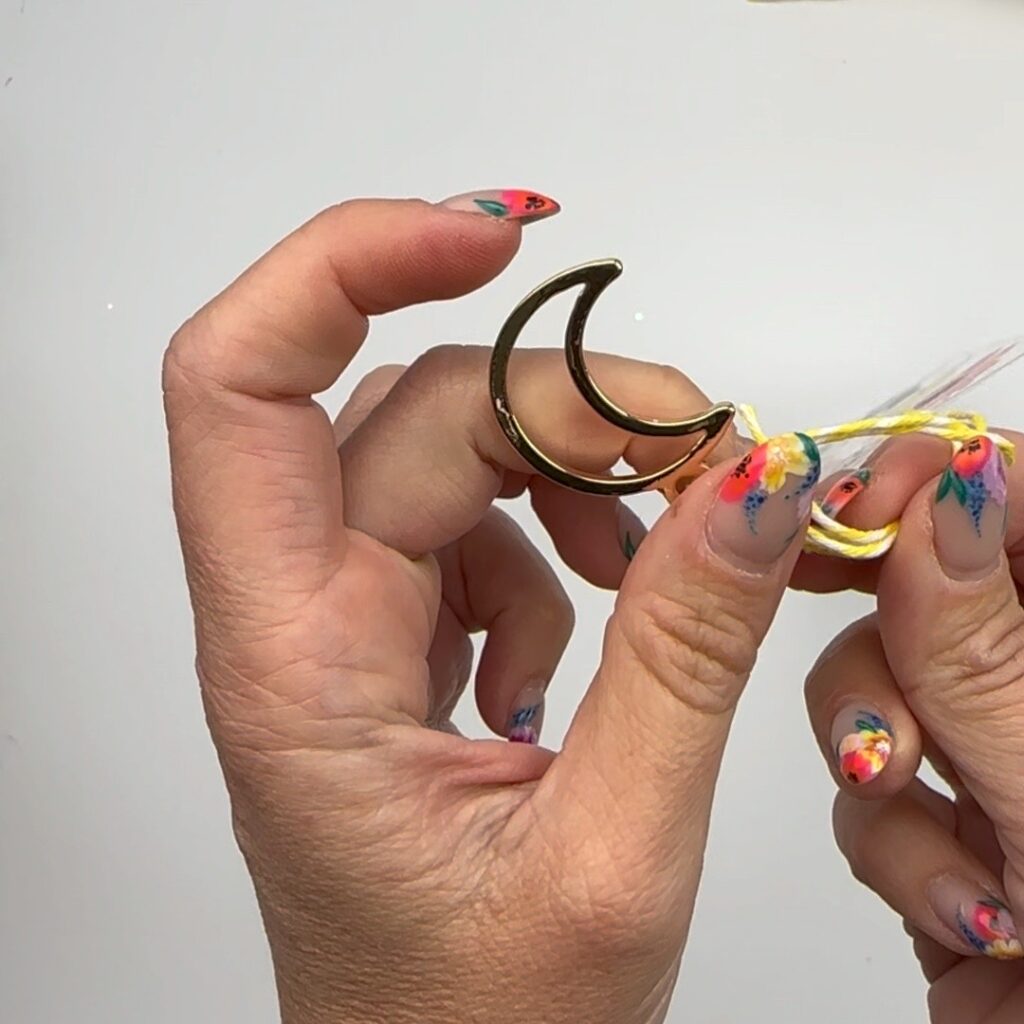
- Hole Punch. Add Tassels and Charms.
Add a single hole punch to the top of your bookmark. Add twine, ribbon or a decorative tassel.
If you want to add a bookmark charm, knot a piece of baker’s twine or string through the hole and then on the other end add a favorite charm.
Other Pressed Flower Crafts
I love easy craft ideas for pressed flowers and have used them to make a pressed flower ring dish as well as a pen and pencil holder.
You can also used pressed flowers for:
- Greeting cards
- Mother’s day crafts
- Ornament decorations
- Easter egg decorating
More Ways to Make Pressed Flower Bookmarks
If you don’t have a laminating machine you can still make your own bookmark using contact paper. Simply clear contact paper into the shape of a bookmark. Remove the backing and place the paper with the sticky side up. This is where you’ll place your flower design. Once you’re done designing, cut a 2nd piece of contact paper that matches the size of the book mark and place it over the top, sandwiching the flower in between.