How to Press Flowers
As an Amazon Associate, I earn from qualifying purchases. This post may contain affiliate links. See our full disclosure here.
Pressing flowers is a timeless technique that has been around for ages. There is so much beauty and versatility with pressed flowers and they can add a touch of elegance and charm to almost any DIY project. The best part is that it’s easy to learn how to press flowers.
In this post I’ll cover tips and tricks for flower pressing and share some fun and creative ways to use pressed flowers in your crafts and art projects.
4 Ways to Press Flowers
There are actually many different methods to press flowers. Here are four of the best ways to press flowers for beginners.
- Pressing Flowers with a Book
Book pressing is one of the easiest and most accessible ways to press flowers. It’s important though to stay patient as book pressing can take days and even weeks.
To press flowers in a book simply get a heavy book and 2 pieces of parchment paper. Place the flowers between the parchment papers and then place the papers inside the book. In place of parchment paper you could also use coffee filters, blotting papers or watercolor paper. Leave the flowers for at least a week to ensure there is no moisture left. Some flowers may take a lot longer. The flowers should feel like paper once they are ready.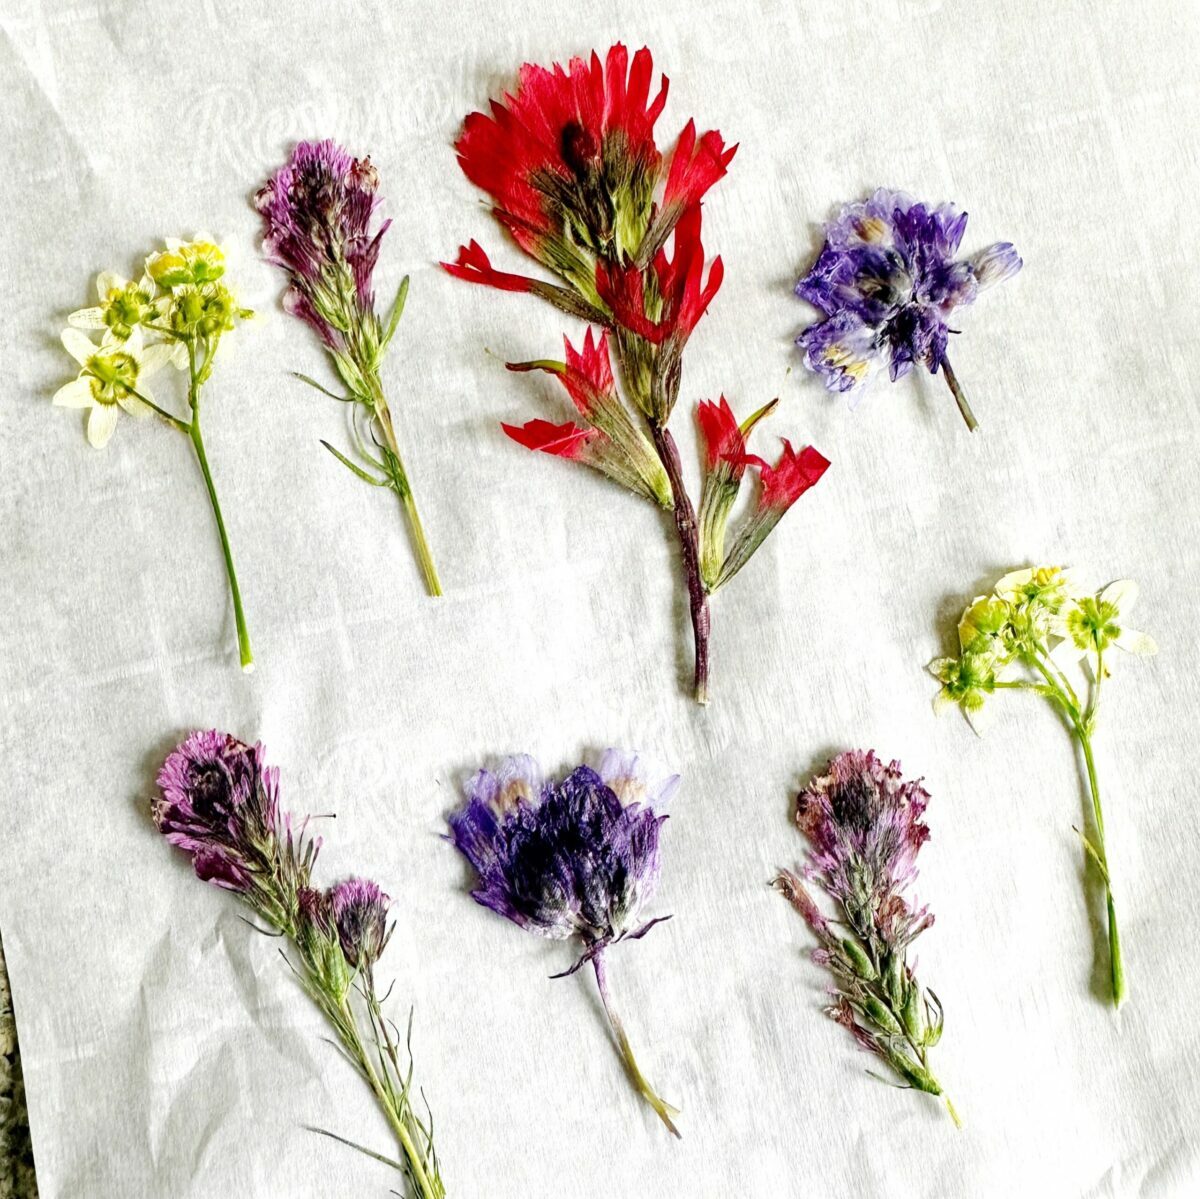
- Microwave Flower Press
Microwave presses are a great option to press flowers quickly and efficiently. I’ve been using the Microfleur 5” microwave flower press kit for all of my pressed flowers. I love that this flower press is easy to use and presses your flowers within minutes. If you want to work with more flowers at once, the kit also comes in a larger 9” flower press kit.
I’ve found that using this technique actually keeps the colors brighter on the flowers that I’m pressing compared to the traditional book press technique. What has worked best for me is to do small spurts of time in the microwave for each set of flowers that I’m pressing. Start with 20 seconds, then remove the press and wipe the moisture from the press. Continue this same sequence several more times until the moisture is completely gone.
Remove the pressed flowers and place them between parchment paper and set them in a book, keeping them flat until you are ready to use them for a project.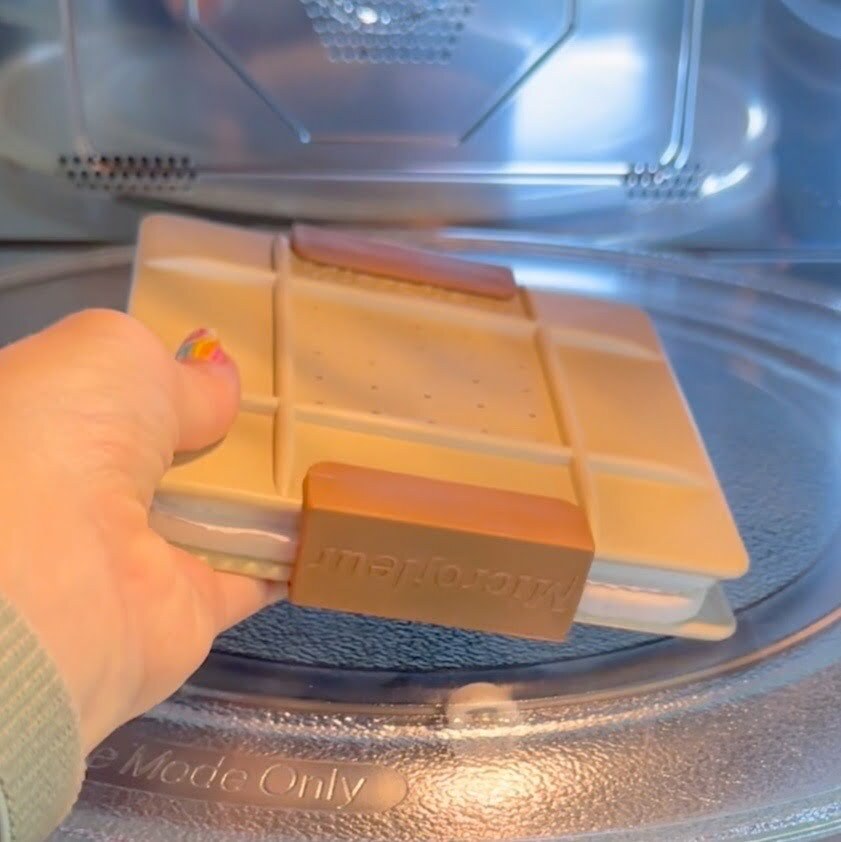
- Traditional Flower Press
Another way to press flowers is with a traditional flower press kit. Traditional flower presses are typically made with two wooden boards that are held together with bolts, wing nuts and washers. The boards have absorbent paper also known as blotting papers between them and the flowers or leaves are sandwiched between the layers. Pressure is applied to the board by tightening the wingnuts, which causes the flowers and leaves to flatten and dry.
Typically flowers that are pressed this way will need 1-4 weeks before they are dried completely and pressed.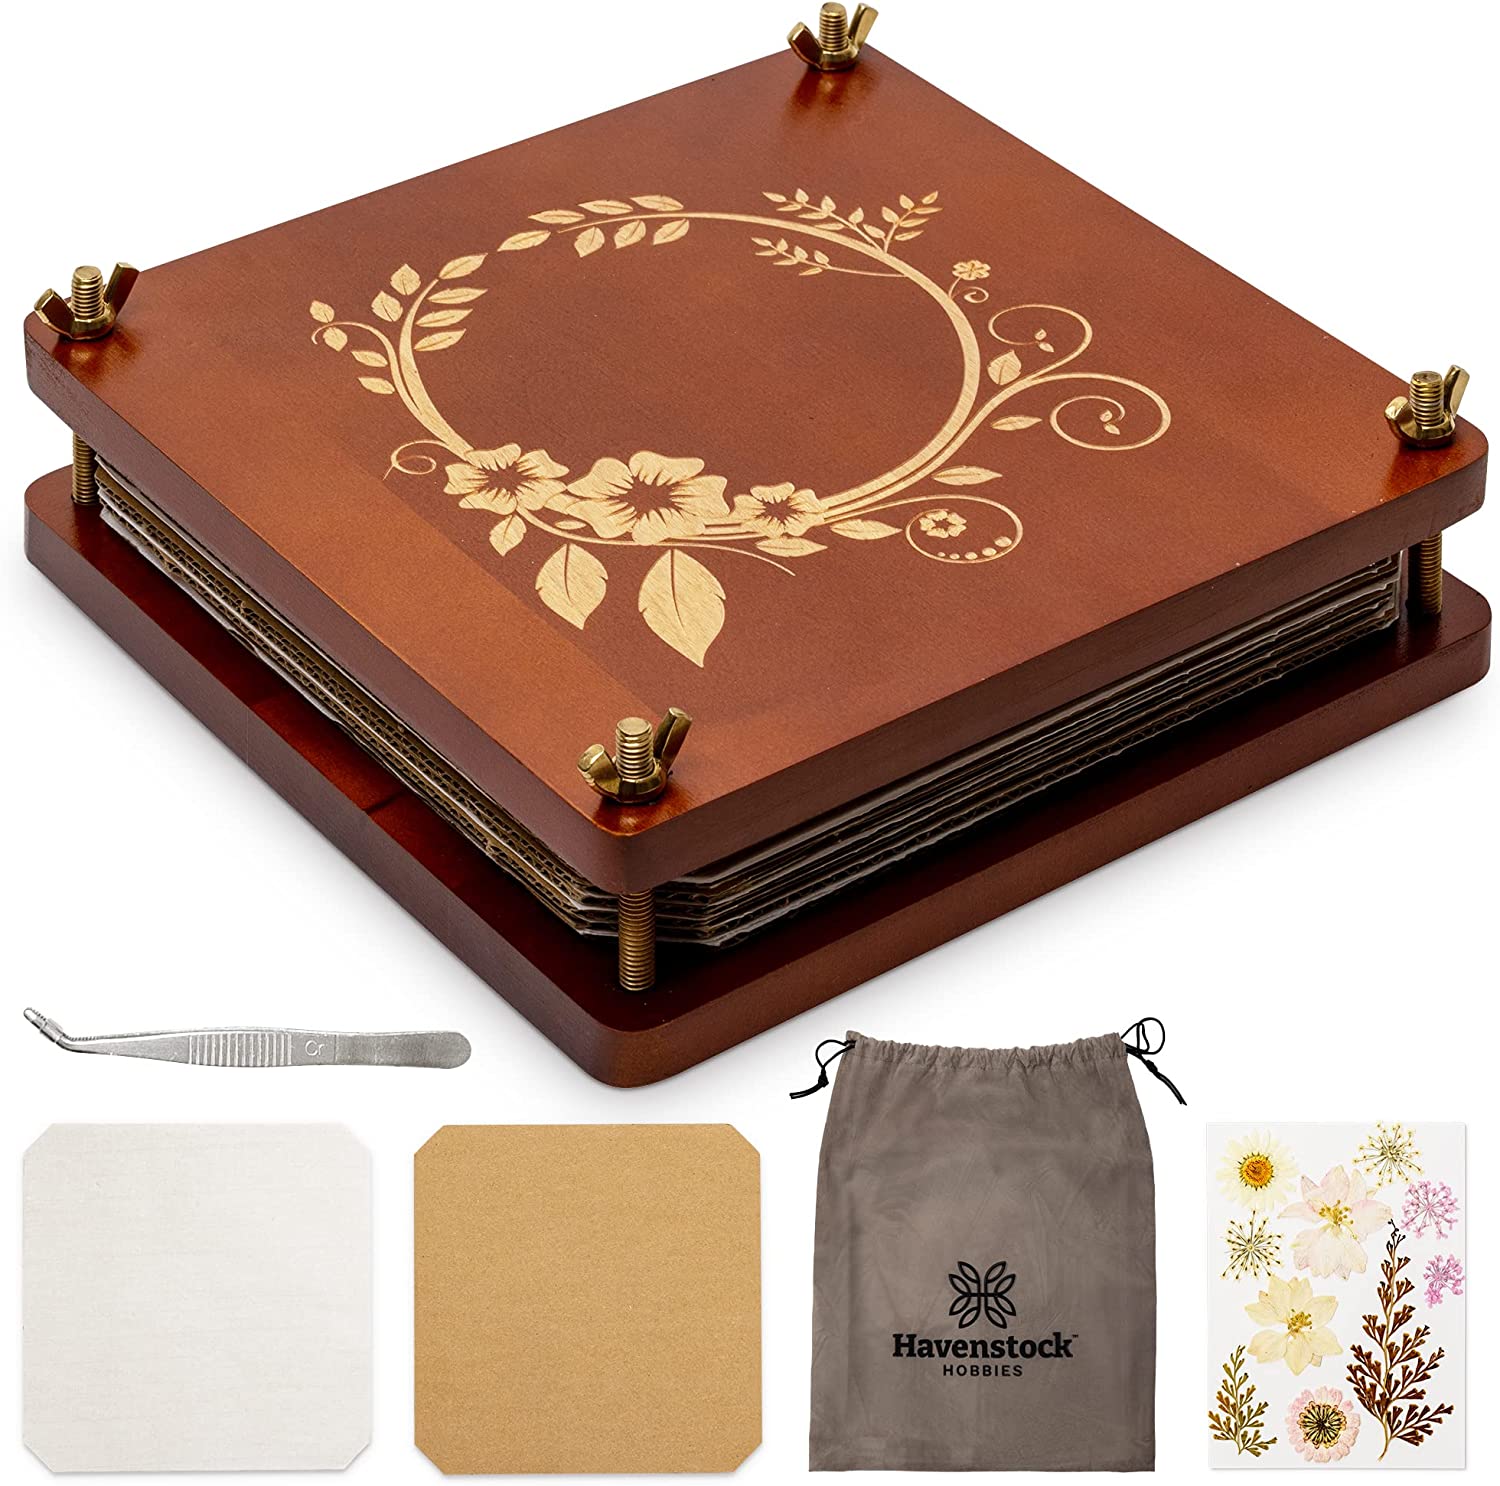
- Pressing Flowers with an Iron
If you want a flower pressing method that’s quick and can be done with most items you likely already have on hand, try the iron pressing technique. For this method you’ll want to use absorbent paper. I like to use parchment paper.
To begin, set your iron to a low setting and be sure to turn off the steam function and make sure no water can escape the iron. You don’t want to add moisture. Place flowers between 2 pieces of parchment paper (I like to first flatten the flowers as much as I can with a heavy item or book.
Place the layers of paper on an ironing board and press the iron to the paper and leave it for 10-15 seconds. Make sure not to move the iron around. You want to leave it in one place. If you have more area to cover, repeat the same thing over the other parts of the paper. Let the paper cool in between and continue this method until the flowers are completely dry.
What are the Best Flowers for Pressing?
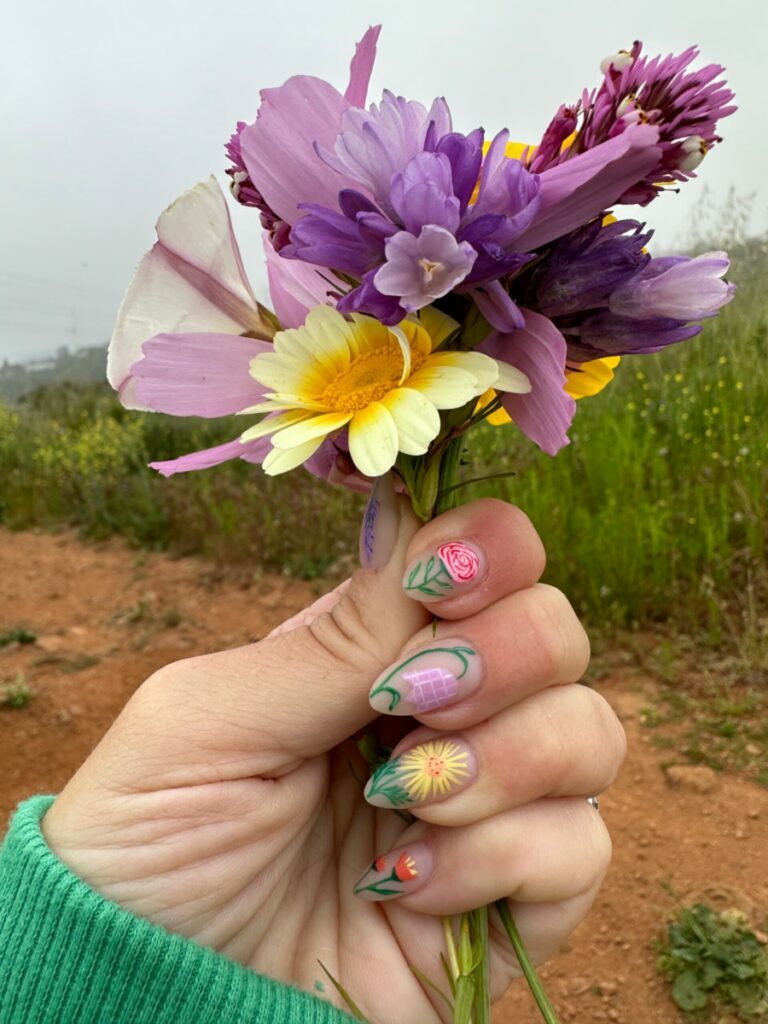
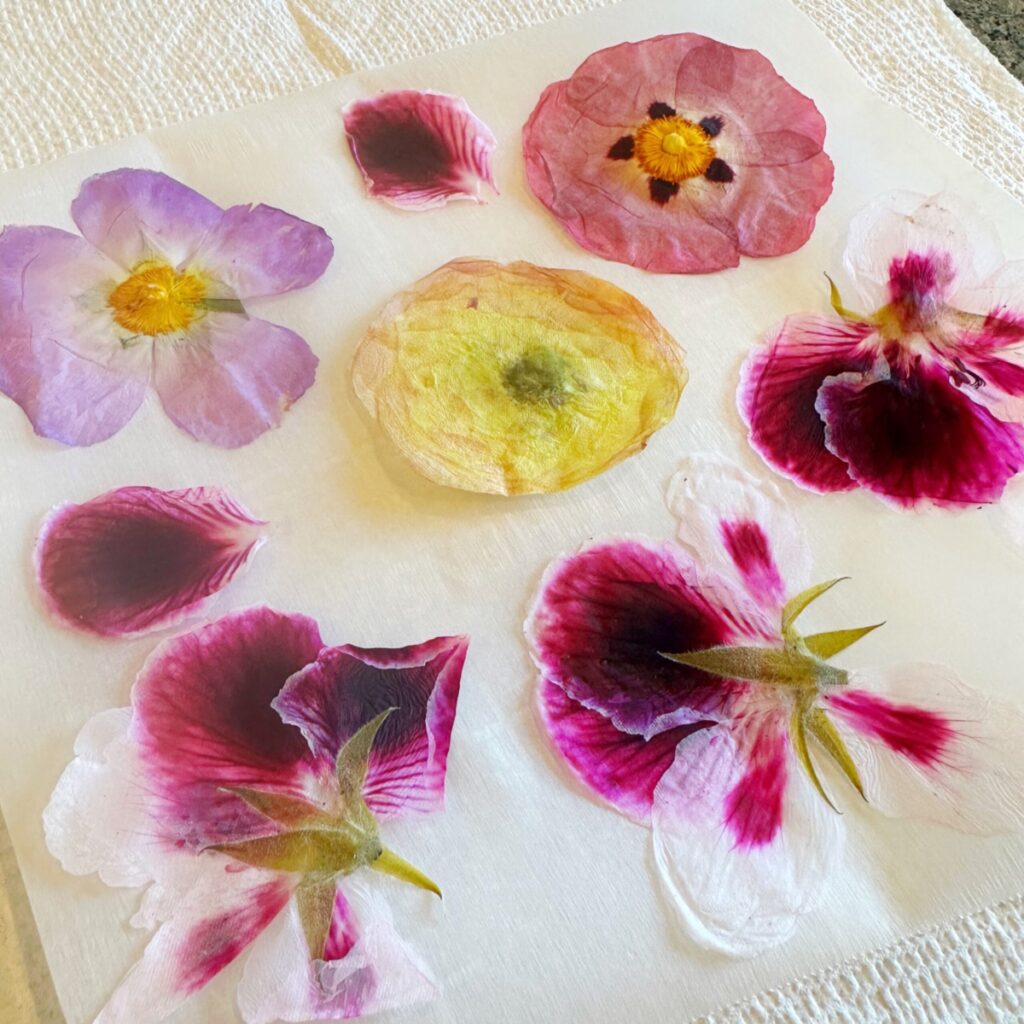
- The best flowers for pressing are ones that have a single layer of petals like daisies, cosmos, pansies, violas and violets. Look for flat blooms that have a natural flatness. Leaves and ferns are also great for pressing.
- Bulkier flowers like roses are difficult to press unless you split them in half before pressing.
- Look for fresh flowers that are in good condition without dark spots or tears. Early morning after the dew has evaporated is an ideal time to pick flowers. You want your flowers to be dry.
- After picking your flowers, be delicate with them to avoid damage or the loss of petals.
- Once you pick your flowers be sure to add them to fresh water as soon as you can until you are ready to press them.
- If you want to just press the flower, cut the stems as close to the base as possible.
Where can I Buy Pressed Flowers?
If you don’t want to worry about making your own pressed flowers you can purchase beautiful pressed flowers on Amazon and Etsy. Most of these pressed flowers are smaller in size making them perfect for crafts. They also tend to be bright in color compared to flowers you press yourself. While the brighter colors have a less natural appearance, they do really stand out in the art or crafts you use them for.
Craft Ideas Using Pressed Flowers
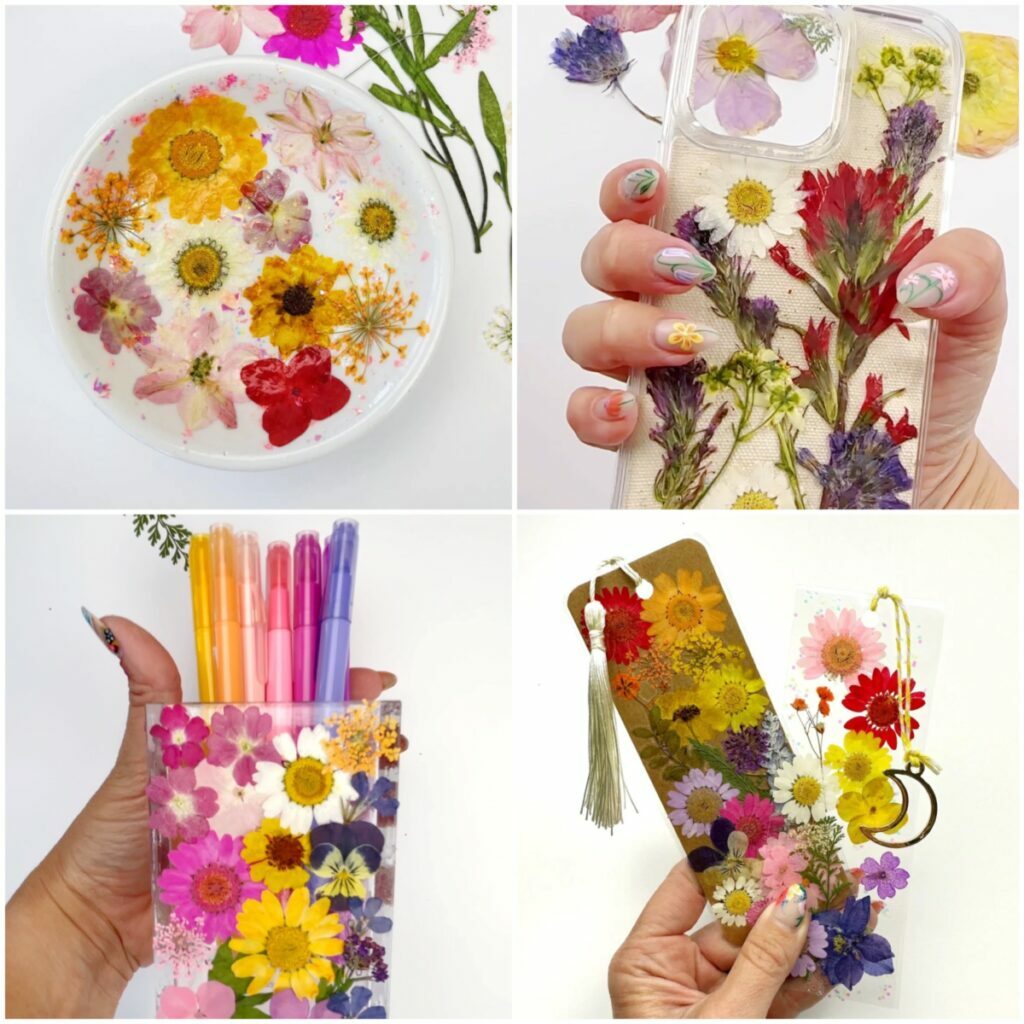
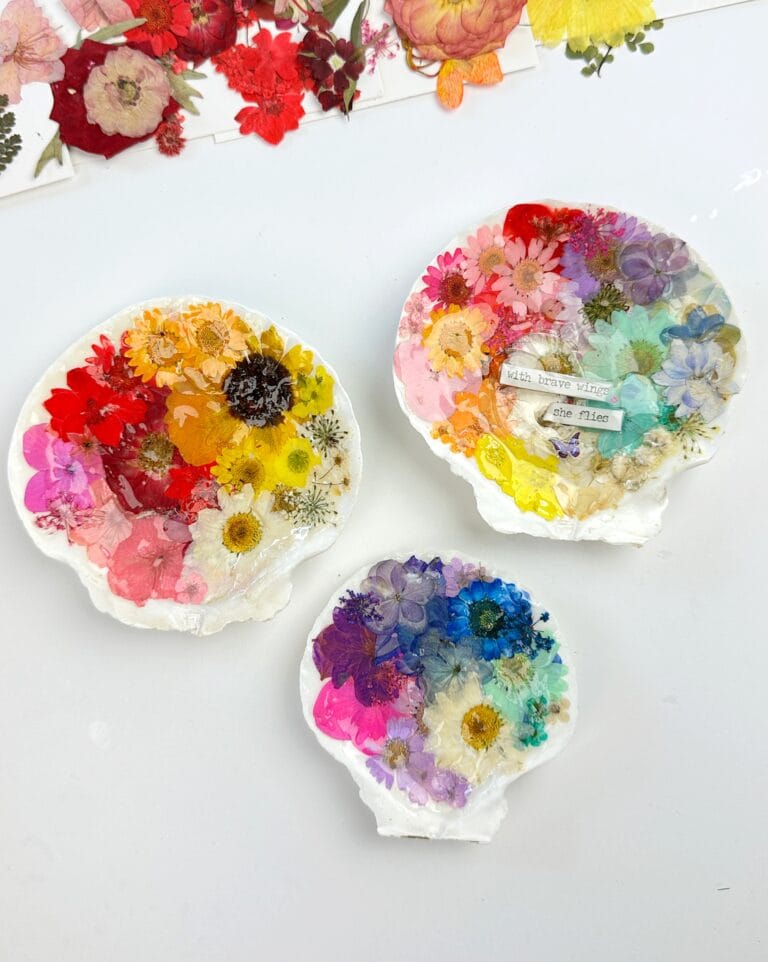
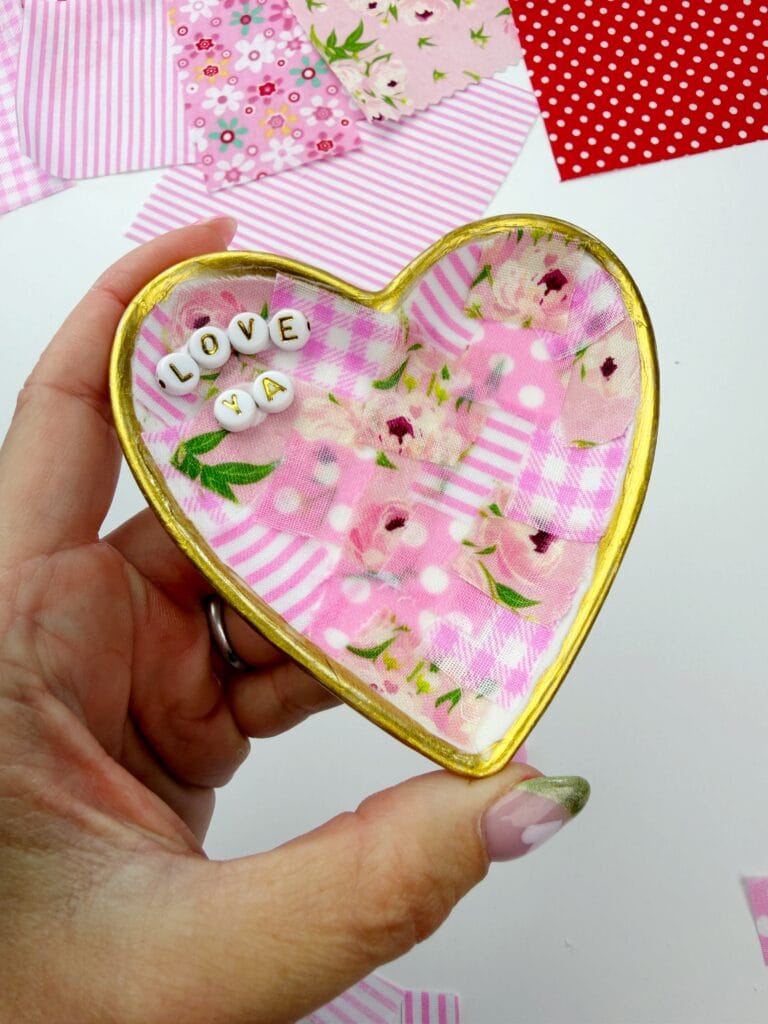
- Flower Ring Dish – Make a beautiful pressed flower ring dish that is perfect for displaying your precious treasures. Glue the flowers to a dish and then spray with a sealant for a protective, glossy finish. See full tutorial.
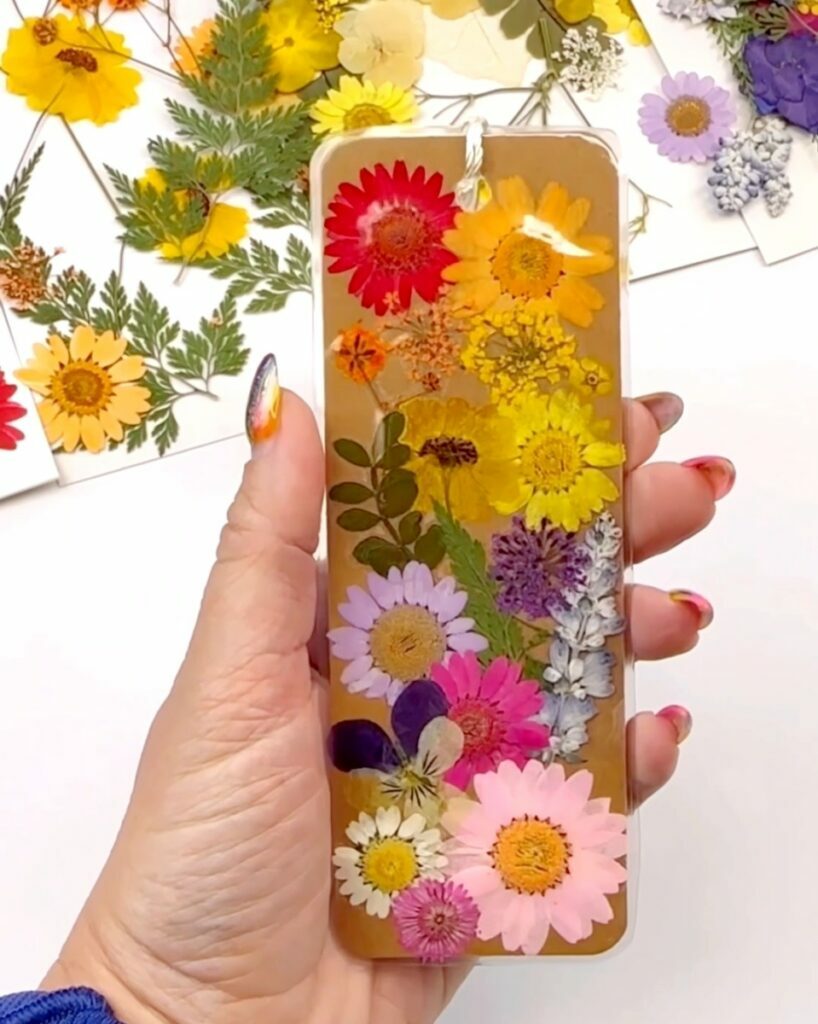
- Bookmarks – Use pressed flowers to create beautiful and delicate bookmarks to place in your favorite book. You can add the flowers to bookmark resin molds or simply glue them onto cardstock and protect them with lamination. See full tutorial.
- Jewelry – Create beautiful and nature inspired jewelry using pressed flowers.
- Phone Case – Create a unique phone case with your favorite pressed flowers either glued directly to the case or onto a piece of fabric that’s then inserted into the case.
- Pen and Pencil Holder – It’s easy to decorate a pencil holder with pressed flowers. All you need to do is glue the flowers to the container using Mod Podge.
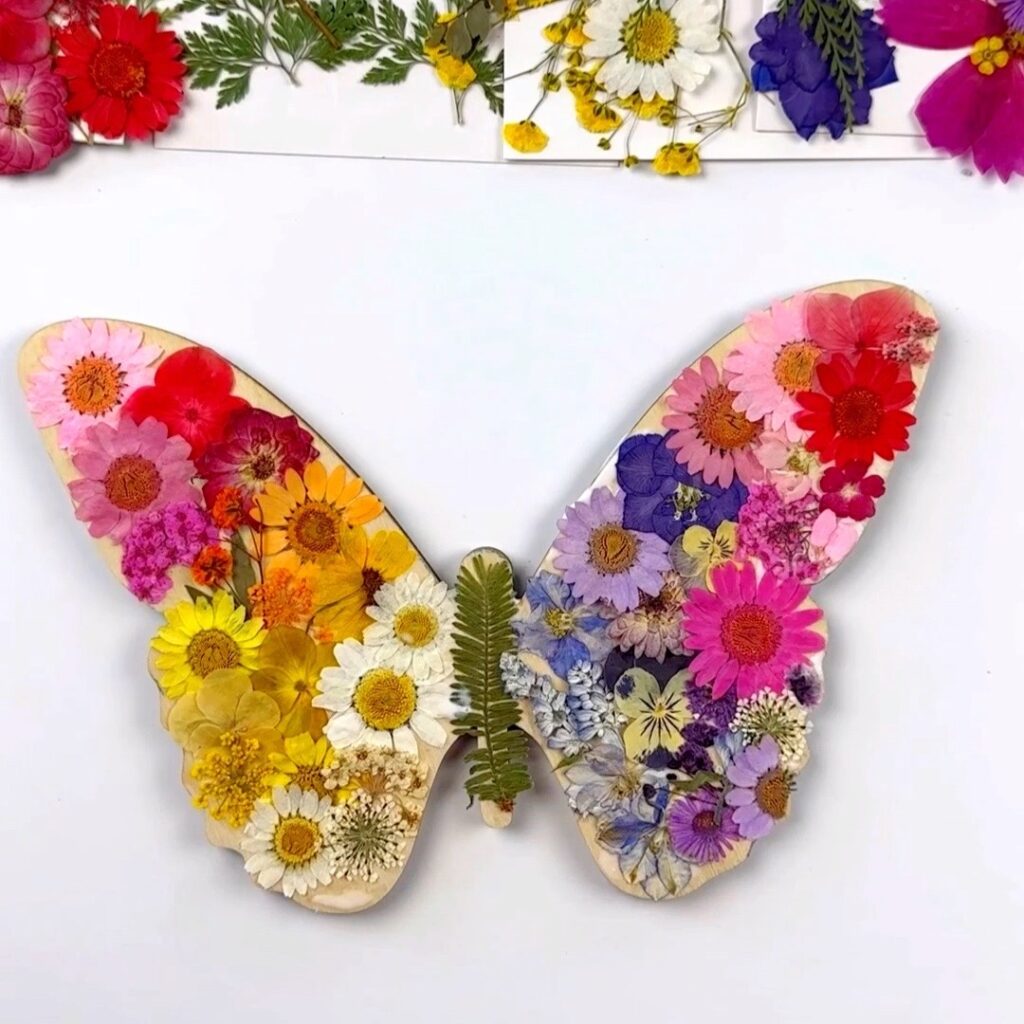
- Wall Art – Pressed flowers are great for framing and creating unique wall art. Arrange flowers in a pattern on a canvas or piece of cardstock, and then frame for a beautiful piece of art. If you’re a new bride you can turn your bouquet into a masterpiece by pressing the flowers and adding them to a framed glass picture.
- Wood Art – Glue your favorite pressed flowers onto wood cutouts to create beautiful pieces of art.
- Ornaments – Add an element of nature to your handmade ornaments with pressed flowers. You can arrange the flower to look like a design or make a simple collage.
- Greeting Cards – When you add pressed flowers to card stock you can create beautiful pressed-flower art that’s perfect for greeting cards.
- Easter Eggs – Decorate your easter eggs with your colorful pressed flowers. And you don’t have to use real eggs. Decorate some faux eggs or wood eggs so you can have the eggs for years to come.
- Pumpkin Decorating – Pressed flowers are a great way to decorate pumpkins whether they are real pumpkins or fake ones. Put the flowers on in a pattern or use them to create a shape like a heart.