DIY Christmas Wrapping Paper
As an Amazon Associate, I earn from qualifying purchases. This post may contain affiliate links. See our full disclosure here.
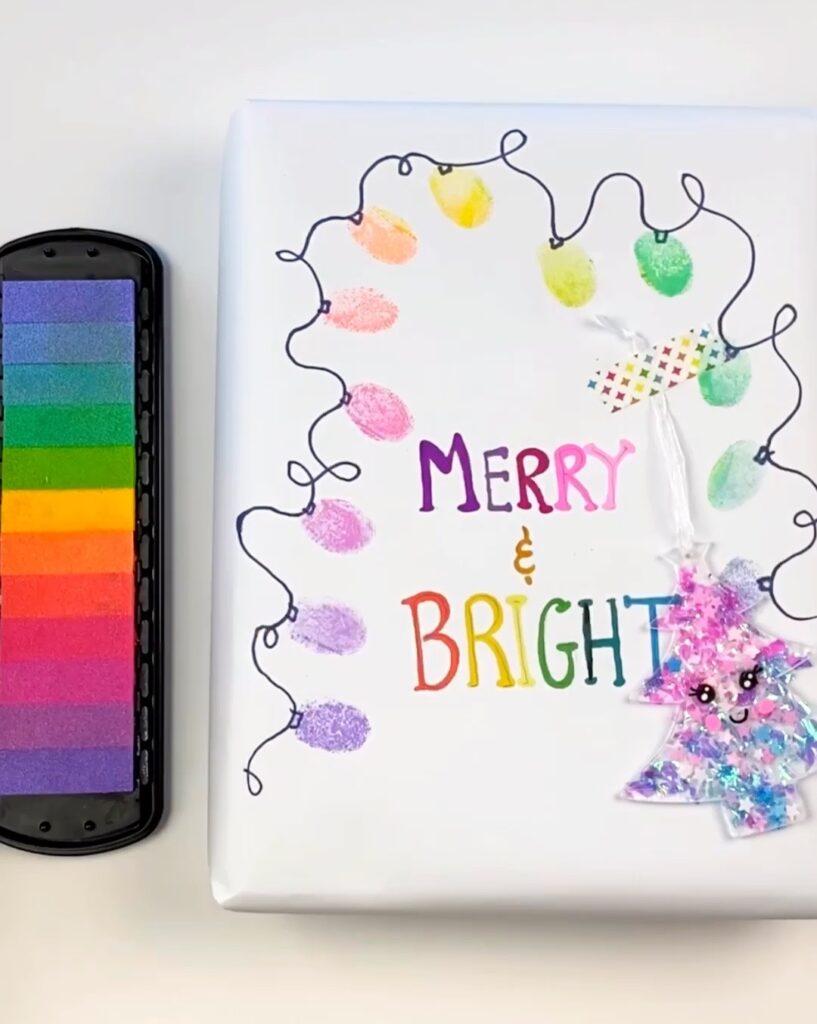
Need a holiday gift wrapping idea that is quick and easy? This DIY Christmas wrapping paper idea centers around using a colorful stamp pad to make your designs on the wrapping paper. I love using a stamp pad because it’s no fuss, easy clean-up. Plus, there are no brushes involved! All you need are your trusty fingers, and you can craft this project up in minutes!
Related: Festive Gift Wrapping Using Paint Pens
What You’ll Need for this DIY Christmas Wrapping Paper (affiliate links provided for convenience)
- White Wrapping Paper – You can use any type of paper that you’d like, but this is my favorite!
- Stamp Pad – Colorful petal stamp pads or these multi-color stamp pads are great options. (The stamp pad I used is no longer available).
- Sharpie Pens – These work great for adding details and hand lettering.
How to Make this Fun Fingerprint Wrapping Paper
1. Wrap the Gift
Grab your present and take out the white wrapping paper and lay it flat on the table. Wrap the gift, making sure to wrap the paper tightly and neatly around the present for maximum surface area to paint. (Tip: If you’re giving a gift that requires a bag, find a plain white bag and do the same thing. Your family will love it!)
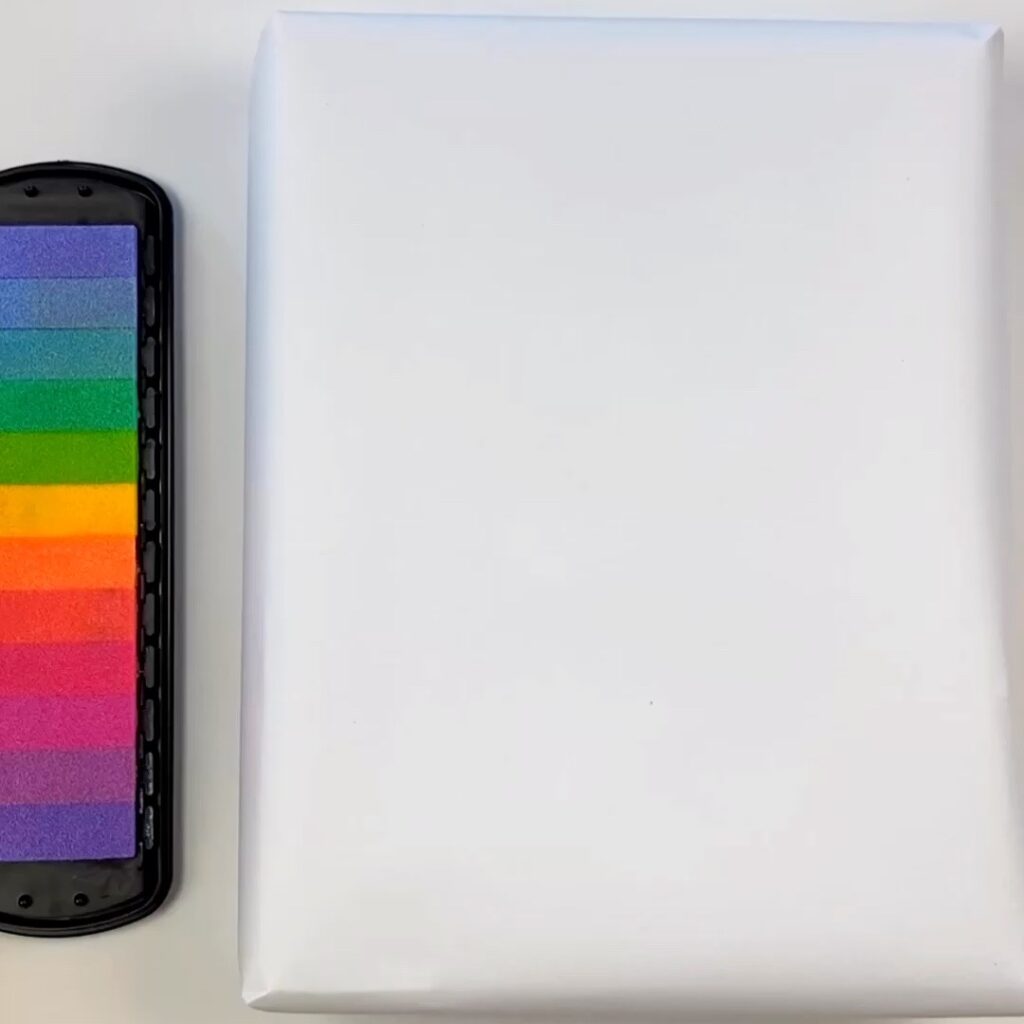
2. Get Out Your Stamp Pad
Get your stamp pad(s) ready and set them out beside you. I also place some baby wipes nearby so that fingers can be cleaned as to not color mix the stamp pad colors.
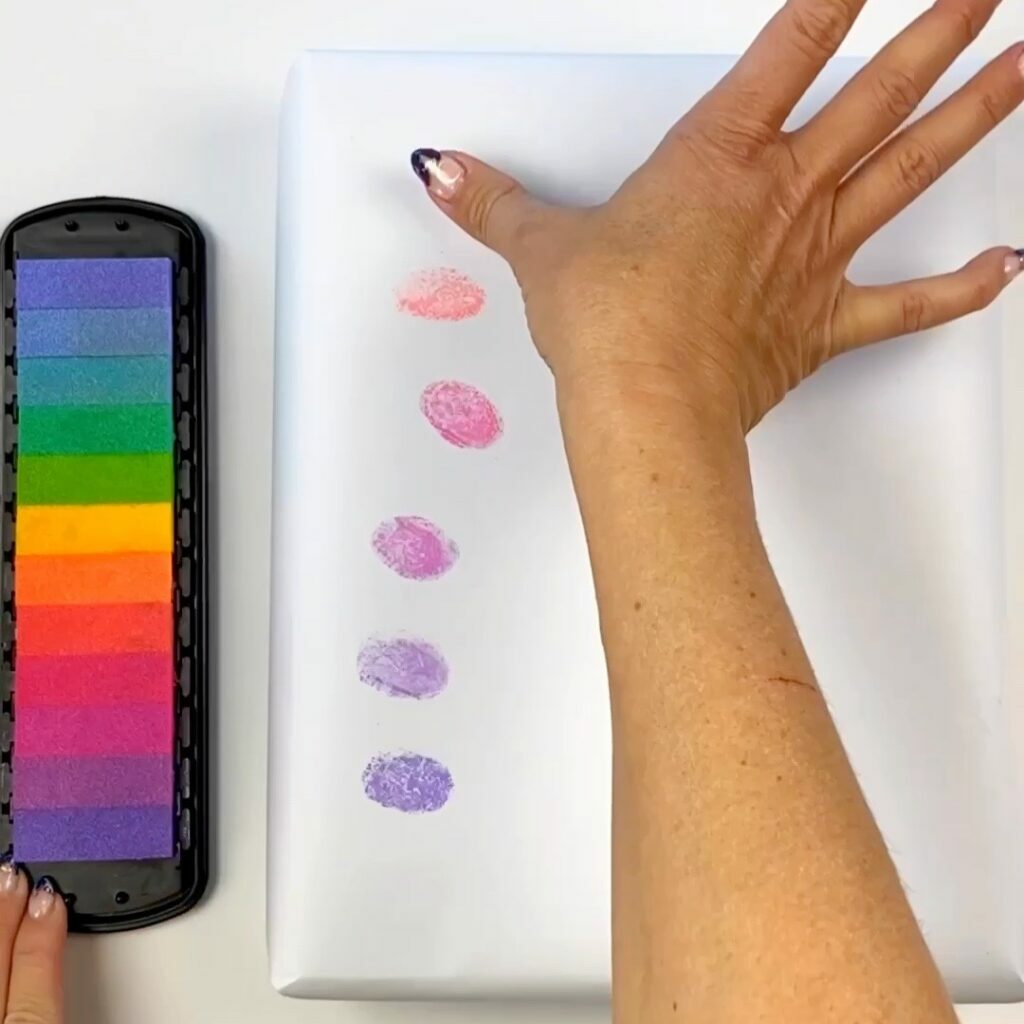
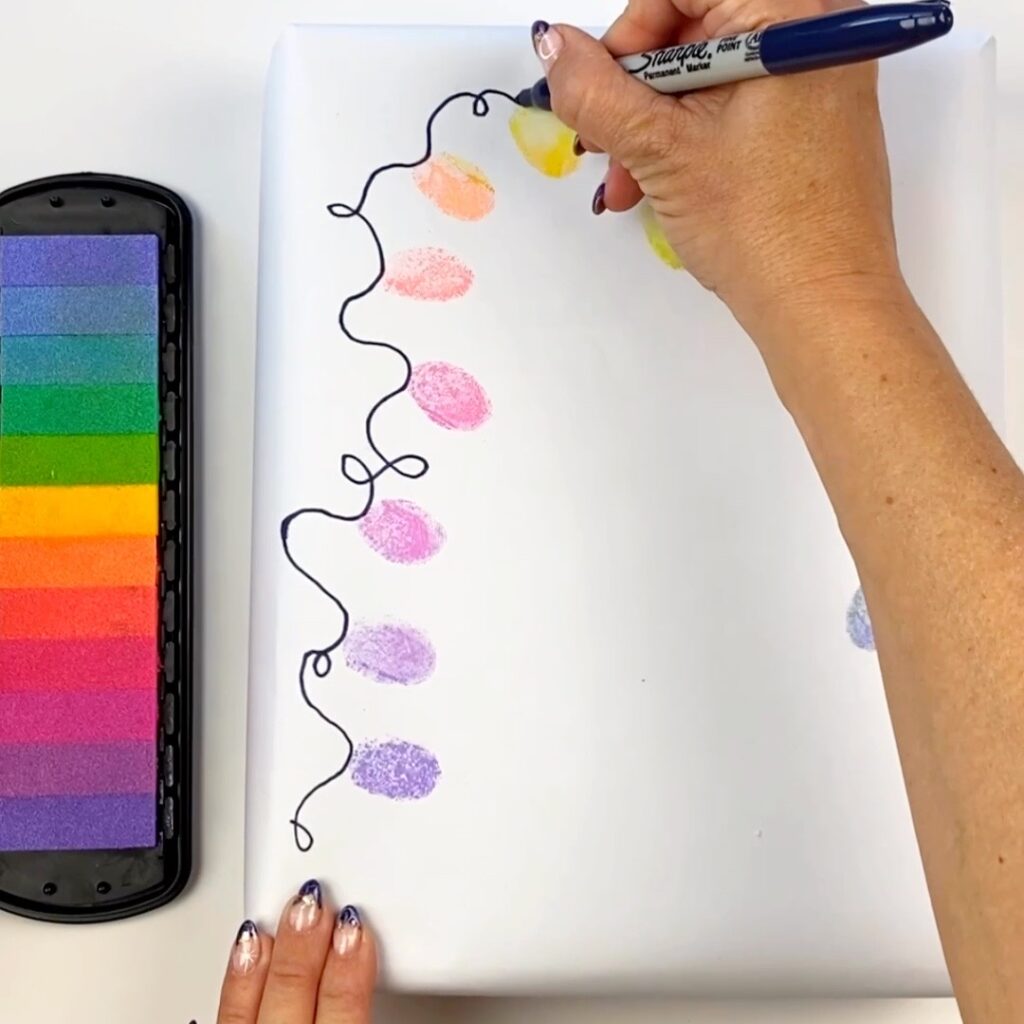
3. Stamp Your DIY Christmas Wrapping Paper Design
Stamp either your finger (I found my thumb worked best) or your kids’ fingers into the stamp pad and begin making your design. NOTE: I wiped my fingers between every few colors so that I wouldn’t mix the colors together on the stamp pad.
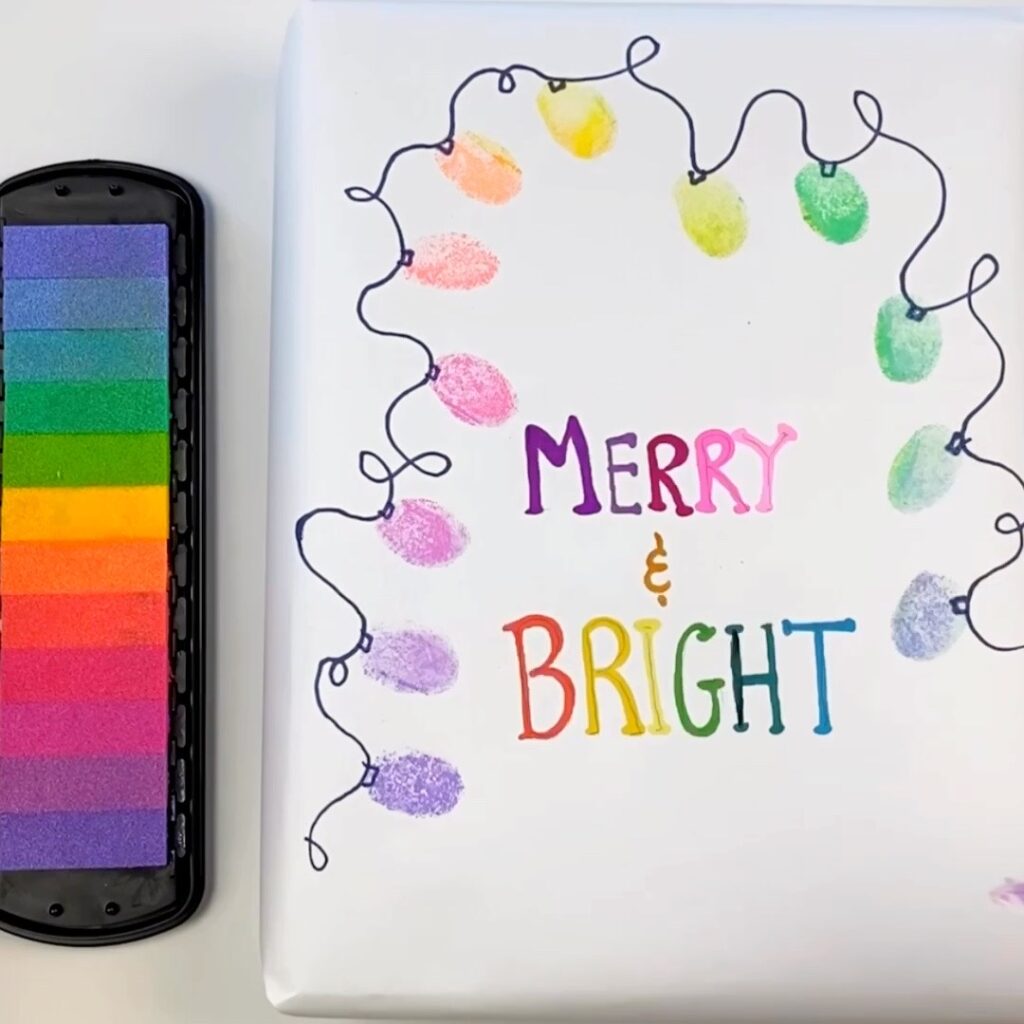
4. Draw in Details
After you’ve stamped your design, whip out those trusty Sharpie pens and draw any finishing touches onto the paper like the holiday light strand or add a colorful written message.
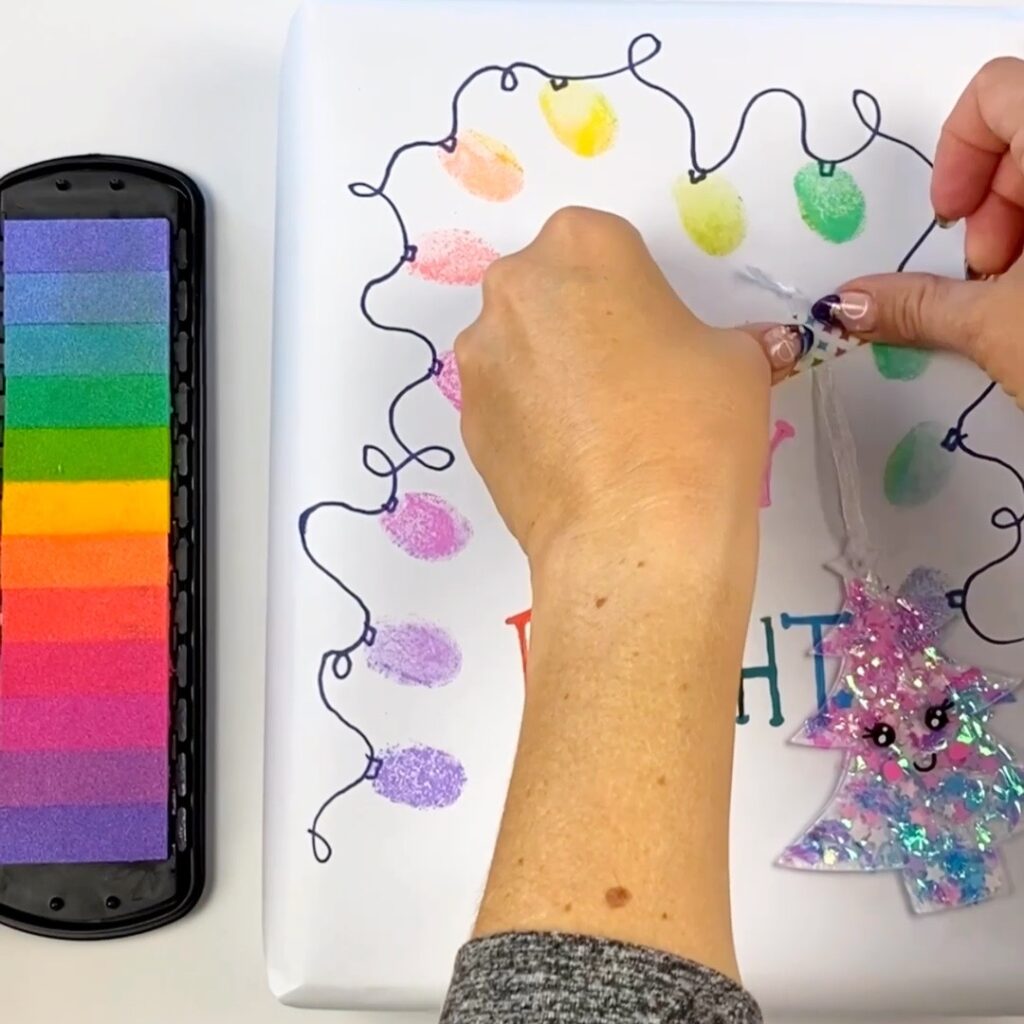
5. Optional – Add Extra Trimmings to Your Gift
I also added one of my DIY Glitter Ornaments and taped it to the paper using washi tape for an extra flair. This is totally optional.
The thing I love about this craft is that it’s so easy yet so personal. If you know the person who’s getting the gift loves snowmen, you can do a cute snowman design! I love doing DIY crafts like these because they show you put extra thought.

The best part of this craft is letting your kids in on the action. I know kids love getting their hands dirty and this DIY Wrapping Paper is the perfect way to do it! They can show off their creative skills and give a thoughtful gift to a loved one!
More Christmas Wrapping Paper DIY Tips
- If you’re making this craft with kids, make sure to use non toxic stamps. This can be a great easy Christmas themed DIY for toddlers!
- Give gifts wrapped in DIY Christmas wrapping paper to grandparents, aunts and uncles, teachers, friends, and extended family.
- You can easily make this with recycled paper! White works best, but you can also save brown paper that comes inside online orders.
- Experiment with different color combinations, you can even turn it into a patterning activity with your kids.
If you find yourself doing this DIY Christmas wrapping paper, tag me on social media. One of my favorite things about Color Made Happy is getting to see the fun twists you take on my crafts.