How to Draw a Christmas Tree: Step by Step
As an Amazon Associate, I earn from qualifying purchases. This post may contain affiliate links. See our full disclosure here.
A Christmas tree drawing is exactly what you need this holiday season to lift your spirits and prepare you for the festivities. Drawing is an easy way to decompress after a long day and a perfect activity to share with family and friends.

Use this step-by-step tutorial for drawing a Christmas tree to create a Christmas card, present tags, or create a winter wonderland drawing. Continue reading to learn how to complete each simple step.
Materials Needed to Draw a Christmas Tree
You will need a few simple supplies to get started with this activity. Make sure you have these on hand before you get started.
- A sheet of paper or card stock to draw on or a sketchbook
- Pencil and eraser
- Markers, colored pencils, colored pens, oil pastels, watercolors, or crayons for coloring
- Step-by-step guide for the Christmas tree drawing
How to Draw a Christmas Tree
Follow these easy steps to draw your own tree drawing for the holidays. Make your very own festive tree with plenty of uses. You can also customize the tree outline with your favorite decorations and details. Follow this step-by-step drawing tutorial below.
Step One
The first step is to pencil out a five-pointed star. Do this near the top of your paper, so you have plenty of room to work downward on the tree. This will be the Christmas star at the top of your tree.
Step Two
This next tree step is where you will start to draw the outline of the tree starting with the top of the tree. Draw two curved lines sloping down from the star. Join them with several points acting as the evergreen tree needles hanging down. I did a total of 6 points on this step.
Step Three
Now, you will add a larger segment of the tree. Draw a shorter sloped line down on each side and then create points on both the left and right sides. I drew mine slightly different angles to make it more realistic.
Step Four
Repeat the step above with a larger segment of the tree. You will need a few extra points.
Step Five
This is the final section of your tree. Make this section nice and fluffy with lots of points coming off it at different angles. It’s a curved line with several jagged lines coming off of it. I made the section in the center upward a little to make room for the tree’s trunk.
Step Six
Add the trunk of the tree with a simple rectangle shape to your tree’s center.
Step Seven
Add ribbon or garland around the tree by drawing lines from one side of the tree to the next. These can be placed wherever you would like. I used carrying placements and angles.
Step Eight
Add stars to your tree. I added four, but you can add as many as you would like.
Step Nine
Draw on small circles for ornaments or baubles to complete the Christmas tree look. Add as many as you need to fill the spaces between the ribbon and the stars. 
If you don’t want to add ornaments or stars (or ribbon, for that matter), feel free to draw on any other decorative elements you see fit. There are so many holiday decorations to choose from when decorating a real tree, and it’s the same for a tree drawing. Add Christmas lights, candy canes, bows, shaped ornaments, and more.
Step Ten
The final step is to color your tree. I colored the tree green, the trunk brown, and the star yellow. Then, I added different colors for the baubles. Get as creative as you would like with the coloring step. There you have it: a super cute tree!
If you want to add more detail to the base of the tree, add some Christmas presents and gifts under the branches. Add as little or as much detail as you wish!
Easy Christmas Tree Drawing
If you’re looking for another simple was to draw a Christmas tree you can also try this other simple drawing idea. For this version, the body of the tree if more rounded making it an easier version for younger children to draw.


Ways to Use the Christmas Tree Drawing
As you brainstorm how to use this simple Christmas tree drawing, consider some of these fun options:
- Use your drawing as a wrapping paper design. Cover white or tan paper with trees after wrapping your holiday gifts.
- Sketch this doodle in your notebook to decompress after a long day.
- Draw the tree for your kids and let them color the tree using their own imagination.
- Add this adorable tree to a holiday card and gift it to friends and family.
- Draw this tree onto cardstock, laminate it, and attach a magnet. Now you have a customized magnet for your refrigerator.
This Christmas Tree Drawing is a simple way to spruce up many things during the holidays. Add the drawing of a Christmas tree to anything you can think of.
I hope you enjoy creating your tree around Christmas time. The decorated tree makes a fantastic addition to any notebook, refrigerator, or holiday card. Merry Christmas and happy drawing.
For more fun drawing tips and ideas, check out these posts. You will find some easy drawings to try and tons more:
- Best Markers for Coloring and Doodling – I love sharing my favorite tools with those that ask, so check these out.
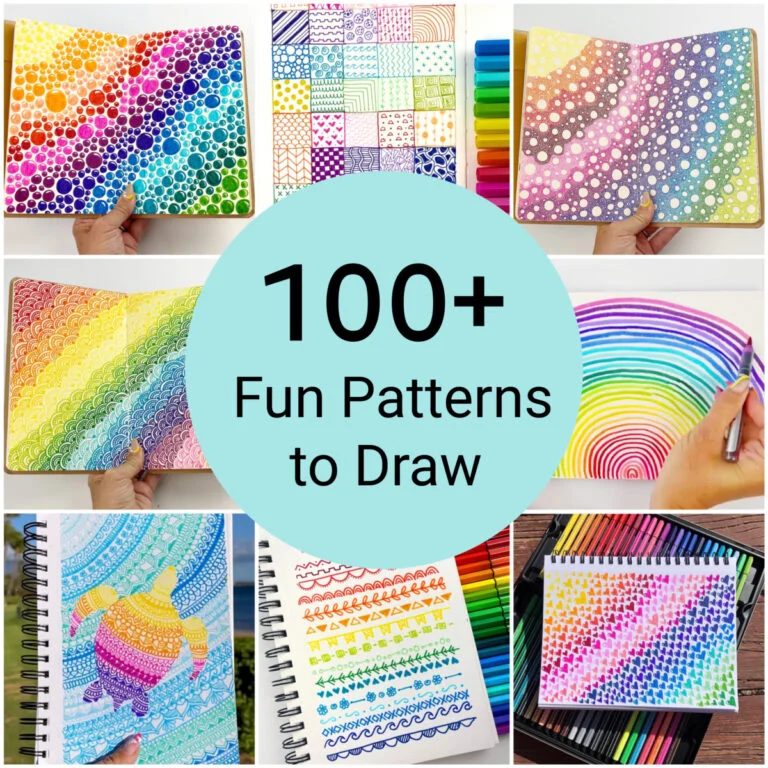
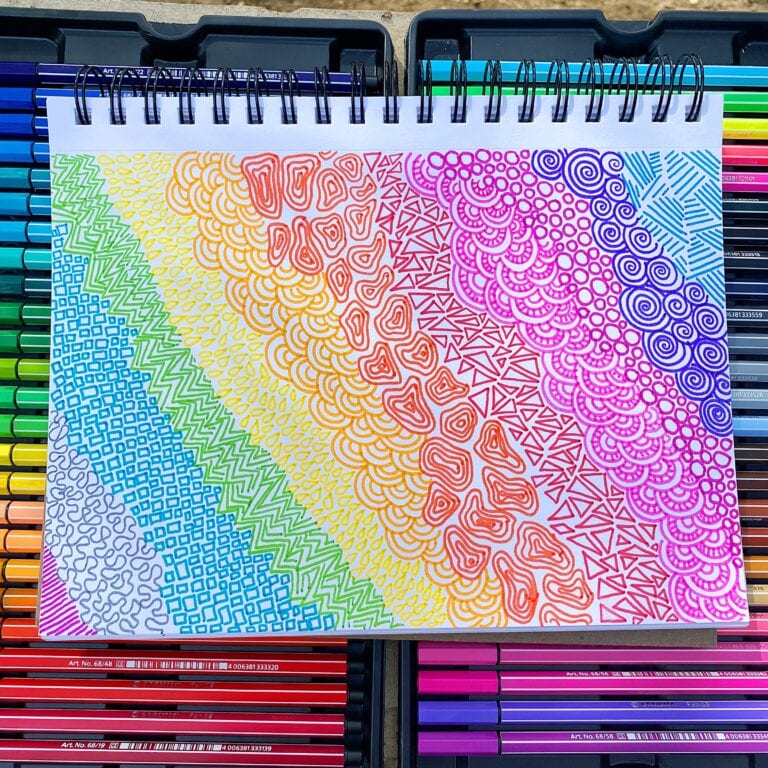
- 100+ Fun Patterns to Draw – These are great doodling ideas for avid drawers!
- DIY Christmas Wrapping Paper – add easy Christmas drawings to wrapping paper and gift it to loved ones this year.