




Polymer Clay Letters with Rhinestones
As an Amazon Associate, I earn from qualifying purchases. This post may contain affiliate links. See our full disclosure here.
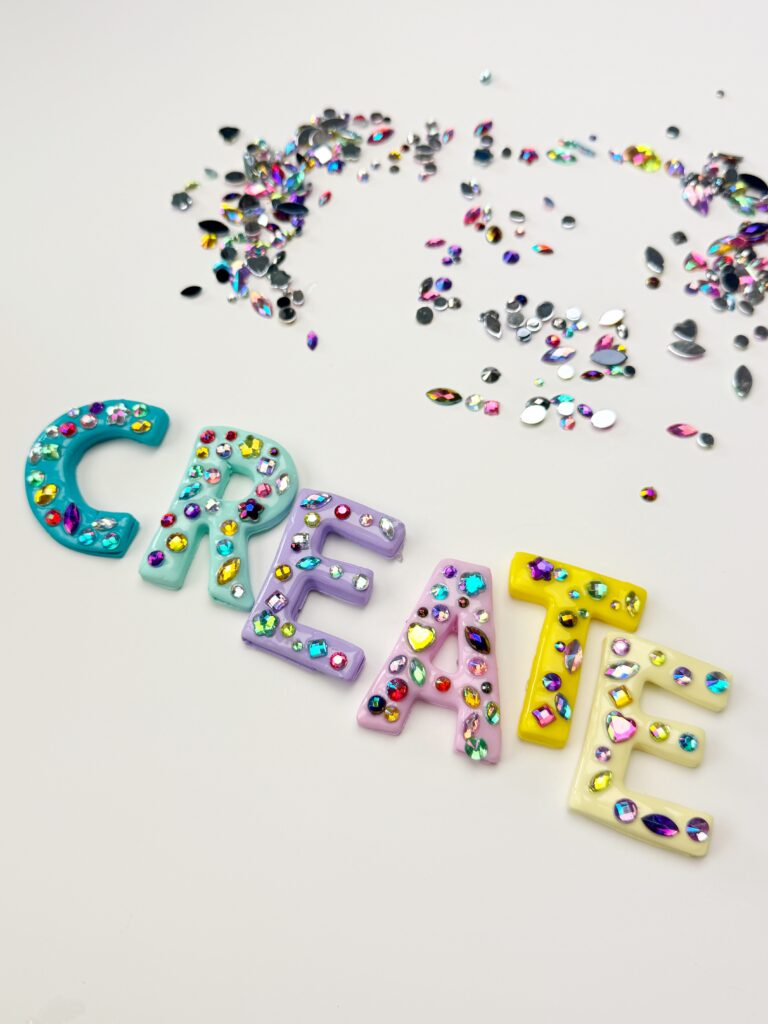
These colorful polymer clay letters are such an easy way to turn basic clay into something bright and sparkly! I used colorful rhinestones and a glossy resin finish to decorate mine, and I love that every letter can look completely different.
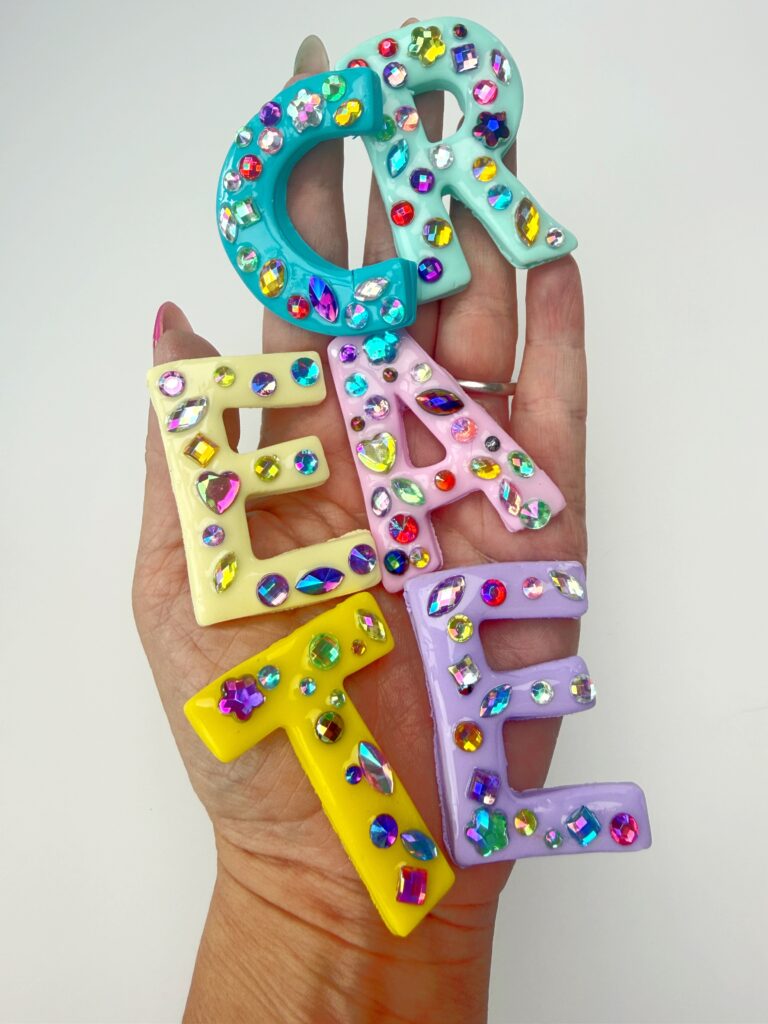
You can turn the finished letters into keychains, magnets, bag charms, backpack charms or colorful decor. Make an initial, spell out a name or create a whole collection in different colors.
Related: How to make Polymer Clay Letter Keychains
Supplies
- Staedtler FIMO Clay
- Letter cookie cutters
- Clay roller and acrylic sheet
- Flat-back gems assorted
- UV light or this UV Light & Resin Kit
- UV resin Safety Disclaimer: UV resin should be used with proper protective gear and ventilation. Always research and follow all recommended safety precautions. Use at your own risk.
- Baking sheet
- Keychain hardware or magnets, depending on what you’re making
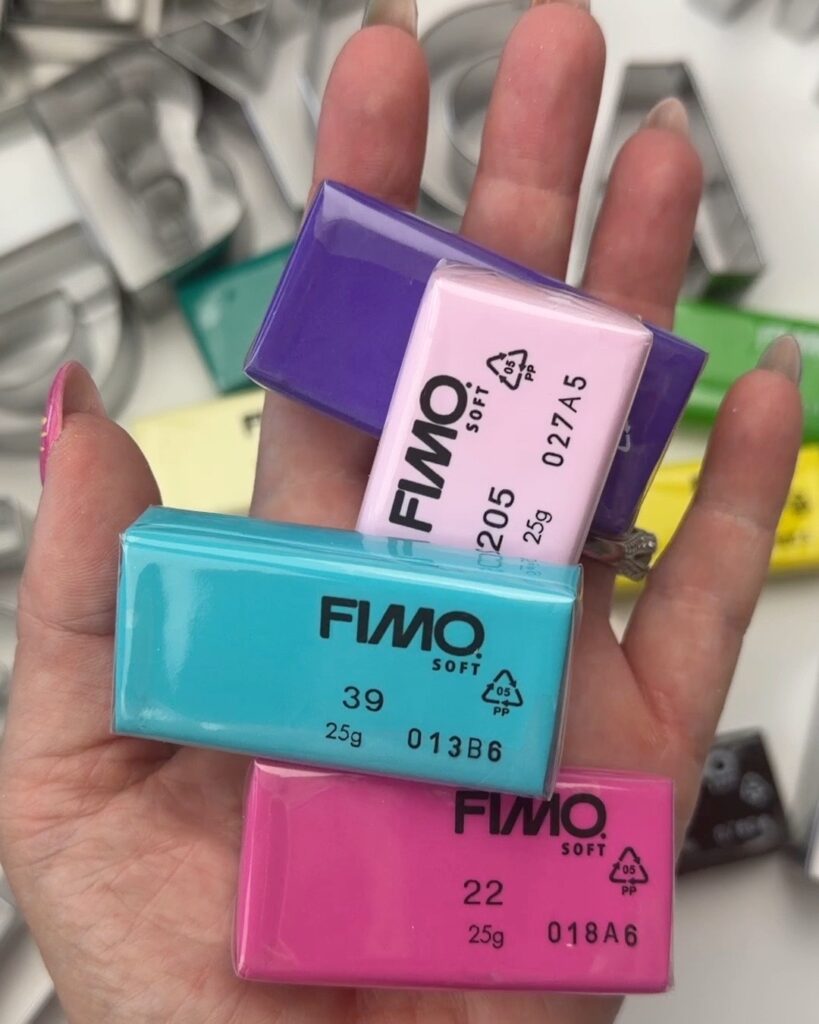
How to Make Polymer Clay Letters
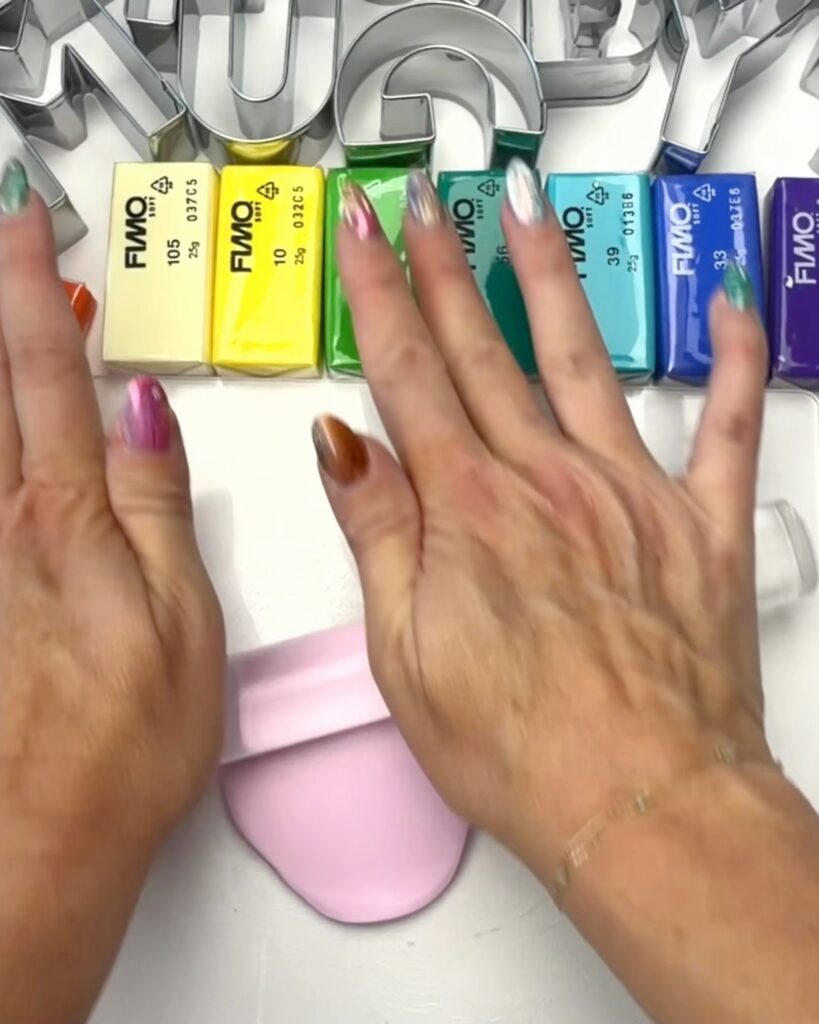
Step 1: Roll Out the Clay
Condition your polymer clay until it’s soft and easy to work with. Use a clay roller to roll it into an even sheet that’s thick enough to make sturdy letters. I used a mix of bright and pastel colors, but you can use any colors you like.
Step 2: Cut Out Your Letters
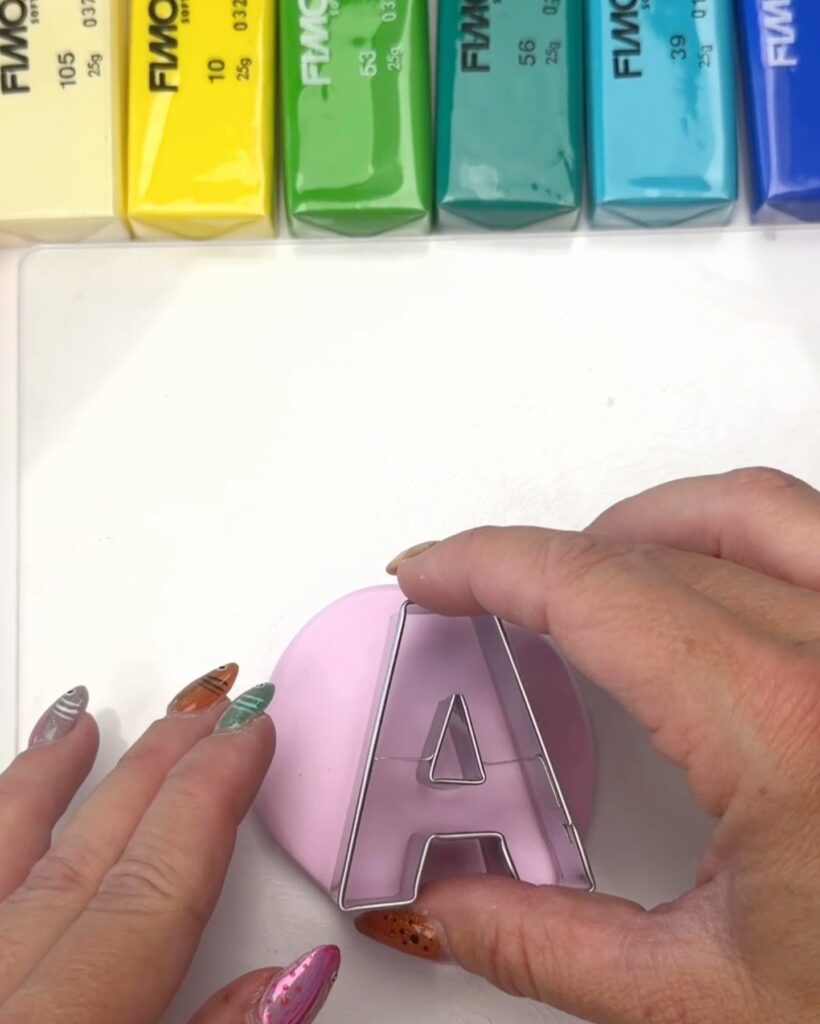
Press letter cutters into the clay and remove the excess. Gently smooth any rough edges with your fingers.
If you’re planning to turn your letter into a keychain or charm, make a small hole near the top before baking. You can skip the hole if you’re making magnets or decor.
Step 3: Bake the Clay
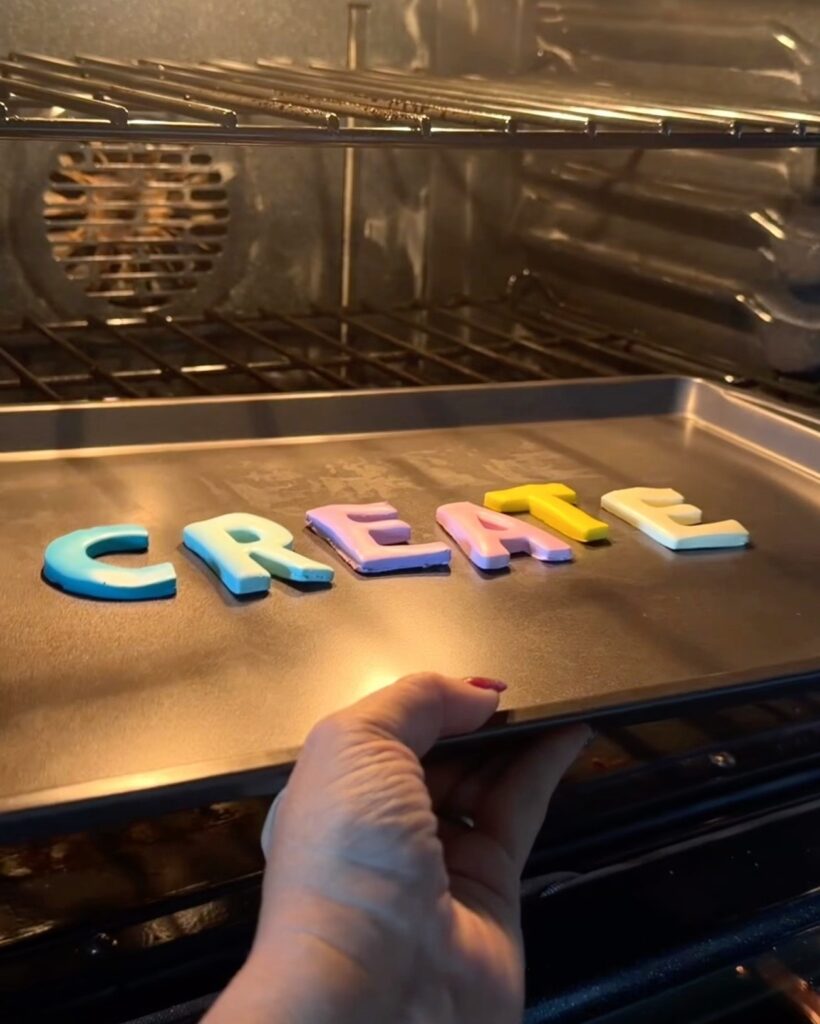
Place the letters on a baking sheet and bake according to the directions on your polymer clay package. I suggest adding parchment paper.
Let the letters cool completely before adding resin.
Step 4: Add a Glossy Resin Coat
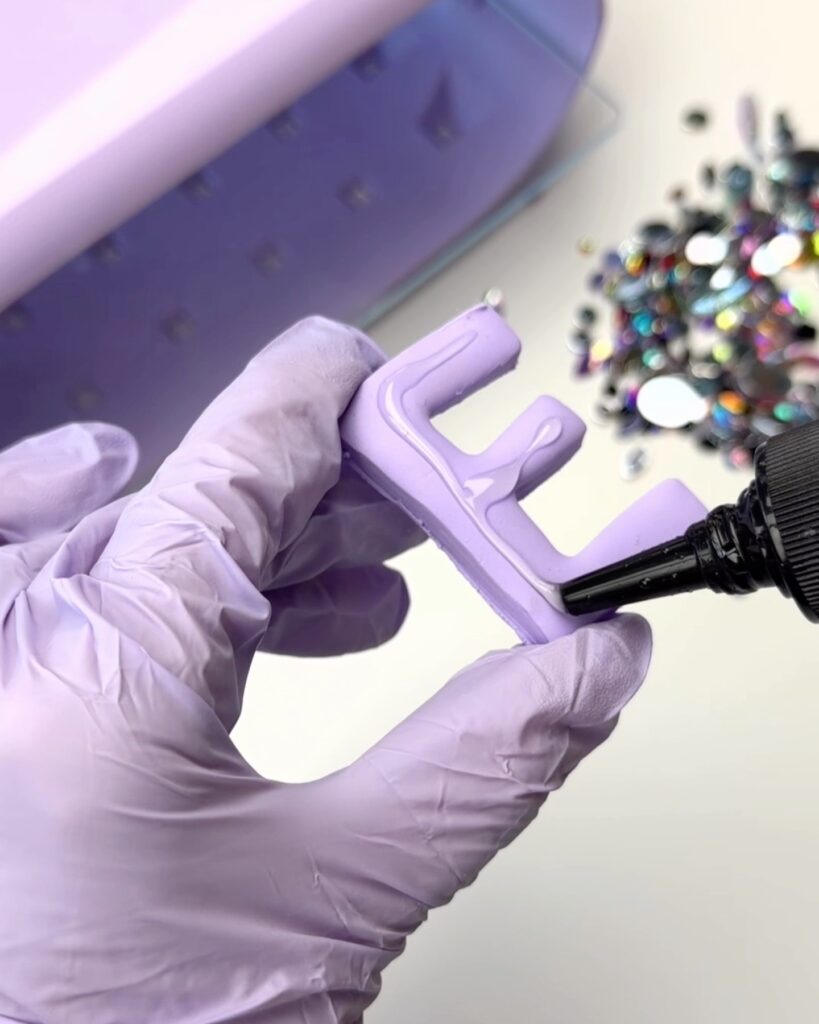
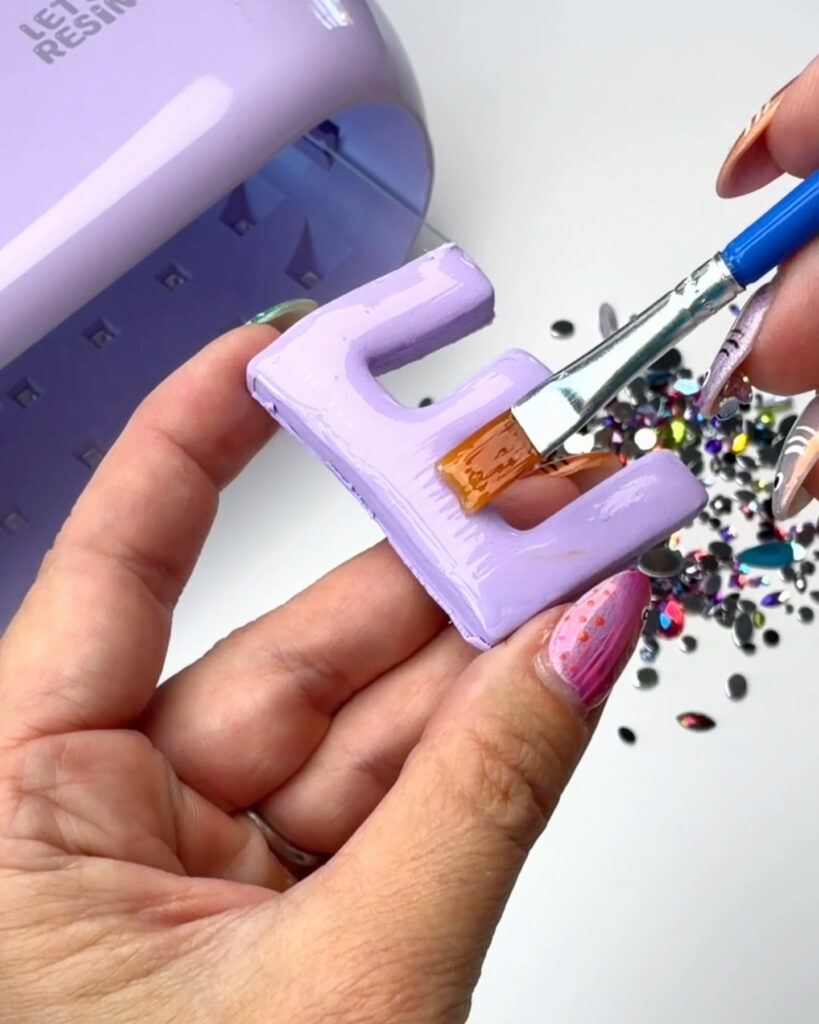
Brush a thin layer of UV resin over the front of each letter and cure it under your UV light. Use a cheap paintbrush to smooth it out. Safety Disclaimer: UV resin should be used with proper protective gear and ventilation. Always research and follow all recommended safety precautions. Use at your own risk.
This first layer gives the polymer clay a smooth, glossy finish before you add the rhinestones. It’s a small extra step, but I think it makes the finished letters look so much better.
Step 5: Add the Rhinestones
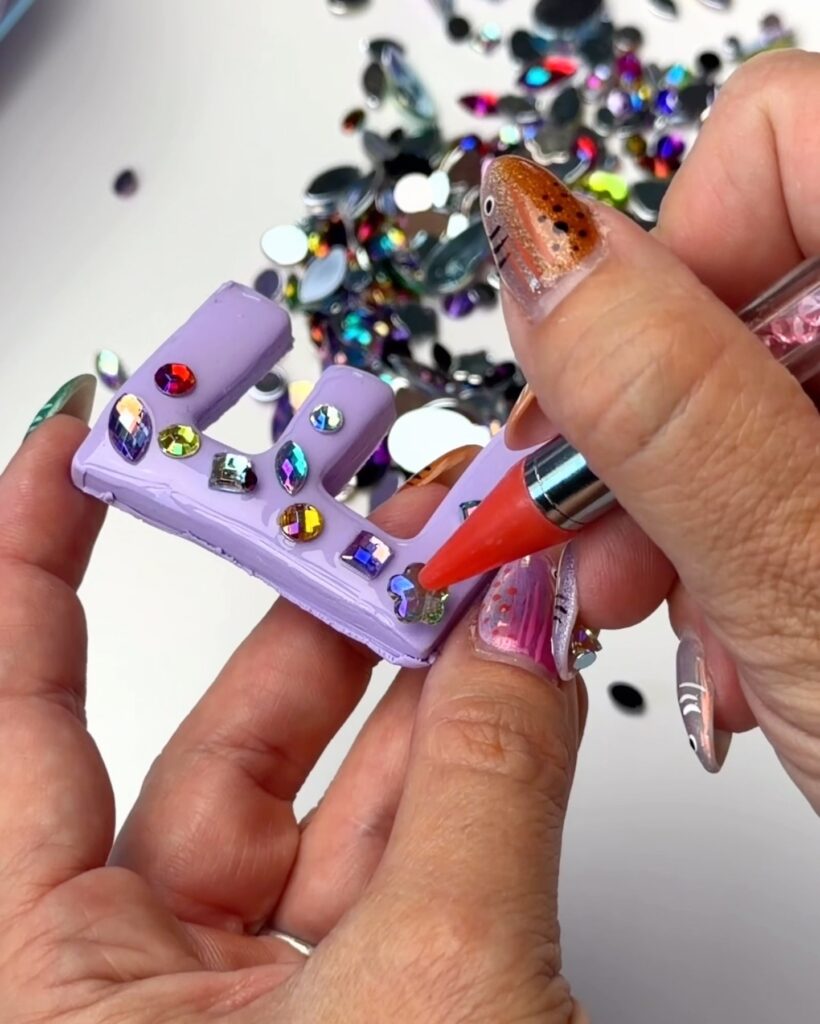
Add another very thin layer of UV resin and then arrange the rhinestones over the letter in any pattern you like. I mixed different colors, shapes and sizes and spaced them somewhat randomly. Once you’re happy with the placement cure again under a UV light.
The trick with this project is using resin twice: once to create the glossy finish on the clay and again to hold the rhinestones in place.
What Can You Make With Polymer Clay Letters?
This is where you can have a lot of fun with this project. The same basic rhinestone letters can be used to make:
- Keychains
- Backpack or bag charms
- Magnets
- Zipper pulls
- Ornaments
- Gift toppers
- Locker decorations
- Name signs
- Colorful room decor
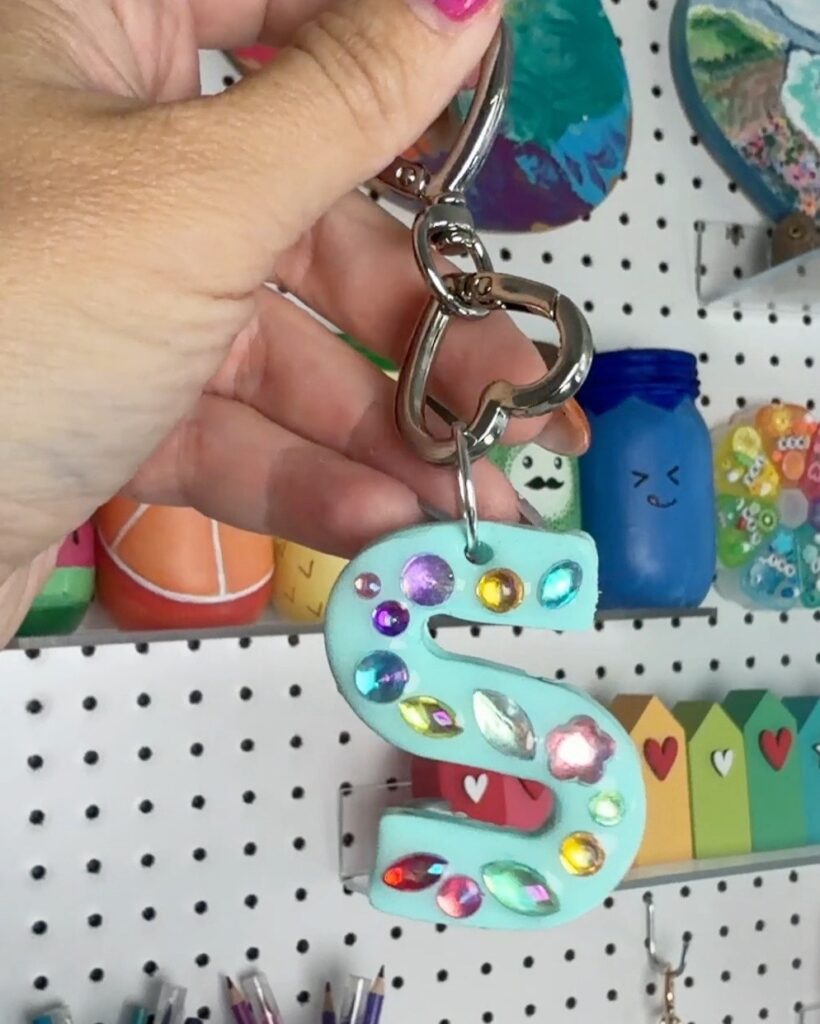
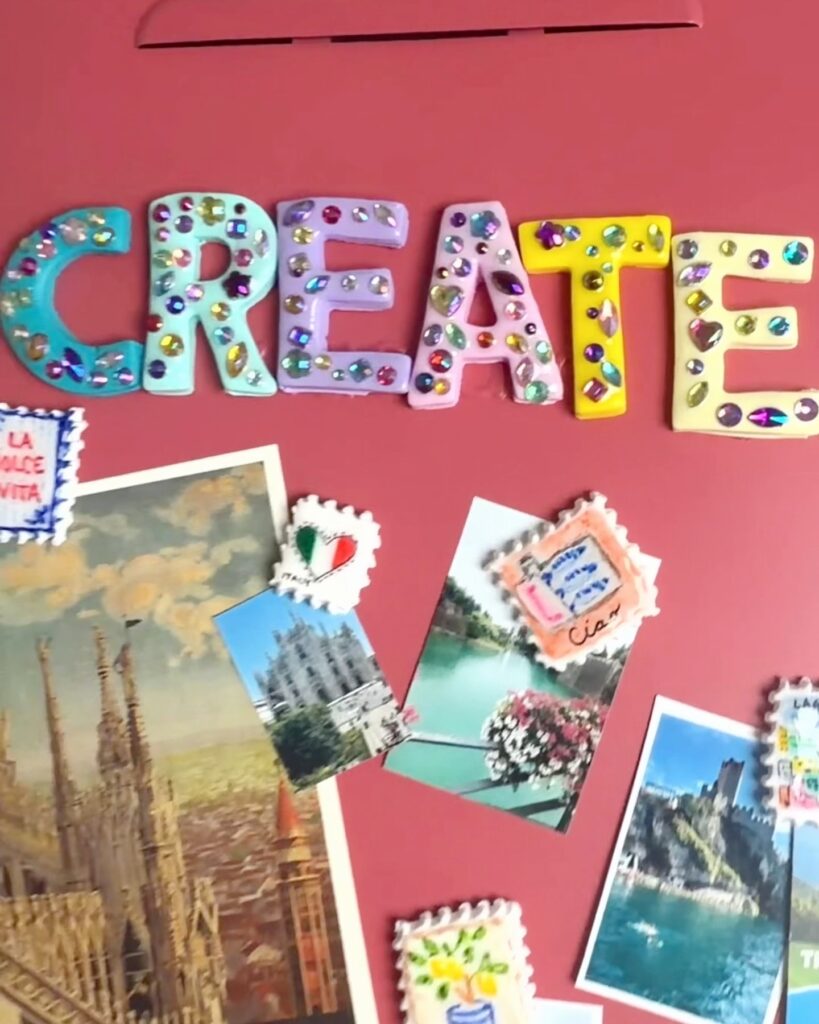
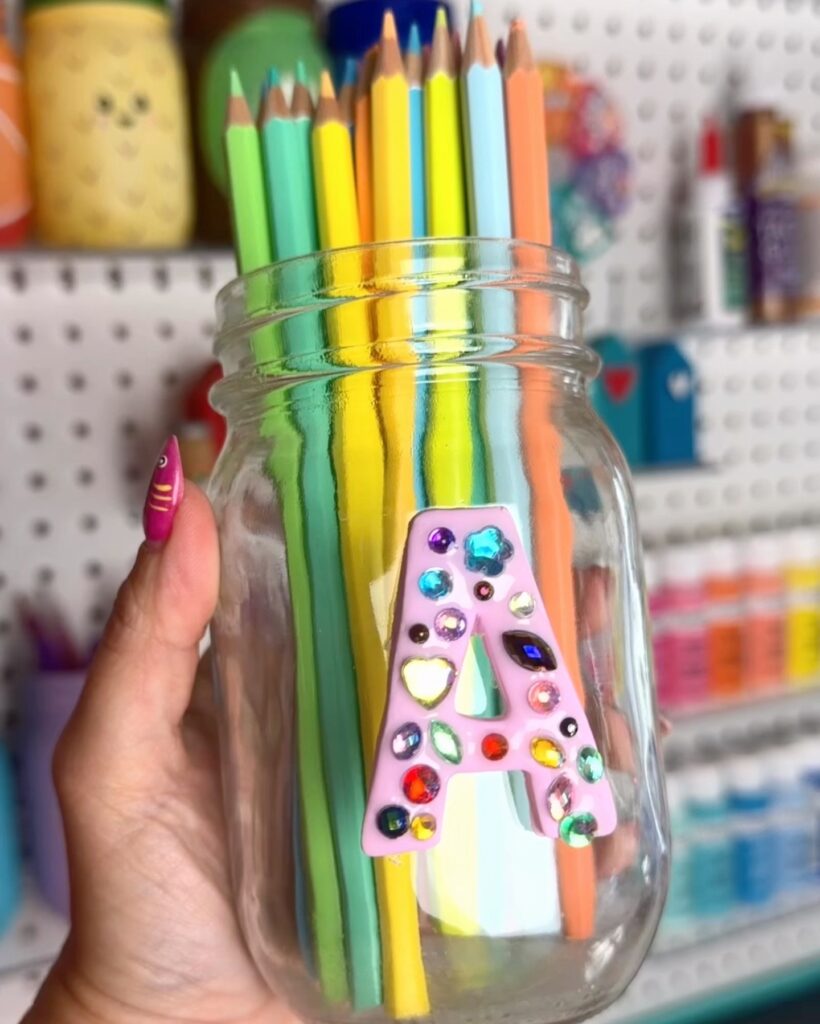
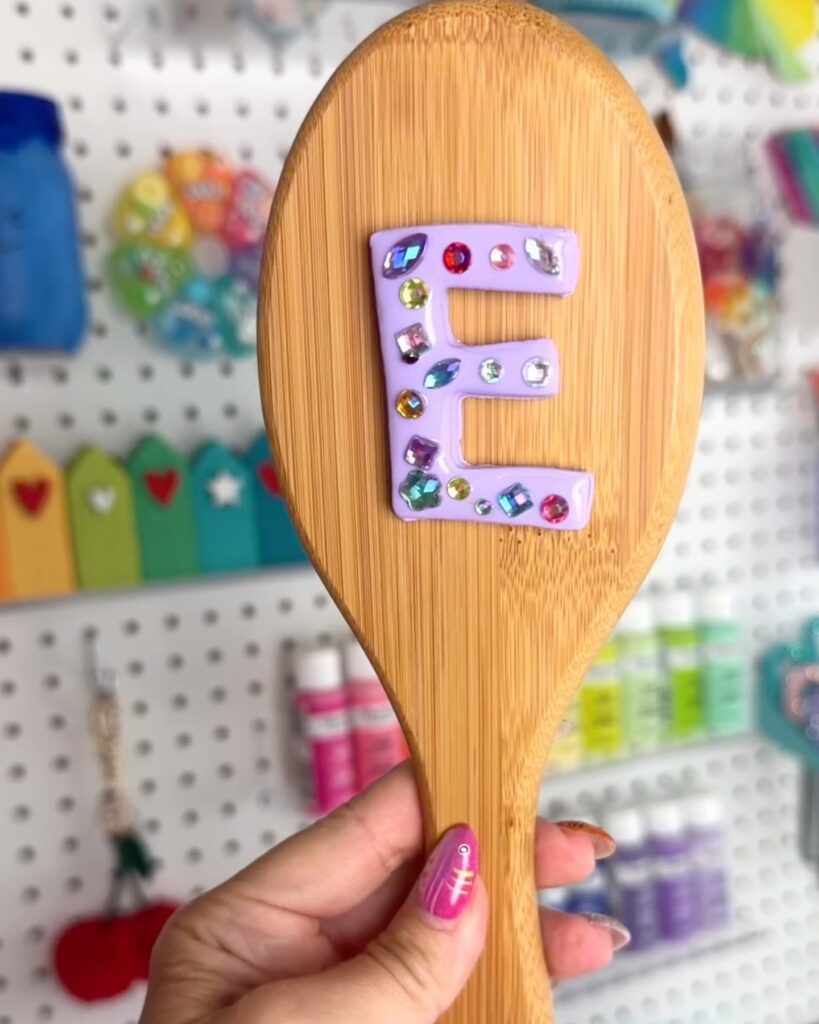
These polymer clay letters are incredibly simple to make, but the combination of colorful clay, shiny resin and rhinestones makes them so much fun. And I love a craft that gives you plenty of options for what to do with it when you’re finished!