




DIY Polymer Clay Magnets
As an Amazon Associate, I earn from qualifying purchases. This post may contain affiliate links. See our full disclosure here.
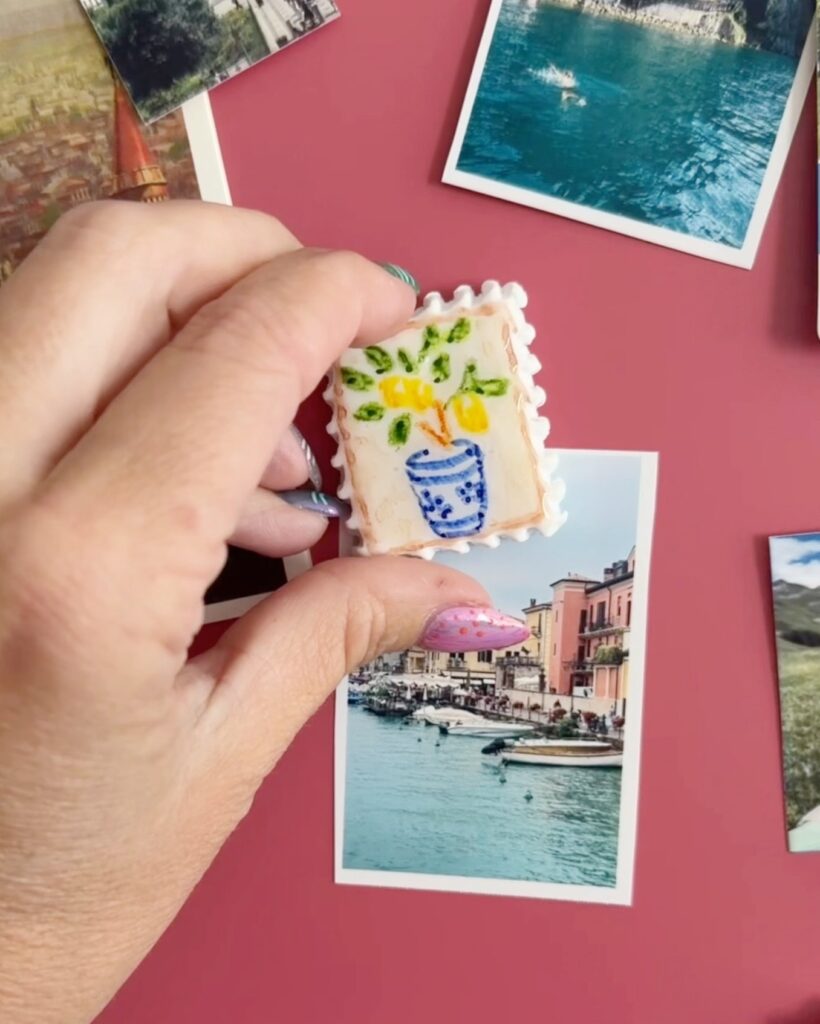
These DIY polymer clay magnets are a fun way to turn favorite places and memories into tiny pieces of art. For this project, I used FIMO polymer clay and STAEDTLER Pigment Arts Pens to create colorful travel-inspired magnets, then used them to display photos and mementos from our trips.
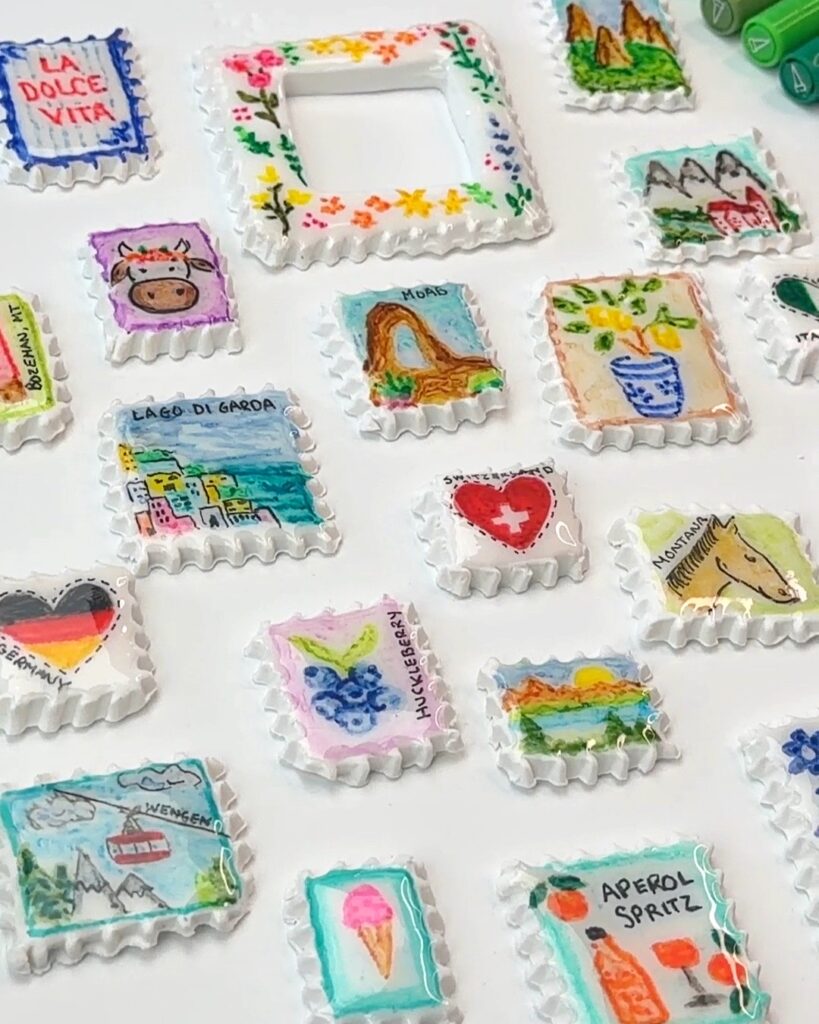
The scalloped edges are made with a pastry wheel cutter, which gives the magnets a cute little postage stamp look that works perfectly with the travel theme. You can recreate my travel memory magnets or use the same technique to make any polymer clay magnet designs you want.
This post is sponsored by STAEDTLER; however, I only share products I genuinely enjoy using, and all opinions are my own.
Supplies Needed
- FIMO Polymer clay
- STAEDTLER Pigment Arts Pens
- STAEDTLER Pigment Liner Pens
- Clay roller and acrylic sheet
- Pastry wheel cutter
- Baking sheet
- UV light or this UV Light & Resin Kit
- UV resin Safety Disclaimer: UV resin should be used with proper protective gear and ventilation. Always research and follow all recommended safety precautions. Use at your own risk.
- Small inexpensive paintbrush
- Small magnets
- Strong craft glue
How to Make Polymer Clay Magnets
Step 1: Condition and Roll the Clay
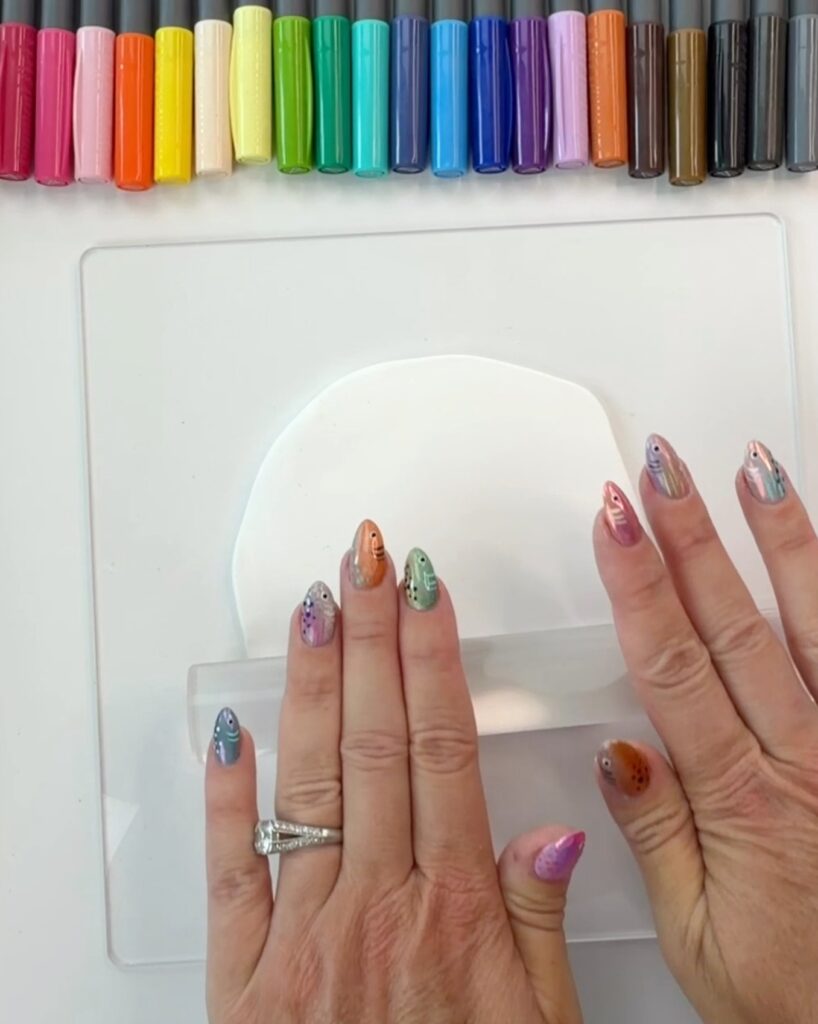
Start by conditioning your FIMO polymer clay until it feels soft and smooth. Roll the clay between your hands to warm it up, then use a clay roller to flatten it.
Fold the clay over itself and roll it out again a few times to help create a smooth, even surface. I like working on an acrylic sheet because it gives me a nice flat surface and keeps the clay from sticking to my table.
Try to keep the clay an even thickness so all of your magnets bake consistently.
Step 2: Cut the Polymer Clay Magnet Shapes
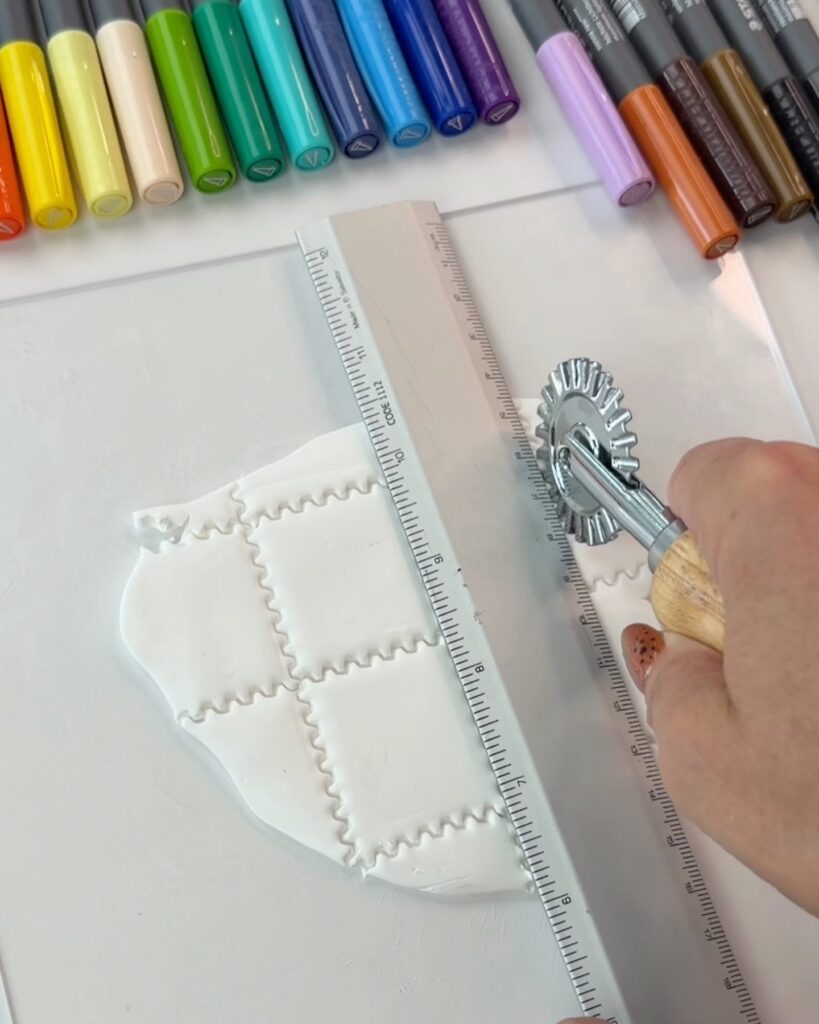
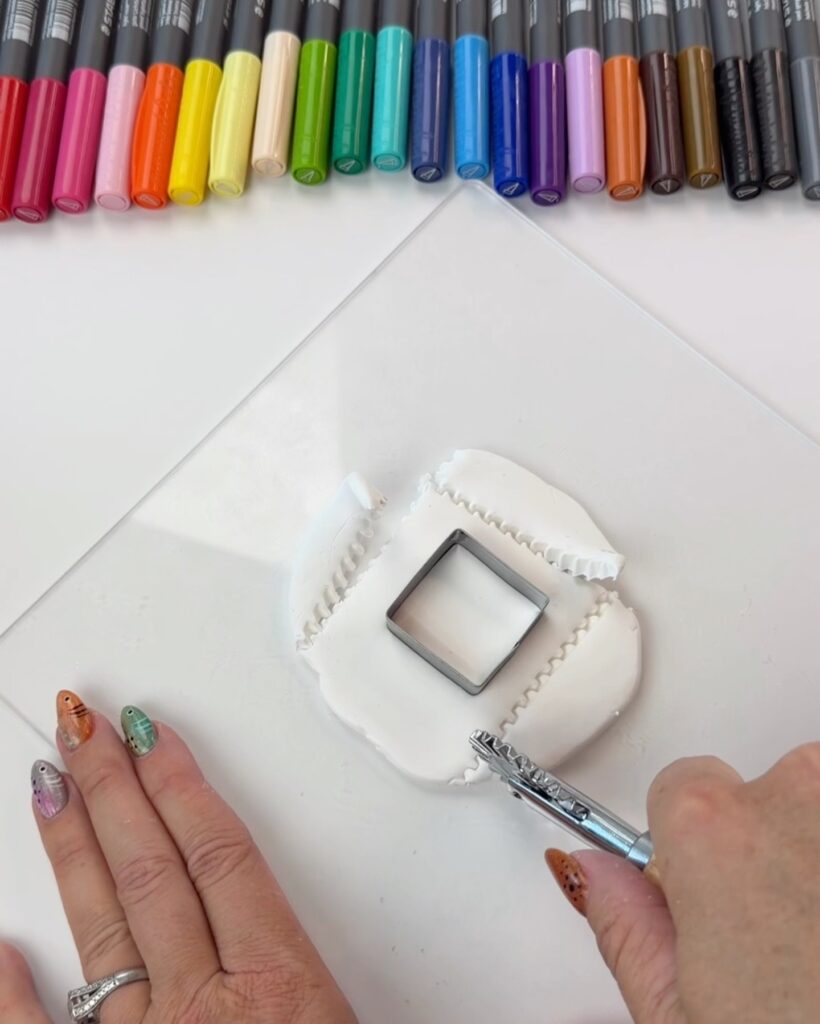
Here’s the part that gives these magnets their fun postage stamp look! I used a pastry wheel cutter to cut the polymer clay into small squares and rectangles. The pastry wheel creates a scalloped edge around the clay that makes each piece look like a tiny stamp.
Don’t worry about making every magnet exactly the same size. I made mine in slightly different shapes and sizes, which I think makes the collection more interesting. You can also cut out the inside of the shape to make a picture frame. And use a ruler to keep the lines straight.
Step 3: Bake the Polymer Clay
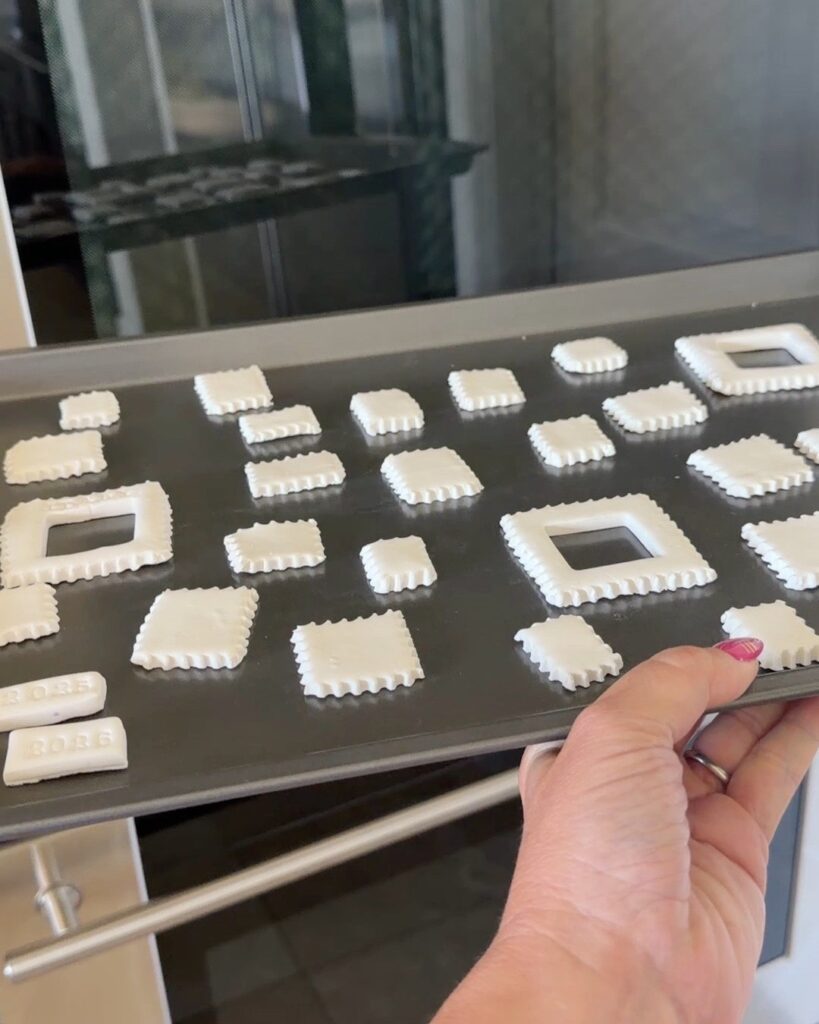
Place your clay pieces on a baking sheet and bake according to the directions on your FIMO polymer clay package. You can also line the baking sheet with parchment paper to keep the clay from sticking. Once they’re finished baking, allow the clay to cool completely before decorating.
Step 4: Draw Your Designs
Now for my favorite part: turning the blank pieces of clay into tiny works of art. I used STAEDTLER Pigment Arts Pens to draw directly onto the baked polymer clay and STAEDTLER Pigment Liner Pens for outlining, details and writing. I love using these pens for a project like this because it’s so much easier to control the small details than it would be with a paintbrush. And I like the watercolor-like effect they create.
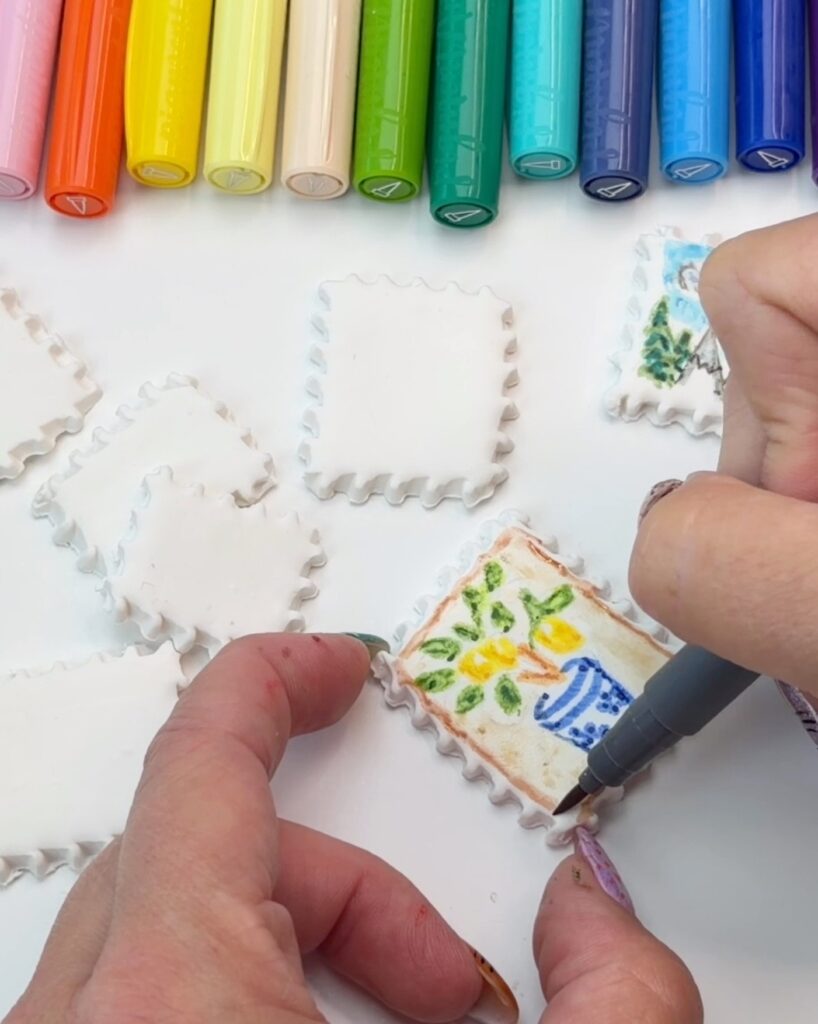
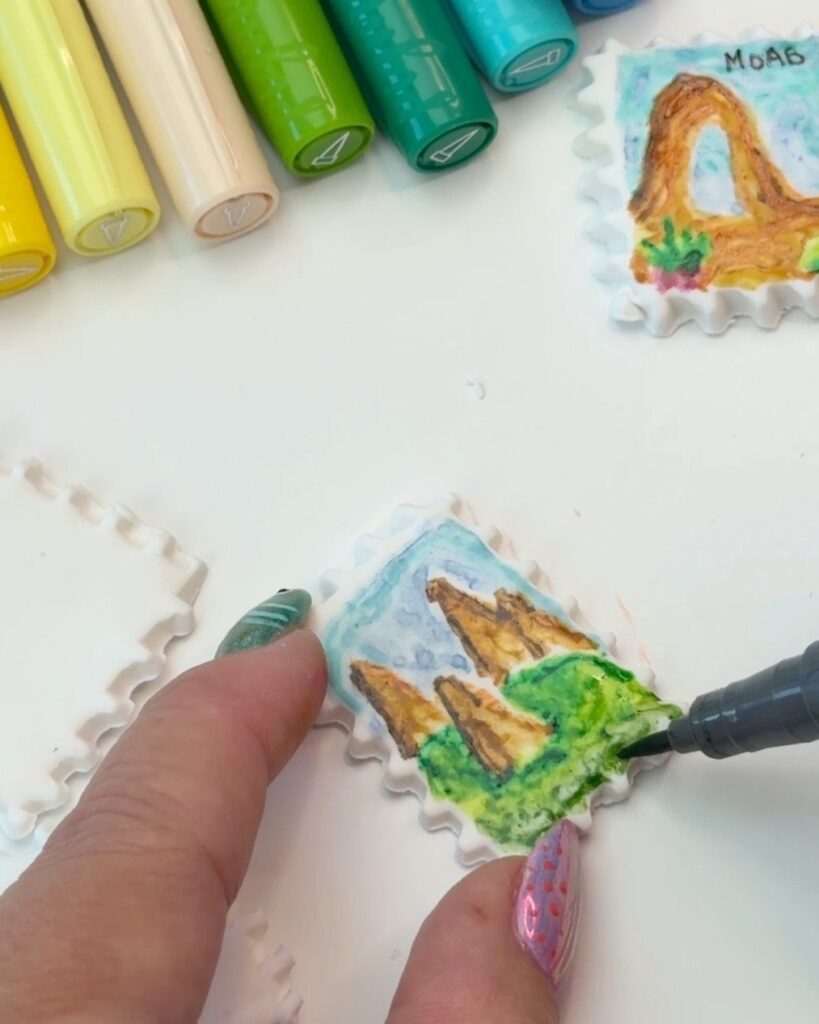
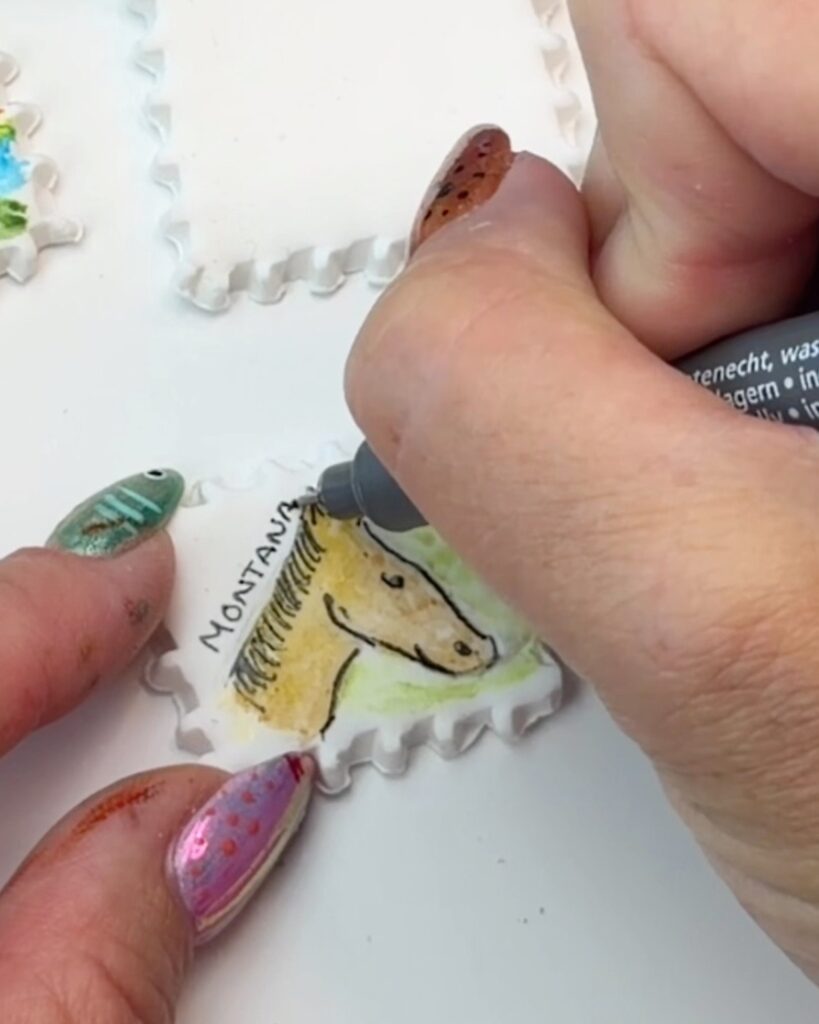
Since I wanted these to be travel memory magnets, I drew little pictures that reminded me of different trips and places. I included mountains, lakes, flowers, food, drinks, scenery and other little memories from our travels. You don’t have to make travel-themed magnets, though. You could draw flowers, fruit, pets, initials, abstract patterns, favorite foods or just about anything else you can think of.
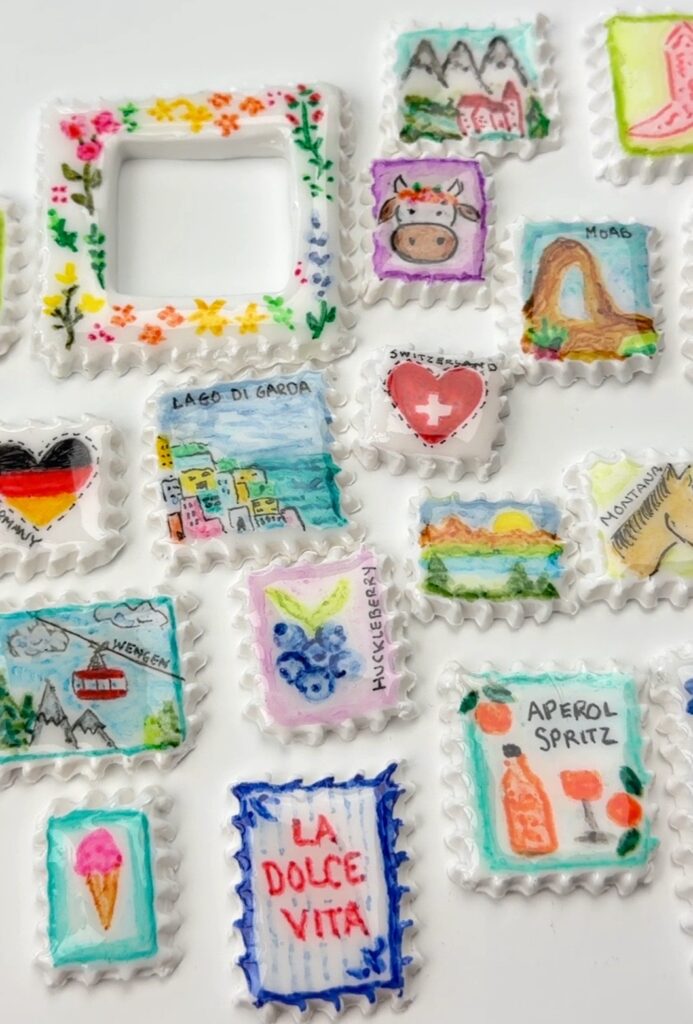
Step 5: Add UV Resin
Once you’re happy with your designs, add a thin layer of UV resin over the front of each magnet. I use a small inexpensive paintbrush to spread the resin evenly over the surface. Cure the resin under a UV light according to the resin manufacturer’s directions.
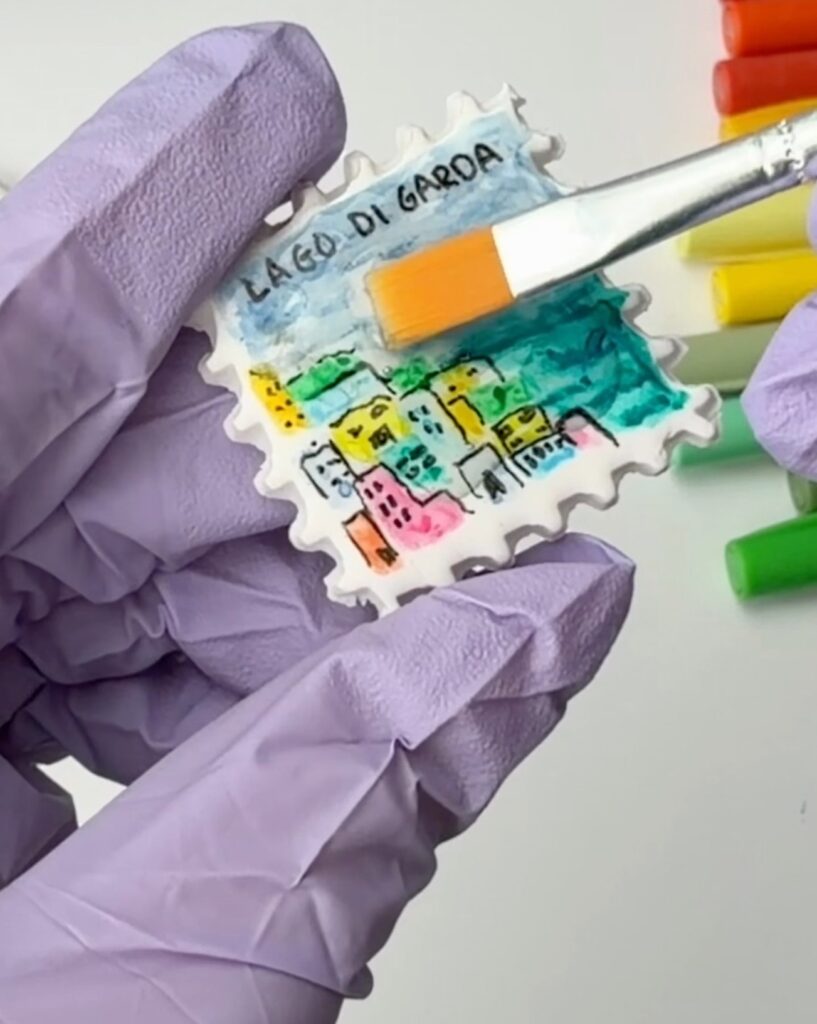
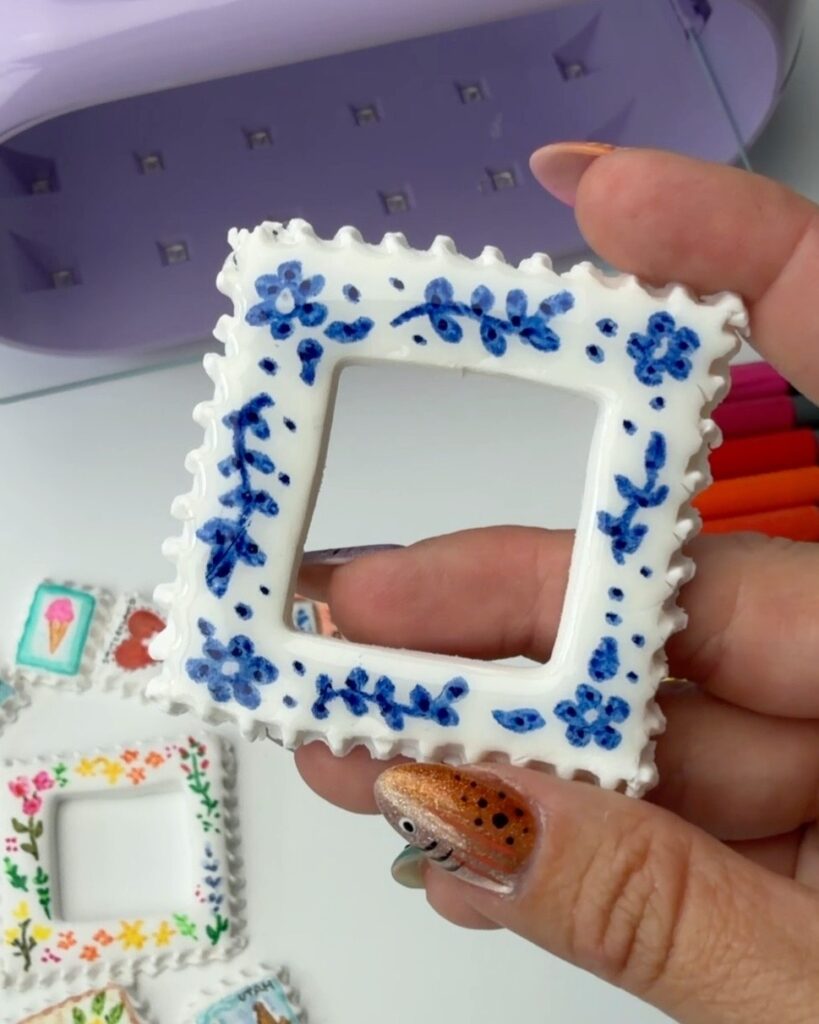
The resin gives the magnets a glossy finished look and helps protect the drawings underneath.
Safety note: Always follow the UV resin manufacturer’s directions and recommended safety precautions, including appropriate protective equipment and ventilation.
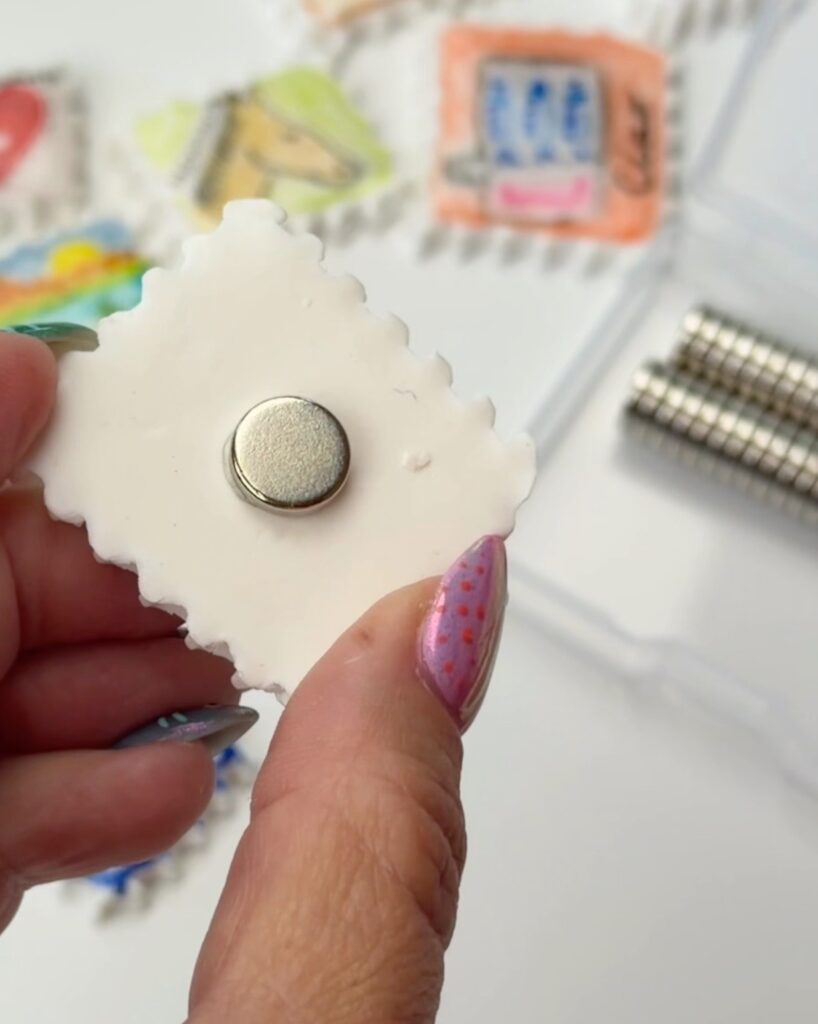
Step 6: Add the Magnets
Once the resin is completely cured, turn the clay pieces over and glue a small magnet onto the back of each one and allow the glue to dry completely before using them.
That’s it! Your DIY polymer clay magnets are ready to use.
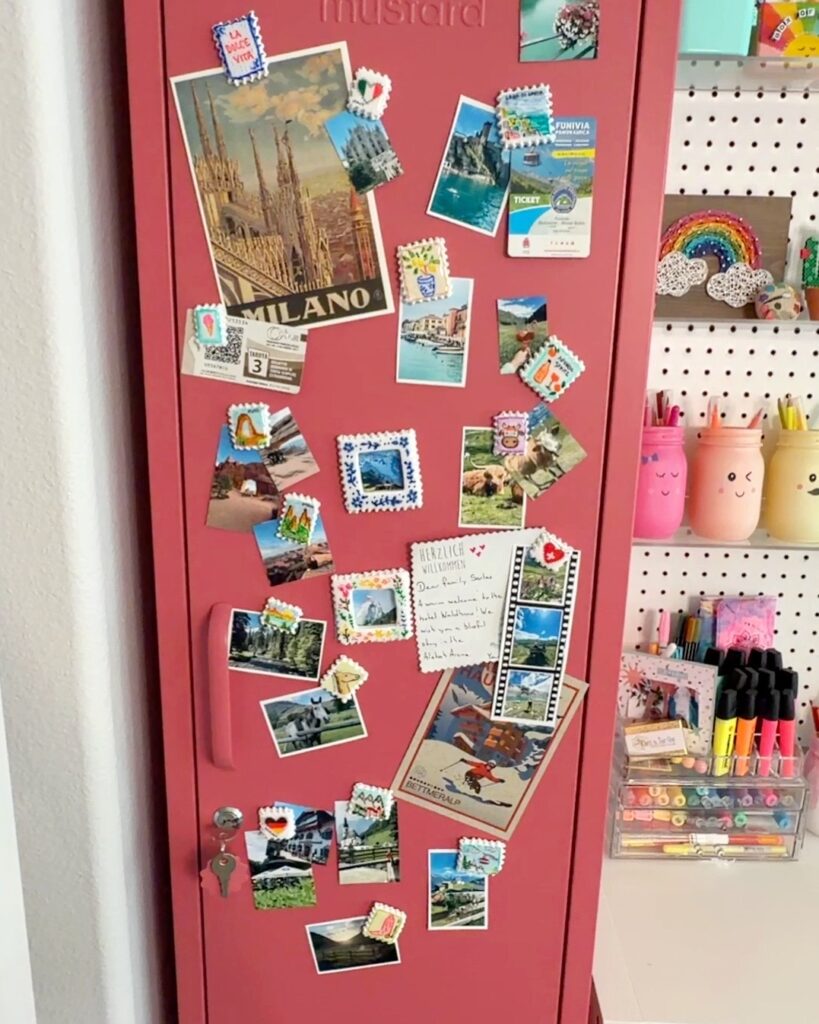
Make Your Polymer Clay Magnets Your Own
I made my polymer clay magnets as little reminders of our travels, using favorite places, scenery, food and other memories as inspiration. I used them on a locker to hang photos and mementos from our trips, but you can use them anywhere you would use a regular magnet.
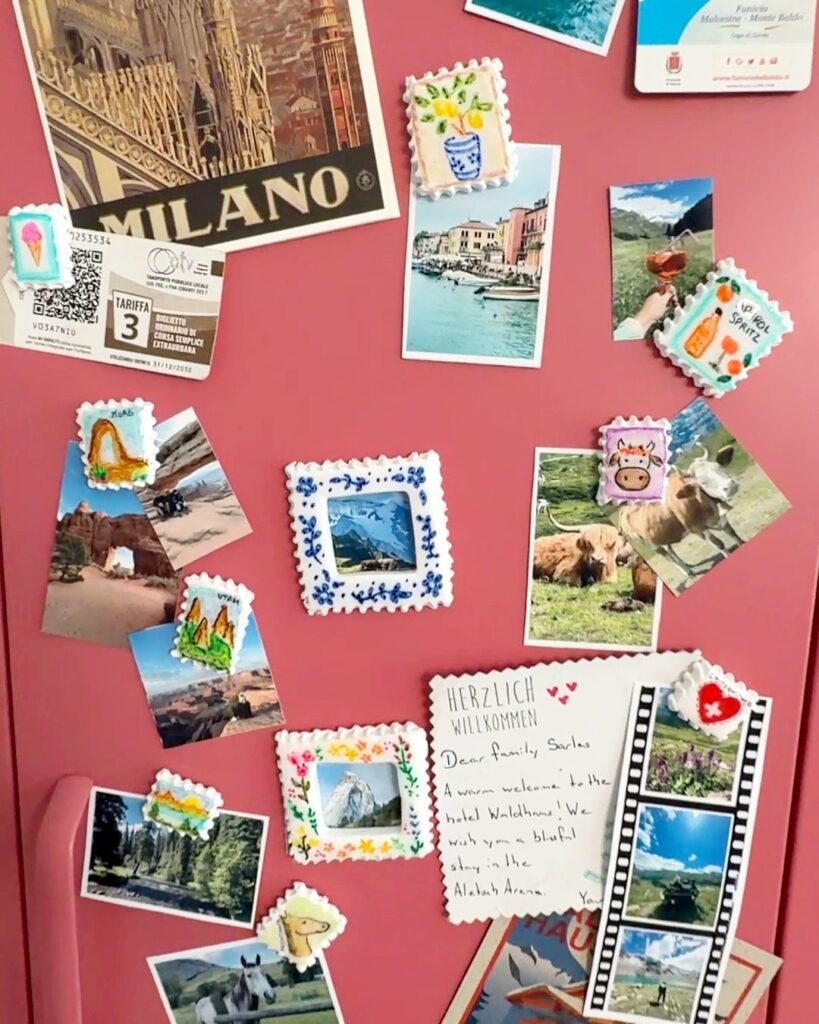
Once you know how to make polymer clay magnets, there are so many ways to customize them:
- Travel memories – landmarks, mountains, beaches, food or favorite places
- Flowers and plants
- Favorite foods
- Pets and animals
- Initials or names
- Seasonal and holiday designs
- Hobbies and sports
- Simple patterns and doodles
- Mini artwork
- Personalized magnets for gifts
You can make an entire coordinating set or just add new magnets whenever inspiration strikes. If you like this project you can use the same supplies to make these colorful polymer clay keychains.