




DIY Photo Jewelry: Make Keepsake Rings With Photos
As an Amazon Associate, I earn from qualifying purchases. This post may contain affiliate links. See our full disclosure here.
Turn your favorite pictures into jewelry you can actually wear! These DIY photo jewelry rings are such a fun way to turn old family photos and favorite memories into one-of-a-kind keepsakes.
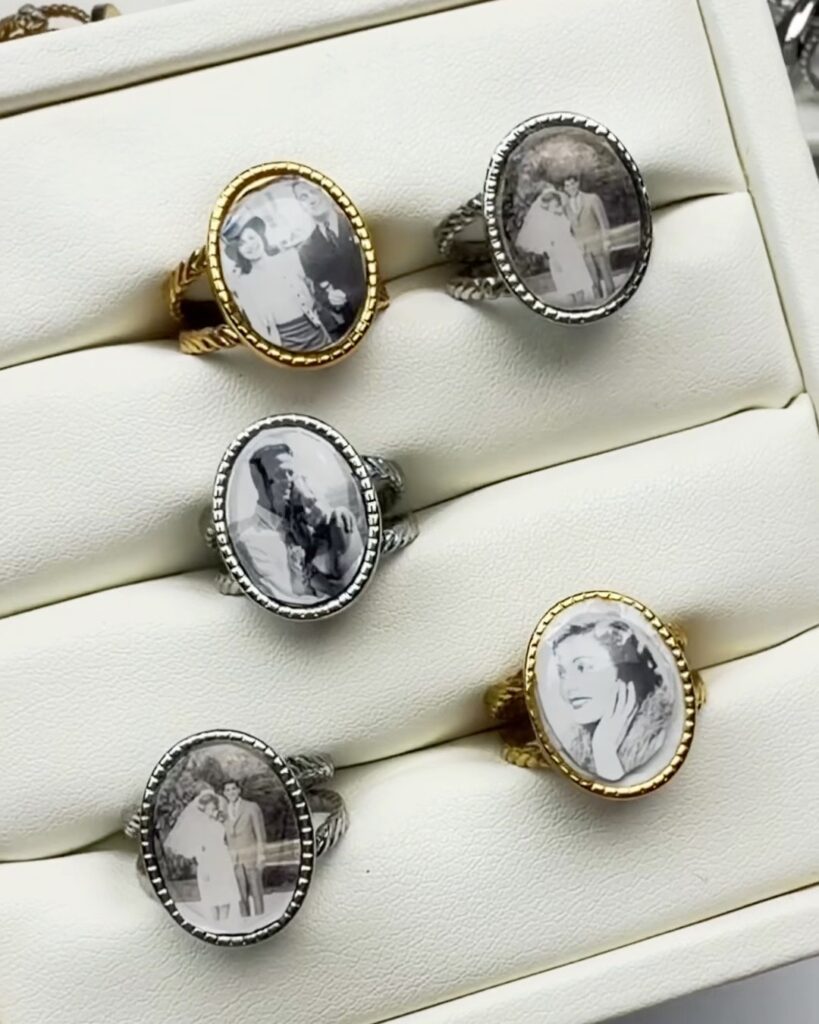
I made mine using photos of my parents, grandparents and my wedding photo, but you could use pictures of your kids, pets, friends, vacations, or any memory that is special to you.
The process is also really simple. All you need are ring blanks, tiny printed photos, and UV resin to create your own personalized photo rings.
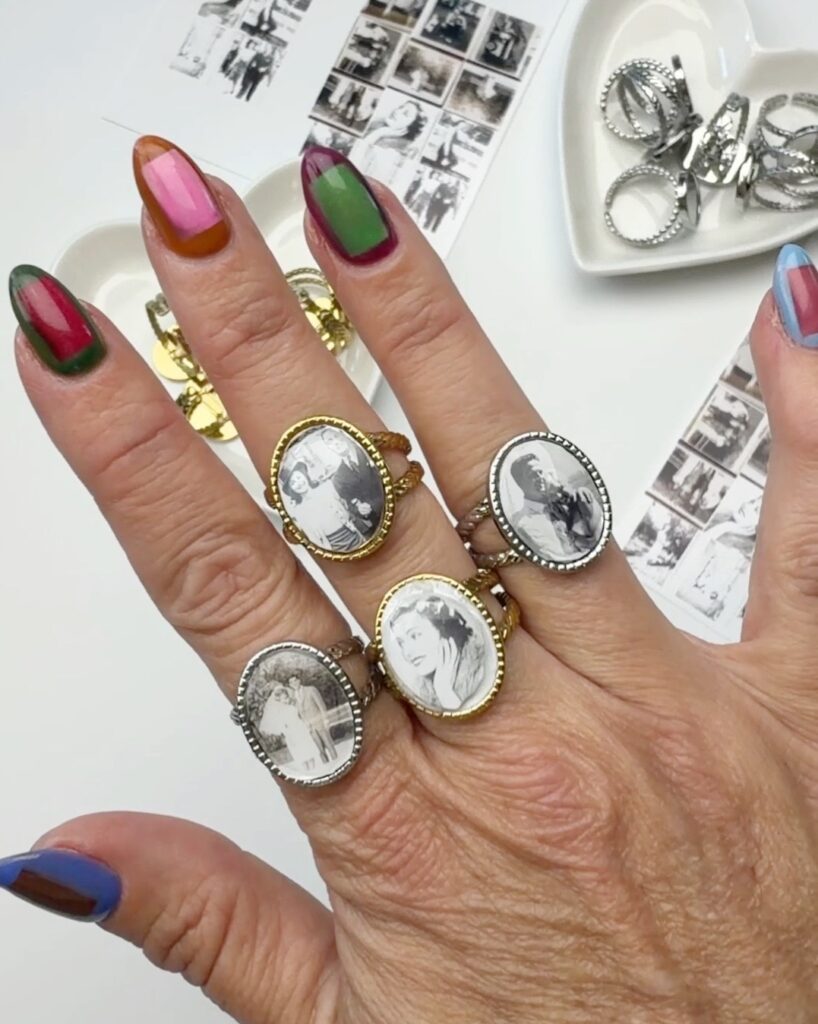
Supplies for DIY Photo Jewelry
- Ring blanks with bezel
- Photo printer – love this photo printer and the ability to make collages so the pictures are tiny
- UV light or this UV Light & Resin Kit
- UV resin Safety Disclaimer: UV resin should be used with proper protective gear and ventilation. Always research and follow all recommended safety precautions. Use at your own risk.
- Disposable gloves
- Scissors
- Glue
- Cheap paintbrush
How to Make Photo Jewelry Rings
1. Print Your Photos
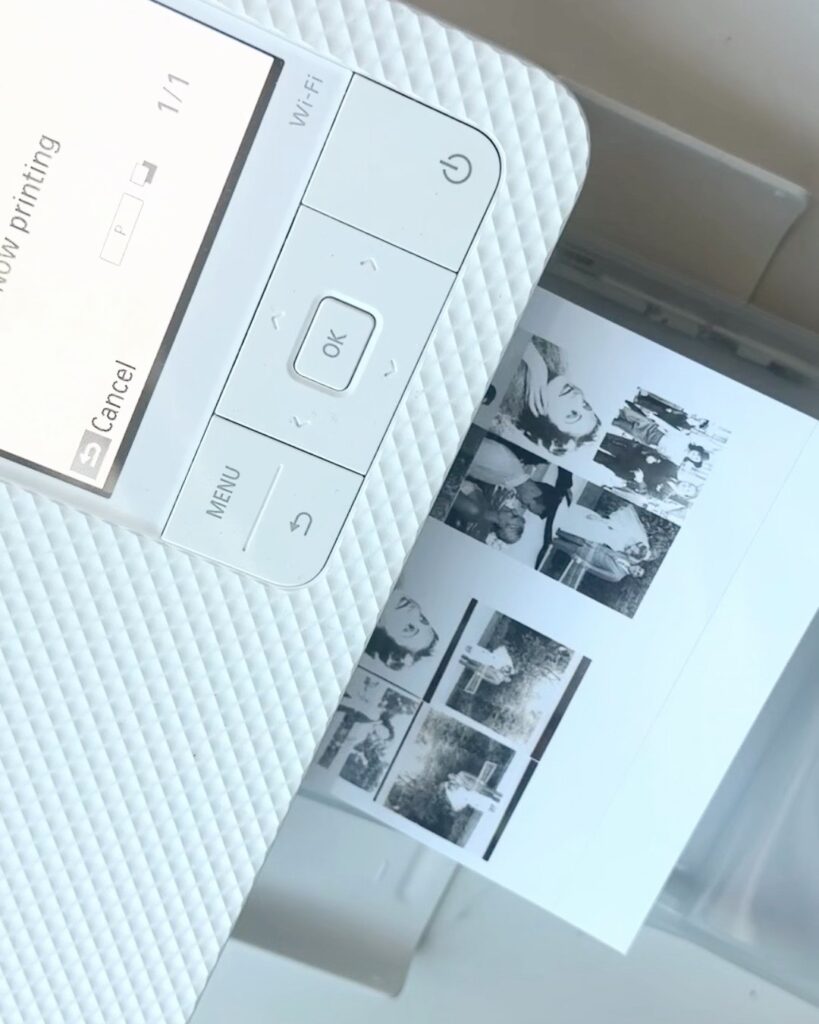
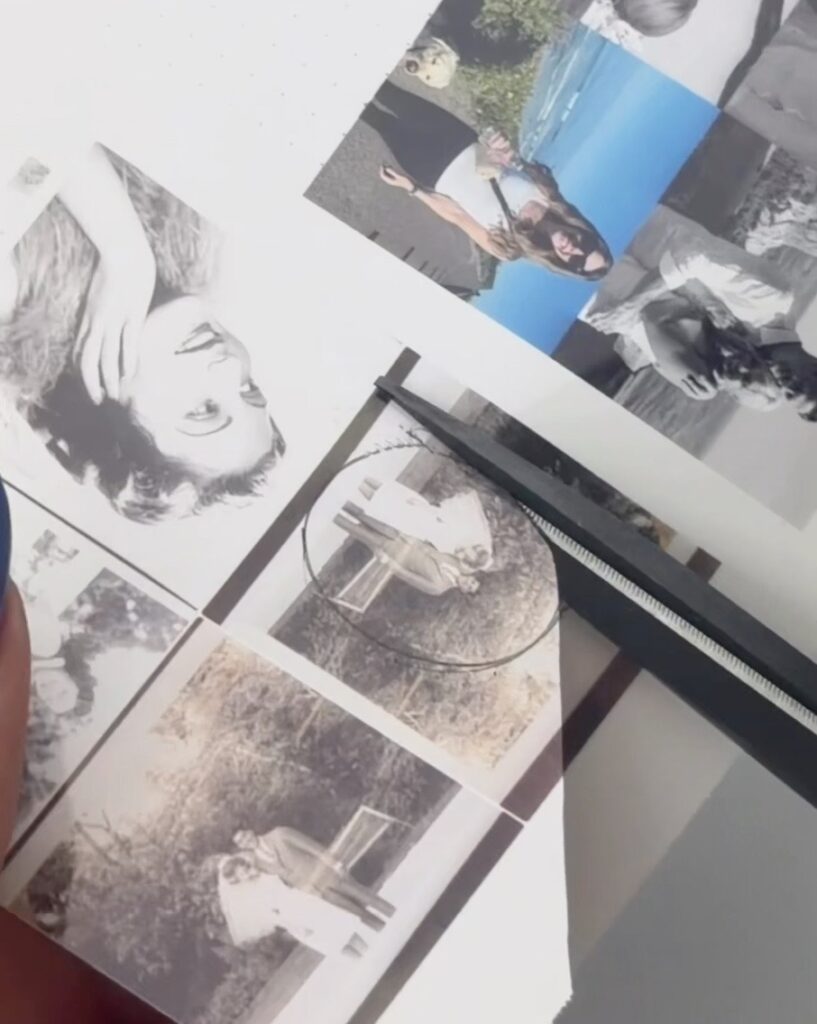
Start by choosing the photos you want to turn into jewelry. I liked the look of black and white photos but color will work too. Since ring bezels are tiny, I created small photo collages on the app for my photo printer before printing. This allowed me to print several photos in different sizes on the same sheet and gave me plenty of options when deciding which pictures worked best.
2. Outline, Cut and Glue the Photo
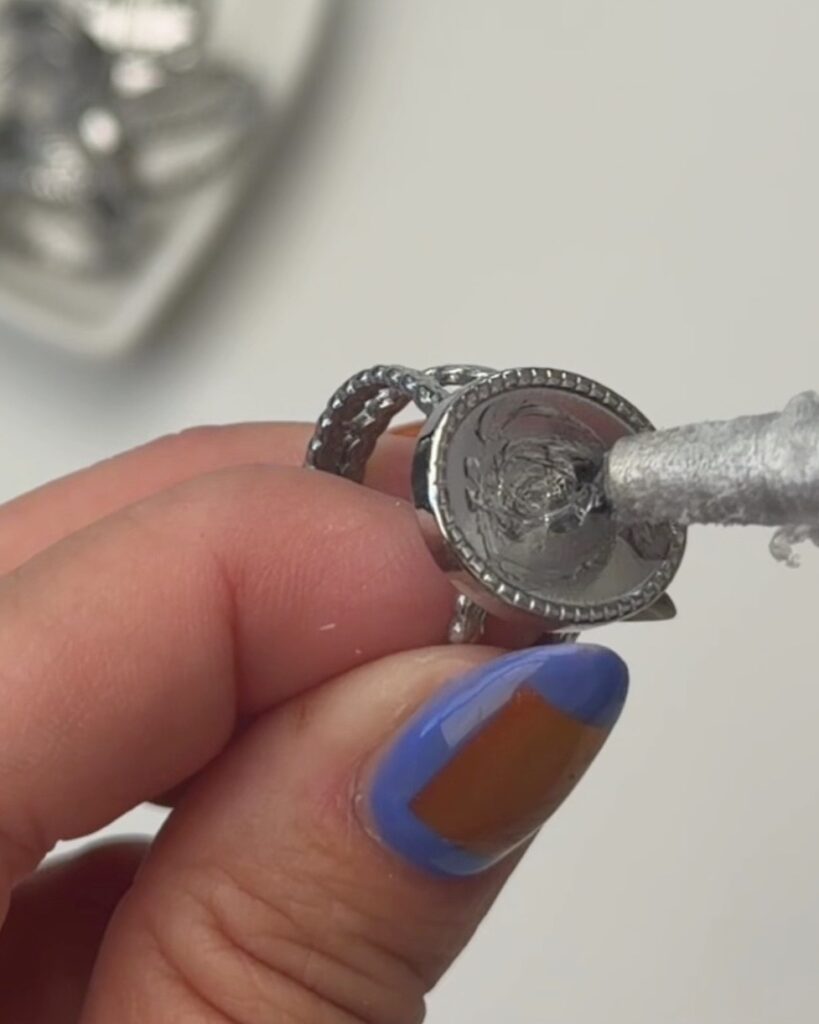
Place the ring bezel over your printed photo and trace around the bezel so you know exactly where to cut. I found it helpful to print several versions of each photo so I could experiment with the size and placement. Carefully cut around the traced shape and then cut a little more following the same shape as the photo will be slightly larger than the bezel. Glue the photo to the ring bezel and let dry.
3. Cover the Photo With UV Resin
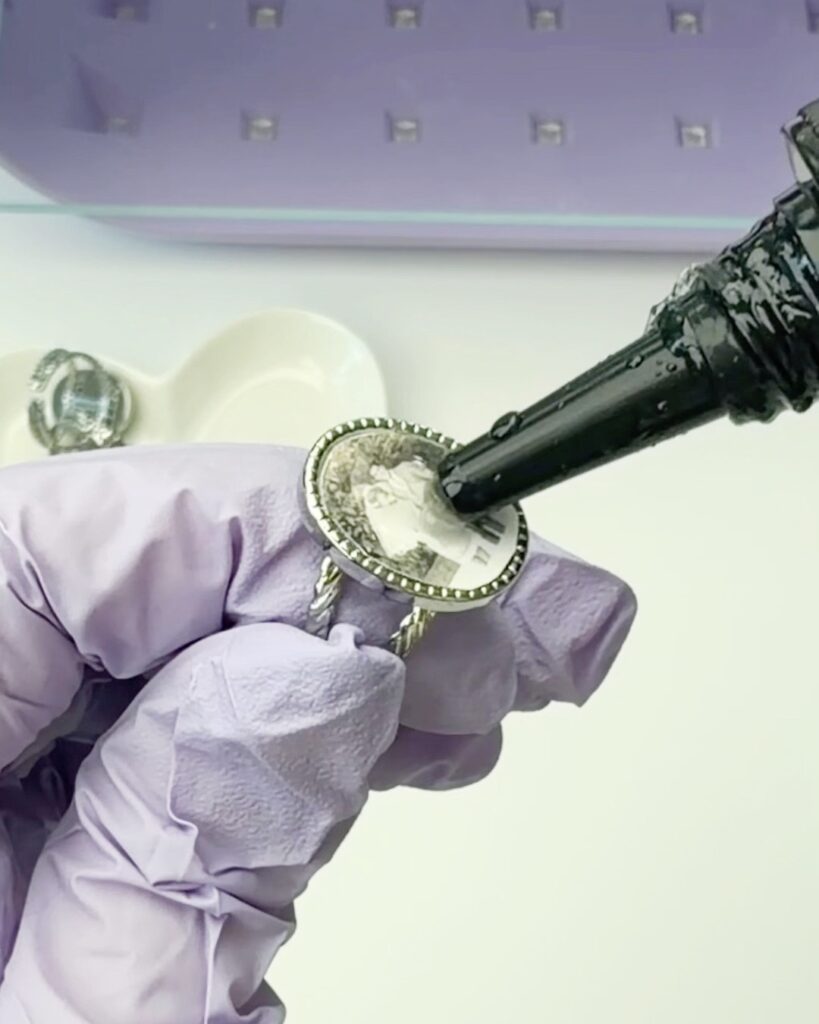
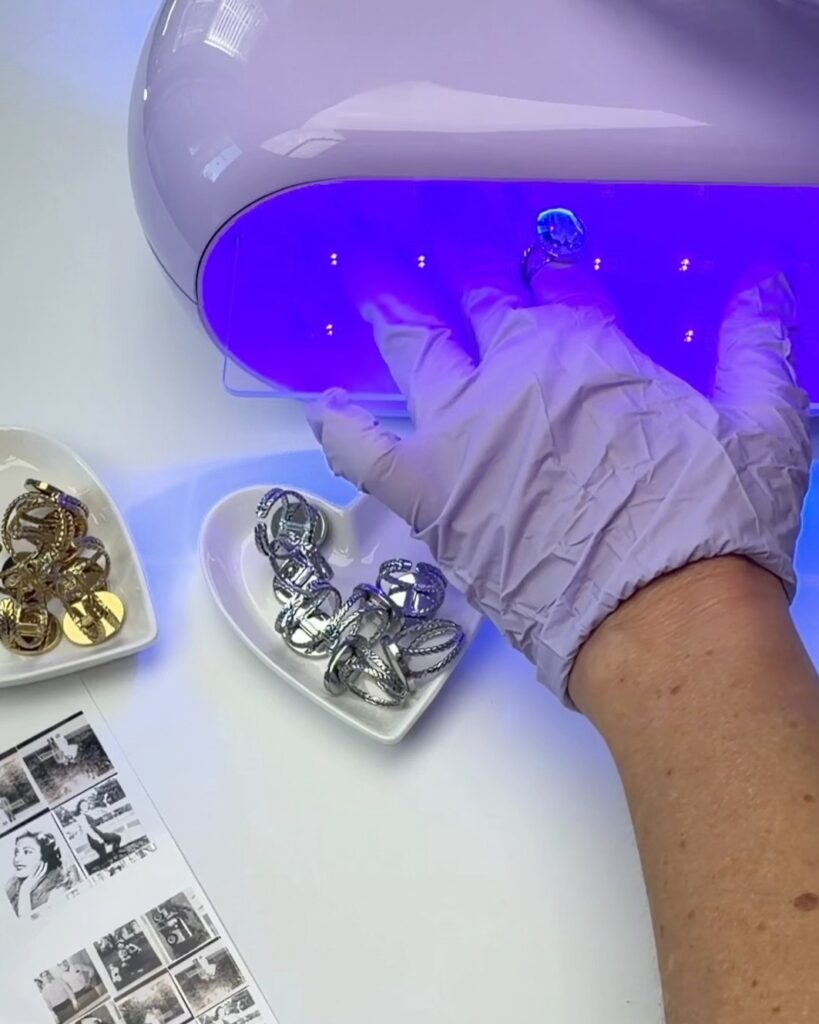
Add a layer of UV resin over the entire photo. Use a toothpick or cheap paintbrush to gently move the resin to the edges. Cure the resin under your UV lamp for about 2 minutes. Once cured, the resin gives the photo a smooth, glossy finish while protecting the picture underneath. TIP: Put the ring on your finger (make sure you are using gloves) before adding the resin and then cure with it on your finger under the lamp.
4. Add Another Layer for a Domed Finish
This step is optional, but I really liked the look of adding a second layer of UV resin to some of my photo rings. Add another layer over the cured resin and allow it to slightly dome in the middle of the bezel. Cure it again under your UV lamp. The extra layer gives the photo jewelry more dimension and makes the picture look almost like it’s sitting underneath glass.
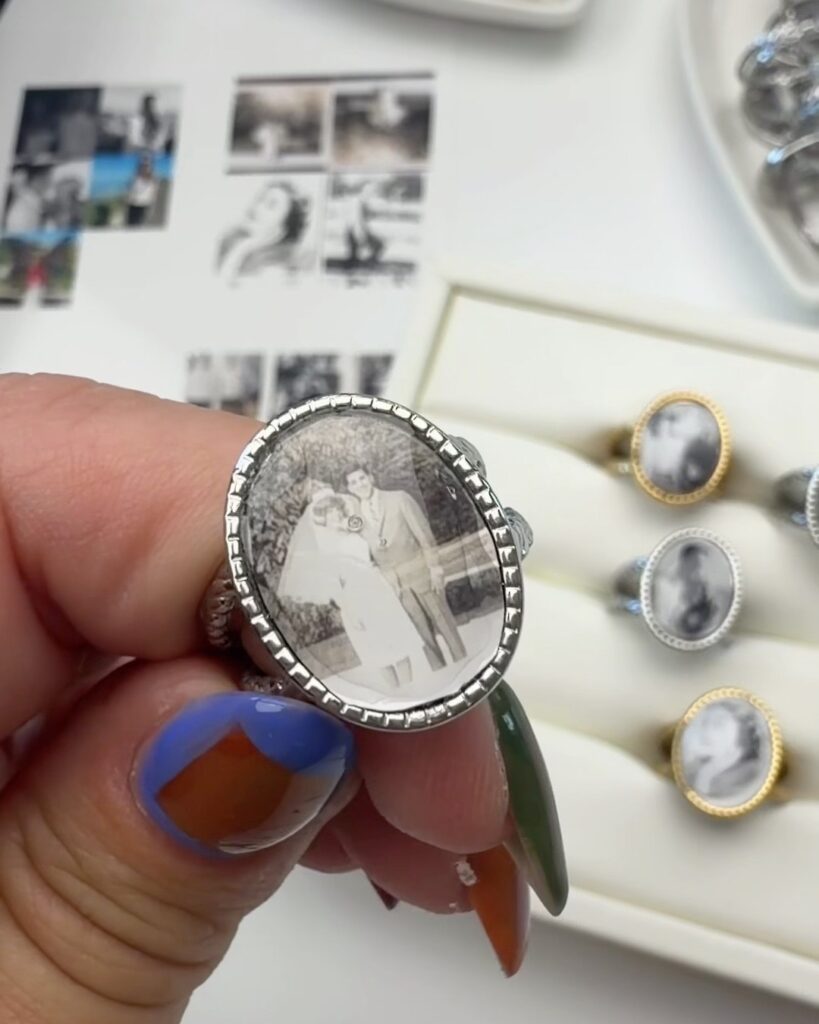
Turn Favorite Photos Into Wearable Keepsakes
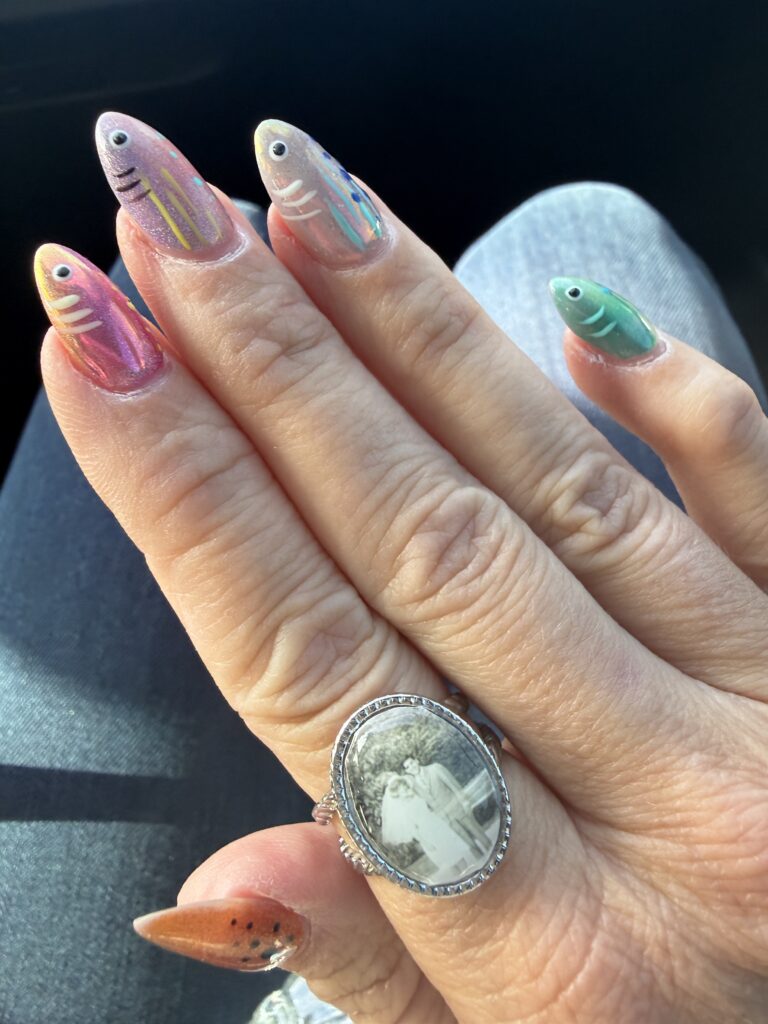
I love crafts that give old photos a completely new purpose. Instead of keeping special pictures tucked away in an album, you can turn them into personalized photo jewelry that you can actually wear.
These little photo rings would also make such a meaningful handmade gift for Mother’s Day, birthdays, anniversaries, or the holidays.
And because each ring only requires one tiny photo, it’s an easy way to turn even the simplest family picture into something really special.