Train Rocks for Teaching Colors
As an Amazon Associate, I earn from qualifying purchases. This post may contain affiliate links. See our full disclosure here.
What do you get when you have more rocks than you know what to do with and a toddler who loves trains? You get colored choo-choo train rocks! When I first saw this idea on Etsy, at HappyEmotions store, I knew immediately that I had to make Jake a set. Not only are train rocks fun, easy and inexpensive to make, they are also perfect for helping kids learn colors.

(This post contains affiliate links for your convenience.)
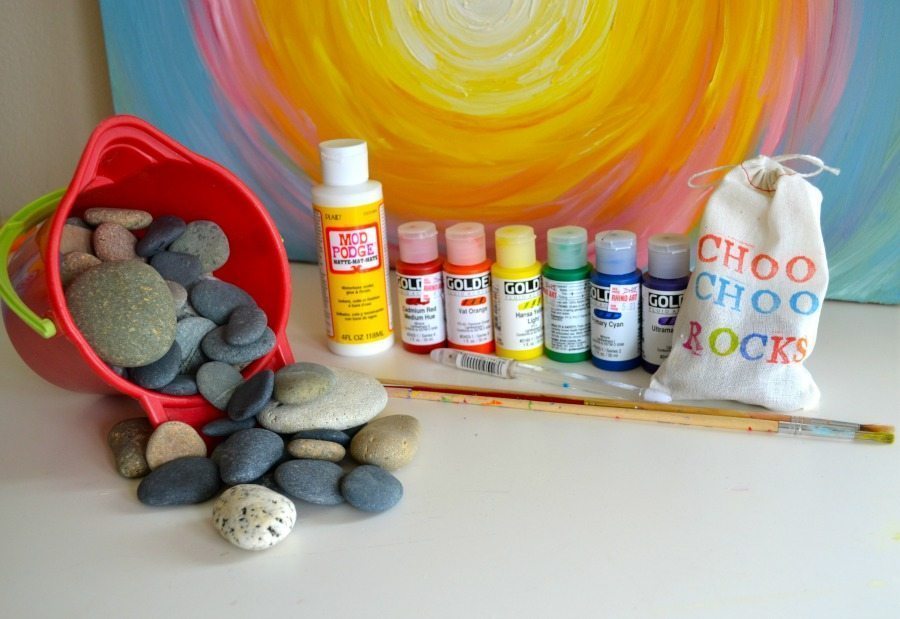
Materials needed:
- Rocks – I get mine at the beach,but if you don’t have any that you can find outside check the craft store or Dollar Store.
- Paint – I always use acrylic paint. Martha Stewart high gloss acrylics are my current paint of choice. I love that they are made for all surfaces.
- Paint brush
- Varnish – I use Mod Podge as a sealant and I prefer the matte version.
- White paint pen or gel pen – I used this one.
I started out by painting an oval shape on my rocks. Two coats of paint worked well. After the paint dried covered the painted portion in Mod Podge. Next, I used my white pen to draw the trains (don’t forget an engine and caboose, very important to the kiddos).

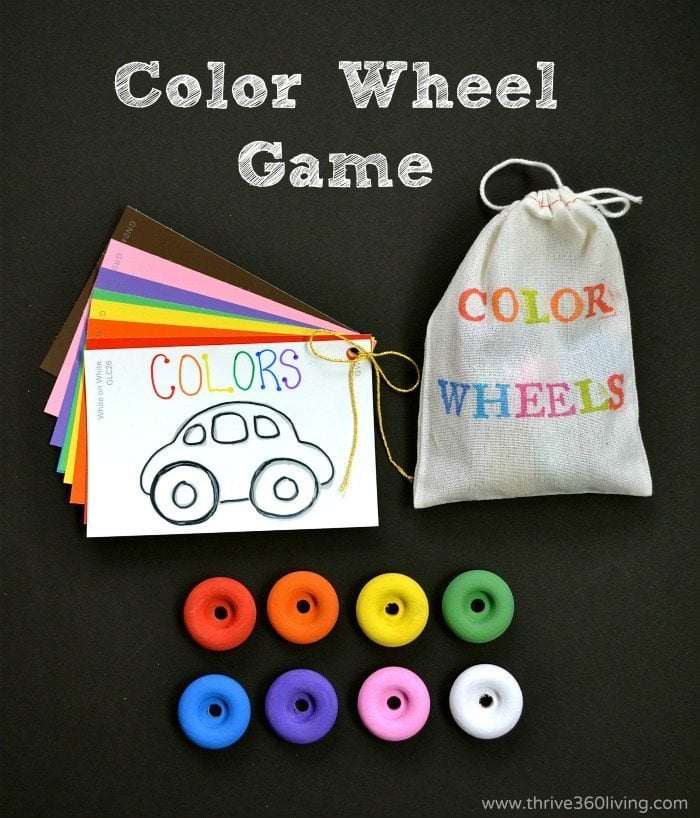
Here’s the fun part. There’s lots of ways you can use your train rocks for teaching colors. Draw a train track and have the child match the rocks to the colored tracks. Or use paint chips to create another easy to make color matching game.

You could also paint an extra piece of train track and use that for color matching. The train track idea came to me as I was writing this post hence the poor paint job. I was so excited about it I took the picture before it was even dry.

As a final idea you could add a magnet to the back of your trains and use them on a magnetic chalkboard or dry erase board. Can you imagine all of the railroad tracks you could create!
Jake’s napping right now so I have to save my surprise until he wakes up. I can hear him already yelling excitedly, “chewy, chewy”, aka choo-choo.
For more ideas on teaching colors, check out these other posts: