




DIY Confetti Covered Storage
As an Amazon Associate, I earn from qualifying purchases. This post may contain affiliate links. See our full disclosure here.

(This post contains affiliate links for your convenience.)
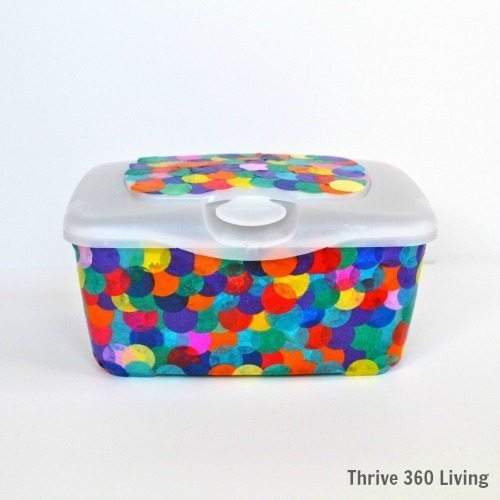
This whole idea started when I saw this lovely post by Jen at Plain Vanilla Mom (make sure you check out her site, it’s full of fun and colorful kid activities). I noticed a decorated diaper wipes container and, although Jen didn’t make it, we started talking about the idea of mod podging something to a diaper wipes container to dress it up. I was sold, I knew I had to make my own storage container, but I didn’t know what to cover it with.

That’s when I remembered I had several bags of giant paper confetti left over from the confetti-filled balloons I made for Jake’s Donut Birthday Party. As a side note, if you’re wondering how to make confetti-filled balloons, just fold the giant paper confetti, stuff it into the balloon using the eraser end of a pencil, and then blow up your balloons. They were a hit with the kids!
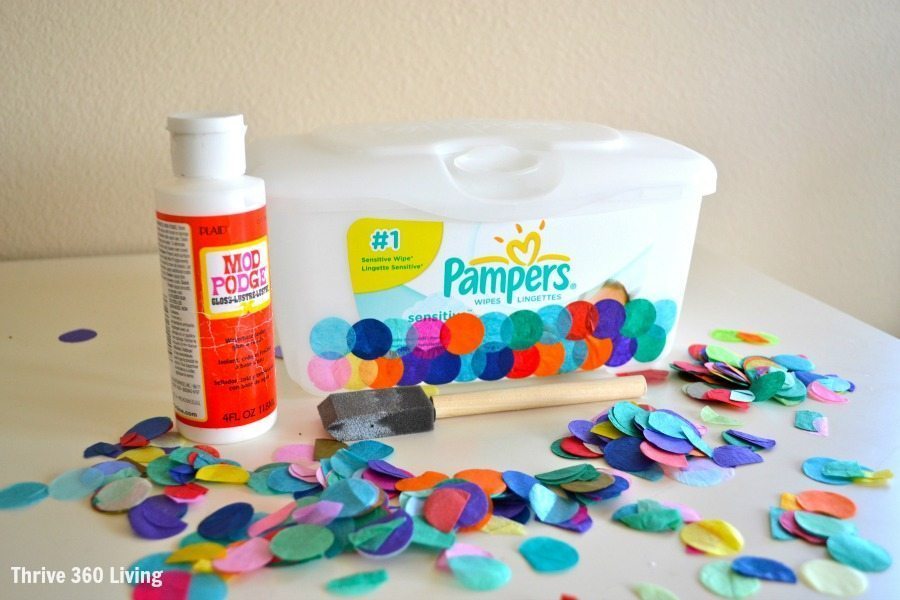
Back to the project at hand. Three easy steps to make your our DIY confetti storage.
- Find an empty diaper wipes container. This would also work on any kind of box, like a shoebox or a craft box.
- Take Mod Podge (I used the glossy version) and a foam brush and start adding the large paper confetti. I brushed Mod Podge directly onto the container and then added the confetti. Because the Pampers image on the container was screened-on and I couldn’t remove it, I had to use the darker confetti pieces to cover it. In some places where it was a bit see-through I added an extra layer of confetti.
- Once all of the confetti is in place, go back and add another layer of Mod Podge and let dry.
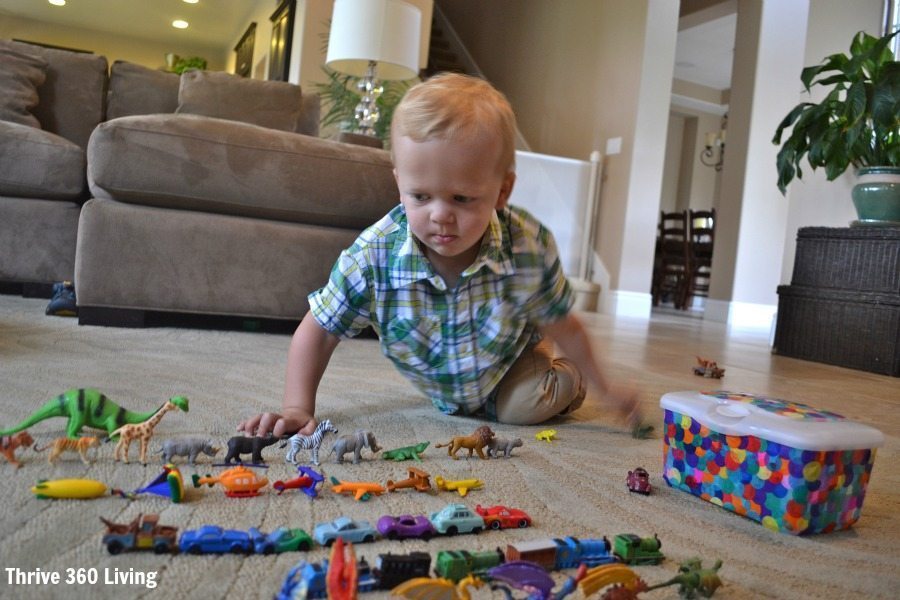
Here’s why we needed the storage container . . . we have a ton of little play pieces, what we call “guys”. Our favorites are the Toobs by Safari LTD. We have the safari wild animals, planes, dragons, and coral reef sets. We started collecting them after I saw this awesome post by Fun at Home with Kids.
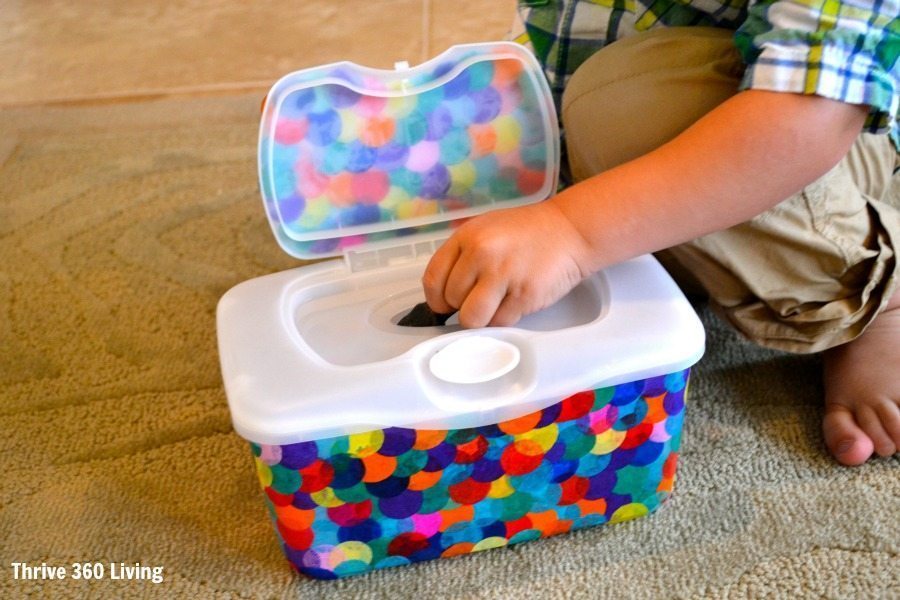
The diaper wipes container slot happens to be the perfect size to drop in all of our “guys”.
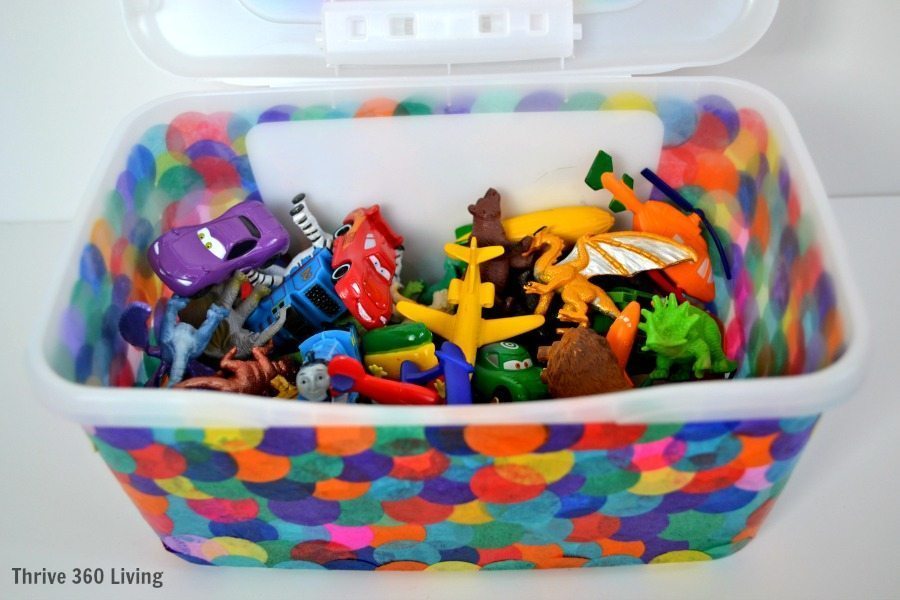
Jake spent a good portion of the morning playing with his colorful new container. He loved filling his container up, but the best part was dumping everything out just so he could fill it up again!

I would have never thought that this DIY storage box was going to be such a hit as a toy. All I was hoping for was making a diaper wipes container look pretty!