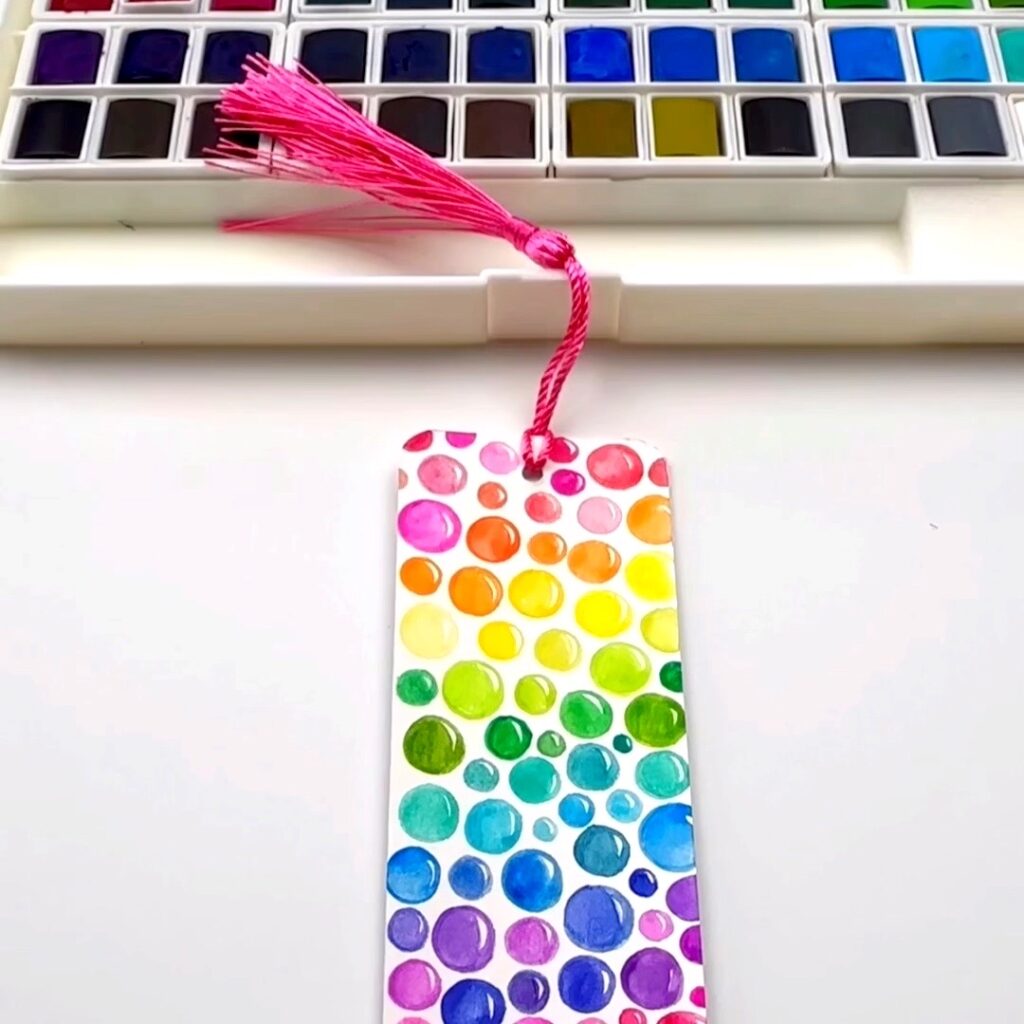
Bubble Drawing Bookmark
As an Amazon Associate, I earn from qualifying purchases. This post may contain affiliate links. See our full disclosure here.
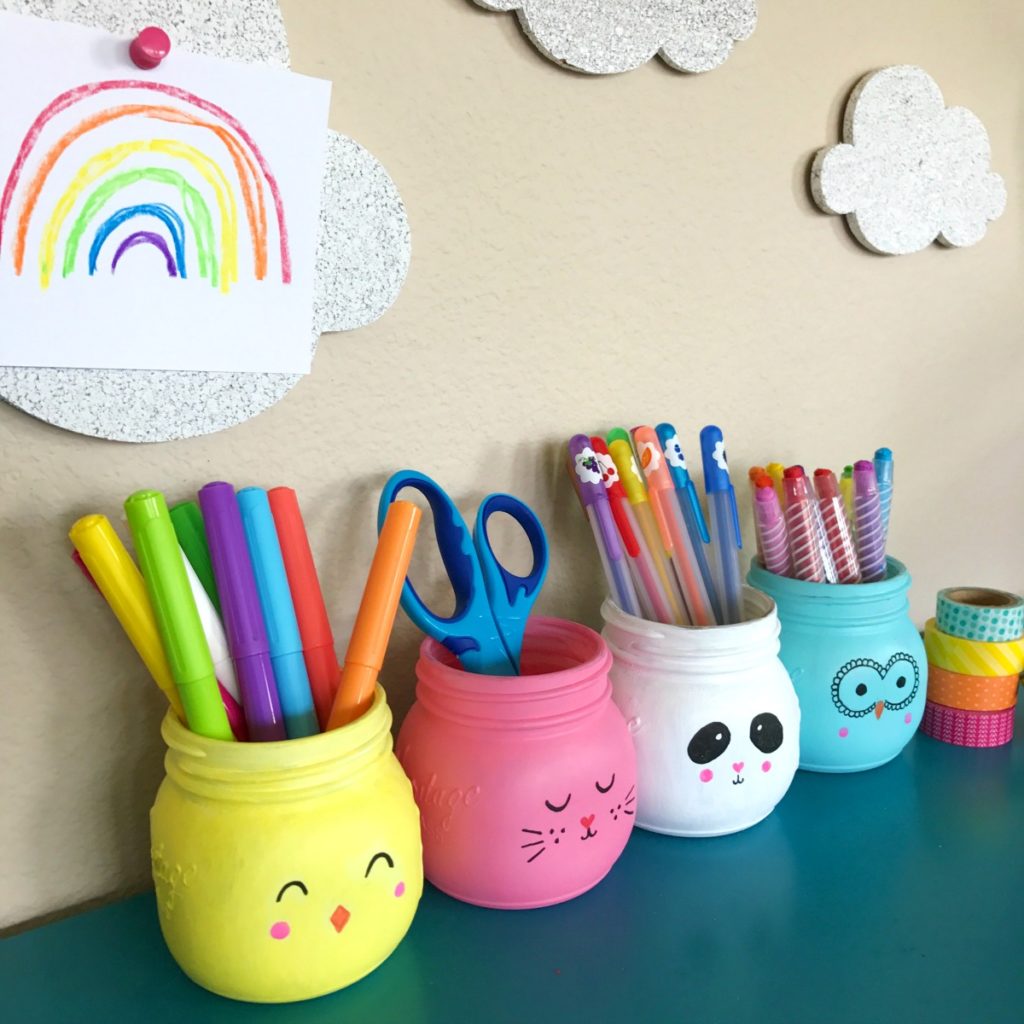
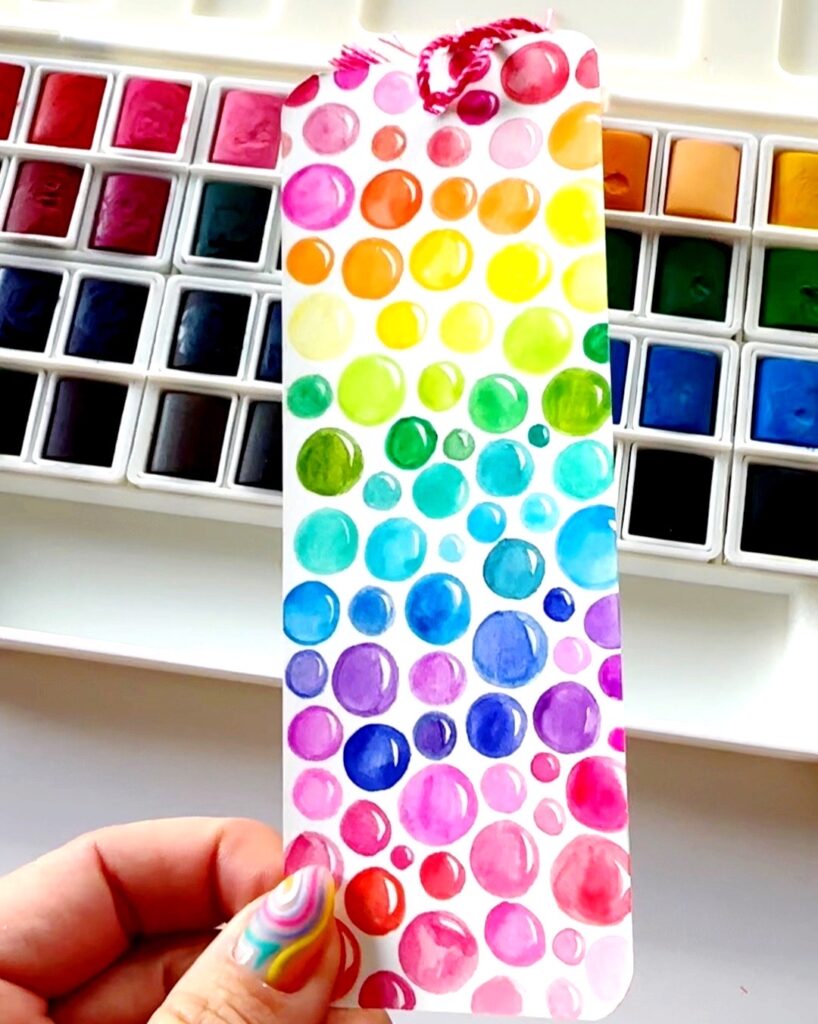
One of my favorite things to do is make my own bookmarks. I’ve made a variety of DIY bookmarks using stickers, acrylic paint, paint pens and more. I’ve even made my own pressed flower bookmarks. For this bubble drawing bookmark I used watercolors but you could create the same pattern using any medium you like.
My favorite part about drawing bubbles is that they don’t have to be perfect. Don’t worry about your bubbles being perfect circles. In fact, the bubble pattern is more interesting as you vary the size and shape of the bubble drawings.
How to Make a Bubble Drawing Bookmark
- Paper bookmarks with tassels
- Watercolors – I used this set of 48 colors watercolor palette but you can also use a smaller set like this set of 24 watercolors.
- Small paint brush
- Laminator machine (optional)
Step 1. Set-up your work area. I like to make sure I have a paper towel, clean water cup and a clean working space for my project.
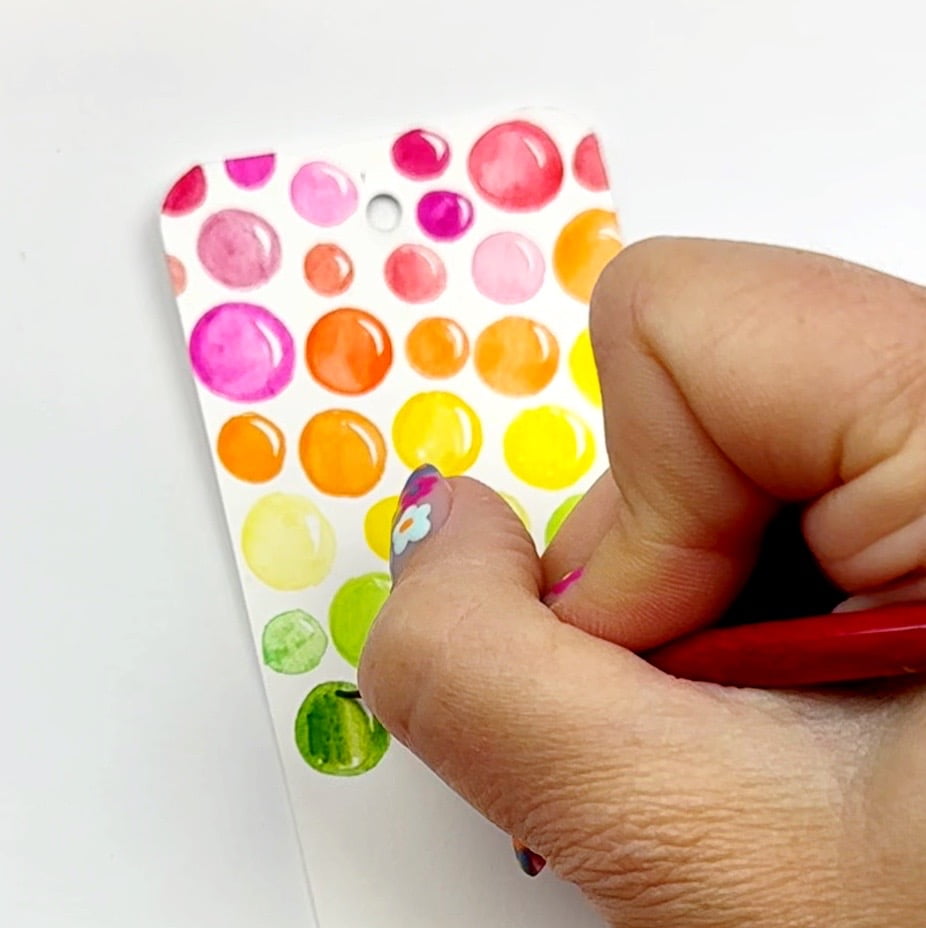
Step 2. Start by painting or drawing just the outline of the bubble drawing. This make it easier to control the size and shape.

Step 3. Next start with your brush at the top of the bubble and make a curved line from the top to about 3/4 to half way down the bubble. This white area will be the bubble reflection. Once you’ve added the curved line you can add to it to make the reflection as large or small as you like.

Step 4. Fill in the rest of the bubble with slightly darker color on the outside and lightening the color as you get closer to the middle.
Step 5. Once dry you can add your tassel to the finished bubble bookmark. If you have a laminator and you want your bookmark to be even sturdier you could run it through the laminating machine before you add the tassel.
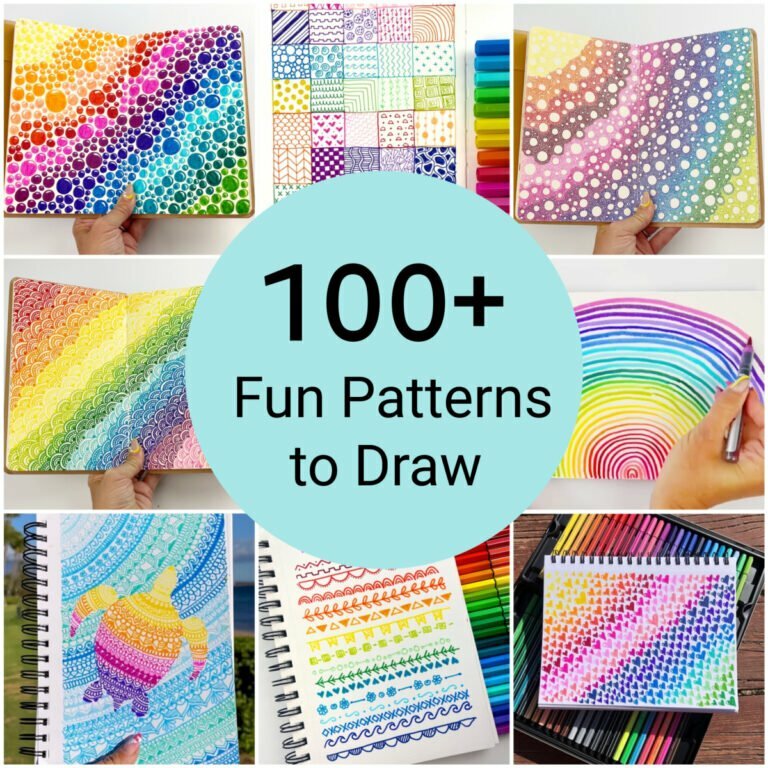
If you want more ideas of patterns or designs you could paint or draw on a bookmark, check out this post of 100 Patterns to Draw.