Zombie Painted Rocks – Halloween Rock Painting Tutorial
As an Amazon Associate, I earn from qualifying purchases. This post may contain affiliate links. See our full disclosure here.
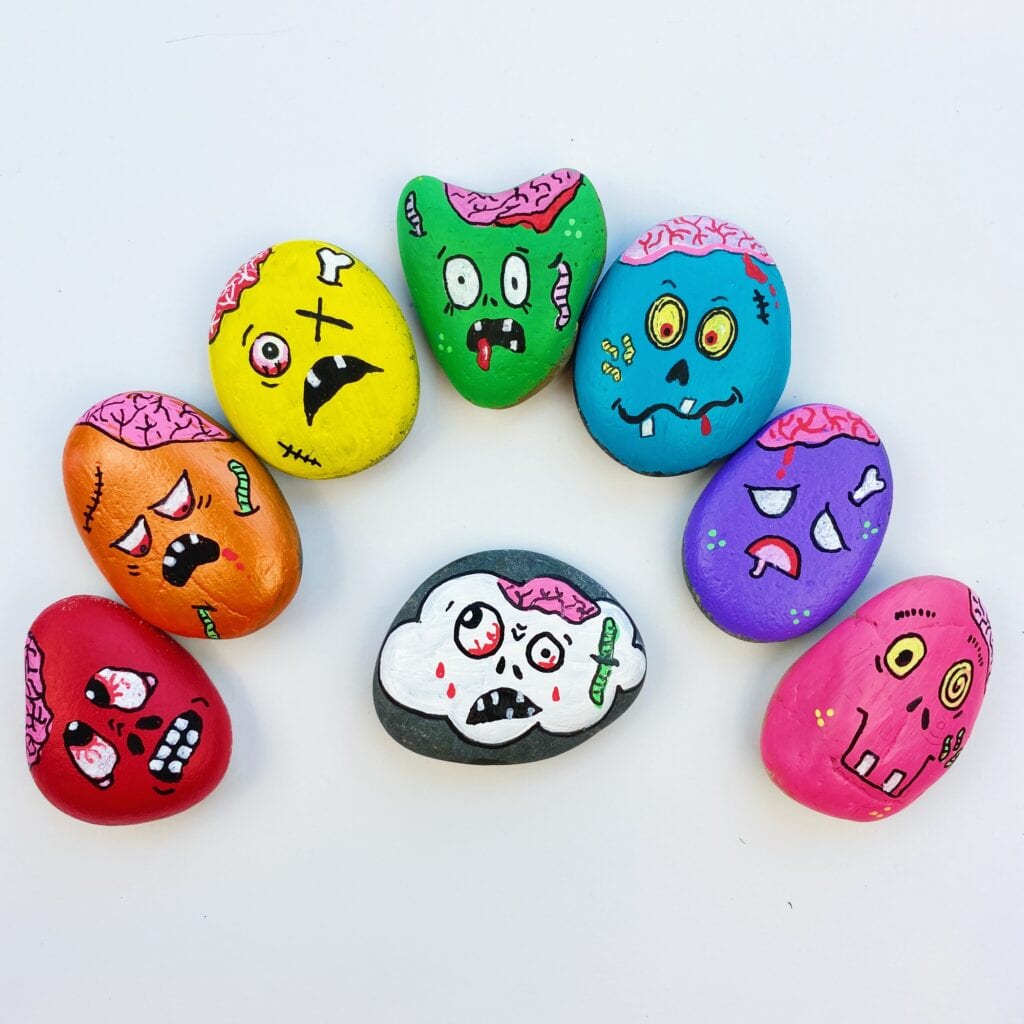
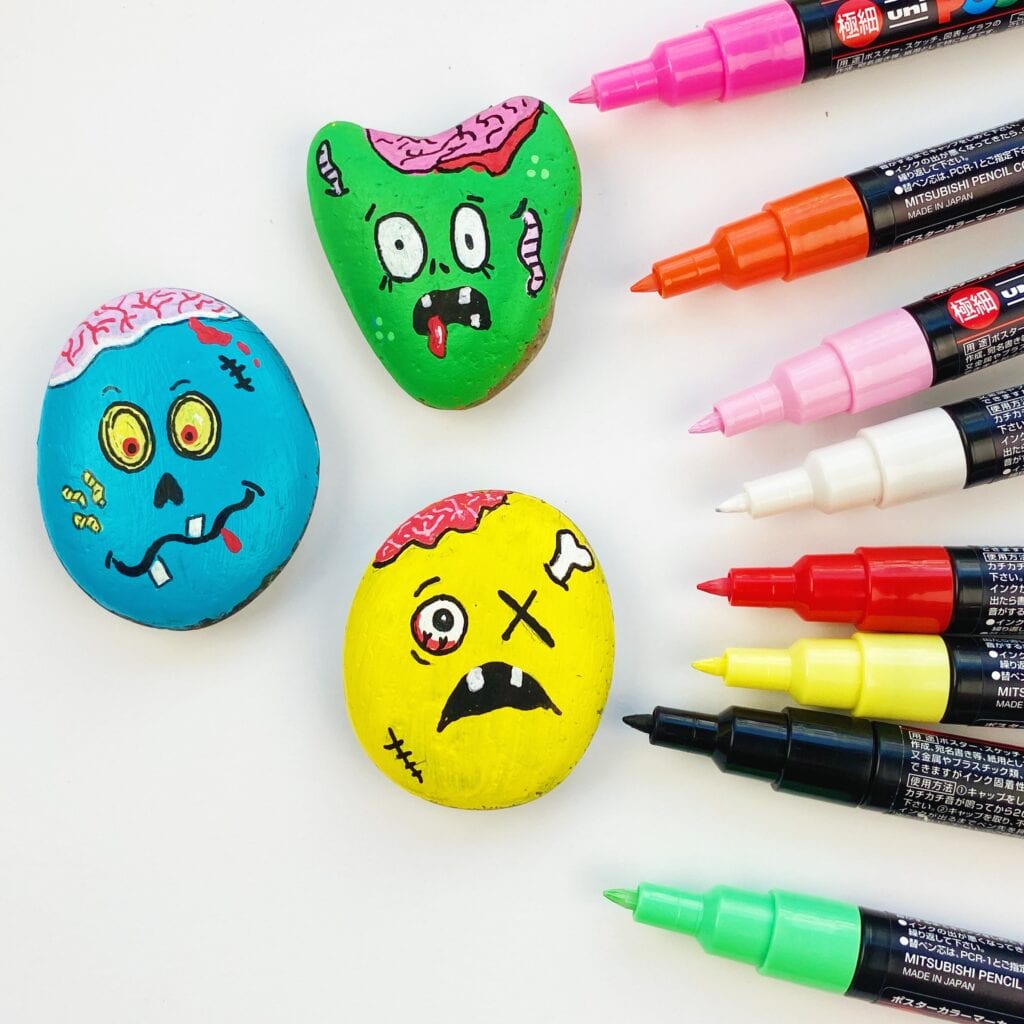
Who says zombies can’t be colorful and fun! I had such a great time making these zombie painted rocks and they would be a great Halloween craft for kids or adults. You could even give out these zombie painted rocks in place of candy this this year at Halloween!
Make These Zombie Painted Rocks Yourself: Easy Halloween Rock Painting Instructions
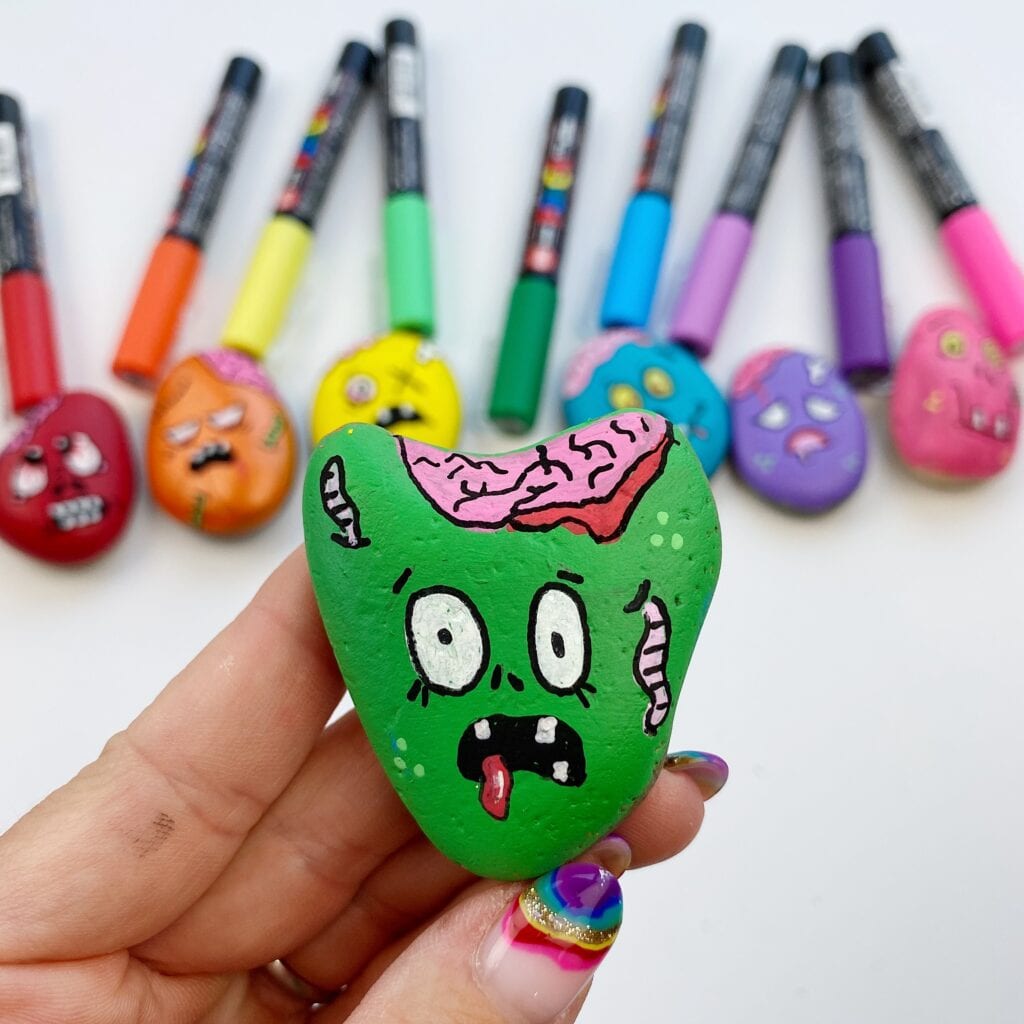
I created the painted rock zombies using a mixture of acrylic paint and paint markers. Keep reading below for step-by-step instructions and to see the exact supplies I used.
Zombie Painted Rock Supplies
- Rocks – There are a ton of options on Amazon for rocks. Below are a few favorites.
- Acrylic Paint
- ARTEZA Acrylic Paint – this is a great option for a variety of colors.
- Artecho Acrylic Paint
- Paint Markers – All of these markers are great options and I use all of them often for rock painting.
- These extra fine Posca Paint pens are a favorite for rock painting details. If you want a smaller set to start check out this 12 color set.
- Tooli-Art Paint pens extra fine tip set of 30 (they also have a smaller set of18 pens).
- Artistro Paint Pens extra fine point
- Sealant – Lately I’ve been using this sealant for a glossy finish
Zombie Painted Rocks Step by Step Directions
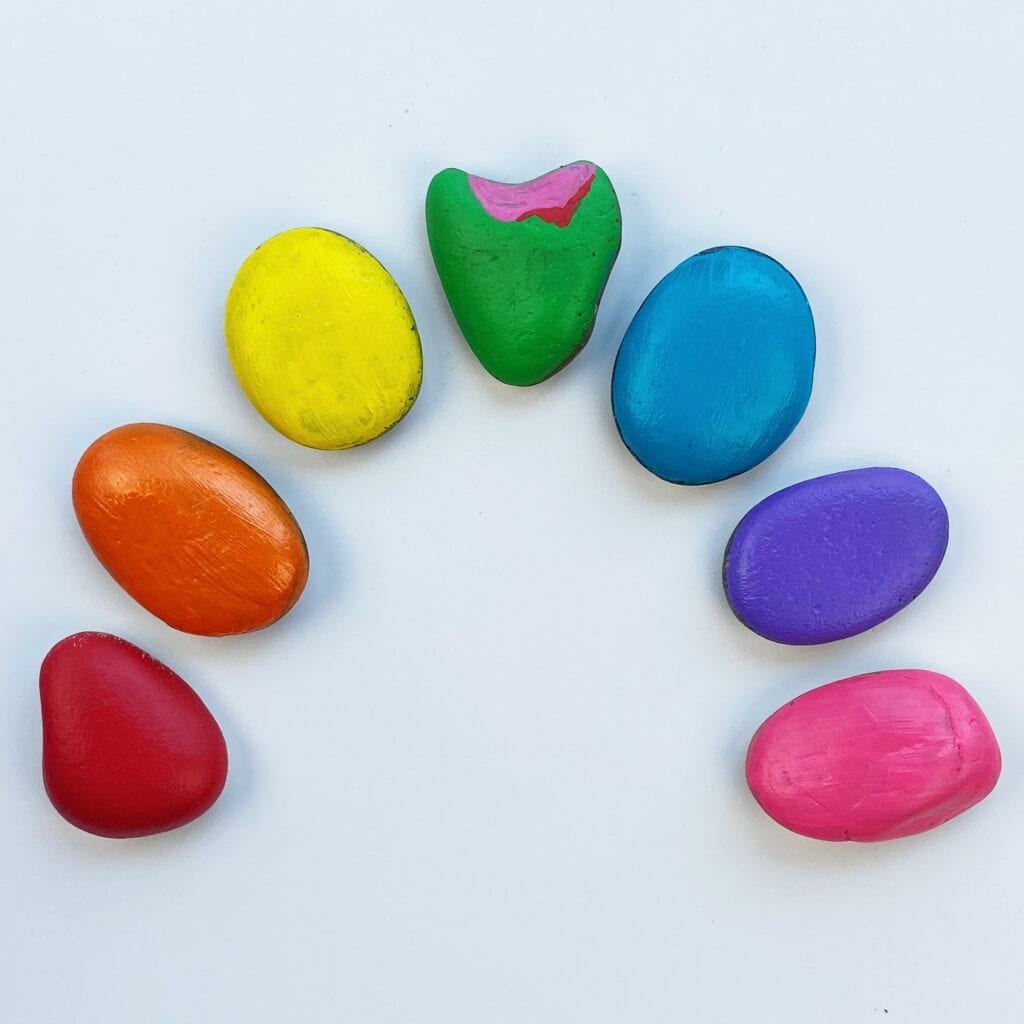
1. Paint Each Rock
Start by painting each rock a different color using acrylic paint. Let dry completely.
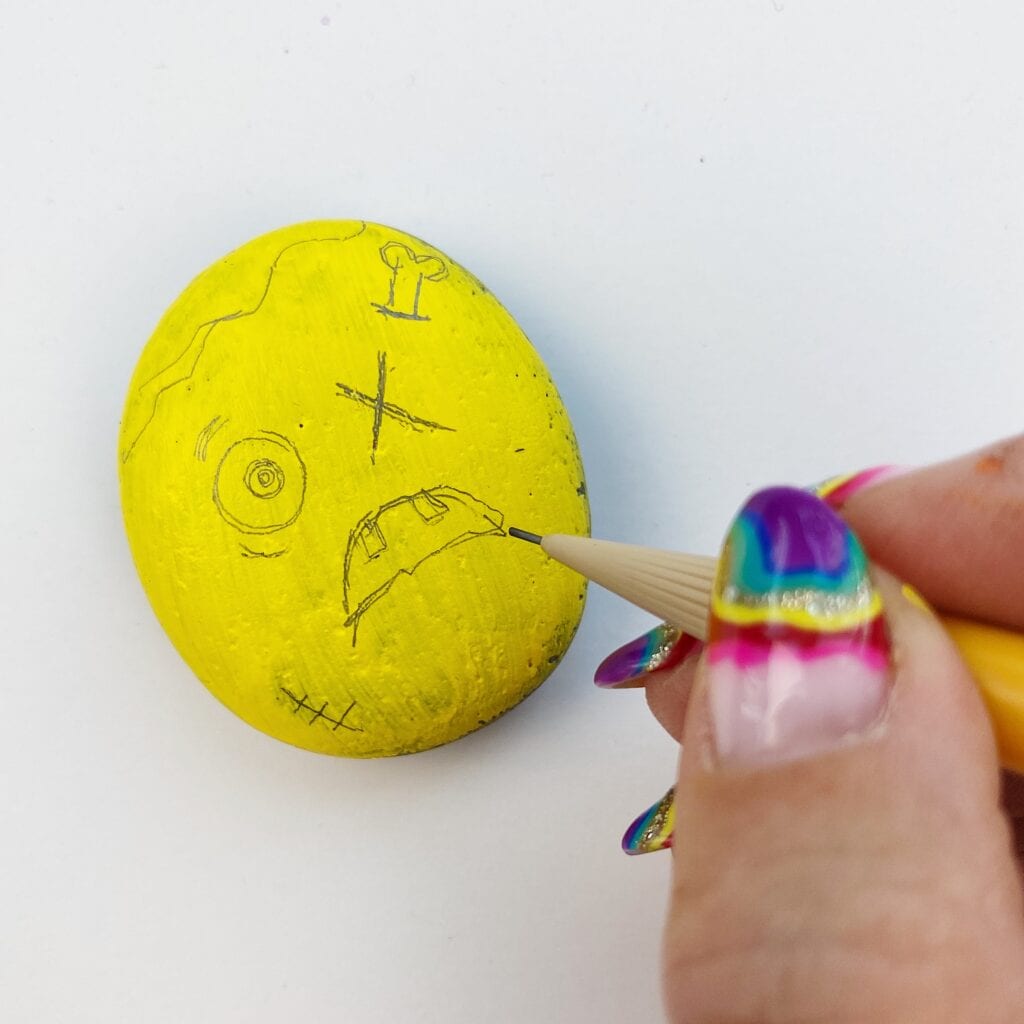
2. Draw the Zombie Face in Pencil
Lightly draw the details of each zombie face using a pencil.
3. Color the Design With Paint Markers
Use paint markers to add details for the eyes, teeth, brain, worms, etc.
4. Outline in Black
I also like to outline all the details in black to make them stand out more.
5. Add Extra Details
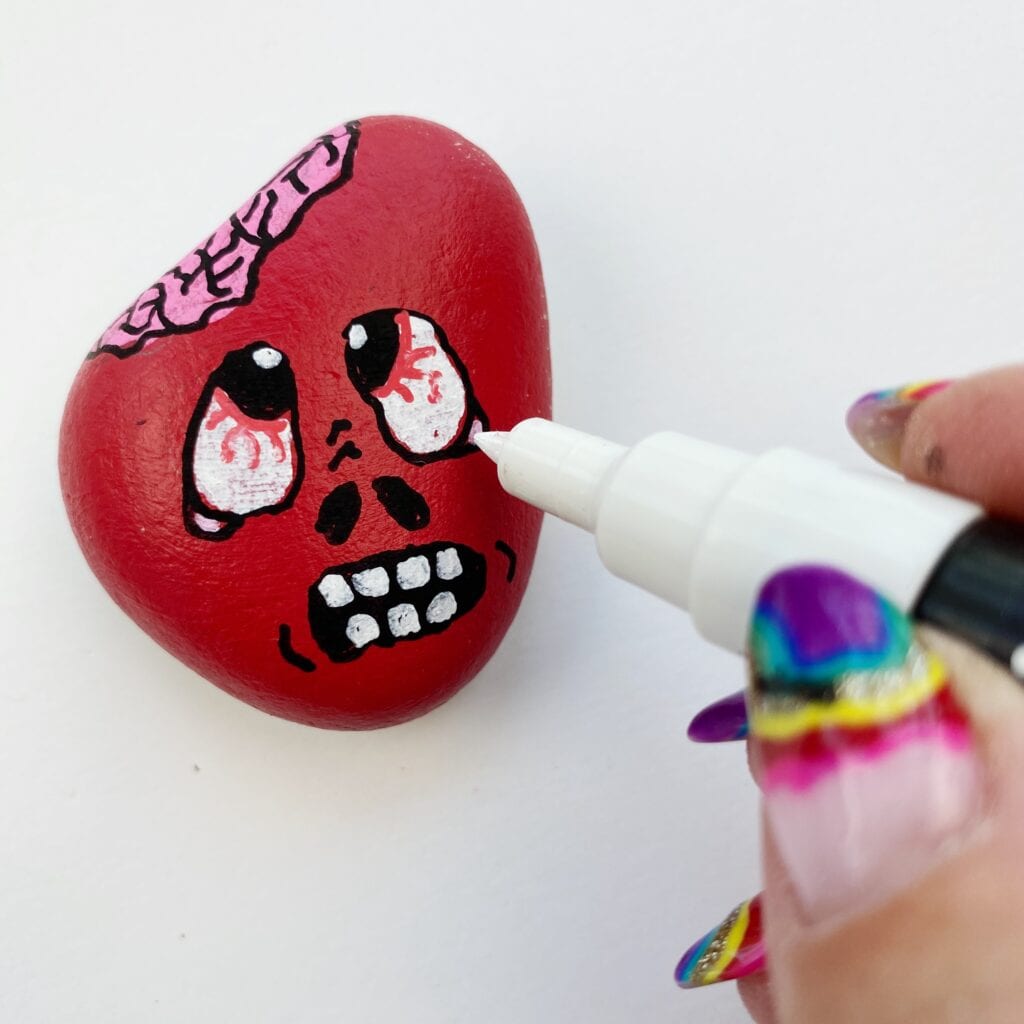
You can also fill in extra details after the outlining. For example, add white over the black parts of the eyes.
6. Seal the Rocks
Once your down you can add a sealant to your rocks to help protect them (see supplies list above).

Tips for Painting a Zombie Face with Paint Markers
- Go ahead and get creative with your zombie faces! The best thing about zombies is that they are imperfect, so don’t worry about any little quirks on your zombie faces. If anything, it makes them better.
- Use the rock shapes to your advantage. One of mine looks like there’s a hole in its head where the rock shape dips down.
- I gave my zombies open skulls with their brains falling out – I think it made them look a bit creepier for Halloween.
- Add some signs of decomposition. Exposed bones, cuts, and bugs hanging out are easy to paint and look super creepy.
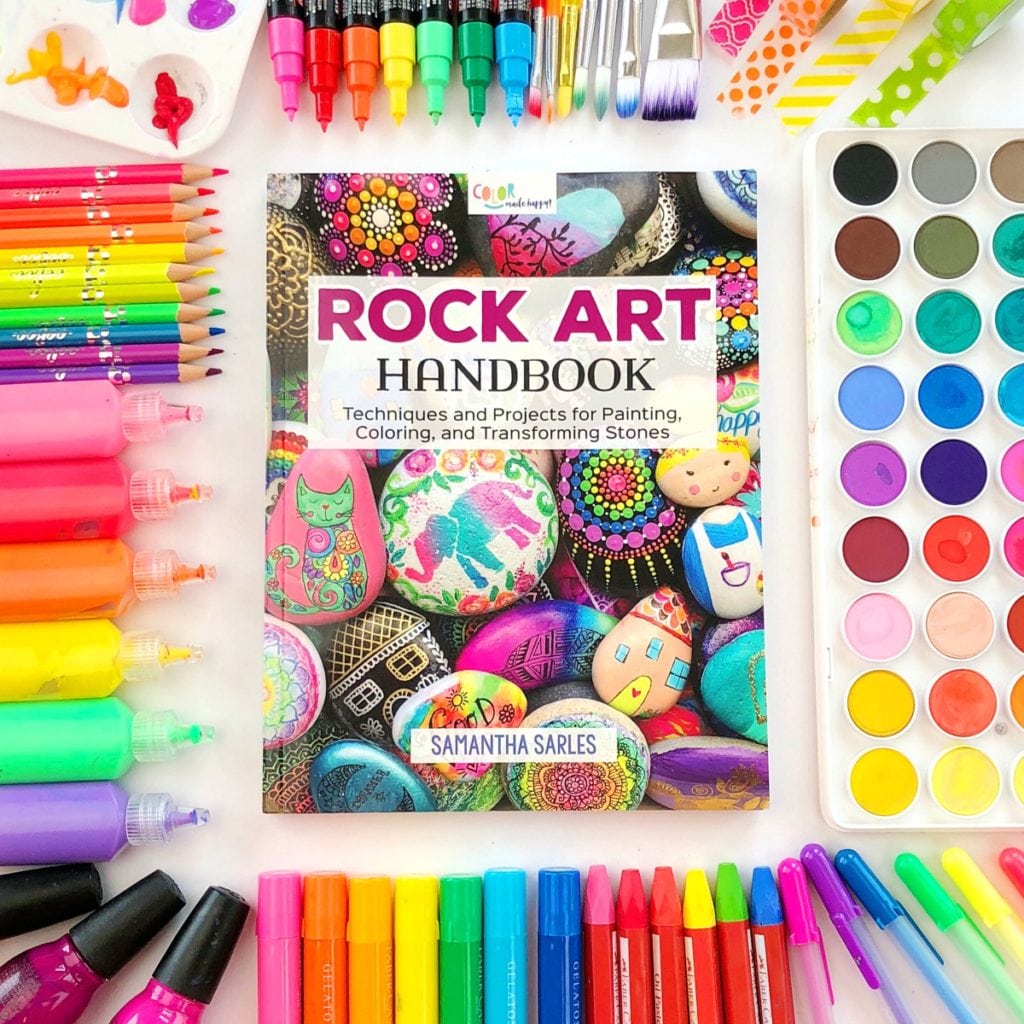
If you like this tutorial, you can find over 30 other rock art tutorials featuring dot painting, marbling, embellishments, and much more in my book, Rock Art Handbook. You can also find more rock painting tutorials right here.
I would love to see your version of these zombie painted rocks. Come share with me a picture of your finished rocks on Instagram or Facebook! I love showing examples of my tutorials being made!