




Kids | Kids Crafts | Parties
Birthday Donut Party
As an Amazon Associate, I earn from qualifying purchases. This post may contain affiliate links. See our full disclosure here.
I can’t believe my little baby boy is 2. I know one day I’ll look back on these pictures and think that he looked so young. But right now it feels like he became a 2 year old overnight. There’s no perfect phrase or set of words to describe how much Jake has changed my life, but my favorite quote comes pretty close:
“No one else will ever know the strength of my love for you. After all, you’re the only one who knows what my heart sounds like from the inside.”

While I’ve always loved creative things (hence why I became a marketer), I use to feel a little lost when it came to executing my artistic vision because I’m not a very good drawer or painter. Turns out I just needed Jake (and Pinterest) to inspire me. Now I love to create things that make him smile or squeal with delight. My ideas don’t have to be perfect or fancy, they just need to be fun. When he came out of his room this morning he was so excited to see his birthday surprise. And then he immediately proceeded to tear down his birthday banner and grab a handful of donut holes!
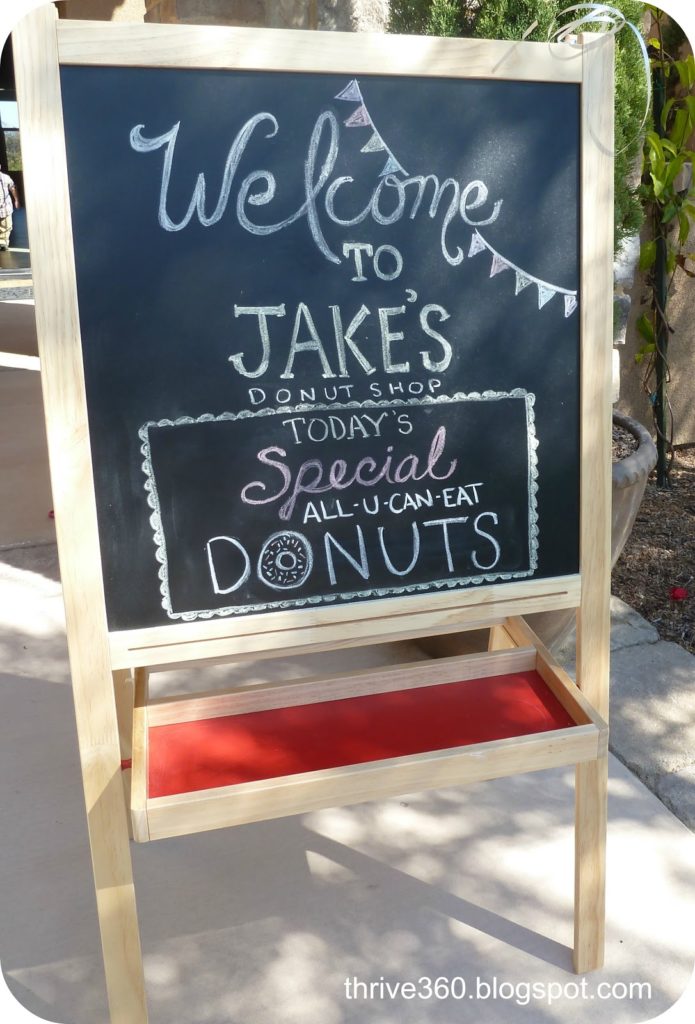
We couldn’t have asked for better weather this morning, a perfect way to celebrate and start the day.
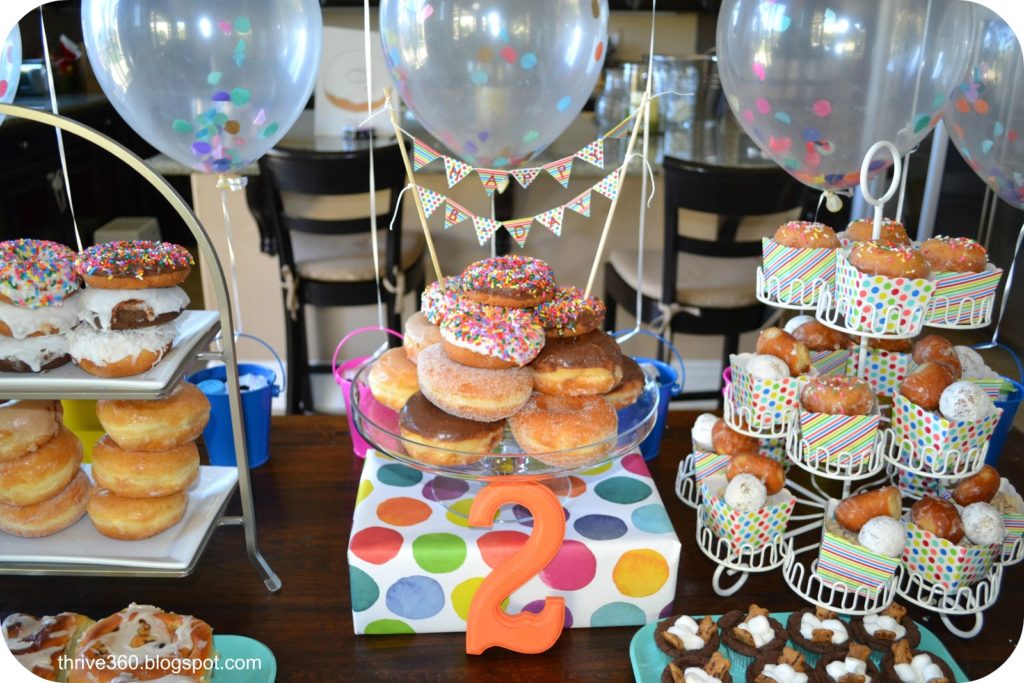
Turns out 4 dozen donuts and 3 dozen donut holes was just the right amount (who knew our friends could eat so much).

The backdrop was clear balloons filled with paper confetti. Each balloon was tied to a party favor can. The sprinkled picture frame was actually much harder to make then I imagined. I used a spray adhesive, but I probably should have tried one that was a bit stronger. I’m still finding sprinkles all over my house.
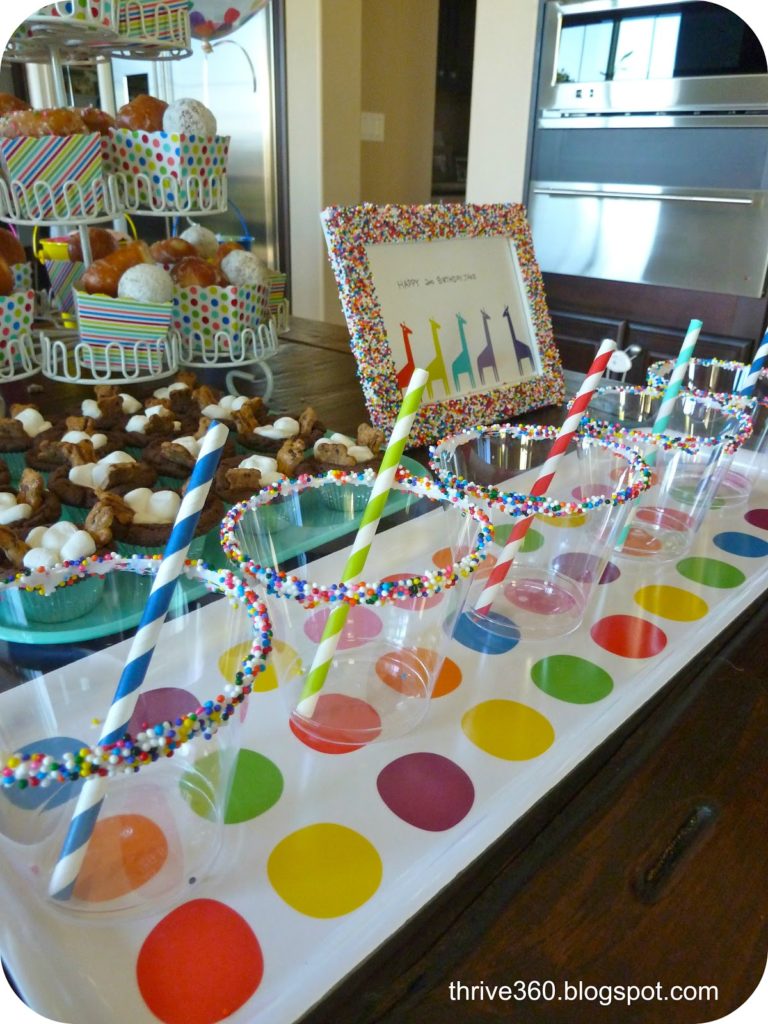
Making sprinkled cups for milk was much easier! You just roll the top in frosting and then roll again in sprinkles. (Note to self – next time don’t put the milk glasses at the front of the table even though it looks pretty because clumsy toddler hands will just want to yank them down.)
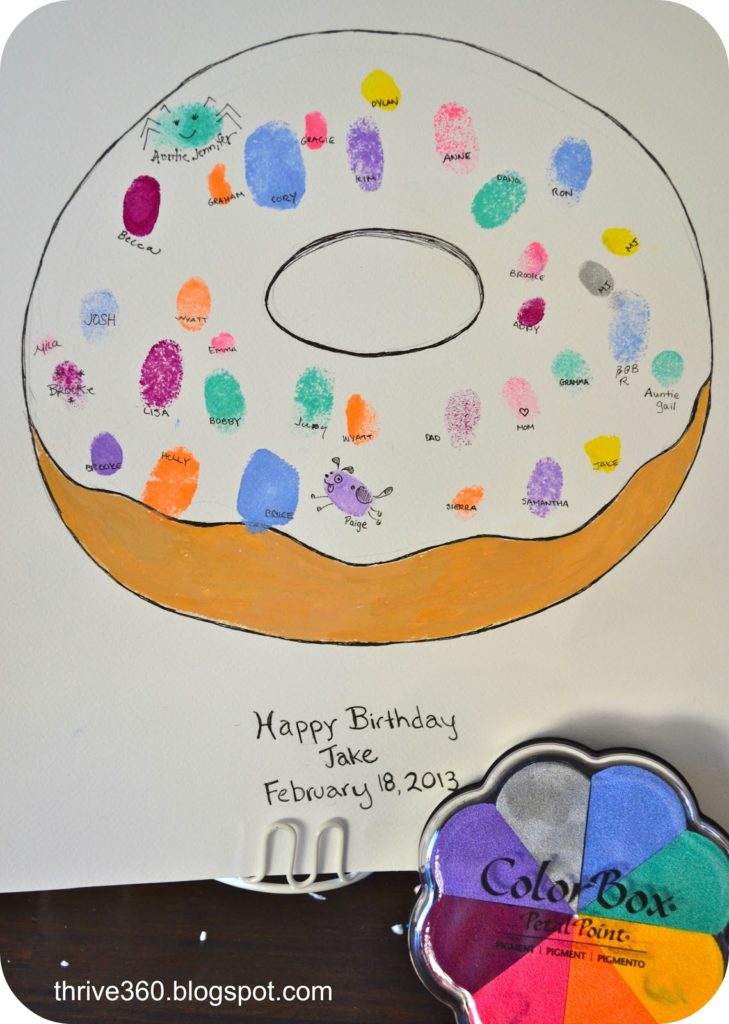
Sadly since Jake will have no recollection of this birthday since he’s only 2, I wanted to make a little keepsake as a reminder. Above you will see my attempt at drawing a donut (good thing we didn’t have a dinosaur party). The idea was for everyone to leave a fingerprint on the donut so that it looked covered in sprinkles. We call it our “Donut Finger Print Guest Book”. The size is 11″ x 14″ so it can easily be framed and hung in Jake’s room.
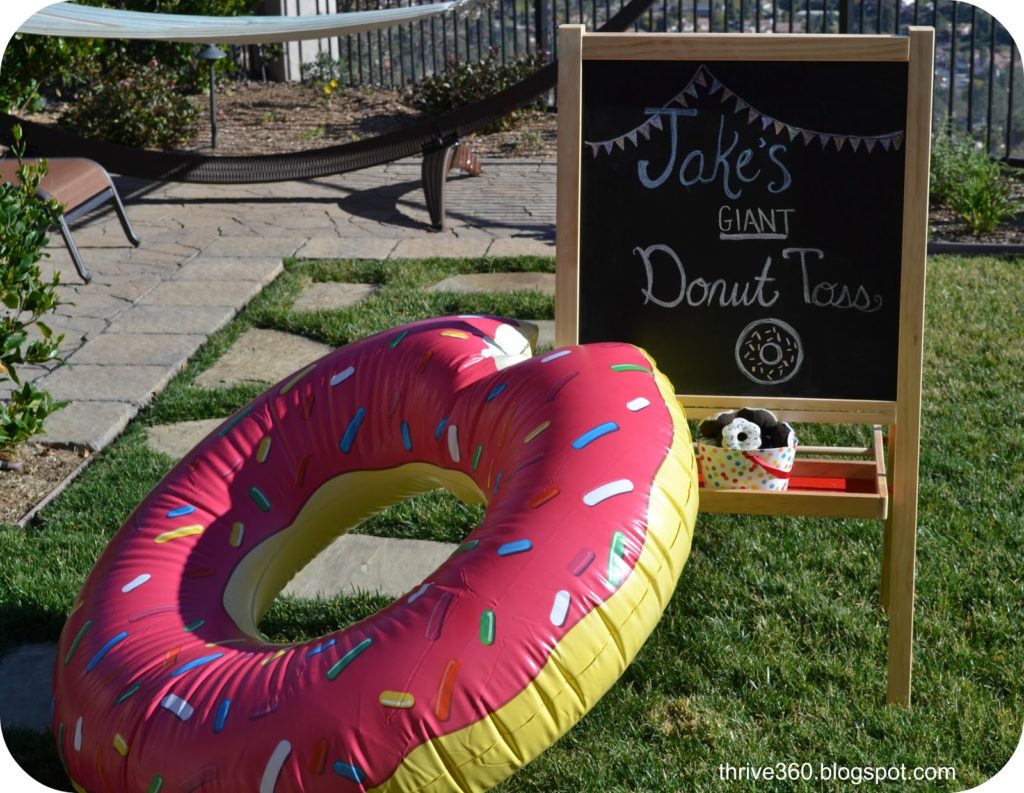
All of the play sock donuts I made were put to good use at the donut toss.

And the giant inflatable donut I bought on Amazon has now become Jake’s favorite new seat.
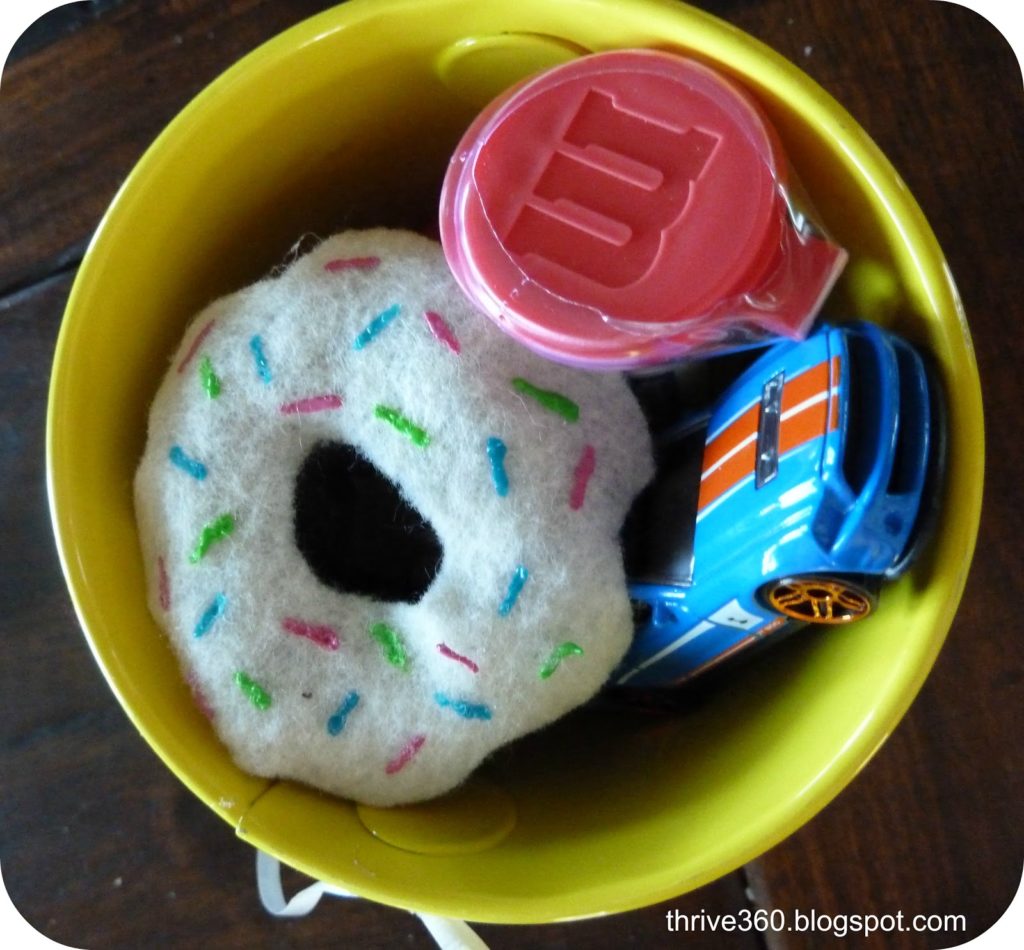
For party favors, all of the kids got to take home a tin can filled with all of Jake’s favorites: M&M’s, matchbox cars, Play-Doh, bubbles and of course my DIY play donuts. The cans also served as part of the table decoration with a balloon tied to each.
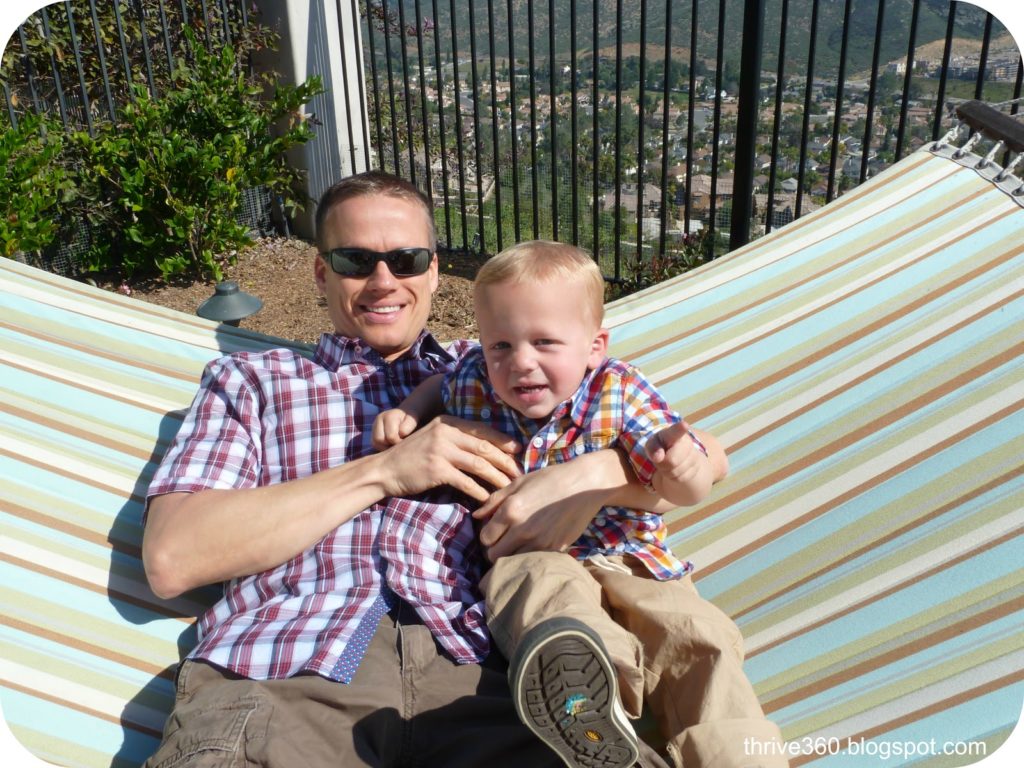
And finally, here is the birthday boy with daddy (his twin) and me (this was one of the only pictures I got of him looking at the camera and not squirming).
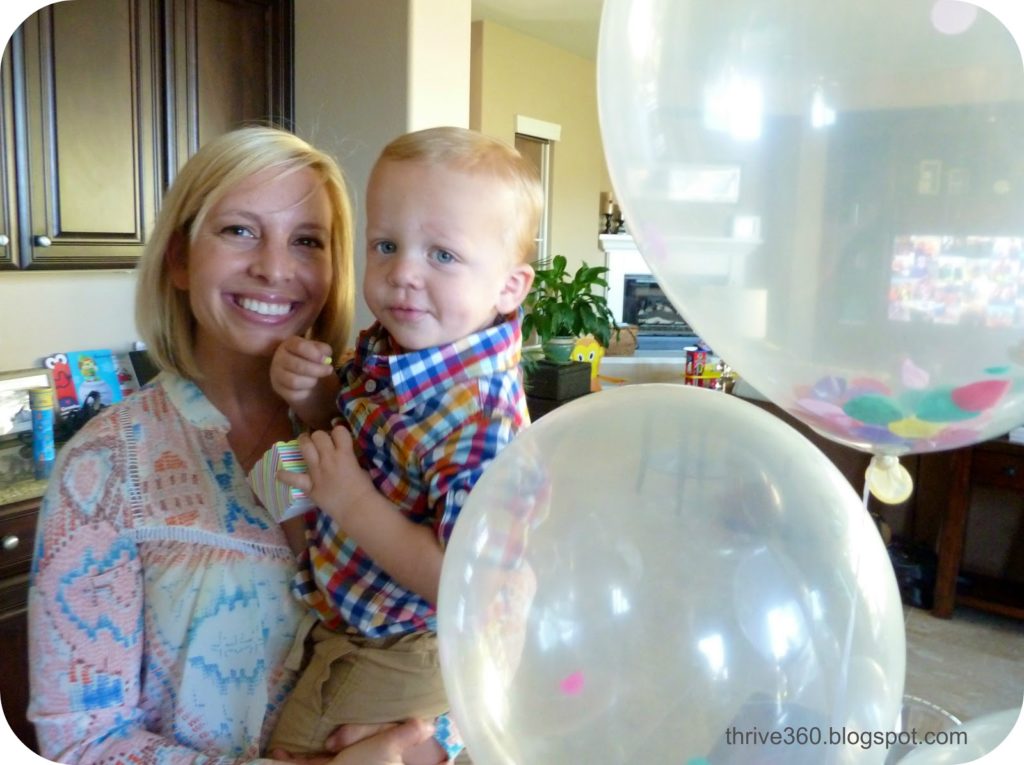
I’ve enjoyed every minute of planning my little boy’s donut birthday party. Love you to the moon and back Bubba.