How to Make Glitter Pens the Easy Way
As an Amazon Associate, I earn from qualifying purchases. This post may contain affiliate links. See our full disclosure here.
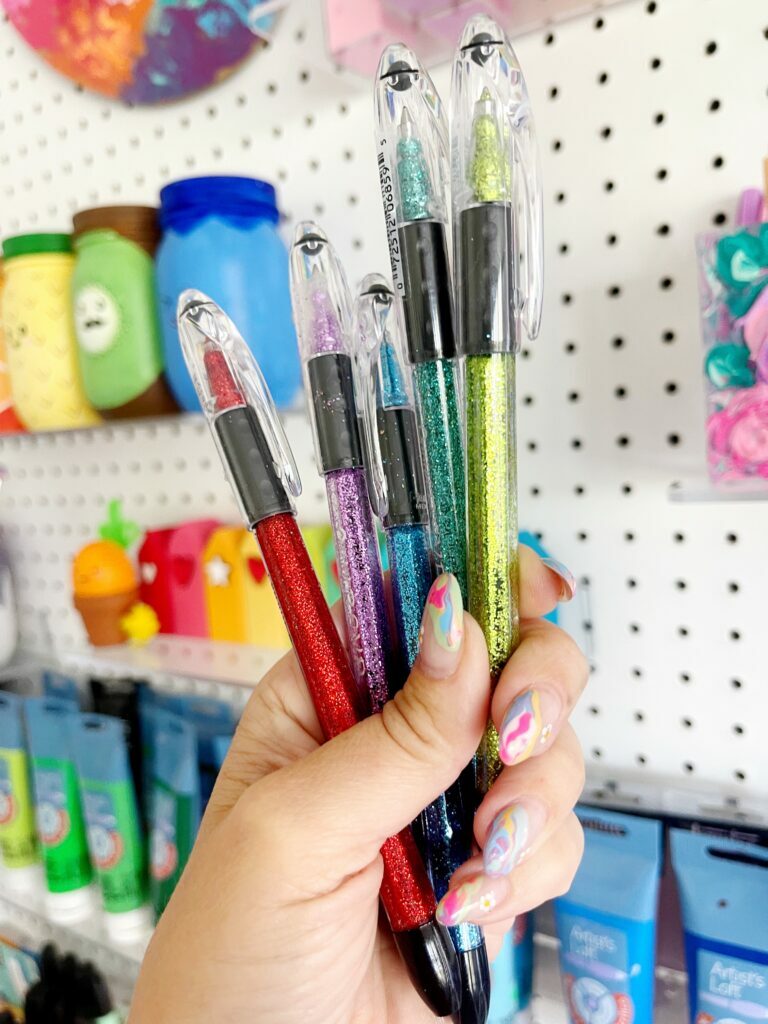
I’ve always found that glitter makes most craft projects even happier. With this craft I’ve combined my love of cute stationery with my other love…anything that has sparkle! These glitter pens are really easy to make once you get the hang of it and they make great gifts to give to friends or they are wonderful for your own personal use. This is a great craft to try with older kids. It reminds me of a summer camp craft!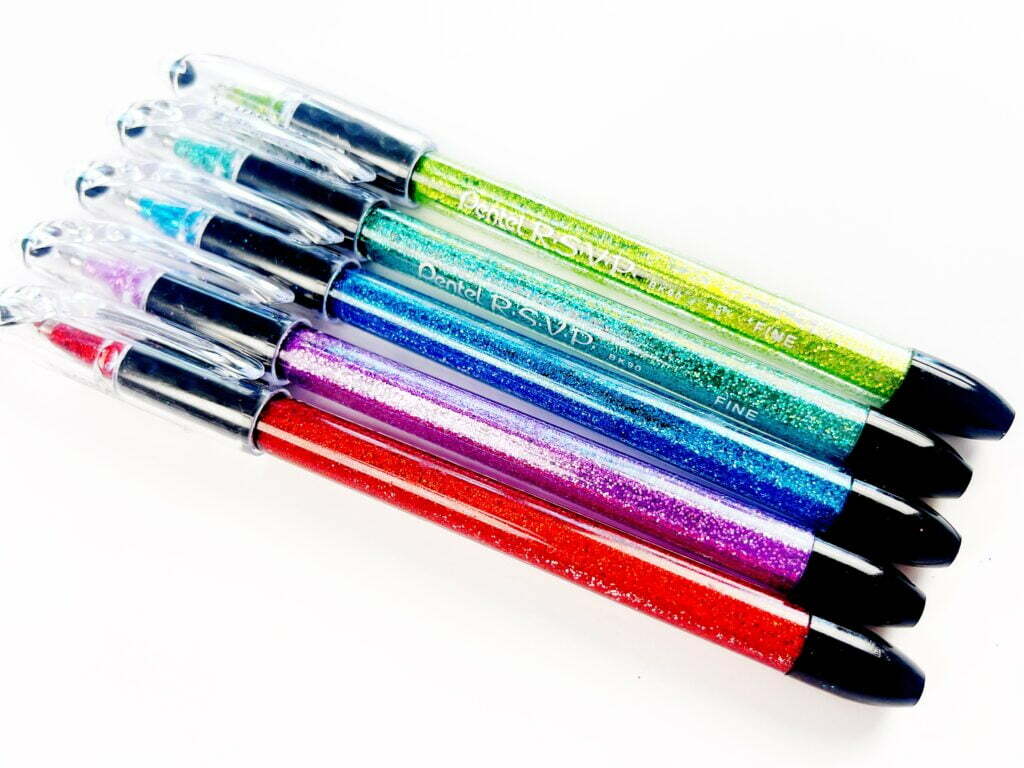
The best part about this glitter pen tutorial is that it doesn’t involve any complicated materials like epoxy as with other more complicated glitter pen tutorials. You only need a few inexpensive items to make the best glitter pens DIY.
How to Make Glitter Pens
See below for the craft supplies you’ll need to make your own pens and the step by step instructions.
Supplies You’ll Need
- Pentel RSVP fine point pens clear barrel
- Extra Fine Glitter
- Polycrylic Clear Gloss
- Syringe
- Toothpicks
- Vaseline (optional)
Step-by-Step Directions
- First start by removing the inside of the clear barrel pen and set it aside.

- Using a syringe or a small squeeze bottle to add polyacrylic inside the empty pen.

- Slowly swirl the polycrylic inside the pen until it is completely covered. Let the excess drain out by setting it upside down in a cup or container.

- Put a toothpick inside the bottom of the pen barrel to keep the glitter from clogging.

- Make a small paper funnel and add your fine glitter to the pen.

- Slowly rotate the pen until it’s completely covered.

- Dump out the excess glitter and lightly tap the pen to remove any additional excess.
- Let the pen dry standing with the tip up to help prevent clogging.
- Ideally you want to wait 24 hours for everything to dry before putting your pen back together. I removed the toothpick after about an hour so that it didn’t get stuck.

- When putting your pen back together, line up the inside of the pen and drop it into the barrel. If you are having issues with a clogged tip, use a toothpick to free it up. If you are still having issues try adding a small bit of vaseline to the portion of the pen you are putting back into the barrel.
Tips for Making Glitter Pens
- Ultra fine glitter works best. Fine works as well but can often clog at the bottom.
- Use darker colored glitter for better coverage. I found that lighter colored glitter and neon glitter didn’t look as good. Metallic colors would work well too.
- Use a toothpick to help free up any clogs at the bottom of your pen.
- Vaseline can also help if you are having trouble putting the pen back together and getting it all the way through.
- Waiting for the glitter to dry completely will help with not scratching off the glitter as you put the pen back together.
Can Words on the Pen be Removed?
Yes! You can remove the printed words on the outside of the pen by using non-acetone nail polish remover.
What are some ways to personalize pens?
If you want to add a little personalization to your glitter pens you could add a resin charm or embellishment. All you need to do is pick out your favorite embellishment and glue it directly onto the pen hcap.
Other Glitter Crafts
If you love crafting with glitter, check out these other fun glitter craft tutorials: Glitter Mason Jars Tutorial and How to Make Glitter Ornaments.
The Best Glitter Pens to Buy
If making your own pens is more work than you want to put in, you can always just buy glitter pens. Below are some great pen options including glitter gel pens. Glitter gel pens are often used for adult coloring books, in journals, scrapbooks, and for drawing precise lines and details.
Types of Glitter Pens
- Glitter Pens with Metal Barrel
- OOLY Yummy Yummy Scented Glitter Gel Pens
- Glitter Gel Pens
- Glitter Paint Pens
- Floating Glitter Pen
Takeaway
This easy glitter pen tutorial is perfect for making sparkling, beautiful pens. These DIY pens would make a great gift idea. Make several in different colors and then tie them together with some ribbon and put them in a cute mug or tie them to a journal and now you have a fabulous gift that anyone would love.