How to Get Started Rock Painting
As an Amazon Associate, I earn from qualifying purchases. This post may contain affiliate links. See our full disclosure here.
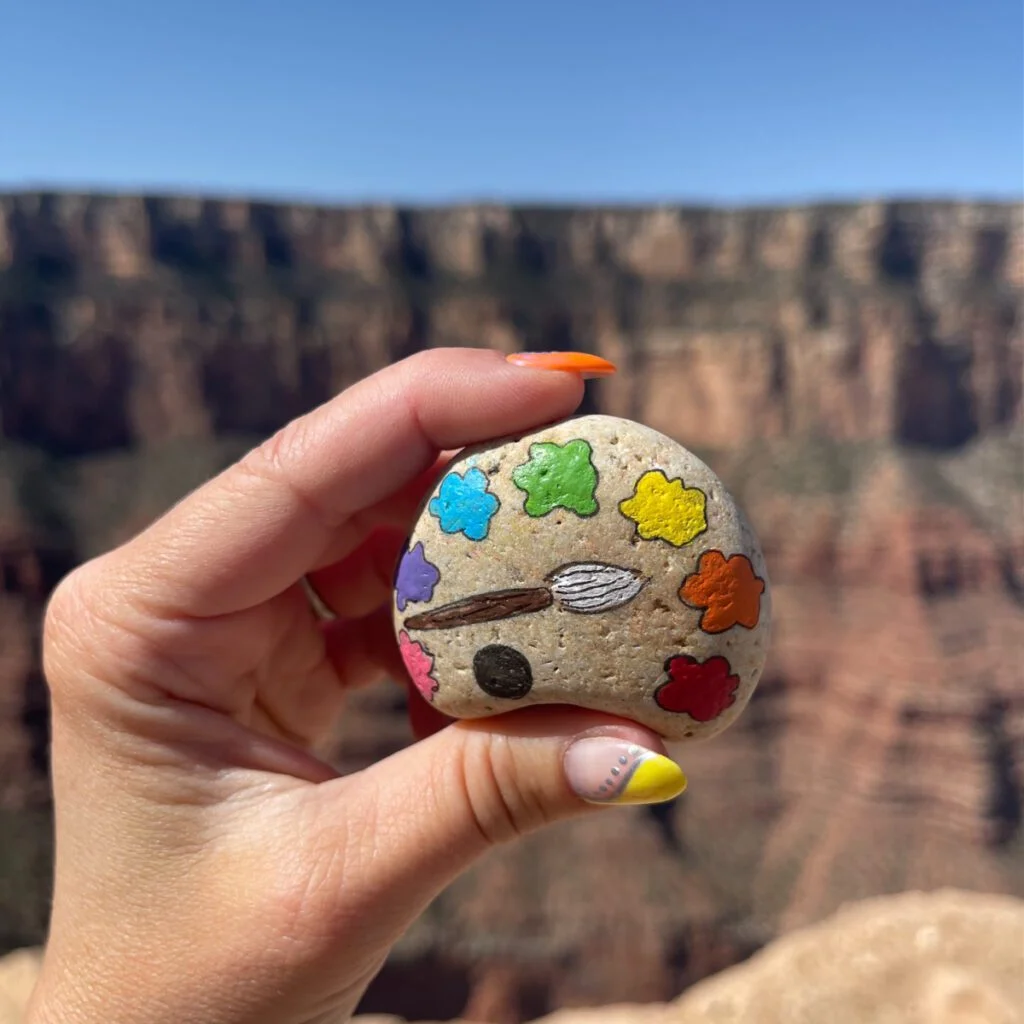
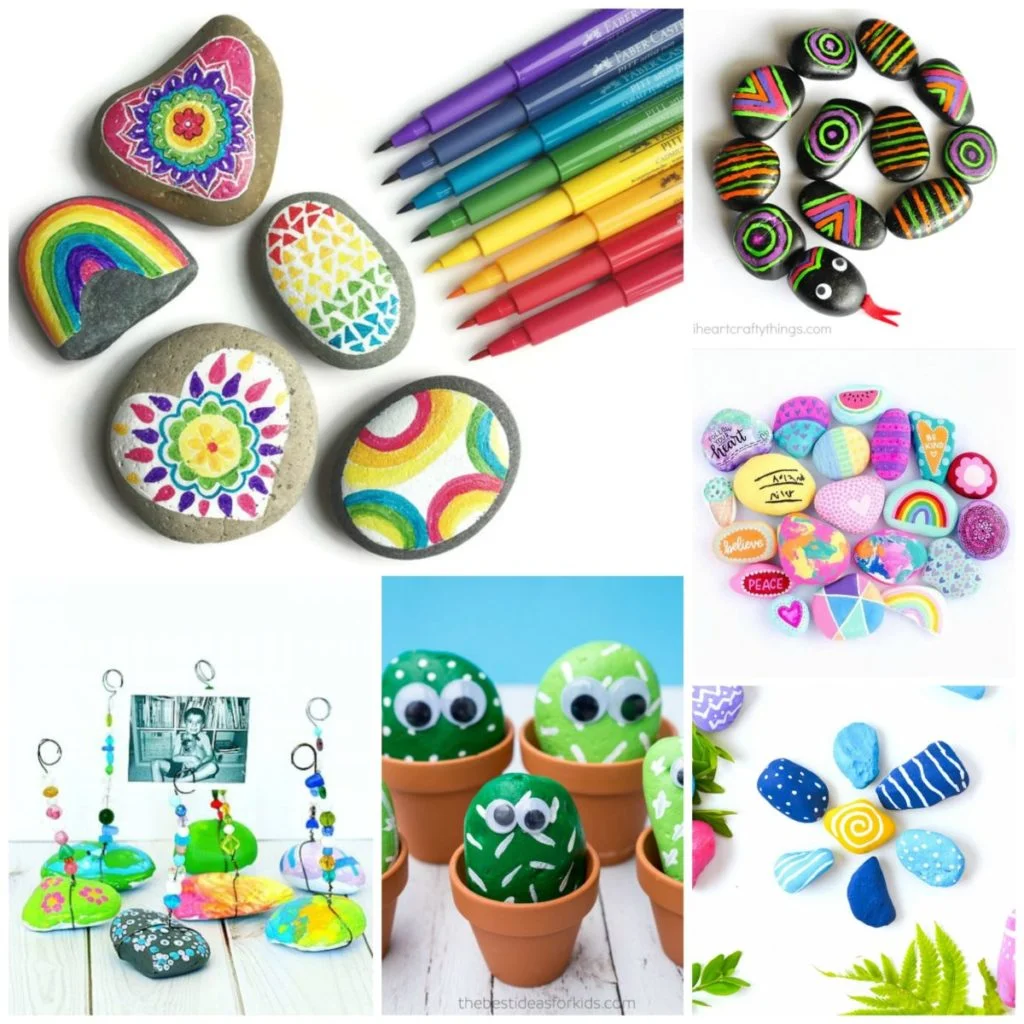
Rock painting is a fun, easy way to show your creative side and has become increasingly popular in recent years. In fact, there is now a huge rock painting community in just about every corner online of people sharing their crafts. It’s a great activity for people of all ages and can be enjoyed by anyone, regardless of their artistic ability. You can use rocks to create colorful and unique home decor or give them as gifts to friends and family.
Best of all, it’s a relatively inexpensive hobby to get into – all you need are some rocks, paint, and a little imagination!
Many people choose to paint rocks as a way to relax and destress, while others use them as an outlet for their creativity.
Whatever your reason for trying rock painting, we’ve got you covered with everything you need to know to get started, including rock painting supplies.
What you will need to get started:
The basic rock painting supplies you’ll need for rock painting are paint, a brush, and rocks. You can find both acrylic and watercolor paints at most arts and crafts stores. (affiliate links provided below foe convenience).
If you’re using acrylics, I recommend choosing various colors that will show up well against the rocks’ natural hues. Some of the best acrylic brands include: Arteza acrylic paint, Artist’s Loft paint, Liquitex Acrylic Paint. For watercolors, it might be fun to choose some bright or bold shades.
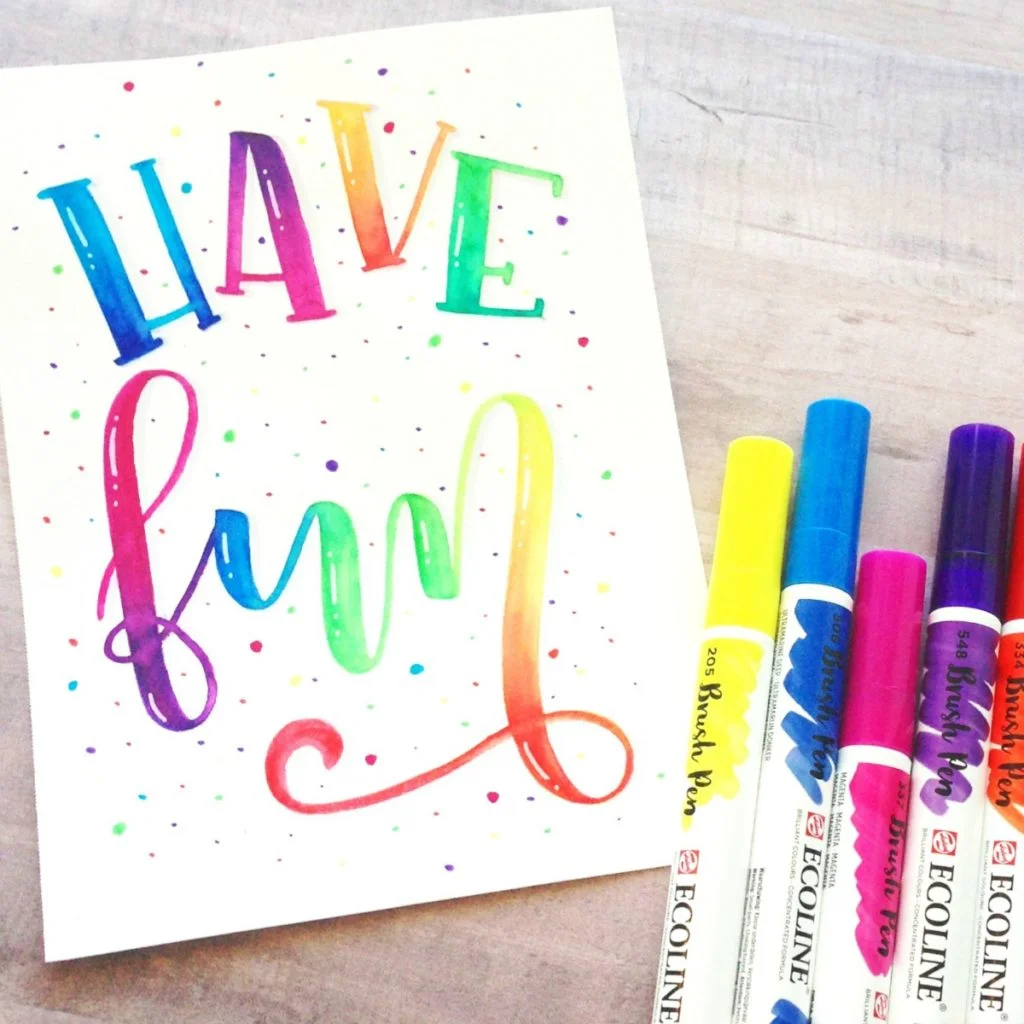
You can also buy paint pens specifically designed for rock painting, which are great if you want to do detailed work or lettering on your rocks. Three of the best paint pens for rock painting are Posca paint markers, Tooli-Art paint pens, and Artistro paint pens. See this post on for more on the best paint pens for drawing on rocks as well as tips and tricks.
In addition to paints, you may also want to have some rubbing alcohol (or acetone) on hand. This will help you remove any mistakes you make while painting. Also, make sure you have a container of water to rinse your brush in and some paper towels or a rag to wipe it dry.
See our post “The Best Supplies for Rock Painting” for a complete list and list to my favorite supplies for painted rocks. 
A Few Tips:
-
When selecting rocks to paint, try to find ones that are as smooth as possible. This will make the painting process easier.
-
If you’re working with acrylics, we recommend applying at least two coats of paint for the best results. Let each coat dry completely before applying the next one.
-
To create interesting designs, try mixing different colors together on your palette before painting them onto your rocks. You can also use more than one color per rock if you want!
-
When working with watercolors, you’ll first need to prep your rock with a white background that can be painted with white acrylic paint.
-
For added protection, seal your painted rocks with a clear gloss or sealant spray when you’re done. This will help keep the paint from chipping or fading over time.
-
Have fun with it! Don’t worry about making mistakes – that’s part of the learning process. Just relax and enjoy creating something beautiful.

How to paint rocks
Creating an ornamental rock for stone painting at home is a wonderful way to create an original canvas for rock art. When you start, you will need some paint, a brush, and some rocks. You can usually find these things at an arts and crafts store. See our guide to the best rock painting supplies for our favorite brands.
To start I recommend first sketching out your design in a sketchbook or on a sheet of paper. Once you’ve settled on a design, draw your design onto the rock using a pencil. This will help you not make many mistakes while painting because it can be hard to fix them once they’re dry.
When you’re first starting out, I recommend painting simple designs or patterns on your rocks. Once you get the hang of it, you can start experimenting with more complex designs.
If you want to add lettering or details to your rocks, paint pens are a great option. To get started, simply choose the design you want to paint and start painting! There are no hard and fast rules when it comes to rock painting – so have fun and be creative!
Where to find inspiration for your designs
There are a few ways to find inspiration. You can either look for it online or in magazines, or you can find it in nature. If you decide to look for inspiration online, make sure to save the images you like so that you can reference them later. When looking through magazines, cut out any pictures that inspire you and keep them in a folder. All of these methods will help get your creative juices flowing when it comes time to start painting your rocks!
Also, try to look for rocks that have interesting shapes or colors. These will help you get more creative with your designs as you try to turn the rocks into something that fits the shape.
Ideas of what you can do with painted rocks once they are finished!
Painted rocks can be used for a number of things!
Here are a few ideas:
- Garden markers: Paint rocks with different symbols or colors to help you keep track of what is planted where in your garden.
- Paperweights: A painted rock makes a great paperweight that will brighten up any desk!
- Pet rocks: Have you child make their very own pet rock.
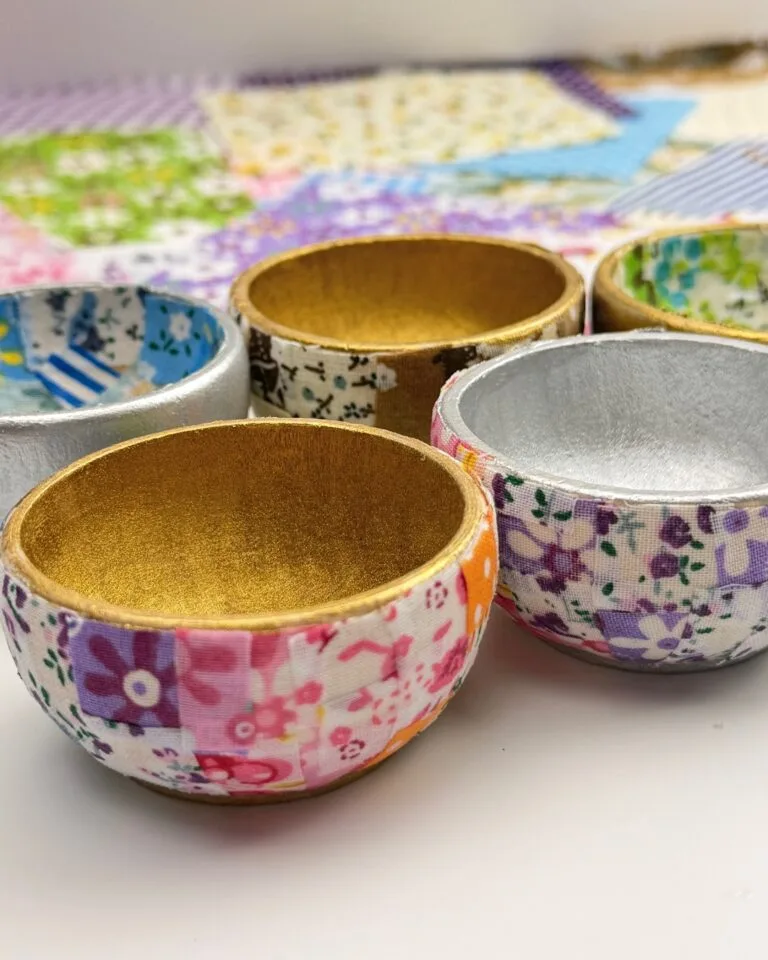
- Decorations: Painted rocks can be used to decorate your home in all sorts of ways. Place them on a table, on the windowsill, at the front door and more. Get creative and see what you can come up with!
- Gift tags: Paint rocks with festive designs and use them as gift tags for the holidays.
- Mailbox decorations: Add a splash of color to your mailbox by painting some rocks to put in front of it.
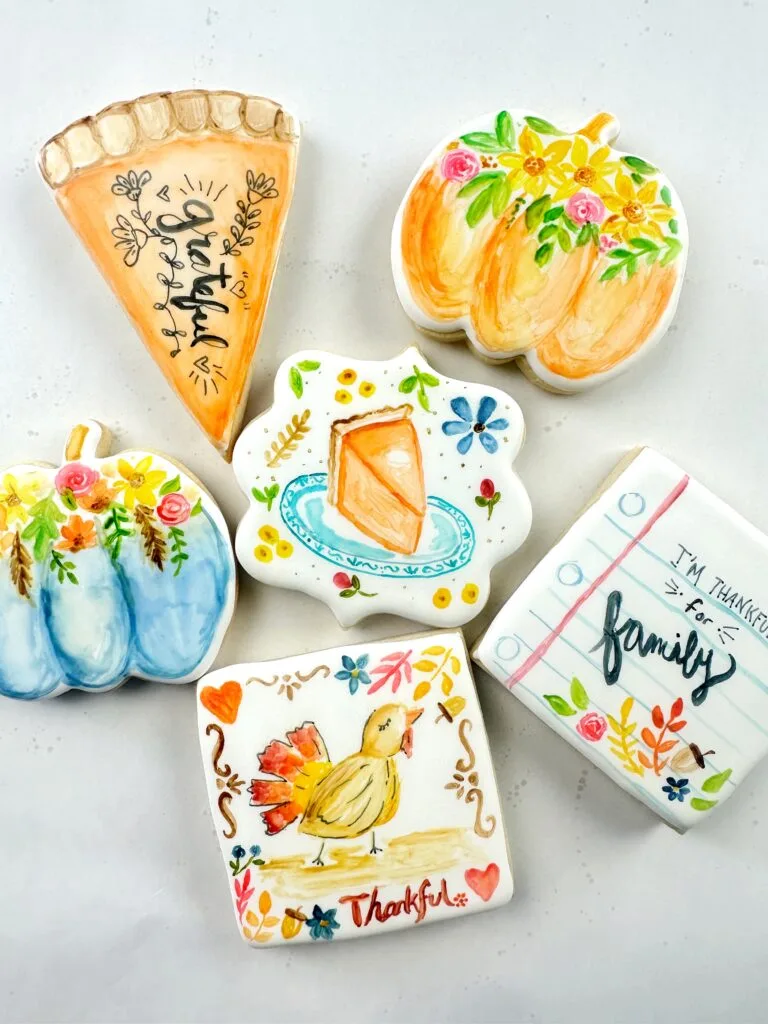
- Place setting: Rocks are great for place settings for dinner or occasions like Thanksgiving dinner or Christmas.
There are endless possibilities when it comes to painting rocks, so get creative and have some fun! You may just find yourself getting hooked on this fun new hobby.
How to seal your rocks
Once your rocks are painted and dry, you will want to seal them, so the paint doesn’t come off. You can buy a can of clear spray sealer at any craft store. Just make sure to do this step outside, as the fumes can be strong.
Lay out your rocks on some old newspapers or a drop cloth, and then give them a light coat of sealer. Let them dry completely before moving on to the next step.
If you want to add a little extra protection, you can give them a second coat of sealer. Just make sure to let the first coat dry completely before adding another.
You can also use a sealant that is made for rocks, which can be found at most craft stores.
How to store your painted rocks
Rocks can be beautiful pieces of art, but they can also be a lot of work. After you have put in all the time and effort into painting your rocks, you don’t want them to get ruined.
Here are a few tips on how to store your painted rocks:
- If you are going to keep your rocks inside, find a place where they will not be in direct sunlight. The paint can fade over time if it is constantly exposed to UV rays.
- If you plan on displaying your rocks outside, make sure that they are in an area that is protected from rain and snow. Paint can start to chip away when it is constantly hit with water droplets.
- Try not to stack your rocks on top of each other. The weight of the rocks can cause them to crack and break.
- When you are not using your rocks, store them in a container that has a lid. This will keep the dust off of them and help to protect the paint.