As an Amazon Associate, I earn from qualifying purchases. This post may contain affiliate links. See our full disclosure here.
After a few days of being under the weather, a beautiful no-sew DIY felt flower wall art was just what I needed to brighten my week. This project is very “DO-able” even for a crafting novice. It’s also very inexpensive.
No-Sew DIY Felt Flower Wall Art
All you need is a little bit of time. For me it was 2 nap times (thankfully Mr. Jake took a two hour nap the last two days). As a side note I should let you know that I’m a pretty slow crafter so you may be able to finish it faster.
My Flower Wall Art Inspiration
I recreated this sweet design after I stumbled upon the beautiful work of Lindsay from Pen & Paint while on Instagram the other day. As I looked through pictures of her drawings and paintings, marveling at her talent and creativity, I was particularly drawn to an image of a sweet little felt flower. I had to have one for myself.
Here’s what you need to recreate this fun DIY wall art project:
How to Make Your Own Felt Flower Wall Art – Step by Step
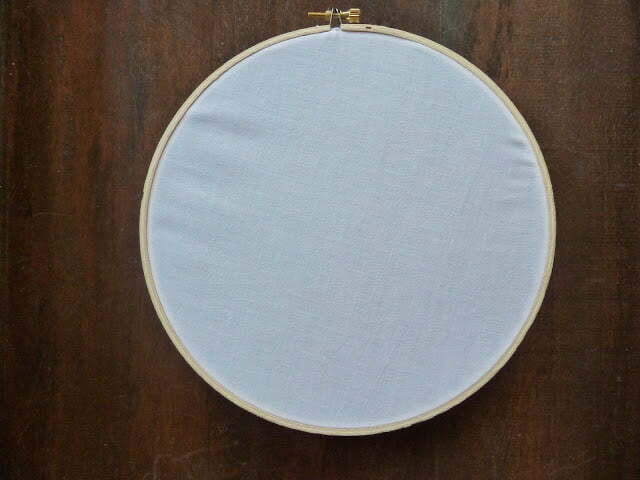
Step 1
Cover your embroidery hoop with fabric and tighten. Cut excess fabric, leaving about 1/2 an inch of fabric (you’ll glue this down at the end).
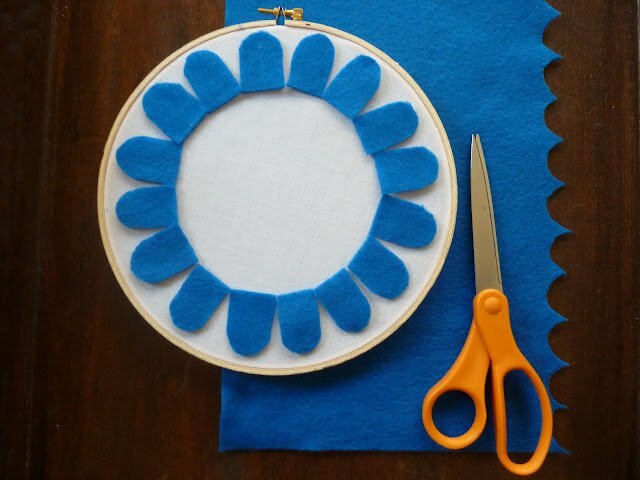
Step 2
Cut your first row of petals. My petals were about 1″ wide x 1.5″ tall. I had 17 total.
Step 3
Cut the remaining rows of petals. I ended up having 8 rows and each one had 17 petals. Each new row of petals should be slightly smaller than the row before it.
Step 4
Once everything was cut, I laid it all out on the table in the same way I was going to assemble and glue it. Once I had it how I liked it, I took each petal, starting with the first row, and hot glued it down onto my embroidery hoop.
Step 5
Add a button or any fun round piece to cover up the middle.
Step 6
Finally, glue down the remaining fabric on the backside of the hoop.
Where to Display this DIY Home Decor Project
Hope you enjoy your easy, no sew felt flower. It’s the perfect addition for any nursery, kids room or empty wall space. I think I might have to make a whole wall of these for my new craft room!
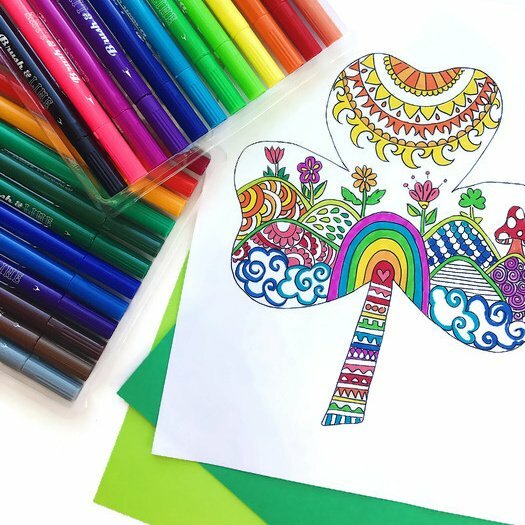
Looking for a fun St. Patrick’s day activity? This free printable shamrock coloring page is a wonderful way to get into the holiday spirit for Saint Patrick’s day. The best part is that coloring can be enjoyed by everyone from kids to adults. Coloring is also a great activity to do together with family and…
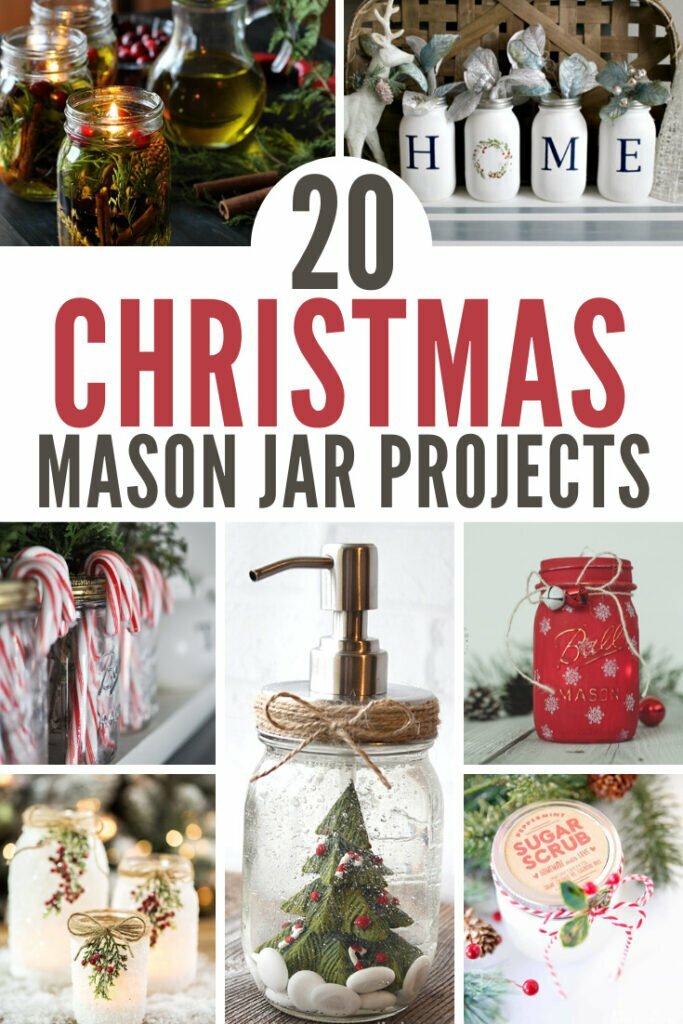
There are so many uses for mason jars that don’t include canning or preserves, and with Christmas right around the corner, it’s time to think of some festive ways to use these versatile glass kitchen storage items to create Christmas mason jar projects. You can make mason jar crafts with the one or two jars…
These adorable gingerbread houses are super easy to make and are a great craft for the holidays. They are easy enough to do with a group at a Christmas party or as a Christmas school craft. Here’s how to make them and the supplies that you need. Gingerbread House Craft Supplies (affiliate links provided for…
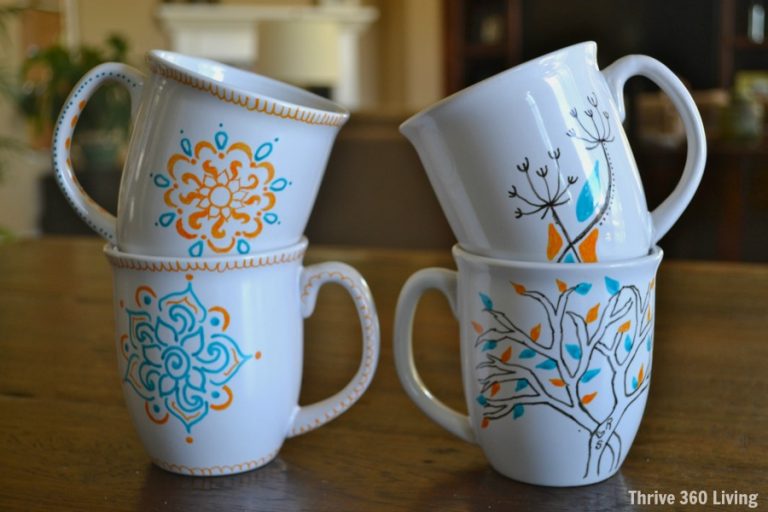
(This post contains affiliate links for your convenience.) It all began when I started seeing mugs decorated using Sharpie pens all over Pinterest. I did a little research and found that a lot of people had issues with the Sharpies not staying on the mugs once you wash them. So I went to the craft…
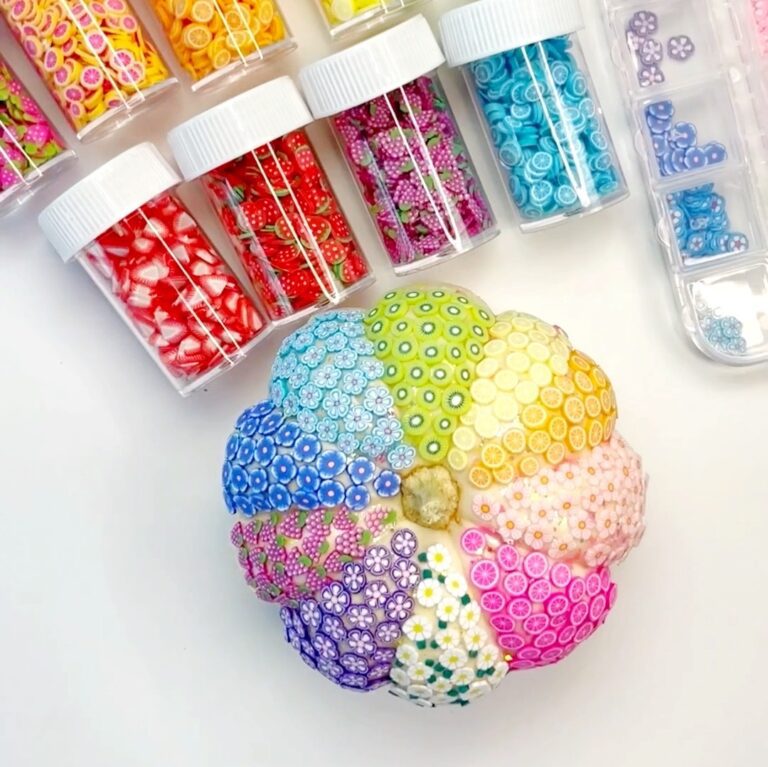
I’m all about the no-carve pumpkin decorating ideas and I came up with this creative pumpkin decorating idea that is perfect for mini pumpkins. This pumpkin uses nail art slices to create a cool design that you definitely won’t see anywhere else this fall. You’ve probably seen clay nail art slices before but did you…
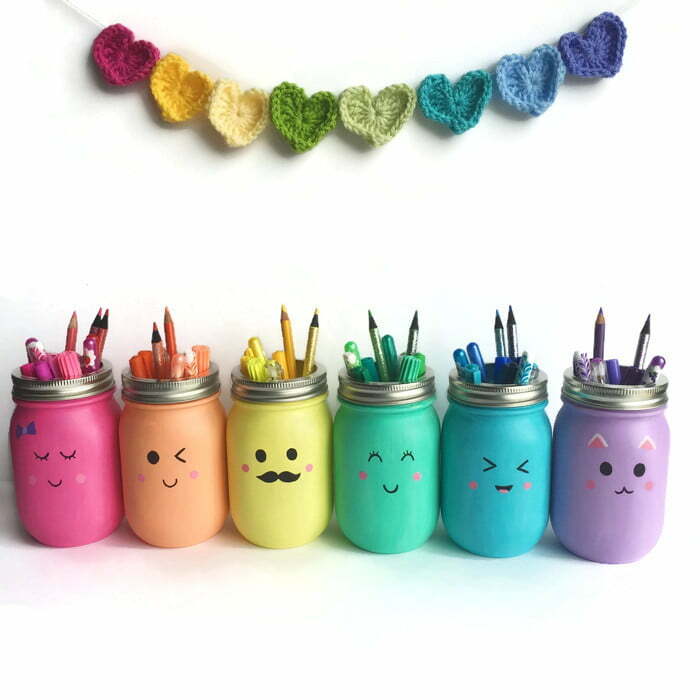
You may have seen Mason Jars commonly used as vases and for decorating and organization. However, have you ever seen Painted Mason Jars? Painted Mason Jars are a fun twist on a plain decoration that can really liven up your space. Plus, you can use these Painted Mason Jars to organize your stuff! RELATED: Fruit…