Thanksgiving Cookies
As an Amazon Associate, I earn from qualifying purchases. This post may contain affiliate links. See our full disclosure here.
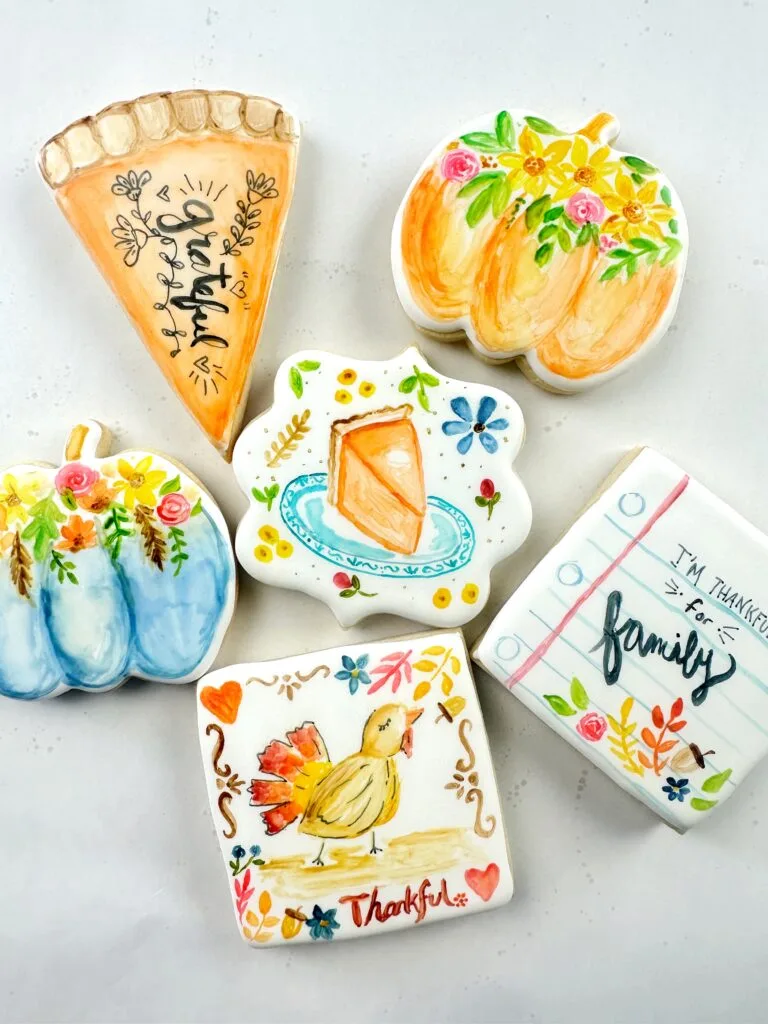
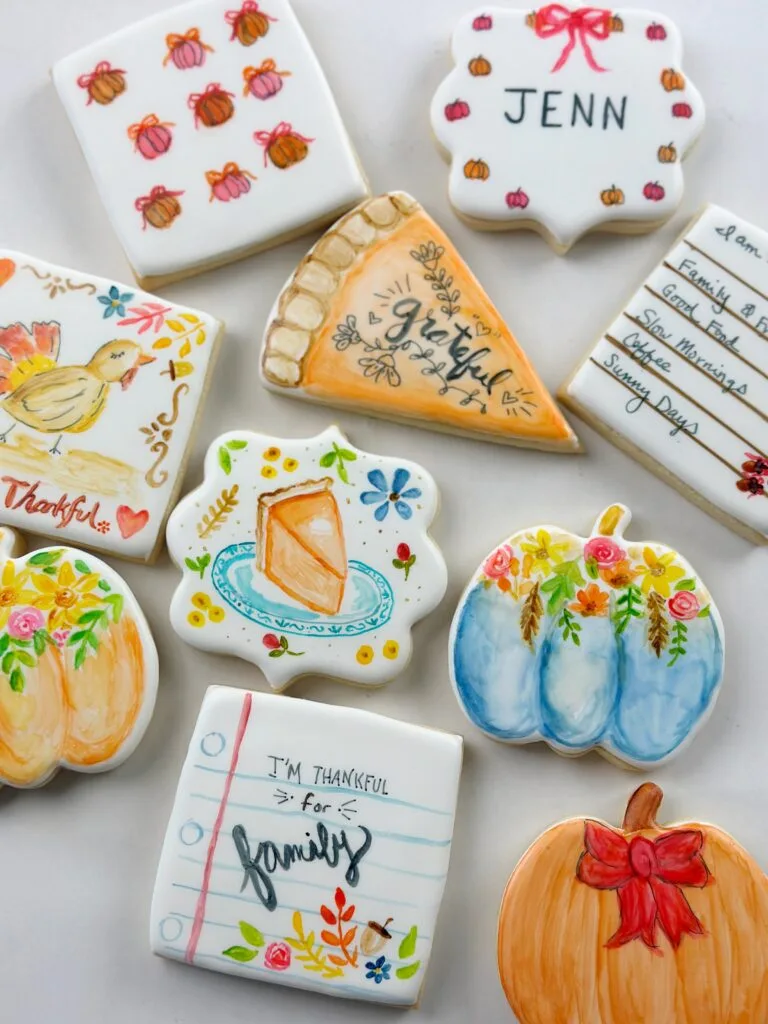
I had a blast decorating these Thanksgiving cookies. I’ve never been a baker, but I’m lucky enough to have a best friend, Jenn from Stylish Eats & Treats who loves to bake and taught me how to make these beautiful Thanksgiving holiday cookies. Decorating these cookies is just like painting with with watercolors, only you’re painting with gel food coloring.
The best part though is not only are these Thanksgiving cookies pretty to look at but they taste amazing and last for such a long time if sealed correctly. See below for the exact recipe we used as well as directions and supplies for cookie decorating.
No Chill Sugar Cookie Recipe
Not only do these cookies look amazing but they are maybe the best sugar cookies I’ve ever tasted. We used Jenn’s no chill sugar cookie recipe and I highly recommend you give it a try. This recipe will give you cookies that come out perfectly sized each and every time and the best part is that you don’t have to wait hours for them to chill like other recipes.
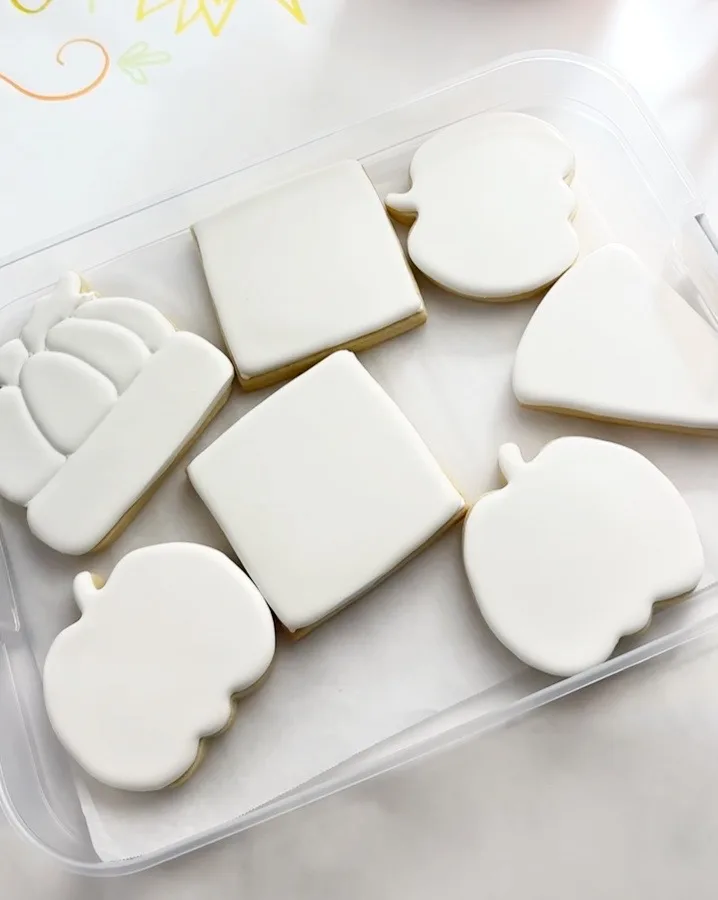
Royal Icing Recipe
This royal icing recipe will give you step by step directions and the exact ingredients needed to create the perfect frosting that not only hardens and creates a great surface for decorating but is also soft to bite into making your cookies the perfect texture.
How to Paint Cookies for Thanksgiving
Supplies for painting cookies
- Gel food coloring
- Food coloring markers
- Decorating brushes
- Vodka
- Glass dish or plastic paint palette
Directions for decorating Thanksgiving sugar cookies
To decorate your sugar cookies with a watercolor affect it’s really very simple. You want to start by pouring a small amount of vodka into a small container. You will use the vodka like you would use water for watercolor painting.
Next set-up your palette with the gel food coloring colors you want to use. You only need to add a very small amount to the palette as a little goes a long way. Also a note of caution when opening the food coloring, they stain your skin very easily and it’s hard to take off the tops so you might want to wear gloves.
Now to the fun part of painting the sugar cookies. Using your food-safe paintbrush dip your brush into the vodka and then dip it into the food coloring. The vodka helps thin down the gel coloring, making it similar to watercolors. It’s important to use vodka and not water as water will eat away at the icing. Since the gel food coloring is highly pigmented you only want to get a small amount on your brush.

For some of my more detailed designs like the turkey cookies and pumpkin cookies I lightly outlined the design first onto the cookie with the main color and then filled in the colors and details once I got the design in place. It’s easiest to start with a lighter base on your designs and then build up the color.
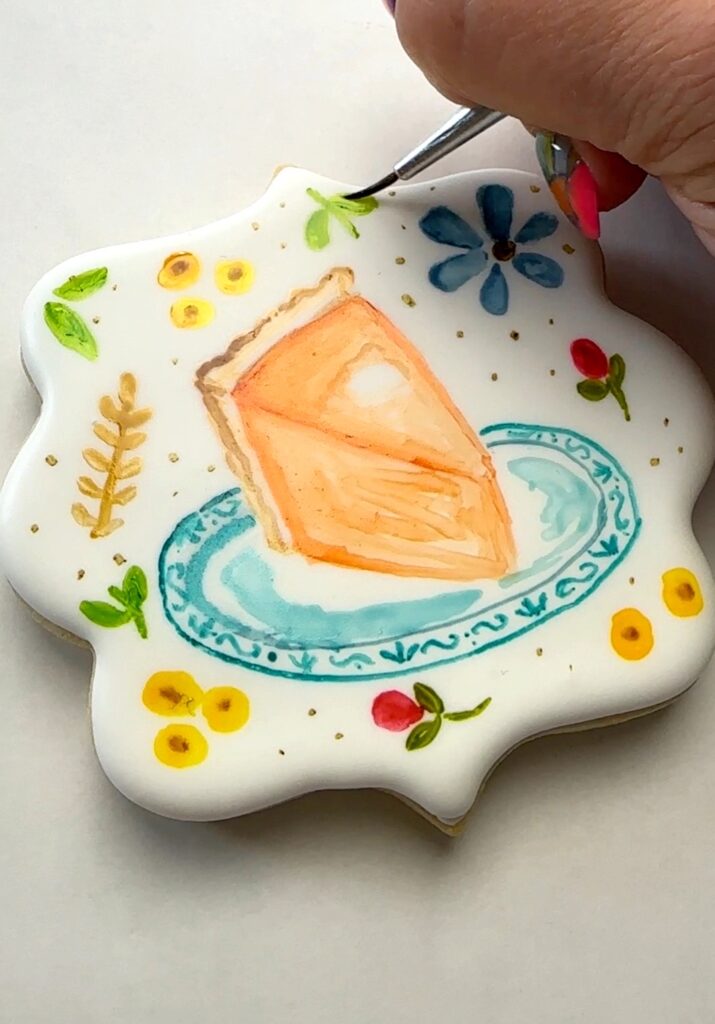
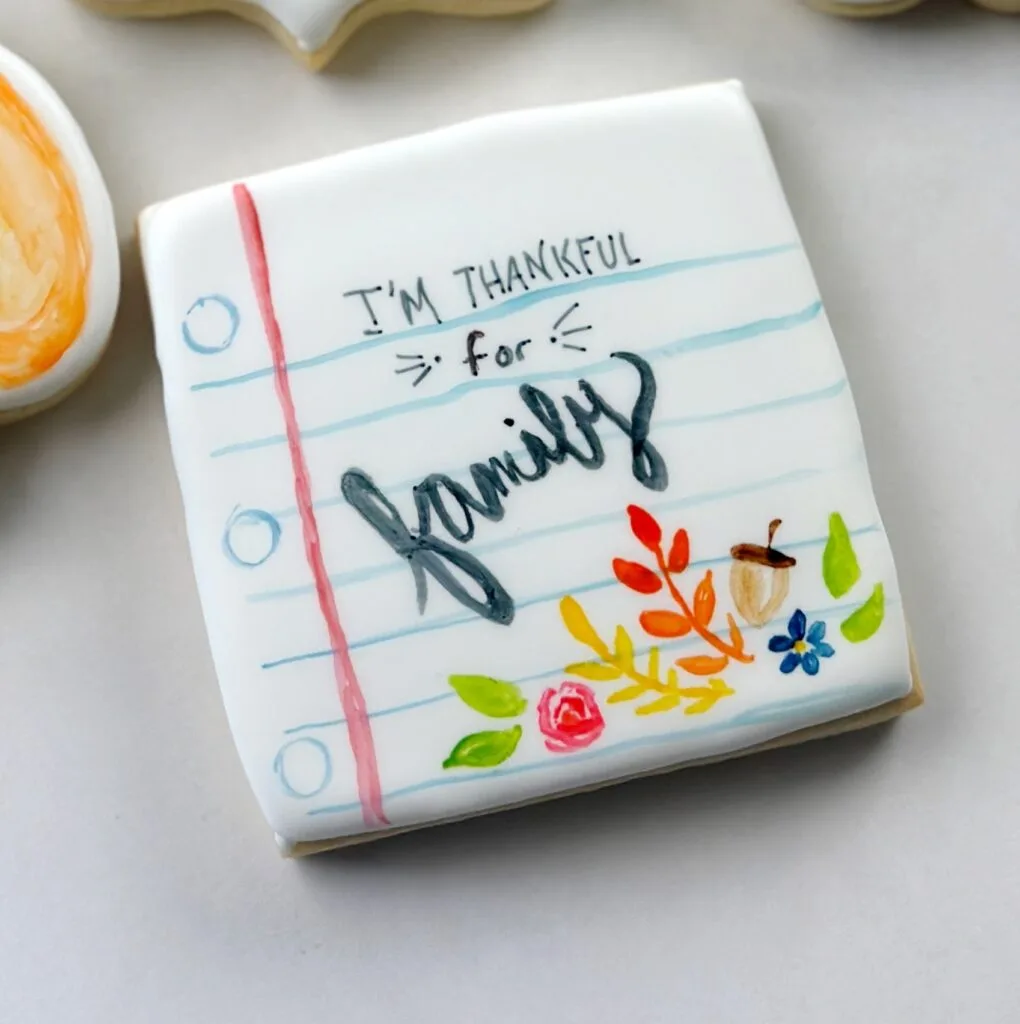
To cover some of the empty space on the cookies I added lots of details like leaves, acorns, and flowers. Try not to be too concerned with a specific design. Just have fun as you create. It might help to have some examples of cookies or even watercolor paintings in front of you as you work for inspiration.
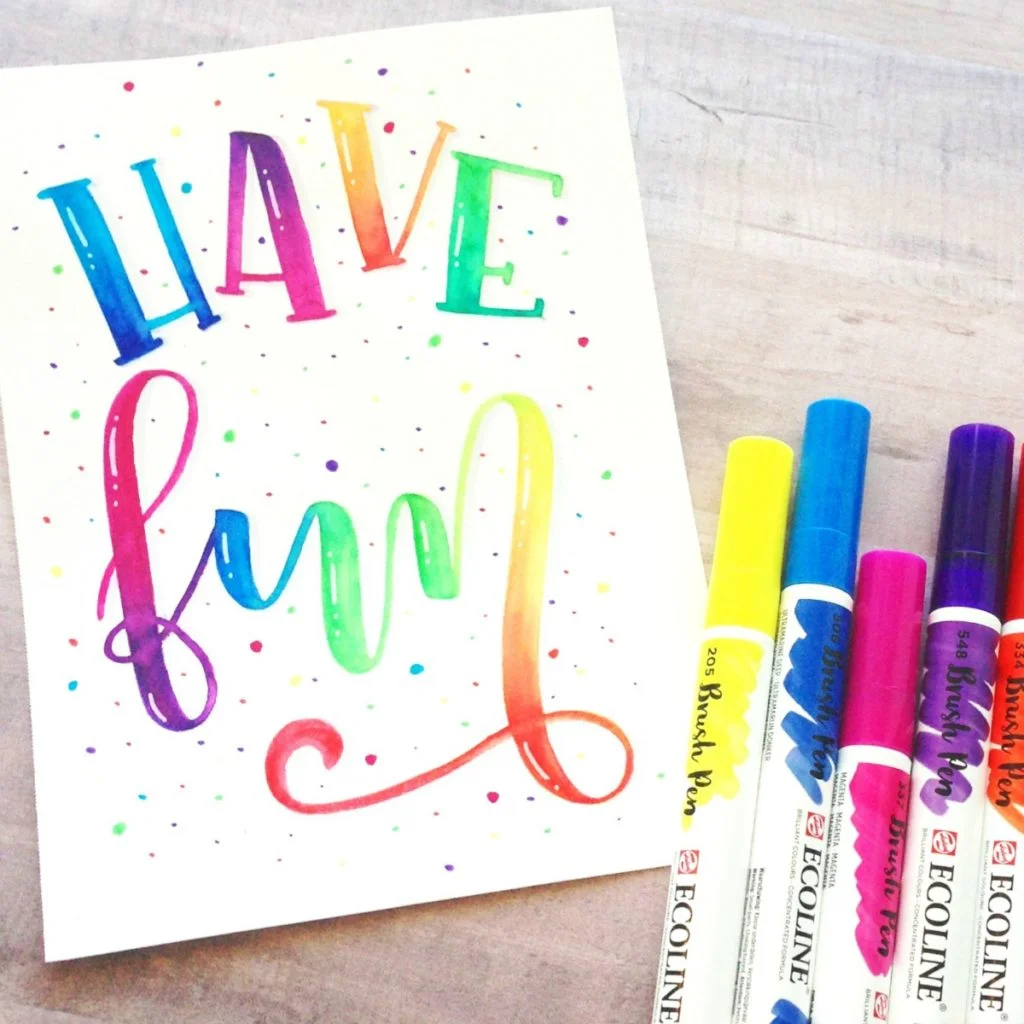
If you want to add some lettering like I did on the Thanksgiving notebook paper page and on top of the Thanksgiving pies, use a food coloring marker.
Storing of Cookies
Your finished sugar cookies will be perfect for a thanksgiving dessert table or you can use them as place setting decor. Friends and family won’t believe that you made these beautiful cookies yourself.
To store your cookies you can use these cookie self-sealing bags that help lock in freshness. Additionally you can then store the bags in an air tight container and keep them room temperature until it’s time to put them out on the table for thanksgiving.