DIY Pressed Flower Bowls
As an Amazon Associate, I earn from qualifying purchases. This post may contain affiliate links. See our full disclosure here.
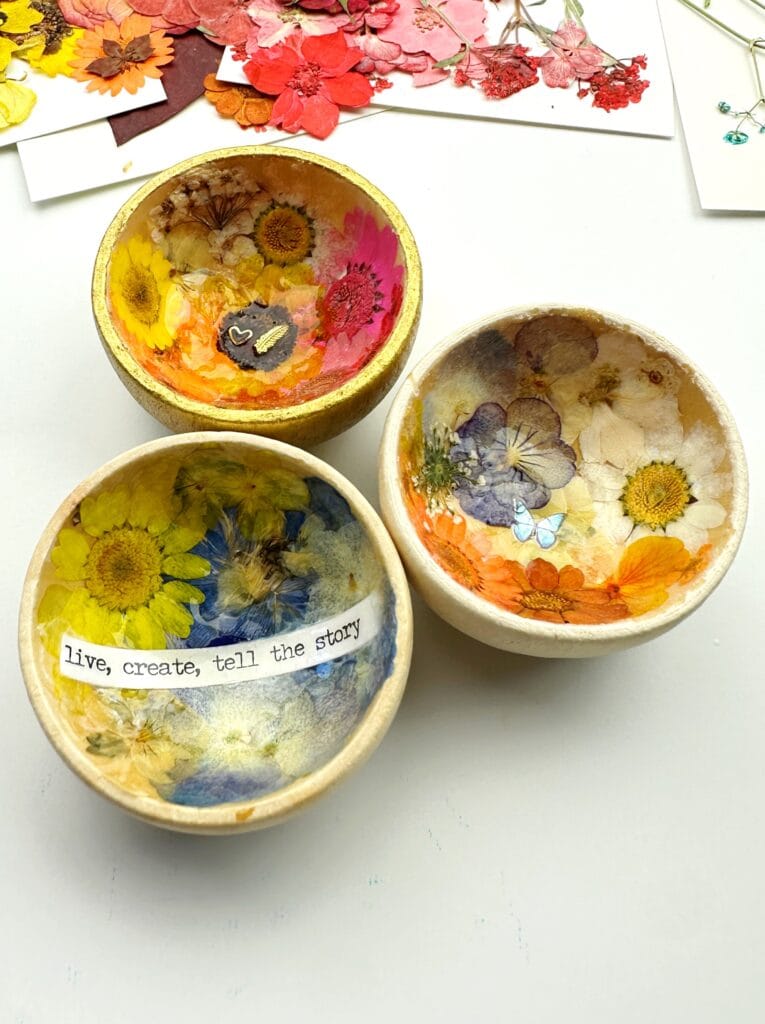
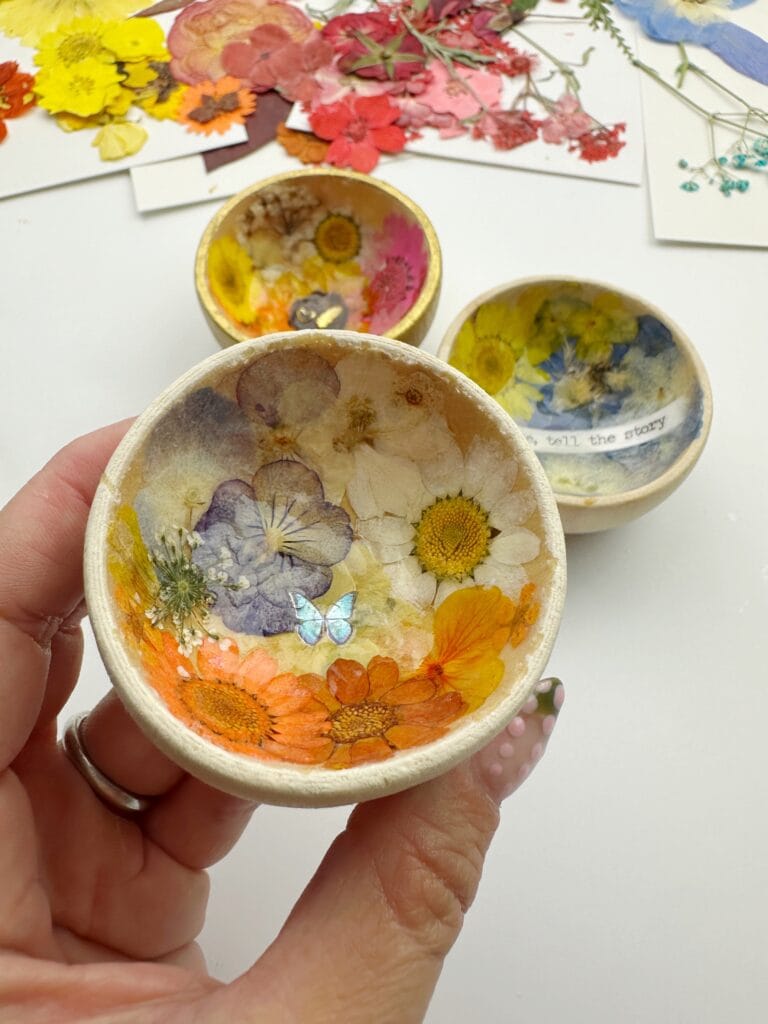
Pressed flower bowls are a beautiful way to combine nature and creativity into something functional and decorative. With just a few supplies, you can turn plain wooden bowls into colorful works of art that bring a touch of the outdoors inside. These bowls are perfect for holding jewelry, keys, or simply as a handmade accent piece for your home.
Just like with my Pressed Flower Dish project, this craft highlights the natural beauty of dried flowers while giving you endless opportunities to personalize your design.
Supplies for Pressed Flower Bowls
- Pressed Flowers – Pressed flowers by specific color , assorted pressed flowers, or bulk pressed flowers
- Small Wooden Bowls
- Mod Podge glue
- UV Resin – This is the exact UV Resin I used. Here are some other UV Resin options I found on Amazon.
- ⚠️ Safety Disclaimer: UV resin should be used with proper protective gear and ventilation. Always research and follow all recommended safety precautions. Use at your own risk.
- UV Light
- Paintbrush
- Tweezers
- Optional Gold Paint
- Optional Butterfly Stickers
- Optional Word Stickers
Step-by-Step Directions
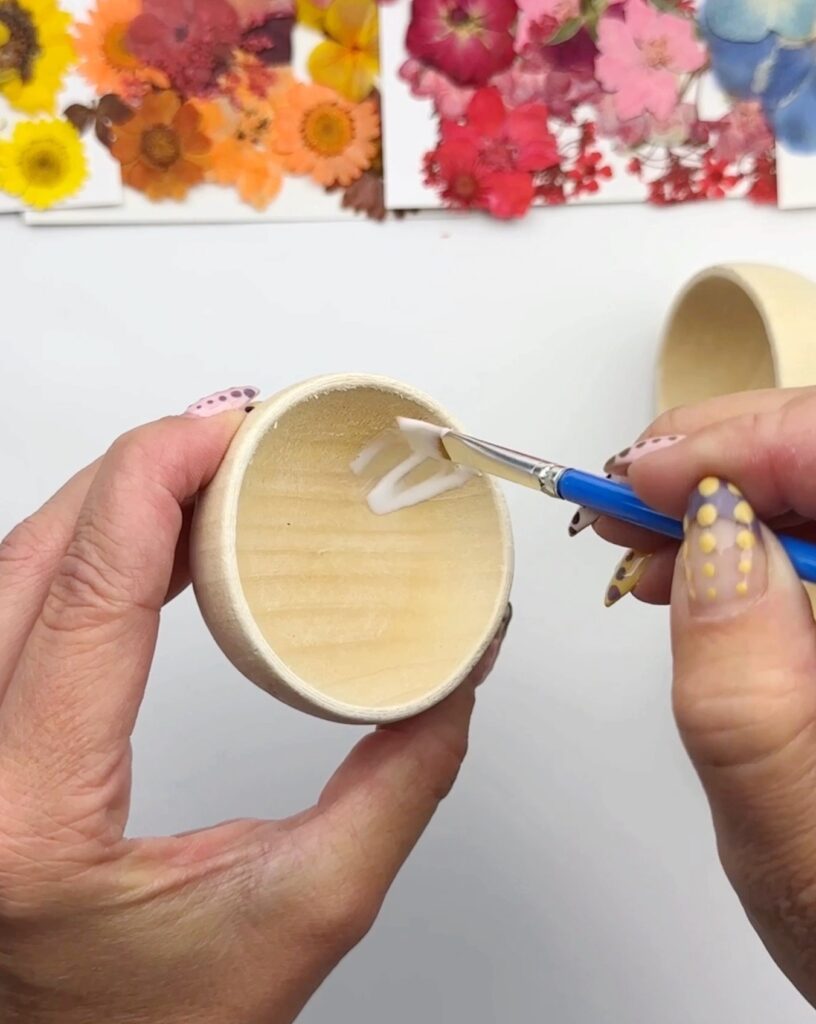
Step 1: Start with a Small Section
Brush a thin layer of Mod Podge onto just one small area of the inside of your wooden bowl. Working in sections helps keep the glue from drying before you add your flowers.
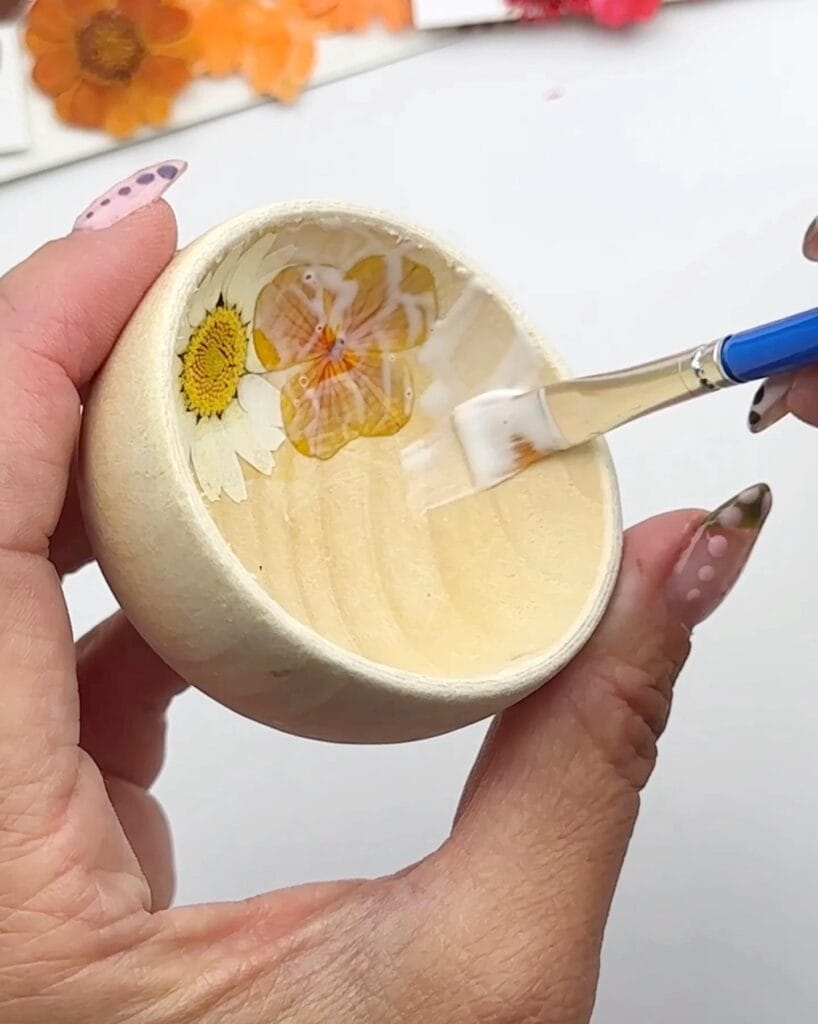
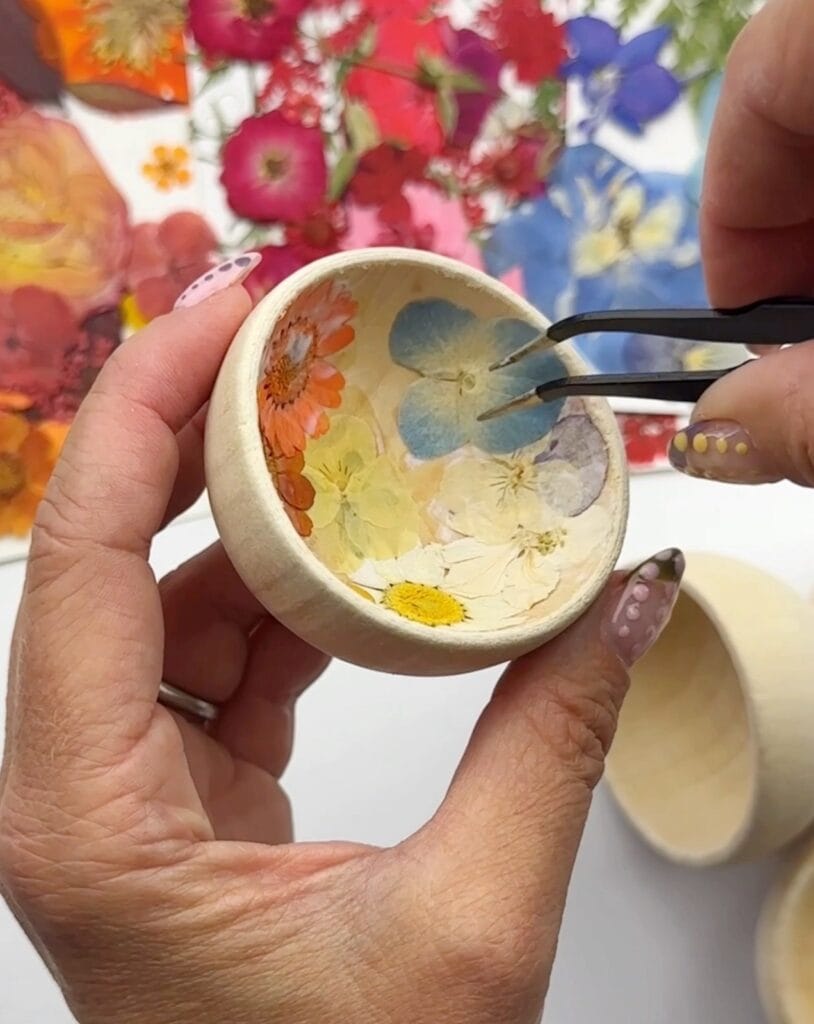
Step 2: Add Flowers and Seal as You Go
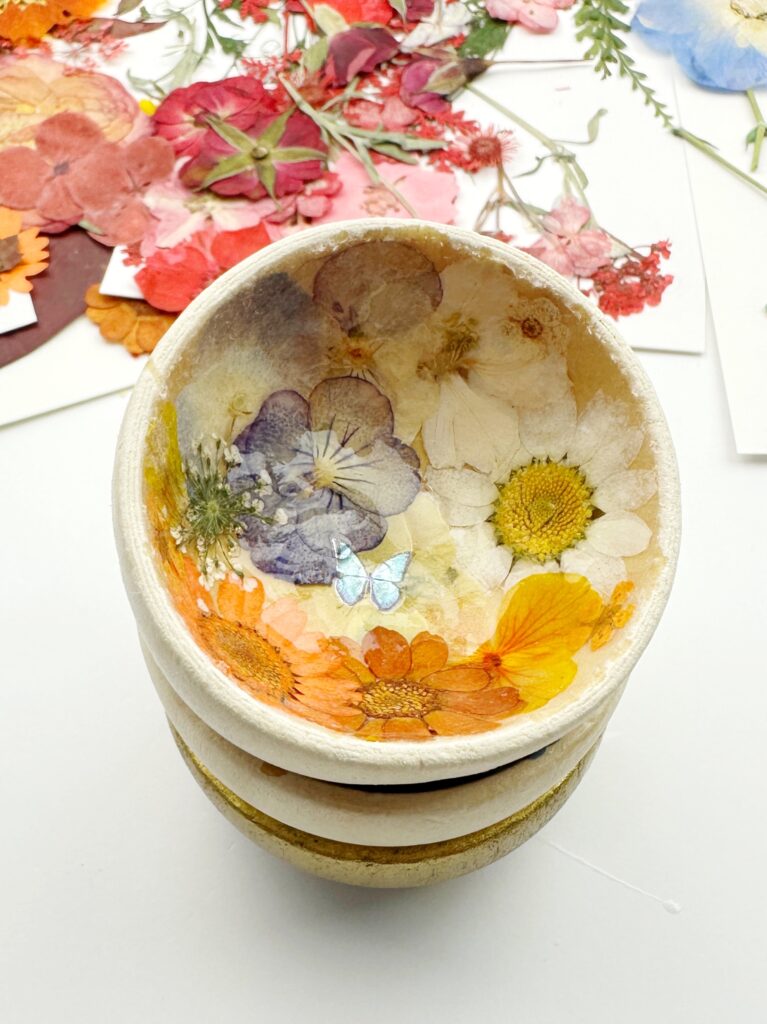
Place a pressed flower on the Mod Podge while it’s still wet, then gently brush more Mod Podge on top to secure it. Continue with Mod Podge on the bowl, add a flower, and seal with Mod Podge, working your way around until your design is complete.
Step 3: Build Layers
As you work, overlap flowers or add smaller ones to fill gaps.
Step 4: Add Creative Details
This is your chance to make the bowl extra special. Add a charm, sticker, or a favorite word or phrase.


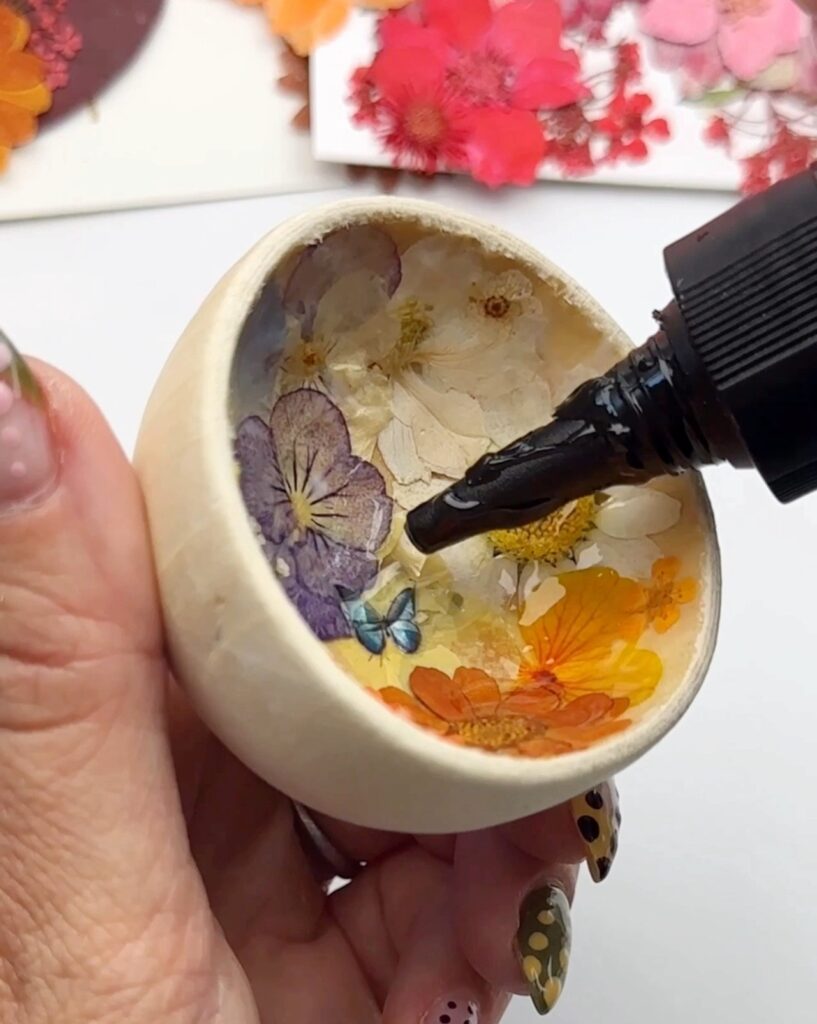
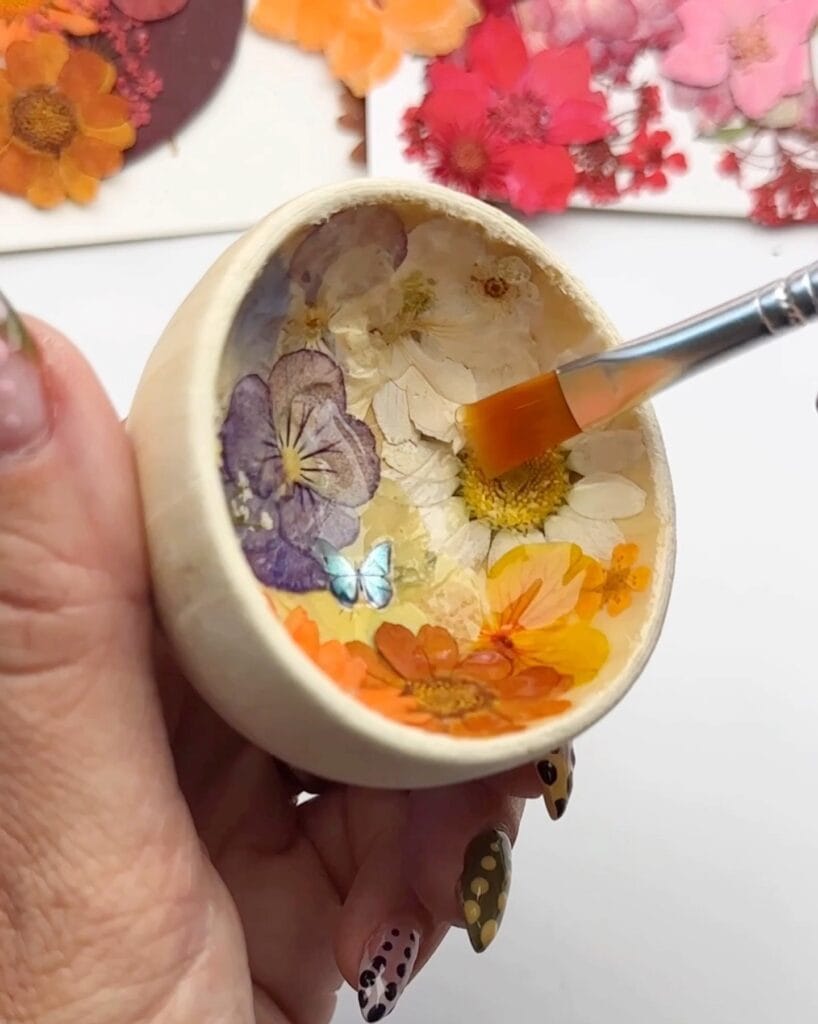
Step 5: Seal with UV Resin
Once your design is completely dry, apply a thin, even layer of UV resin over the flowers. Use a cheap paintbrush (you’ll throw away) to spread the resin smoothly across the surface of the bowl.
⚠️ Safety Disclaimer: UV resin should be used with proper protective gear and ventilation. Always research and follow all recommended safety precautions. Use at your own risk.
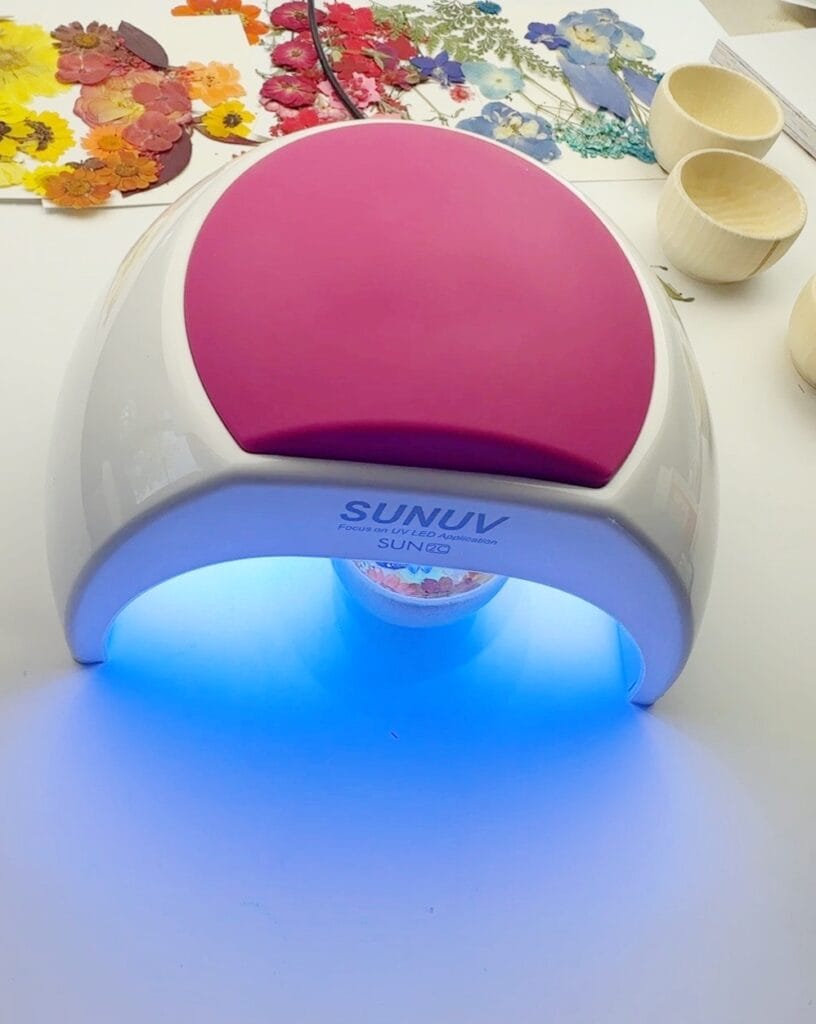
Step 6: Cure UV Resin
To cure the resin, I placed my bowl under a UV lamp for about 120 seconds, which hardens the resin quickly and evenly. UV resin can also be cured in direct sunlight, but the curing time will vary depending on how strong the sun is, so you may need to experiment to see how long it takes. The finished result is a glossy, glass-like coating that protects your design and gives the bowl a durable surface.
Step 6: Finishing Touch
As a final step you can paint the outside of the bowl if you like or keep the natural finish. I loved the look of metallic gold paint on one of the bowls I made.
Ideas & Inspiration
- Personalized Bowls: Add a favorite word, short quote, or even initials to make each bowl feel one-of-a-kind.
- Gift Idea: These bowls make thoughtful handmade gifts for birthdays, housewarmings, or holidays.
- Seasonal Designs: Use flowers in seasonal colors—bright yellows for summer, warm oranges for fall, or soft pastels for spring.
- Wedding Keepsakes: Create bowls using flowers saved from a wedding bouquet or centerpiece as a meaningful keepsake.
- Nature Walk Finds: Incorporate tiny leaves, petals, or ferns collected on a hike for a memory-filled project.
- Functional Use: Use the bowls for jewelry, keys, or loose change.
- Kids’ Creations: Let kids pick their favorite flowers to make a bowl—it’s a great way to get them involved in crafting.
- Matching Sets: Make a group of bowls in coordinating designs so they look like a set when displayed together.
Final Thoughts
Each bowl turns out completely unique depending on the flowers and embellishments you choose. That’s what makes pressed flower bowls such a fun and meaningful project. Not only are they a beautiful way to preserve nature, but they also make functional art you’ll treasure for years.
If you loved making these pressed flower bowls, be sure to check out my Pressed Flower Dish tutorial for another creative way to use dried flowers in your crafts.