Pressed Flower Resin Shell
As an Amazon Associate, I earn from qualifying purchases. This post may contain affiliate links. See our full disclosure here.
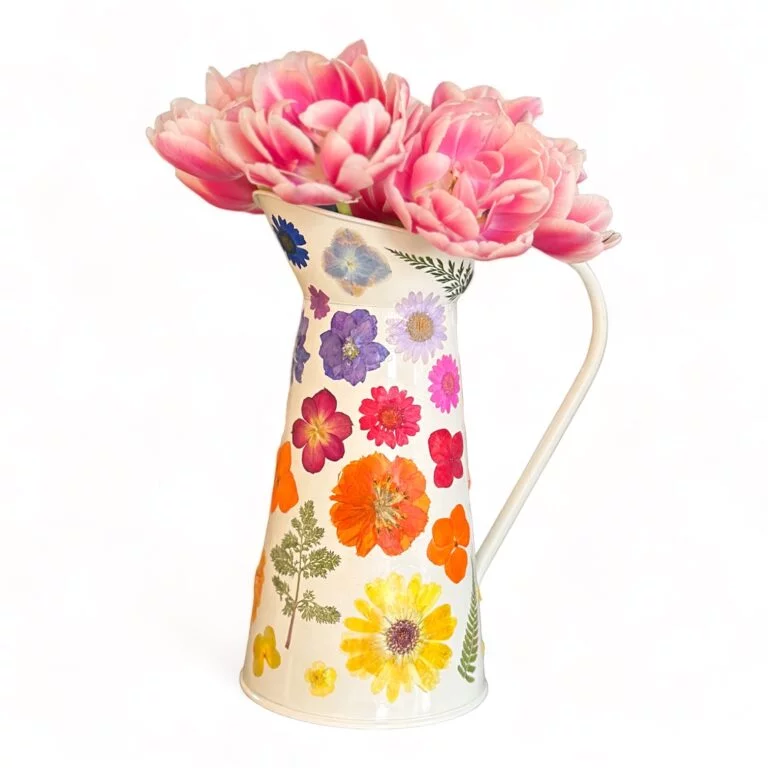
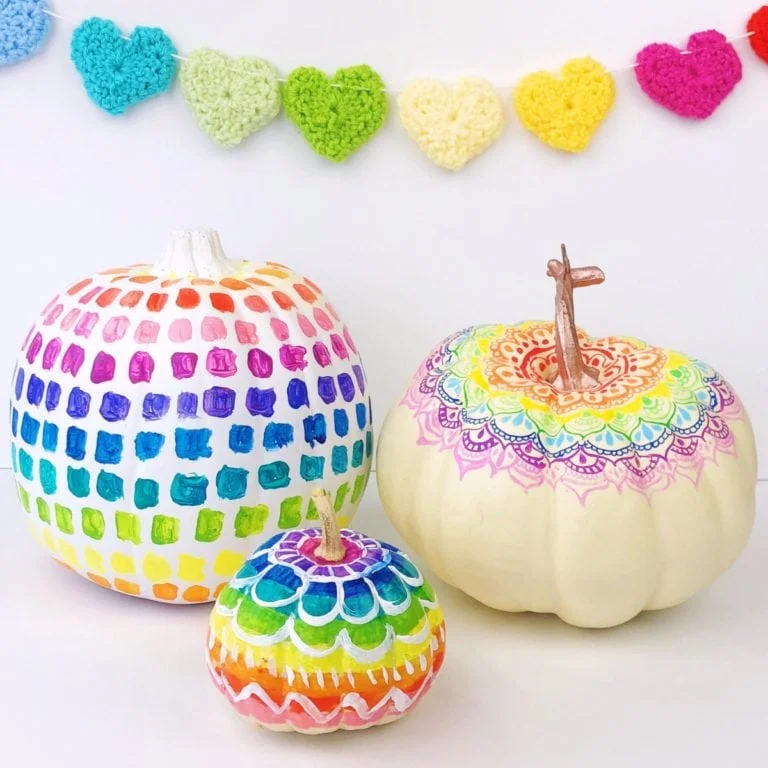
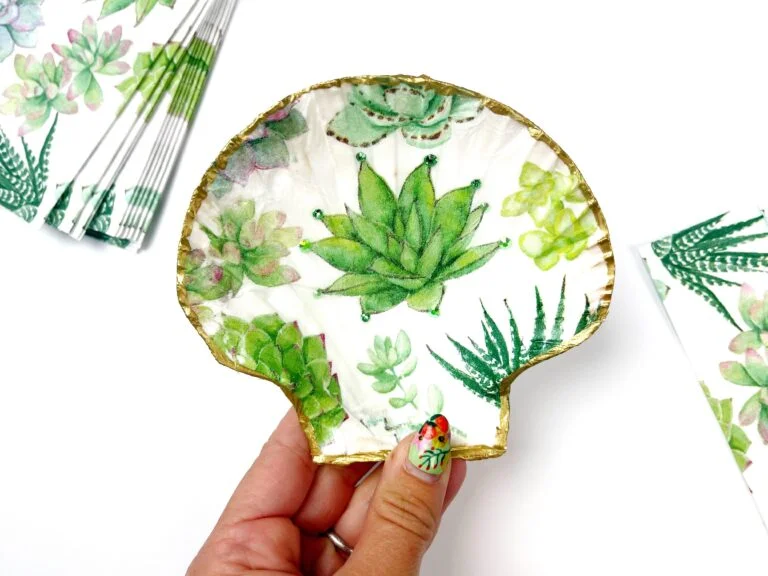
If you’ve seen some of my crafts on Instagram you know that I love working with pressed flowers. My secret is that I buy my pressed flowers to make it even easier. Some of my favorite pressed flower crafts are these trinket dishes, pressed flower jars, dried flower bookmarks and pressed flower pumpkins. For this resin shell craft, I combined two of my favorite natural elements, pressed flowers and seashells, to create something truly unique and beautiful.
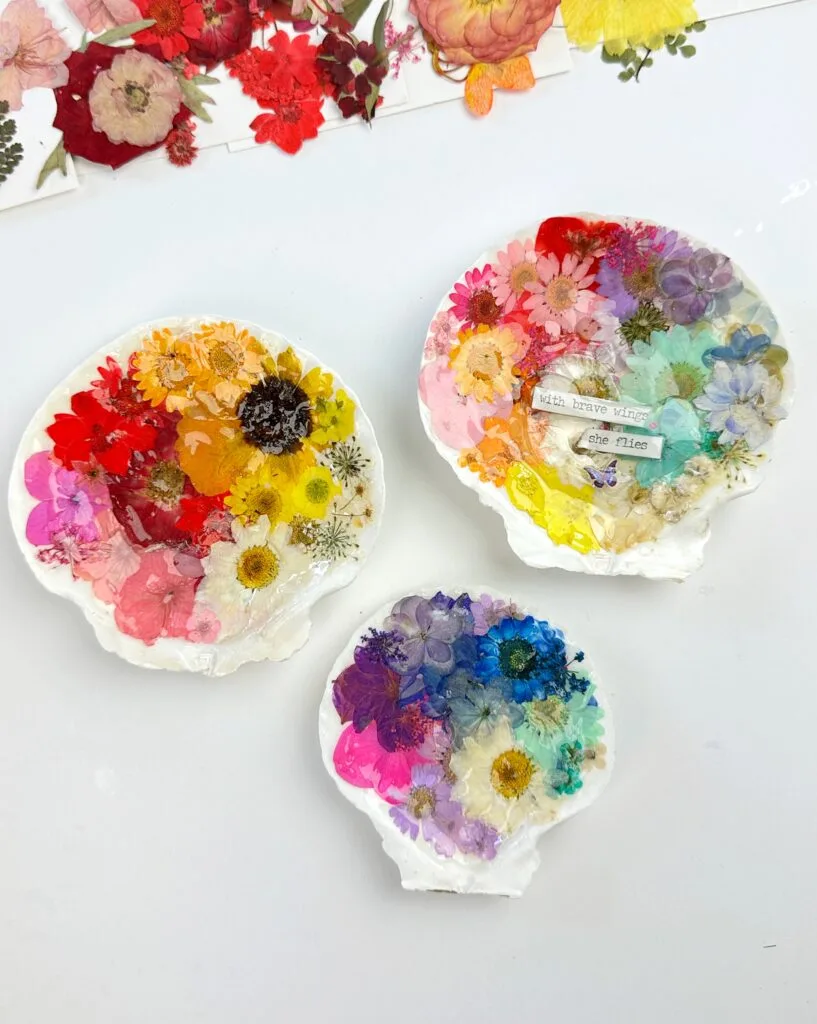
I love how this project brings together the delicate charm of flowers with the coastal beauty of shells. It’s a simple yet personal way to turn nature into art. Below, you’ll find the exact supplies I used along with easy, step-by-step instructions
Materials
- Pressed Flowers – Pressed flowers by specific color or bulk pressed flowers
- Shells
- Mod Podge glue – I used matte mod podge
- UV Resin – This is the exact UV Resin I used. Here are some other UV Resin options I found on Amazon.
- ⚠️ Safety Disclaimer: UV resin should be used with proper protective gear and ventilation. Always research and follow all recommended safety precautions. Use at your own risk.
- UV Light
- Paintbrush
- Tweezers
- Optional Butterfly Stickers
- Optional Word Stickers
Step-by-Step Directions for Pressed Flower Resin Shell
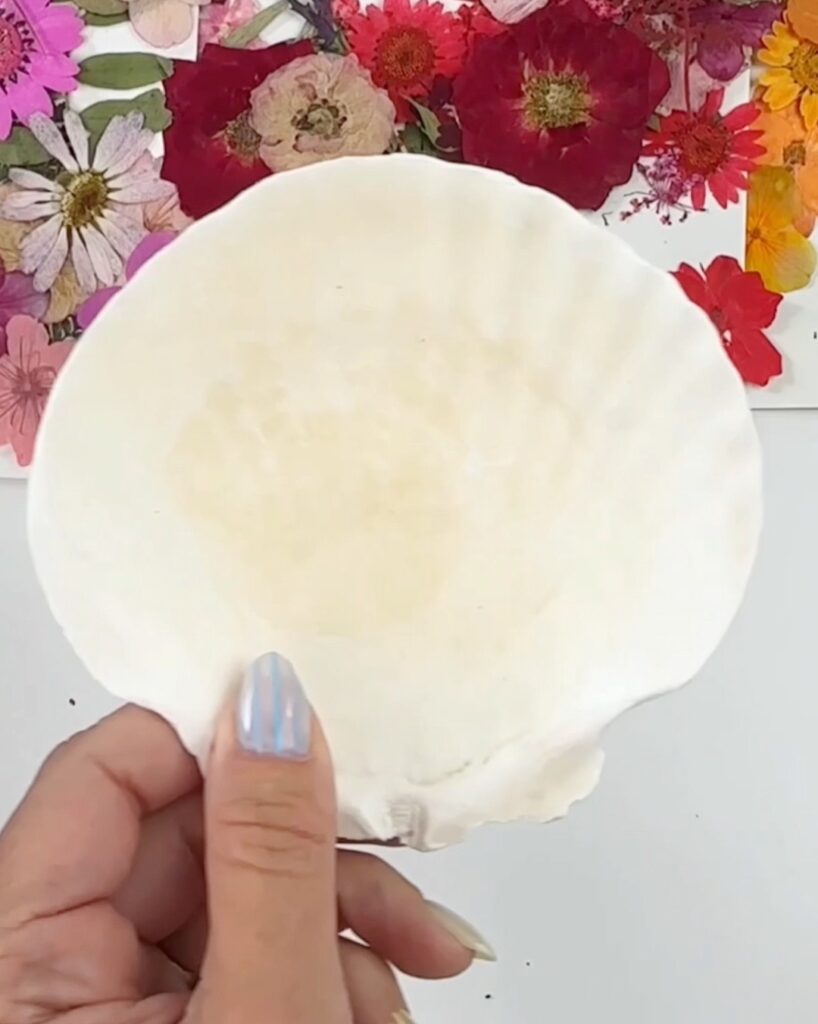
1. Organize your design
Spread out your pressed flowers to visualize your palette and placement. Plan how they’ll lie across the shell’s curved interior.
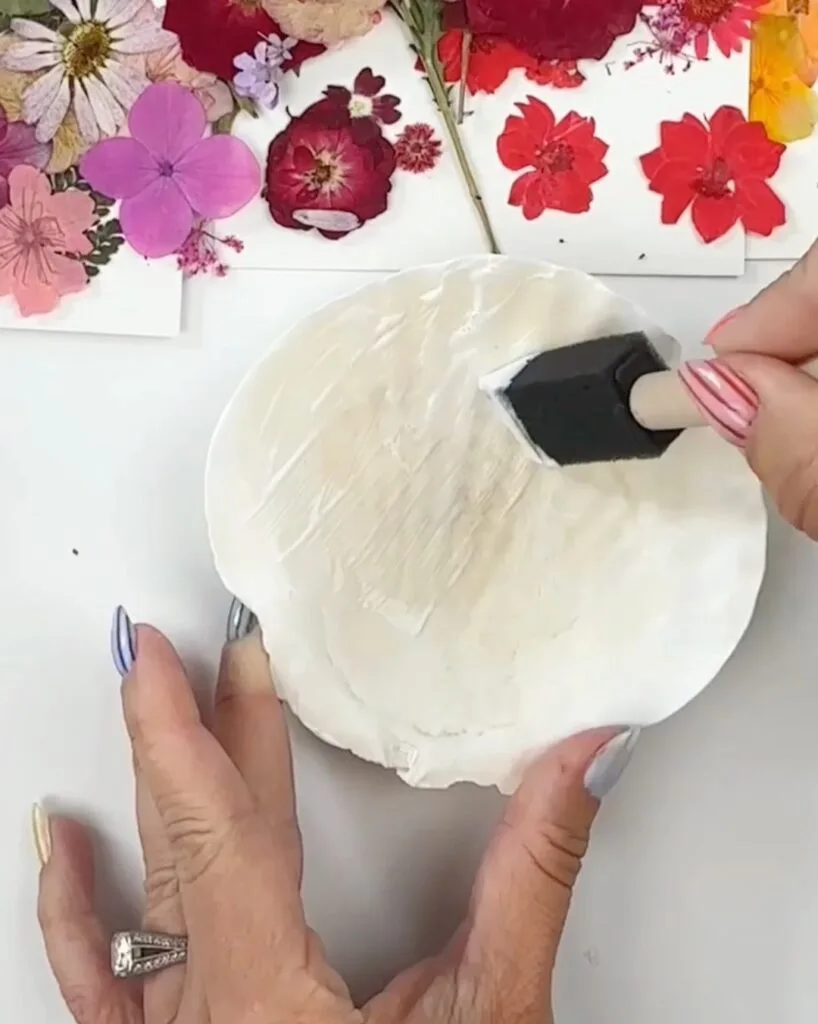
2. Start gluing
Apply a small dab of Mod Podge in one section of the shell. Position a pressed flower on top. Add another thin layer of Mod Podge over the delicate flower petals to adhere it gently.
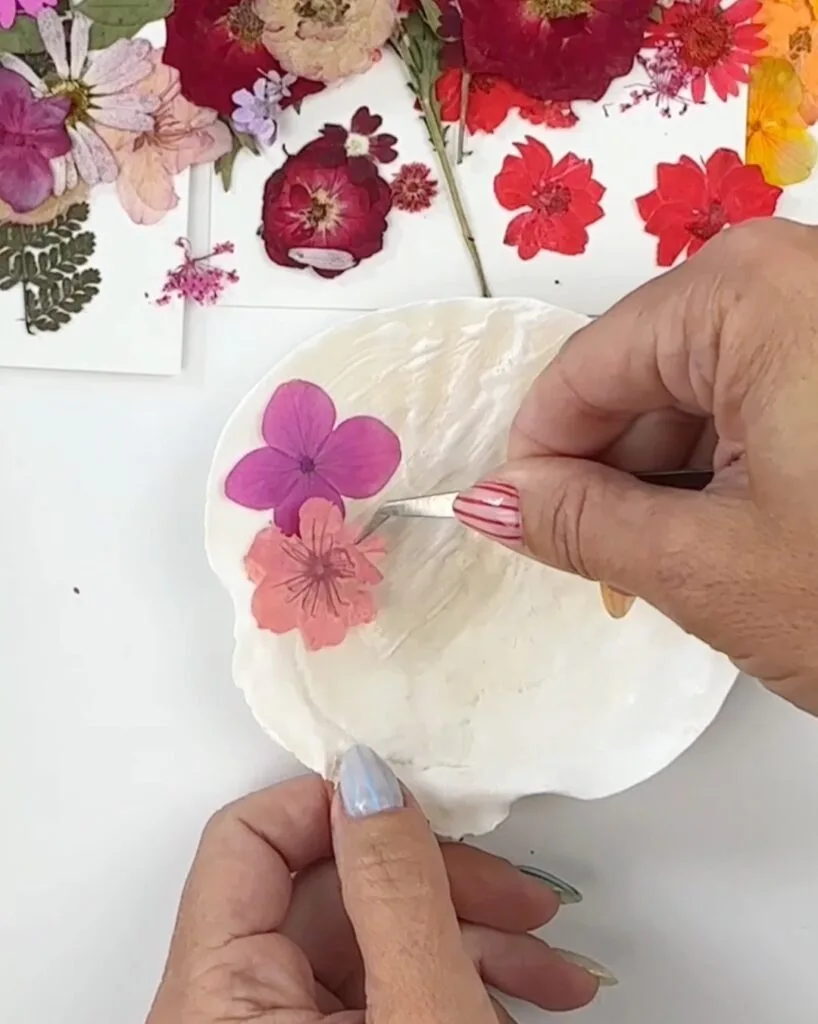
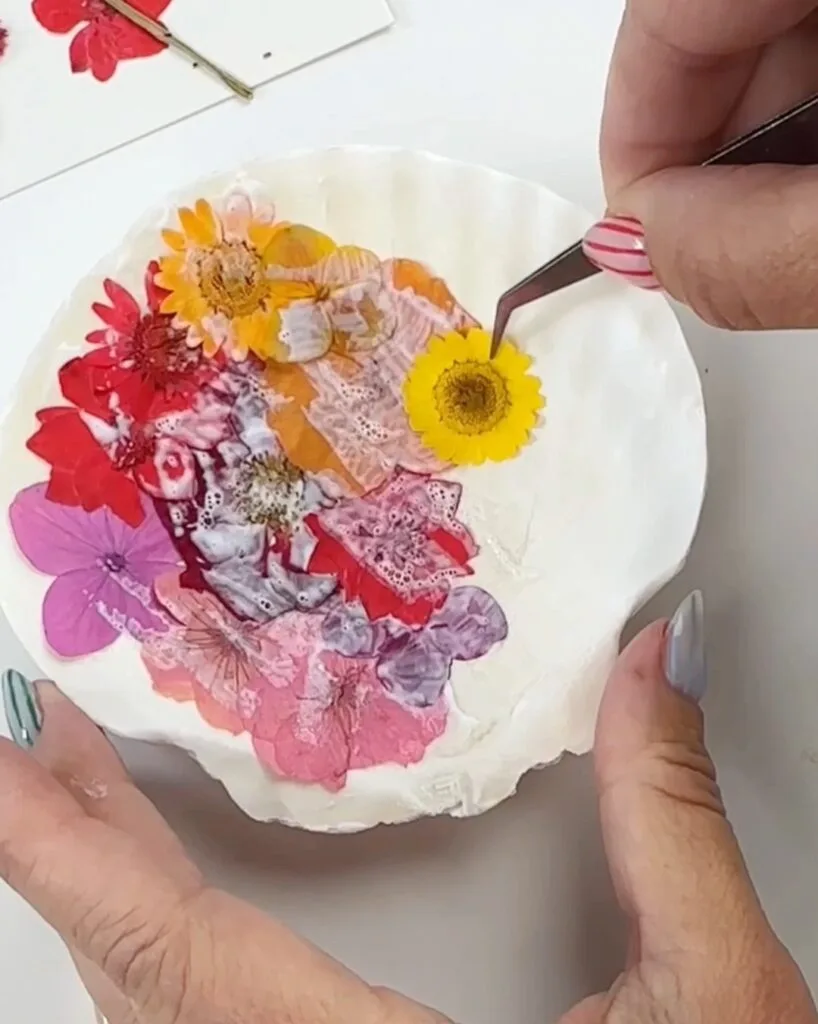
3. Build out your design
Continue coating sections and placing flowers one by one. Work your way around the shell until you’re happy with the arrangement. Keep layers thin to avoid bulkiness.
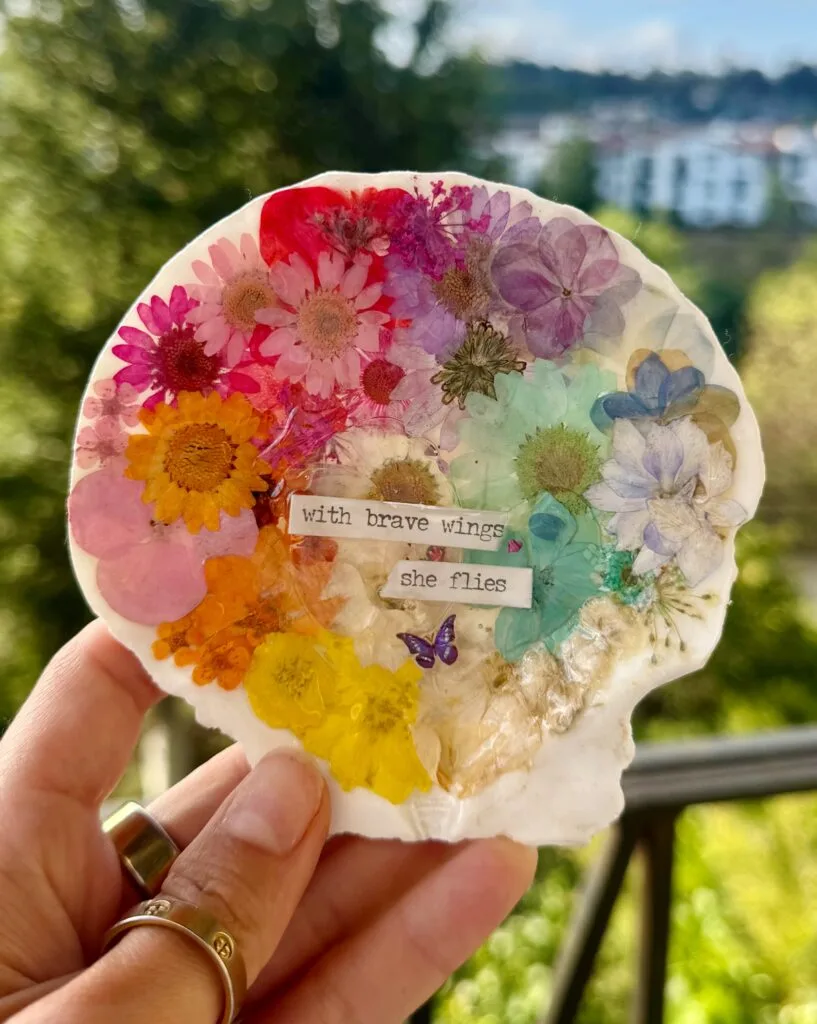
4. Add embellishments (optional)
If you’d like, press stickers like butterflies or words into place. Note: stickers may not hold colors well when covered in resin, but some fading may add vintage charm.
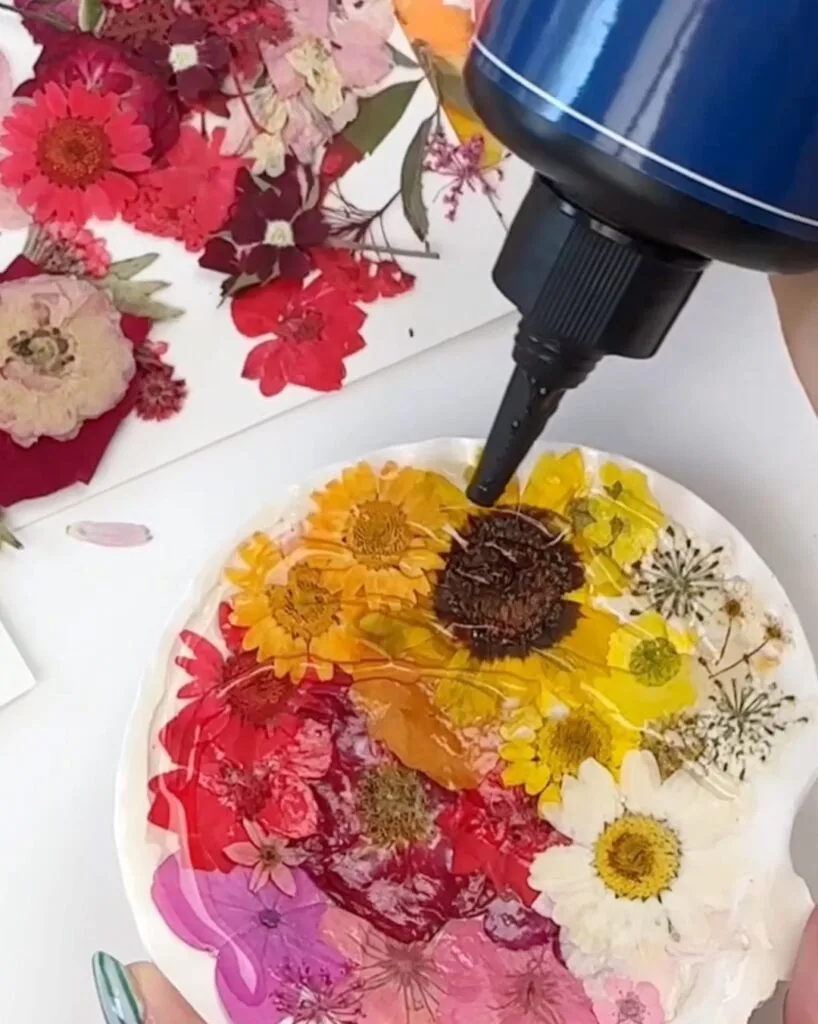
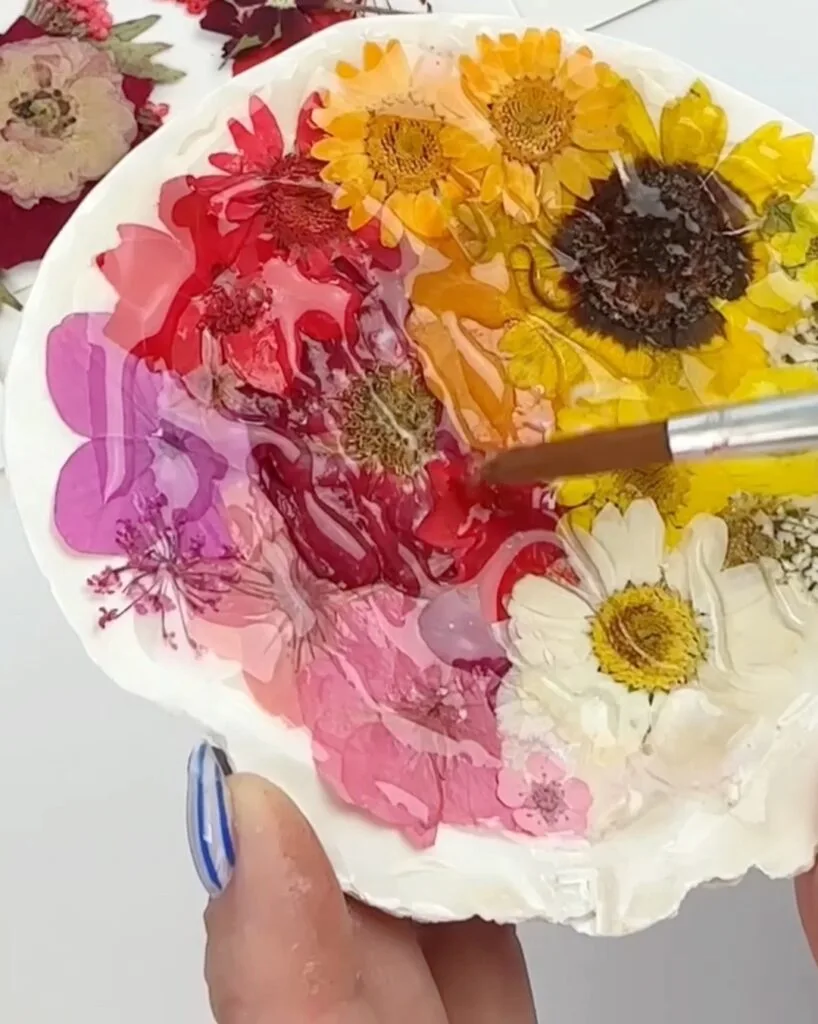
5. Resin seal your project
Cover the floral design with a thin, even layer of UV resin. Use a paintbrush to help evenly distribute the resin. You want to make sure you keep your resin layer thin to avoid large bubbles.
⚠️ Safety Disclaimer: UV resin should be used with proper protective gear and ventilation. Always research and follow all recommended safety precautions. Use at your own risk.
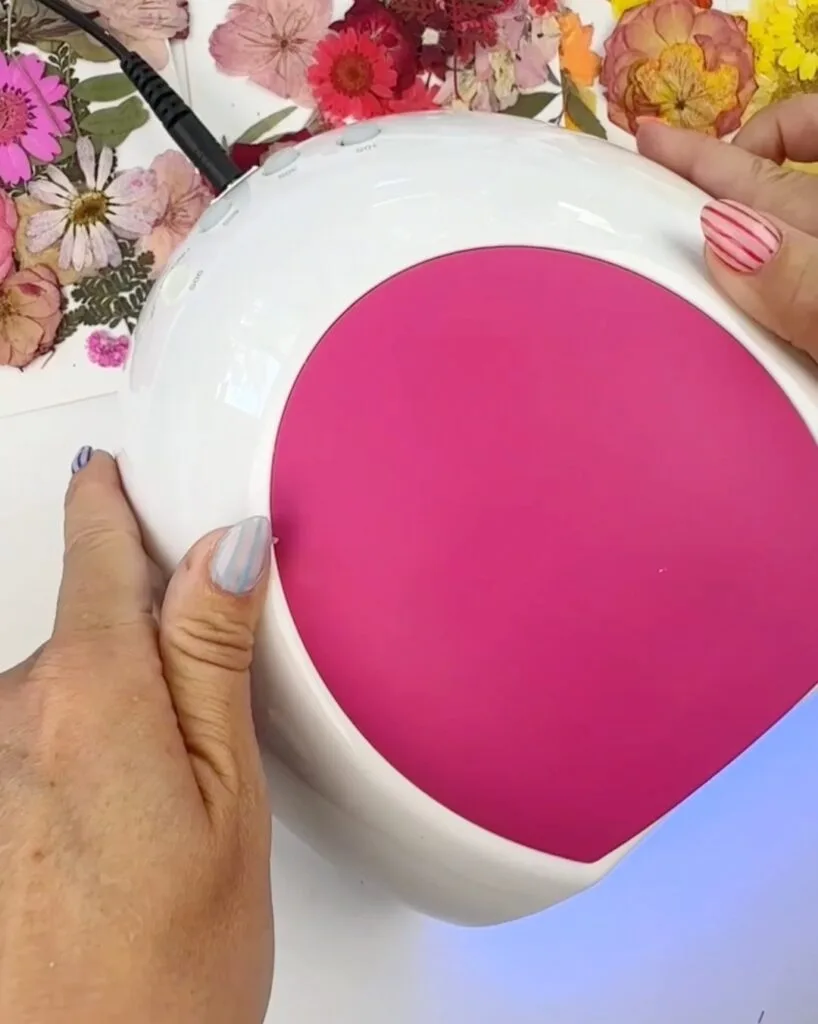
6. Cure the Project
Place under a UV lamp until fully hardened. I started with 60 seconds and then added additional time as needed. You can also try curing the UV resin outside in the sunlight but it will take much longer to cure.
7. Final touches
Once cured, ensure the resin layer is smooth, clear and not sticky.
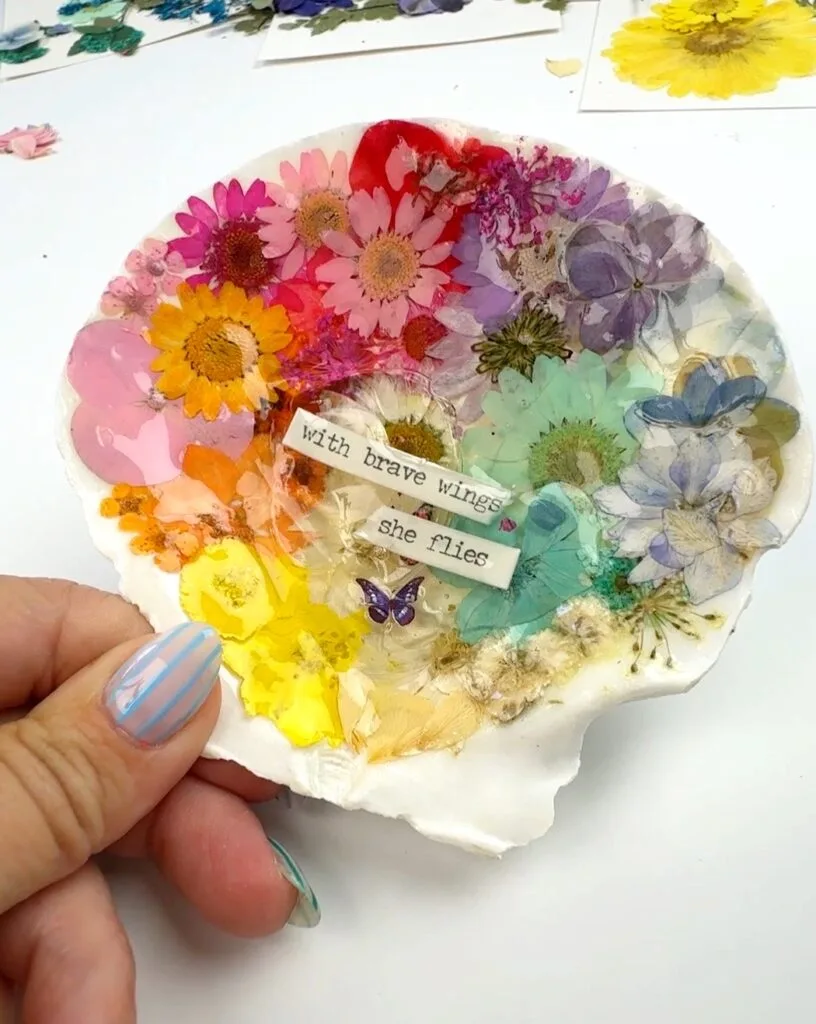
Final Thoughts
This pressed flower shell craft is a beautiful way to bring together florals and ocean treasures. Each resin shell becomes a one-of-a-kind canvas that highlights the delicate beauty of pressed blooms. Whether you display it on a shelf, gift it to a friend, or use it as a small trinket dish, the result is both simple and stunning. It’s a relaxing, creative project that doesn’t require perfection…just a love for nature and a little imagination.