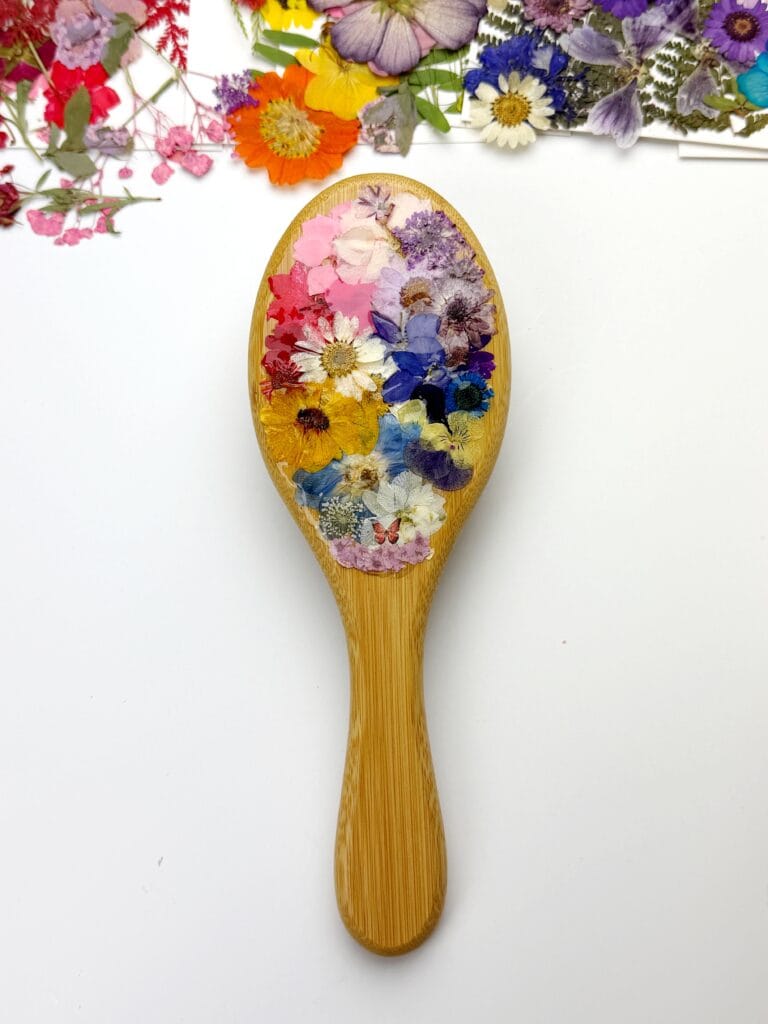
Pressed Flower Resin Brush
As an Amazon Associate, I earn from qualifying purchases. This post may contain affiliate links. See our full disclosure here.
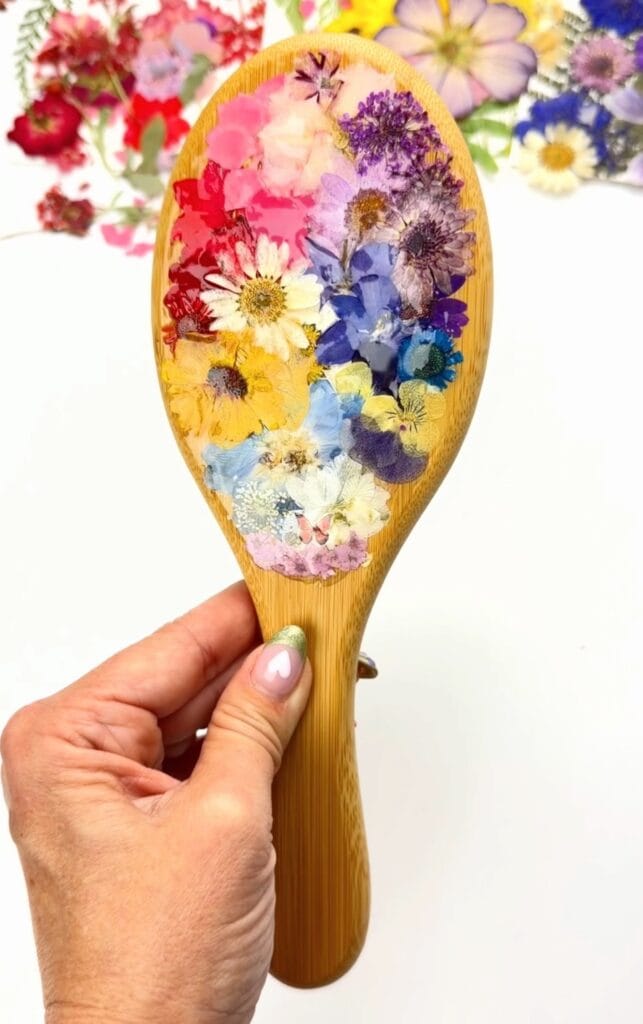
A pressed flower resin brush is a simple way to turn a bamboo brush into something beautiful and functional. You don’t need to press your own flowers for this project. I have listed below under supplies where to buy beautiful pressed flowers to make this craft even easier.
Here are other related pressed flower resin crafts you can also try: pressed flower resin bowls and pressed flower resin dish
Supplies for Your Pressed Flower Bamboo Brush
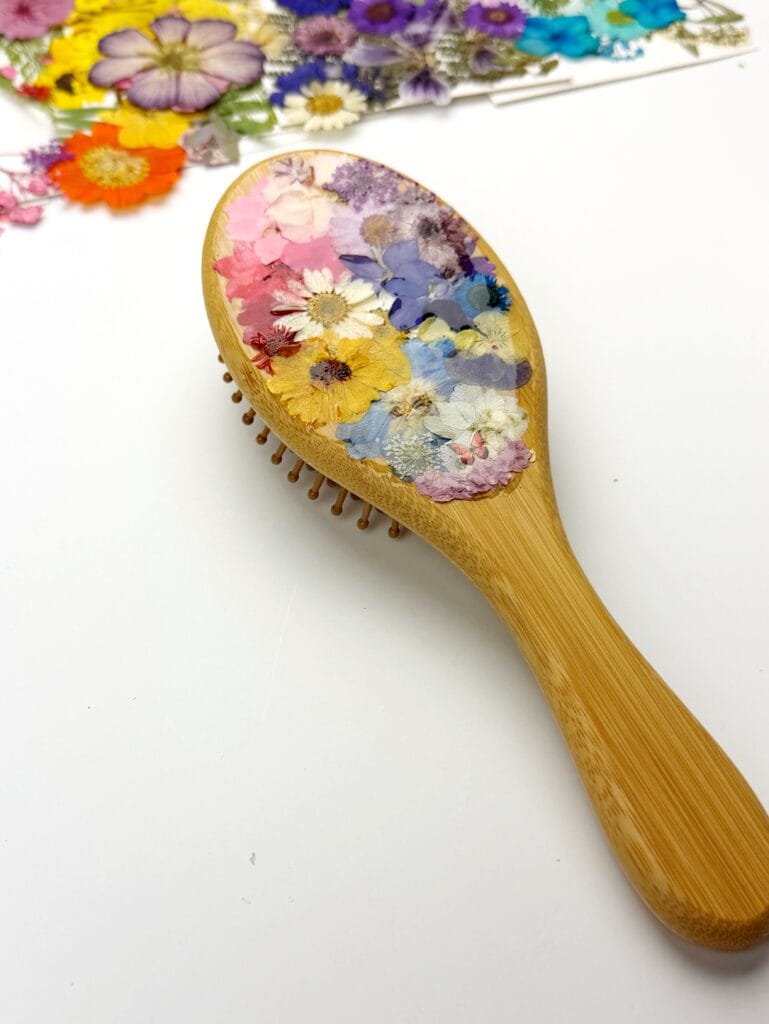
- Bamboo hairbrush (or any wooden brush)
- Pressed flowers variety or pressed flowers by color
- Mod Podge
- UV resin – Safety Disclaimer: UV resin should be used with proper protective gear and ventilation. Always research and follow all recommended safety precautions. Use at your own risk.
- UV Resin Light
- Butterfly stickers
- Small paintbrush & tweezers
- Disposable gloves
Step-by-Step Directions
1. Organize your flowers first
Before you start gluing anything down, spread your pressed flowers out on your work surface so you can see all your options. It makes it so much easier to choose colors, shapes, and sizes as you go.
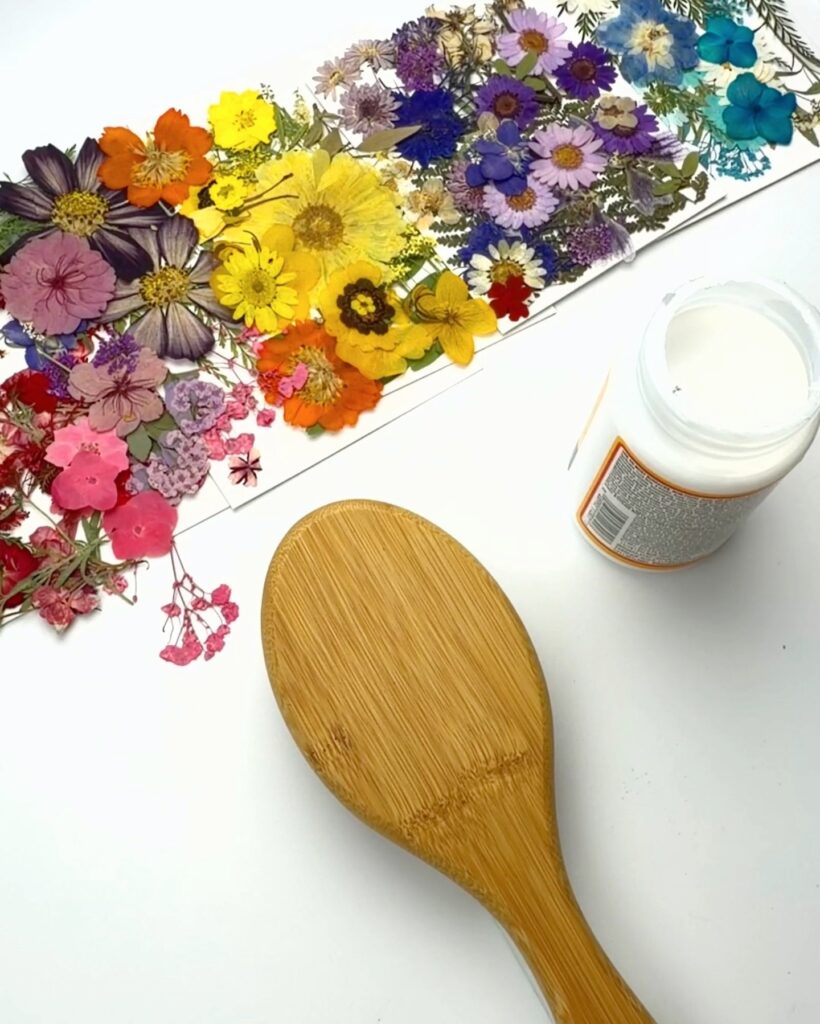
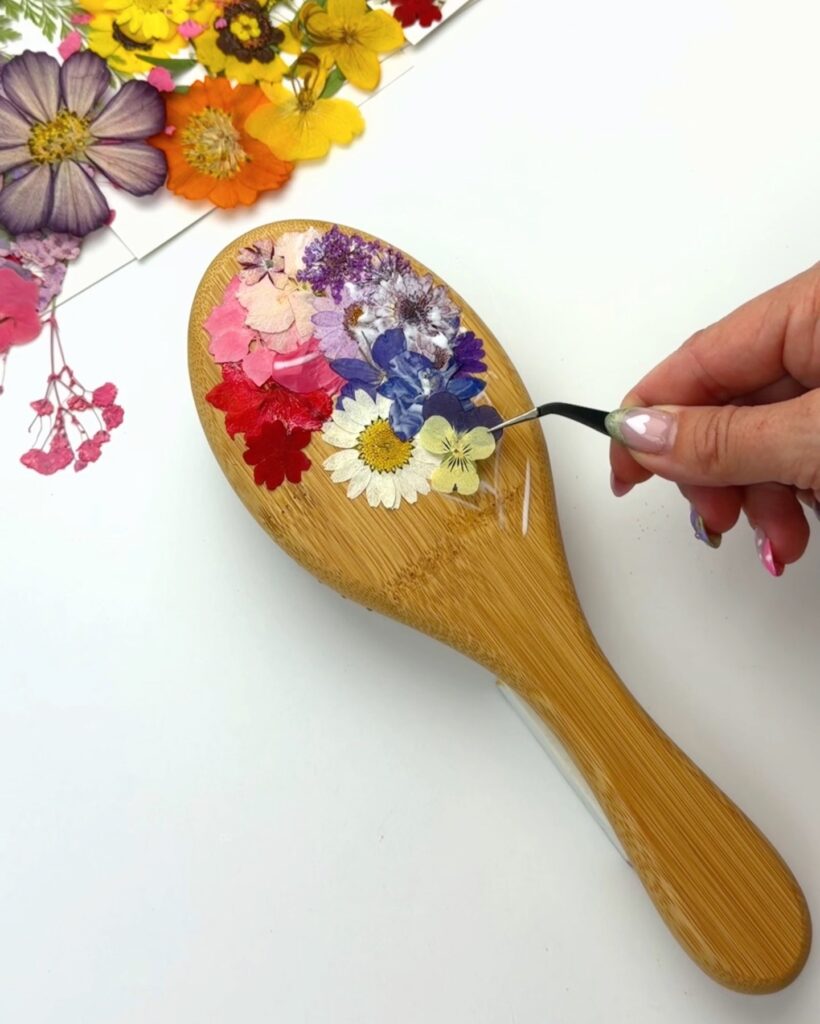
2. Do a quick layout on the brush
Place a few flowers on the brush to get a rough idea of what you want. This is just a quick preview to see how the colors look together. Do not stress about making it perfect. You can adjust as you work.
3. Work in sections with Mod Podge
Instead of covering the whole brush at once, brush Mod Podge onto one small section. Add flowers right away while it is still tacky, then move on to the next section.

4. Overlap flowers for a cohesive look
As you add flowers, let them overlap a little. This helps everything feel connected and intentional, and it also fills in gaps without needing a lot of tiny pieces.
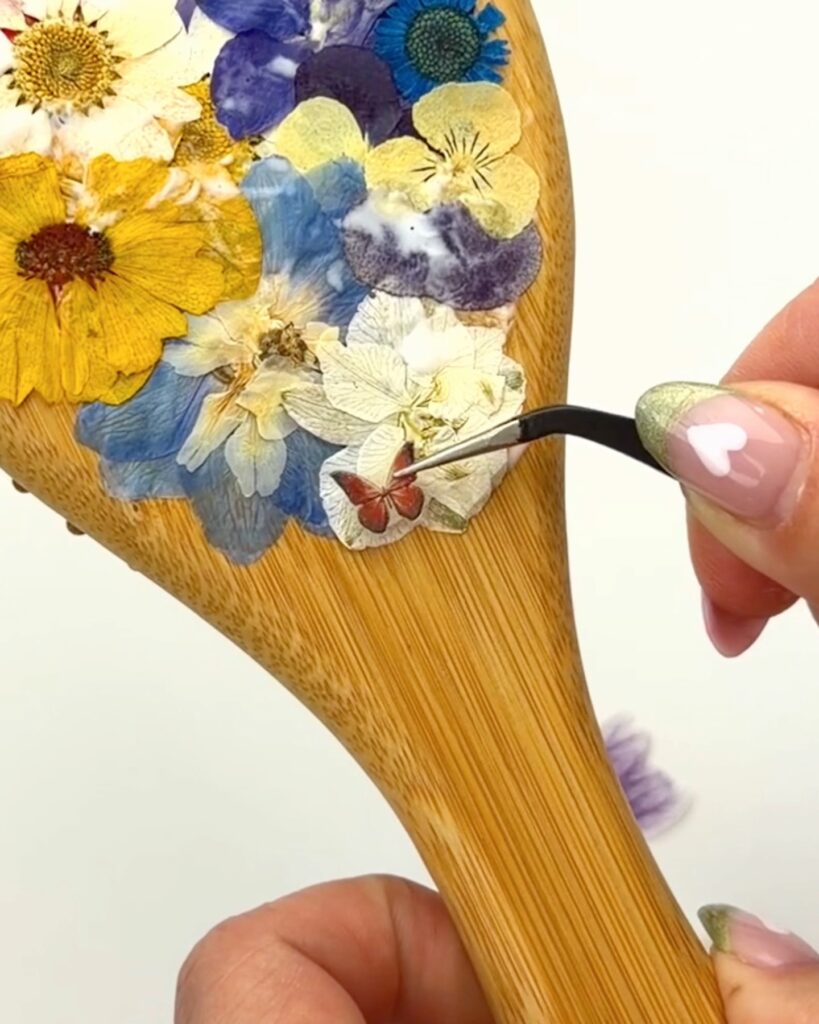
5. Add a details
Add a butterfly sticker for an additional detail. Additionally, you could also add glitter or other stickers as well.
6. Let it dry completely
Once you are happy with the design, set the brush aside and let the Mod Podge dry all the way before you move on to resin.
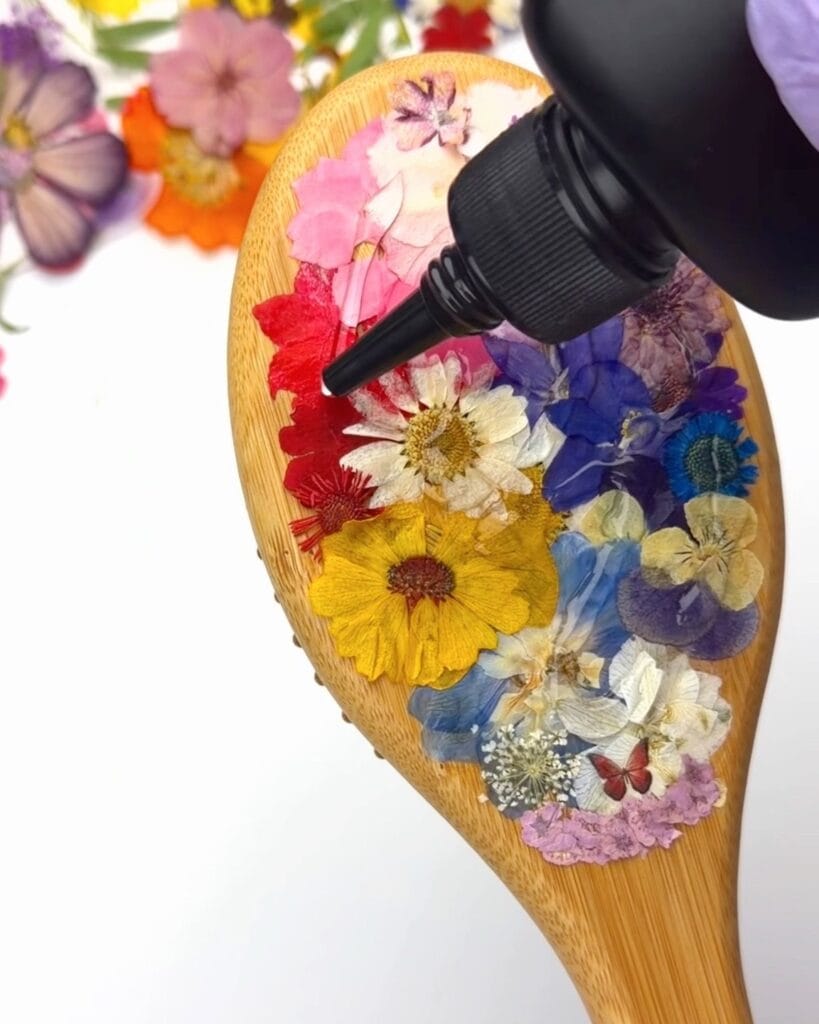
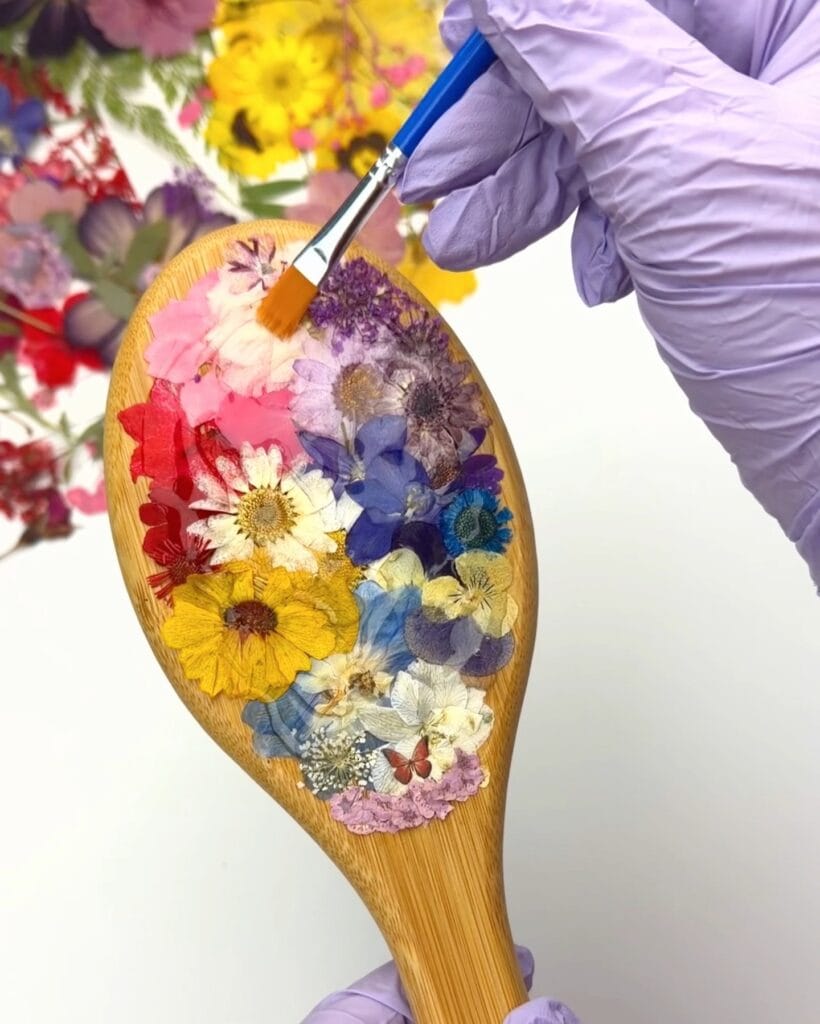
7. Add a thin layer of resin
When everything is dry, apply a thin layer of resin over the flowers. Use a disposable paintbrush to spread the resin over the flowers. Focus on fully sealing the flowers so they are protected and the surface looks glossy.
8. Cure under the UV lamp
Place the brush under a UV lamp to cure. Mine cured super fast and only took about 3 minutes, but use your lamp and resin instructions as your guide.

This pressed flower resin brush is proof that crafts do not have to be complicated to be beautiful. A few flowers, a little resin, and you have something that feels special and personal. Save this idea for your next craft night or gift project.
Ideas and Inspiration
• Gift it for spring. A pressed flower resin brush makes a sweet handmade gift for birthdays, Mother’s Day, or bridesmaids.
• Turn flowers into something usable. Use blooms from a meaningful bouquet and preserve them in a piece you will actually reach for every day.
• Create a coordinated set. Make a matching comb, mirror, or small tray for a soft, pulled together look on a vanity.
• Add your own details. Tie a ribbon around the handle, add initials, mix in tiny gold flakes, or layer petals for a more dimensional design.
Every brush turns out completely unique, just like flowers in nature. The clear resin gives the petals a glossy, glass like finish that makes them feel beautifully preserved.