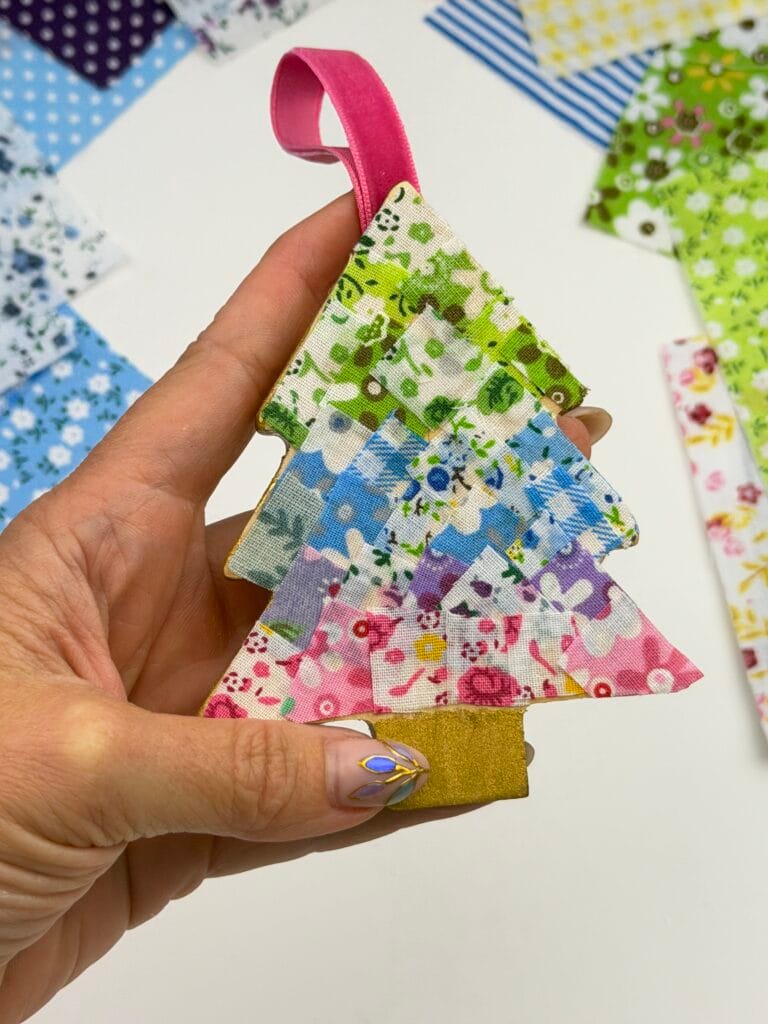
How to Make Fabric Decoupage Ornaments
As an Amazon Associate, I earn from qualifying purchases. This post may contain affiliate links. See our full disclosure here.
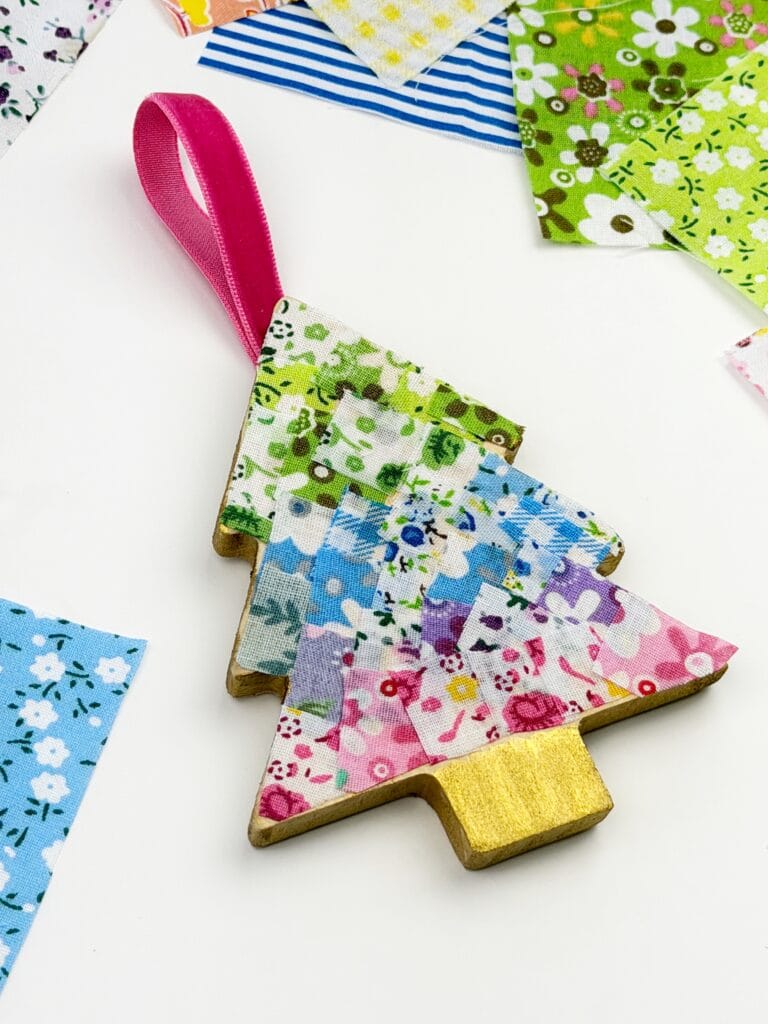
Decoupaging fabric onto wooden Christmas ornaments is an easy and fun holiday craft that turns out beautiful every time. It’s also a great way to use up leftover fabric scraps, and if you don’t have any on hand, I linked some options for you under the supply list. These custom fabric decoupage ornaments make beautiful gifts, look gorgeous on the tree, and are perfect for anyone who loves simple, colorful DIY projects. For another fabric craft idea, check out my tutorial for fabric-covered mini wooden bowls.
Supplies You’ll Need
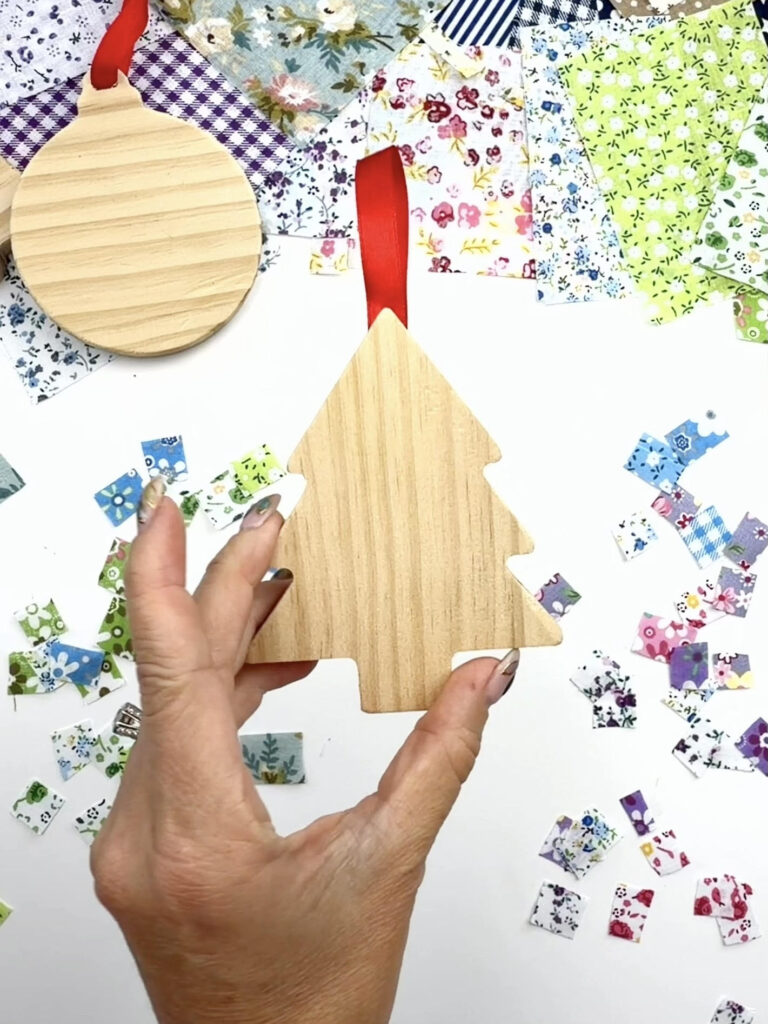
- Wooden Cutout Ornaments
- Wooden tree ornament (similar to the exact one I used)
- Bulk wooden tree ornaments
- Stocking ornament
- Star ornament
- Bow ornament
- Fabric scraps – I linked the exact set I used
- Mod Podge – I prefer gloss but matte can be used as well
- Small paintbrush
- Gold acrylic paint or silver acrylic paint
- Scissors
- Velvet ribbon for hanging
- Glue for ribbon
Step-by-Step Instructions
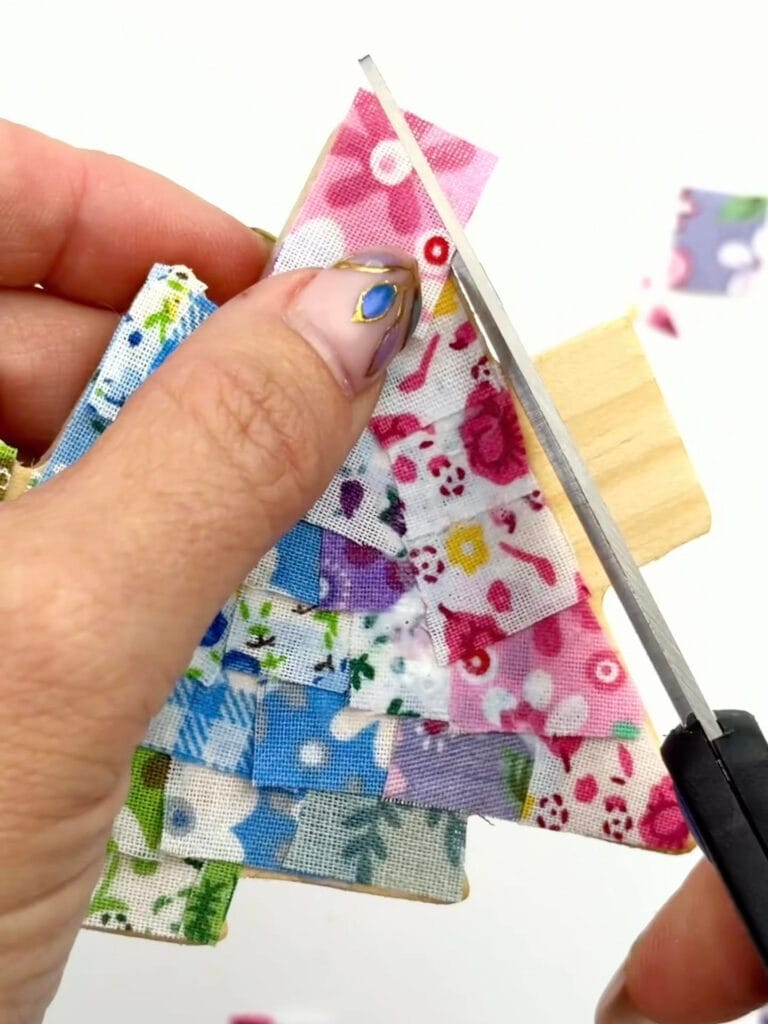
1. Select and Cut Your Fabrics
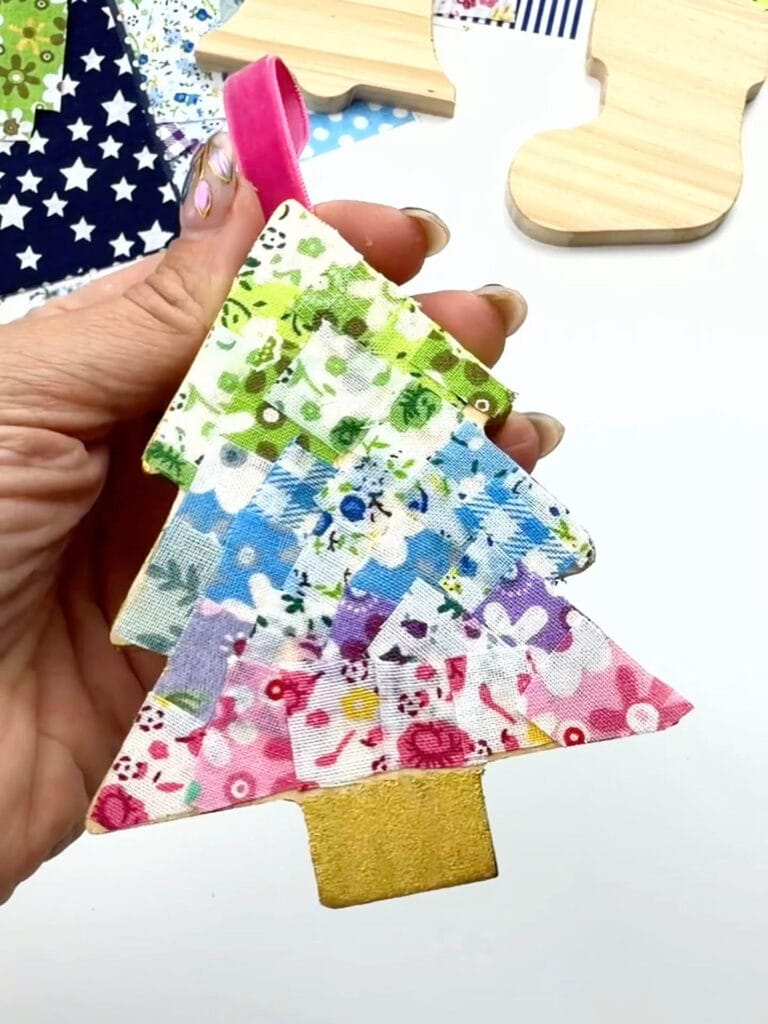
Pick fabrics that match your holiday style such as classic plaid, florals, patterns, metallic prints, or scraps from past projects. Cut the fabric into small rectangular and square pieces. Varying the sizes slightly creates a more textured, patchwork-style look once layered onto the ornament.
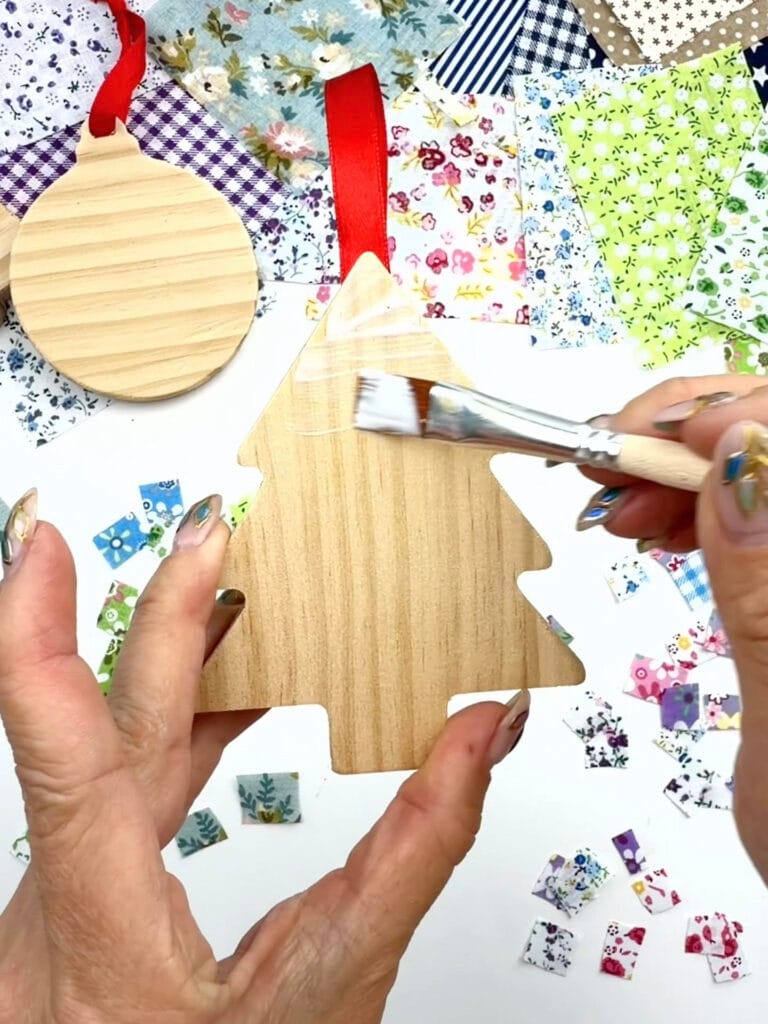
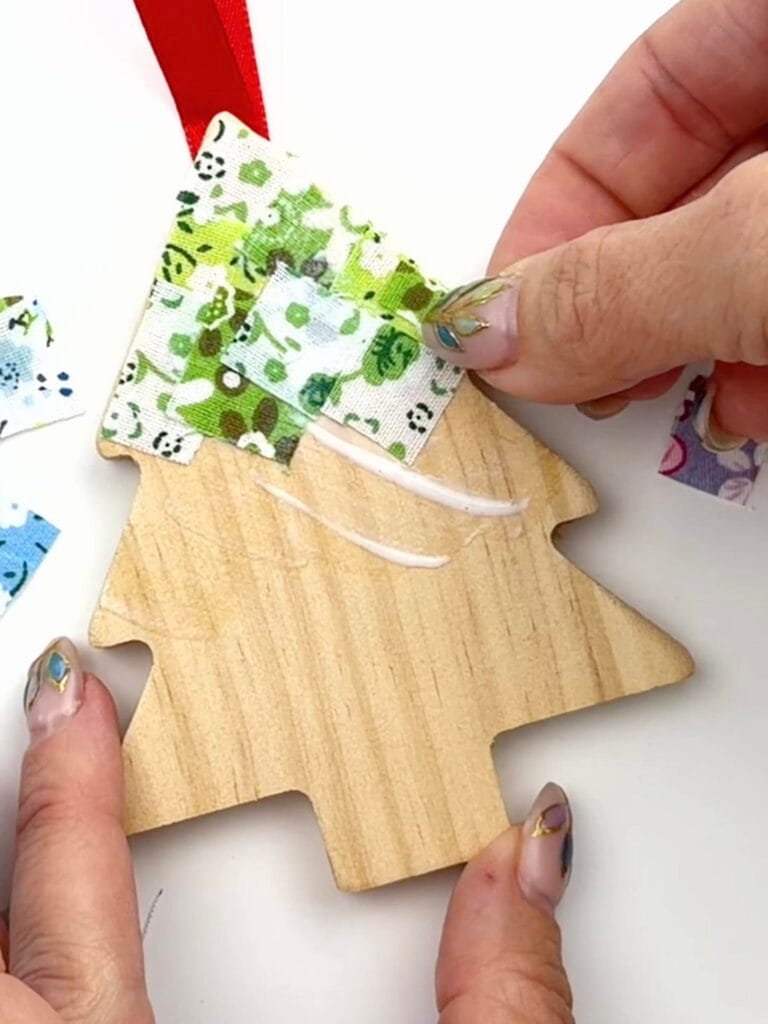
2. Apply Mod Podge
Using a small brush, apply Mod Podge to one section of the wooden ornament. I like to work in small sections so the glue doesn’t dry before the fabric is placed.
4. Add Your Fabric
Start layering your fabric shapes onto the glued surface, gently pressing each piece down and smoothing out wrinkles. Slightly overlap the pieces as needed to fully cover the ornament.
5. Trim the Edges
If some of the fabric goes over the edge of the ornament, it’s easiest to trim it before you glue it down completely. You can also trim it afterwards but it can be difficult to get close to the edge.
6. Seal With Mod Podge
Brush a thin layer of Mod Podge over the top of the fabric to seal it. Let it dry completely. Add a second coat if desired.
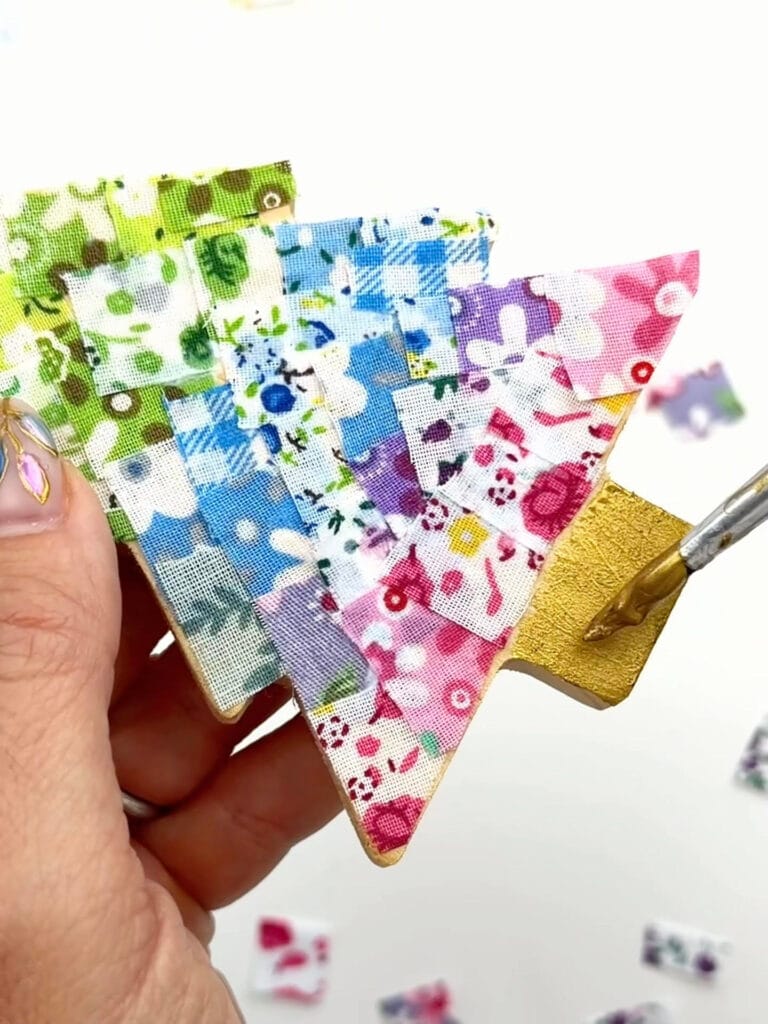
7. Add Decorative Details
Add metallic paint details by painting the side or back of the ornament. You can also personalize the ornament by painting a small letter cutout and gluing it onto the top of the ornament.
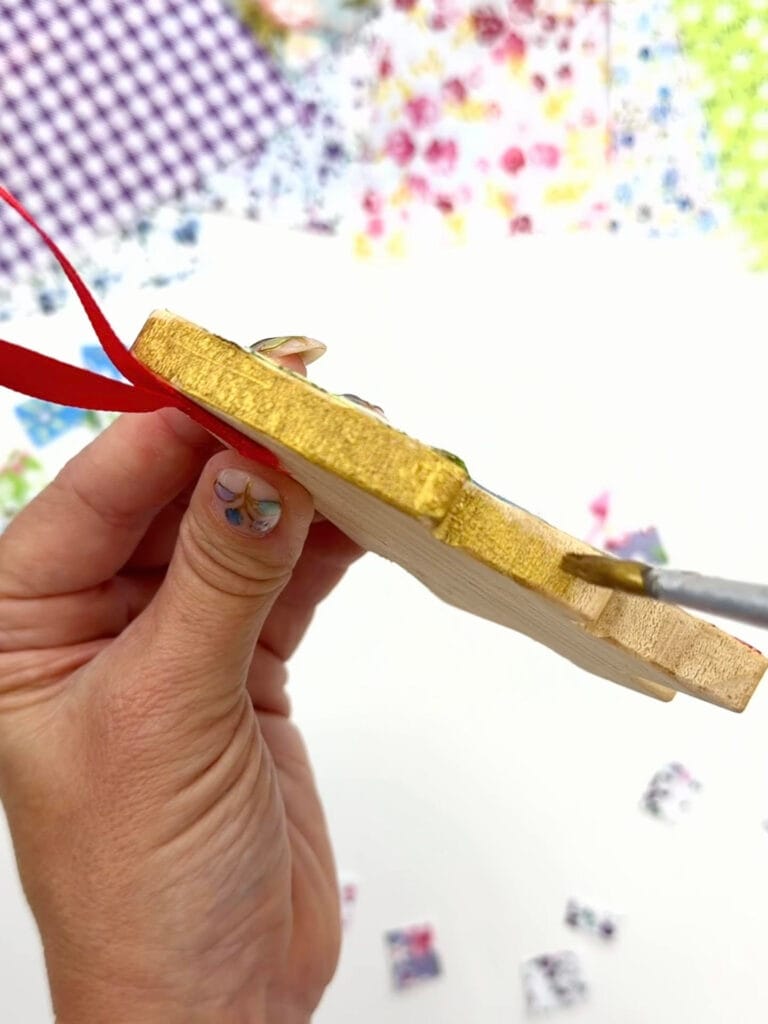
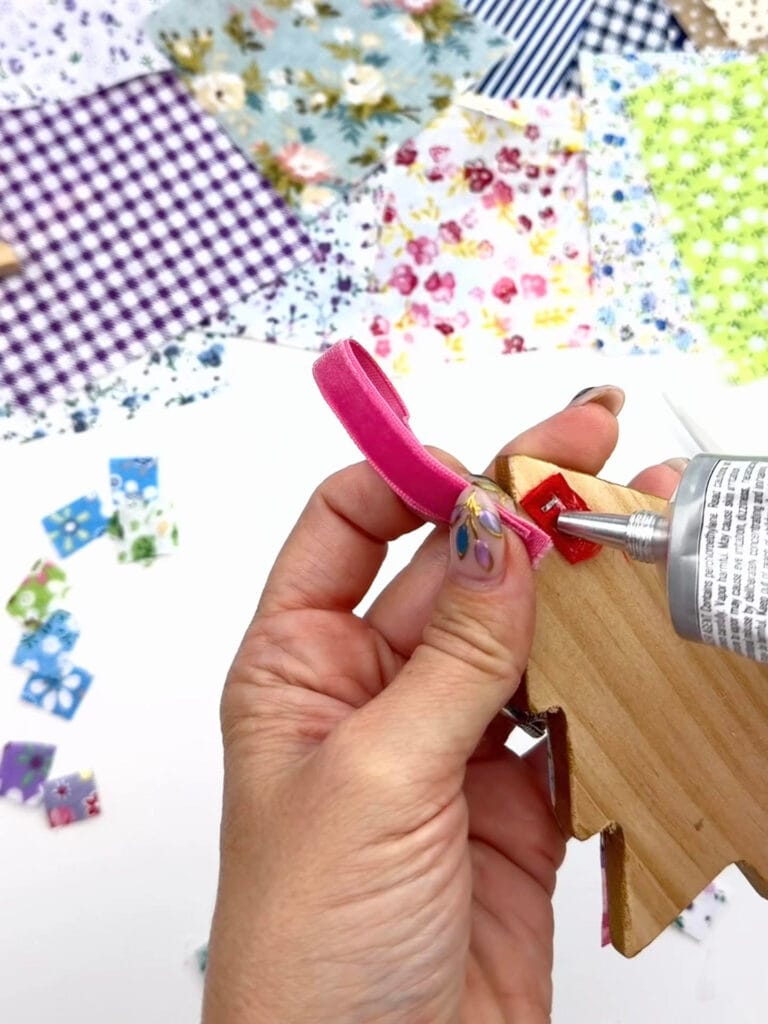
8. Add Ribbon
Glue or tie ribbon to the top of your ornament making it ready to hang on the tree.
Final Touches & Creative Ways to Use Them
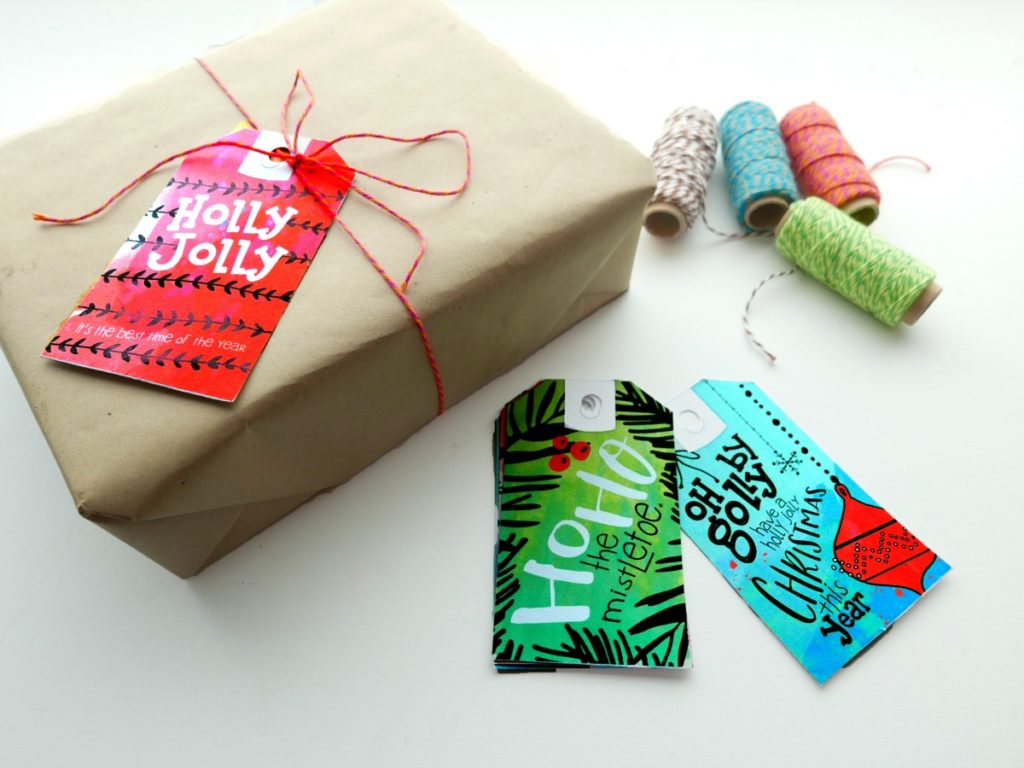
These little decoupage fabric ornaments are not only great for your tree, they also make adorable gift tags. Tie one onto a wrapped present or hang one around the neck of a wine bottle for an easy and thoughtful hostess gift. You can customize them with different fabrics, colors, or paint accents and personalize them by adding initials, dates, or simple messages. They are a fun way to add a handmade touch to your holiday giving.