How to Make Fabric Bowls
As an Amazon Associate, I earn from qualifying purchases. This post may contain affiliate links. See our full disclosure here.
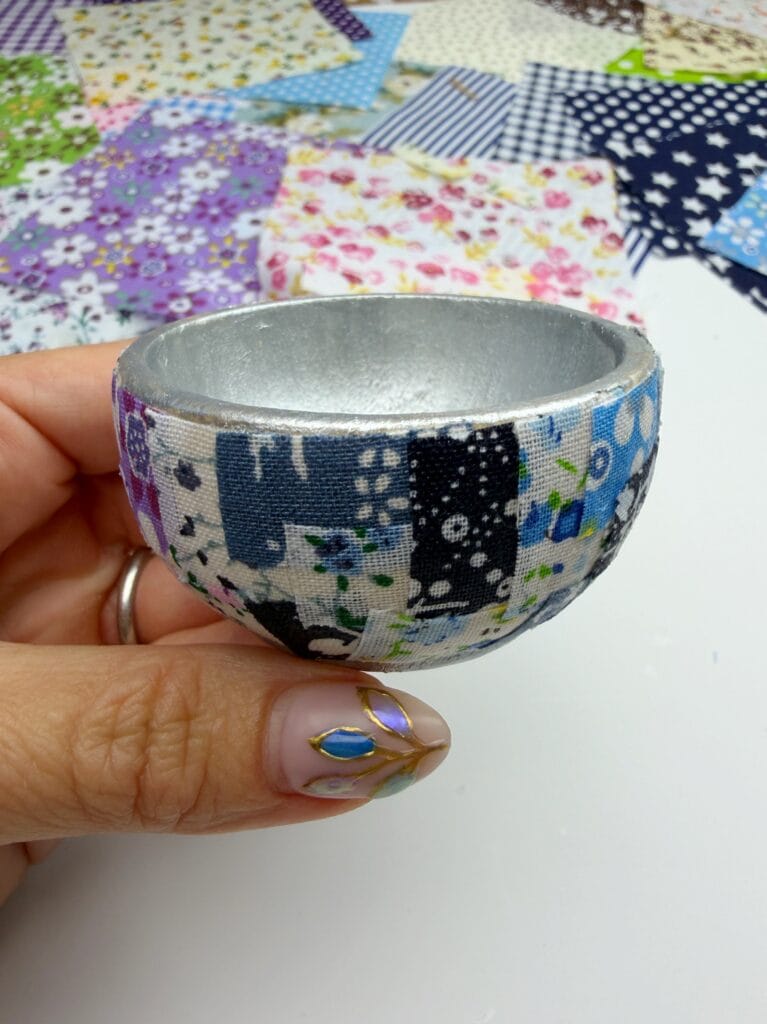
You don’t need to know how to sew to make these colorful and fun fabric bowls. All you need are a few supplies and some fabric scraps. Each bowl turns out totally unique depending on the scraps you use. You can cover the outside, the inside, or both! I personally love covering just one surface and painting the other with silver or gold metallic paint for a polished, high-end finish.
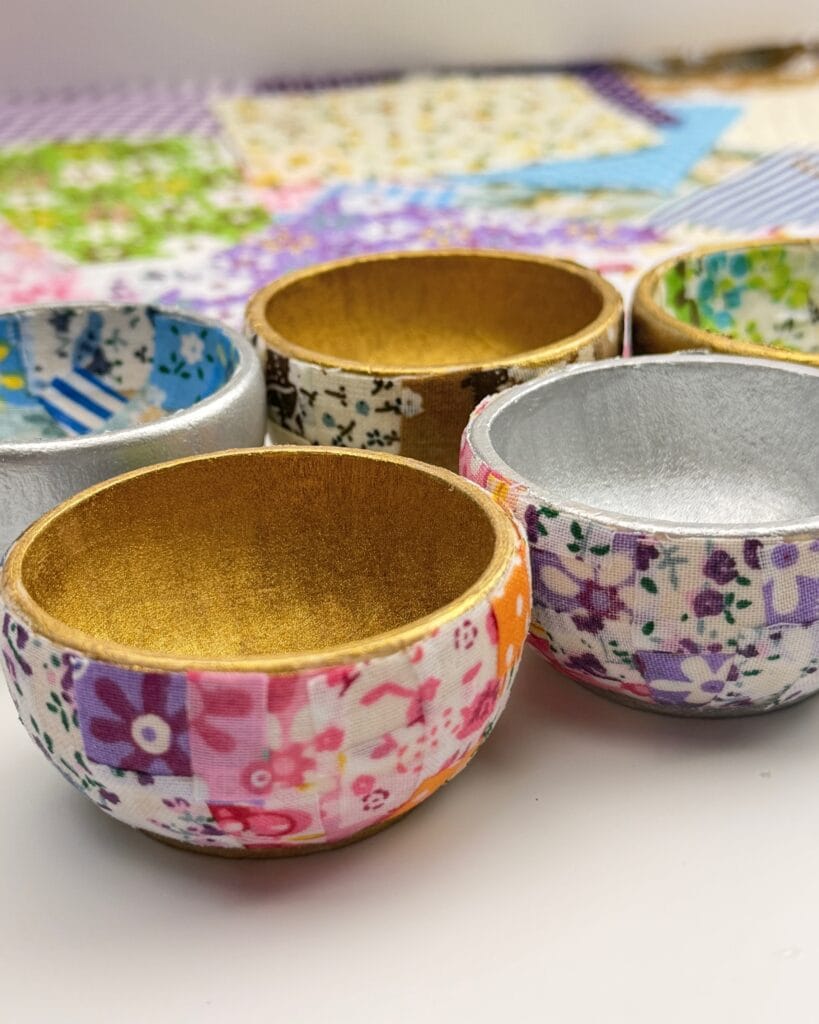
These DIY fabric-covered mini wooden bowls are great for jewelry, hair ties, keys, or just adding a pop of color to a shelf. See below for the step-by-step directions and complete supply list.
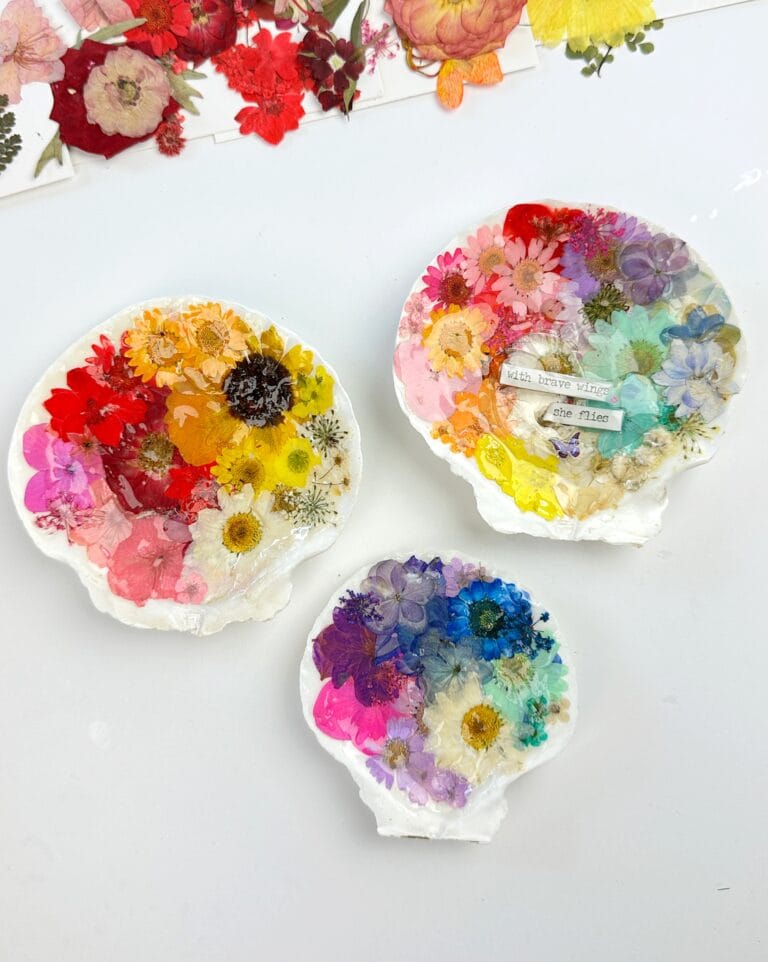
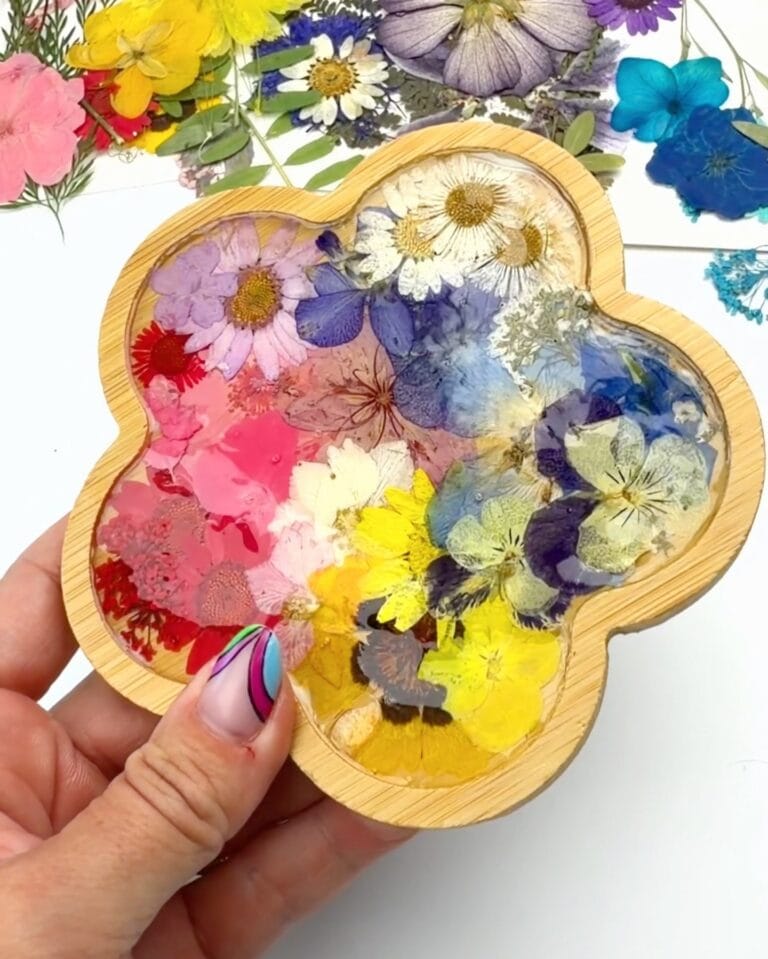
Related: You can also use these same wooden bowls to make mini pressed flower bowls.

Supply List
- Mini wooden bowls
- Fabric scraps cut into small squares or rectangles.
- Mod Podge (gloss or matte)
- Metallic gold paint or silver paint
- Small paintbrush
Directions on How to Make Fabric Bowls
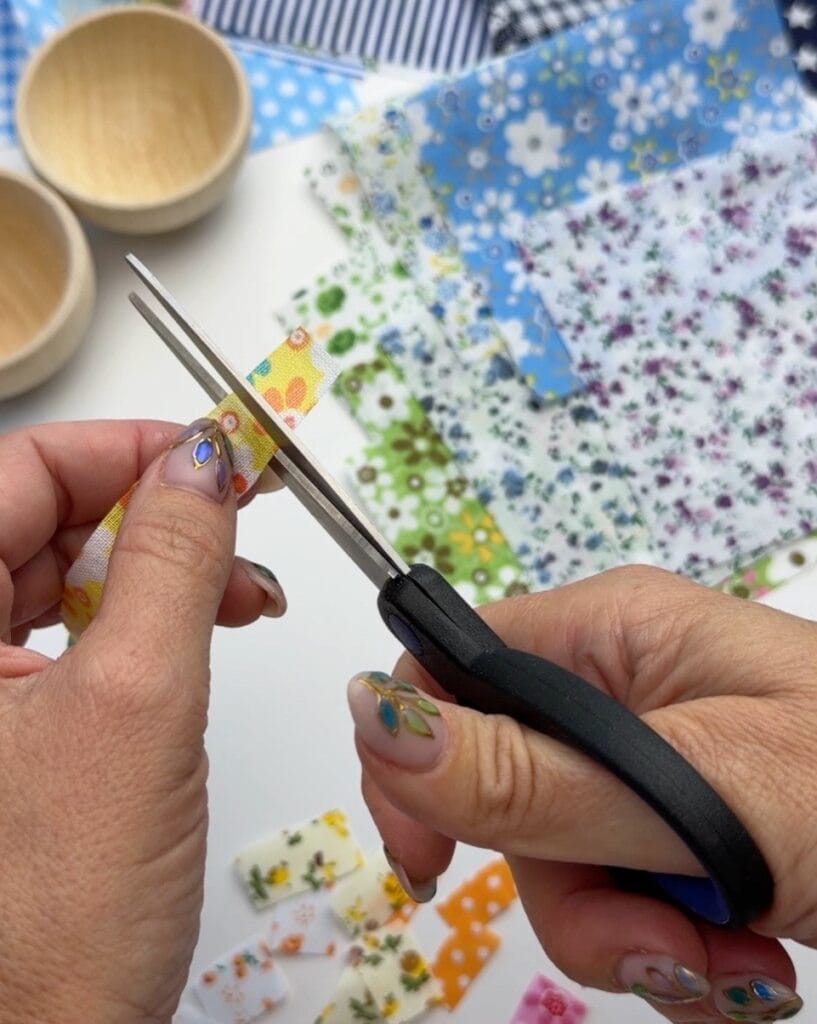
Step 1: Prep your fabric scraps
Cut the fabric into small squares and rectangles, about ½–1 inch pieces. Mix and match colors and patterns or stick to one color palette. Smaller pieces curve around the bowl more easily.
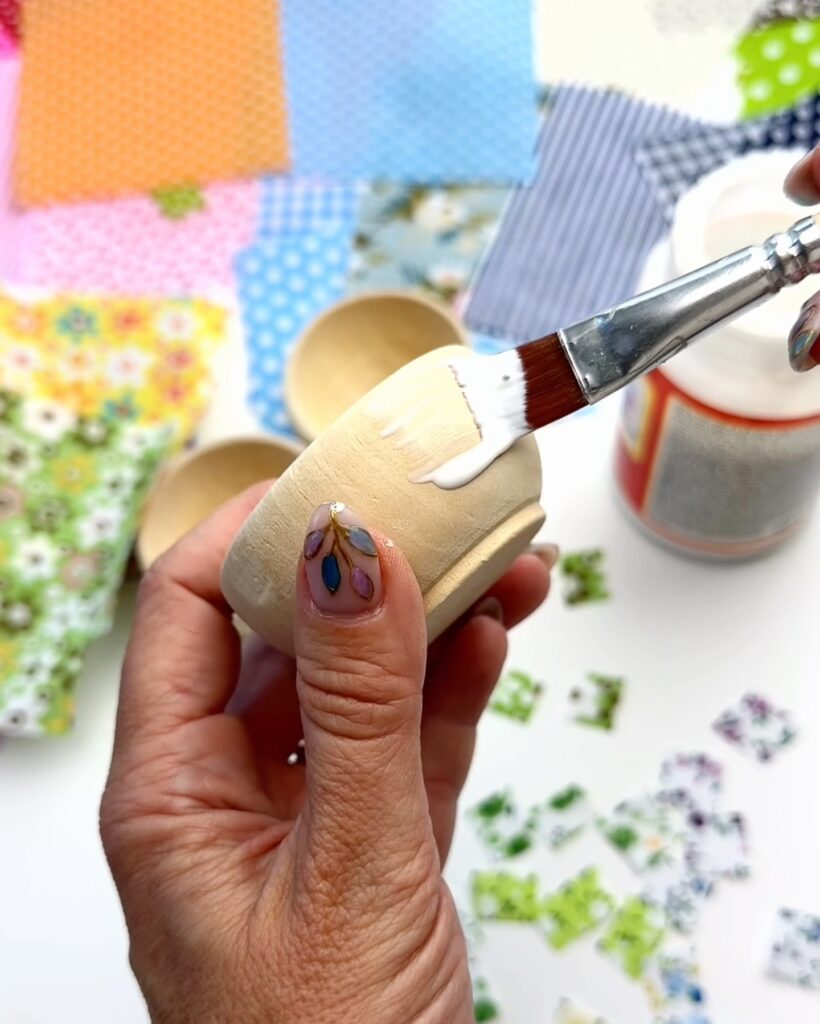
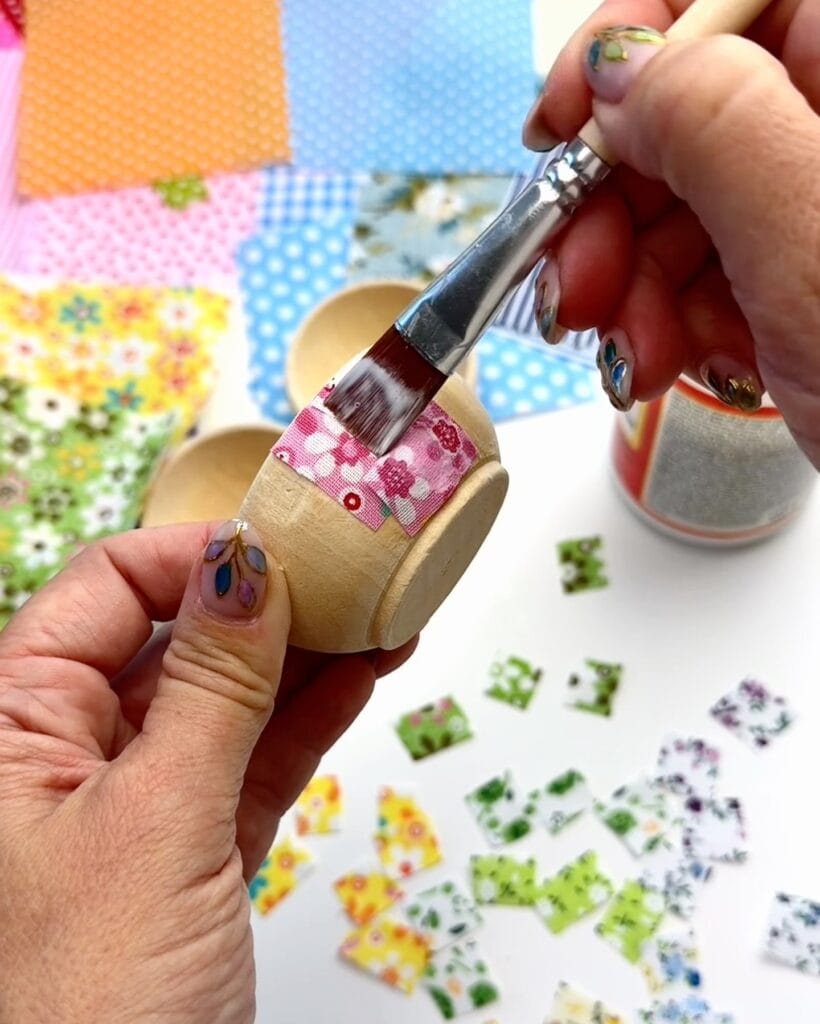
Step 2: Add a thin coat of Mod Podge
Using a paintbrush, brush Mod Podge directly onto one area of the bowl. Start with a smaller section so it doesn’t dry before you add your fabric.
Step 3: Layer on the fabric pieces
Add layers of fabric until the entire surface is covered (inside, outside or the entire bowl). A slight overlap of each piece is good as it helps everything lay flat and it gives a fun patchwork look.
Step 4: Seal with more Mod Podge
Once all the fabric is applied to the wooden bowl, brush a top coat of Mod Podge over the entire area. This seals the edges and gives a nice finished look.

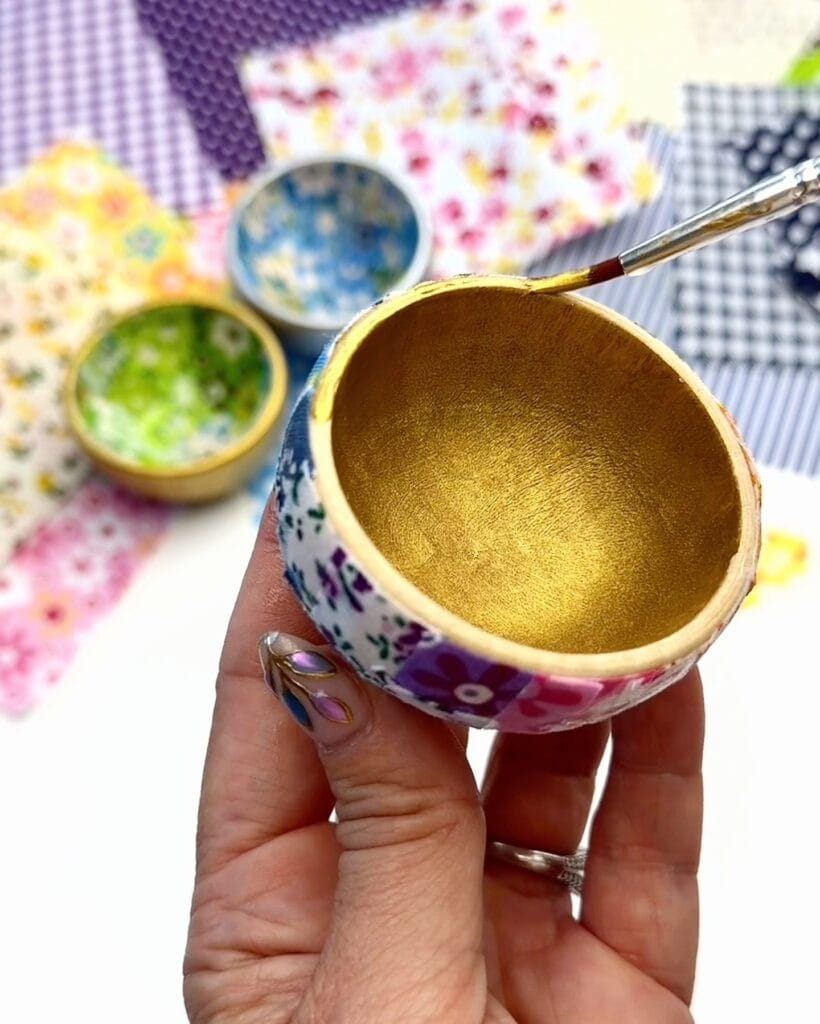
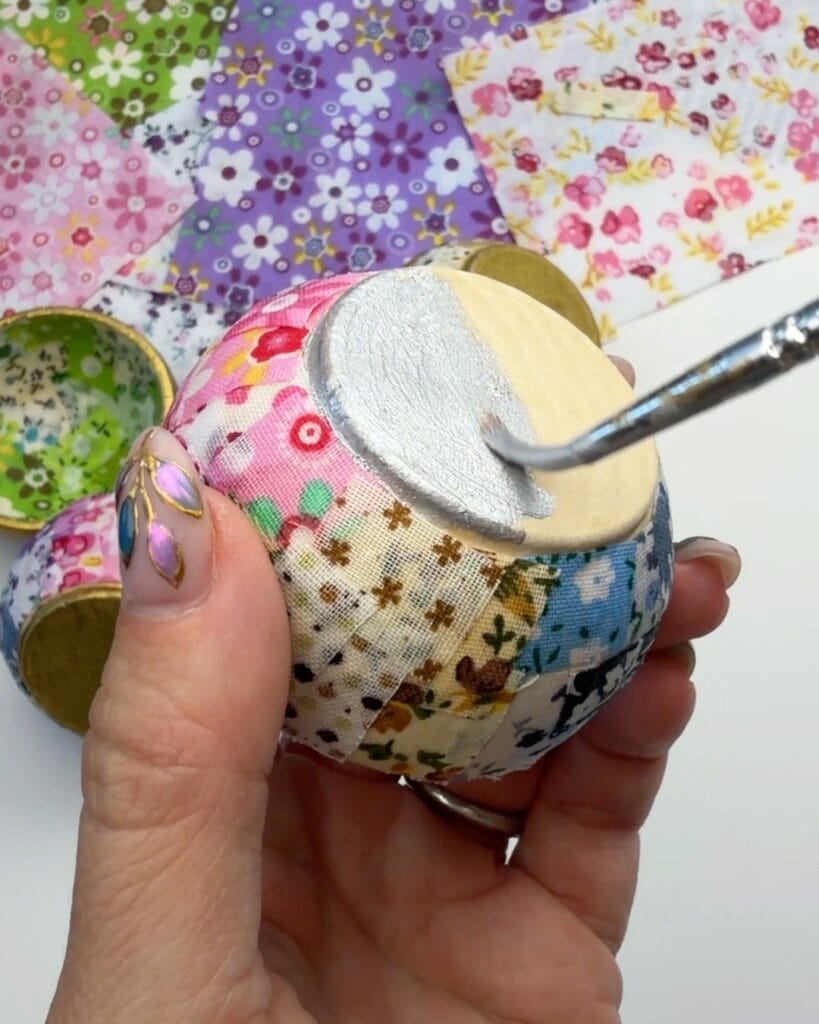
Step 5: Paint the remaining area
If you covered the outside, paint the inside of the bowl with gold or silver metallic paint or vice versa. The contrast looks so pretty, and the shimmer makes the fabric pop. I also like to paint the bottom of the bowl as well.


Tips for Best Results
- Thinner fabric pieces are easier to use and mold around the curves of the bowl.
- Cut a variety of sized pieces to make it easier to cover edges of the bowl.
- Try creating color themed bowls: warm tones, cool tones, neutrals or rainbow.
- You can try different colored paints for the open area in place of metallics.
- For extra shine spray a gloss acrylic sealant.
How to use your Fabric-Covered Bowls
These mini bowls make great:
- Jewelry catchalls
- Desk organization for clips or pins
- Key holder
- Decor accents on bookshelves
- Hostess gifts

Final Thoughts
This is one of those crafts where the process is just as fun as the final result. Each little bowl becomes a mini work of art, and it’s such a satisfying way to use up beautiful fabric leftovers. Whether you make one or a whole collection, they add personality and color anywhere you place them.