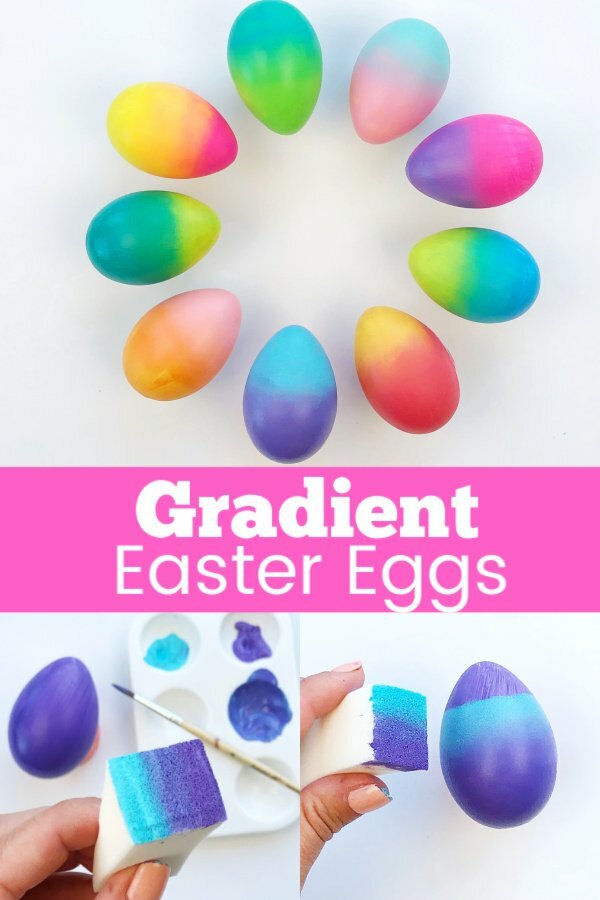
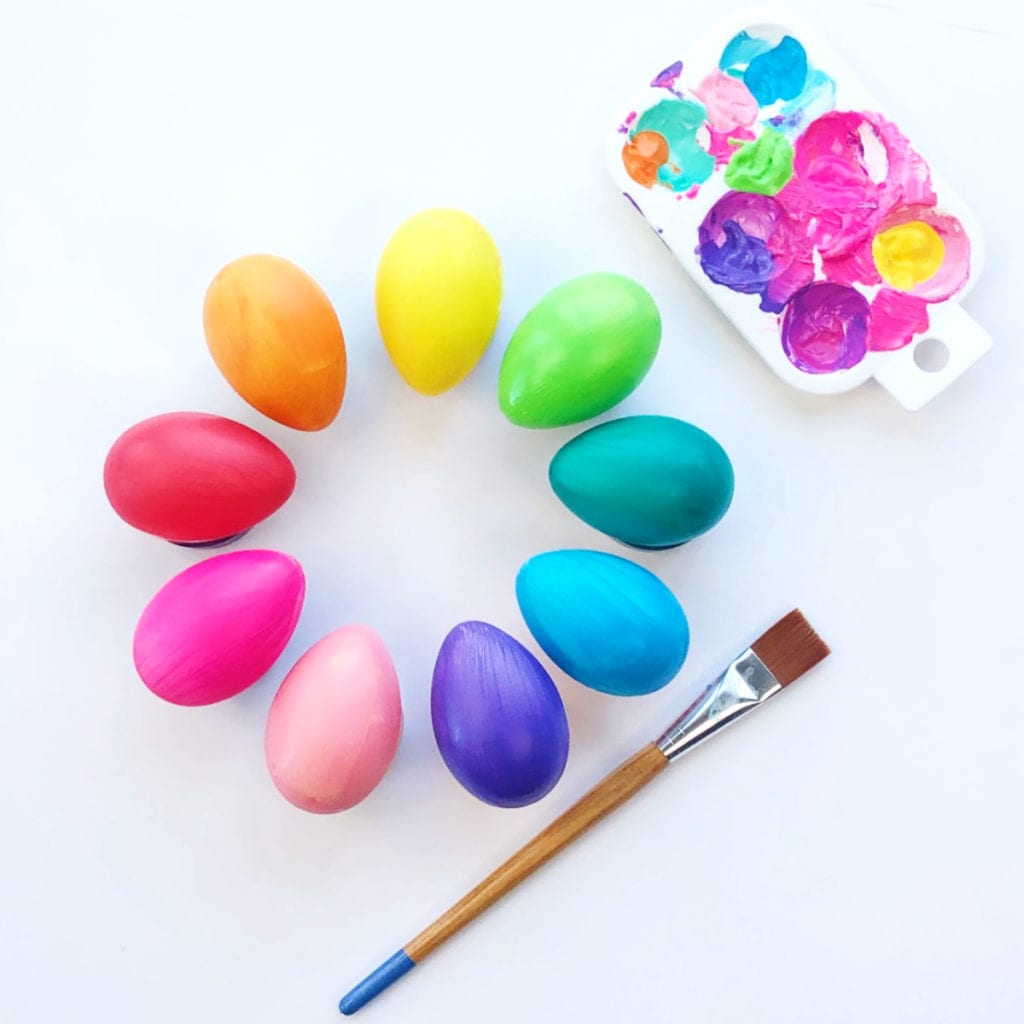
Painted Gradient Easter Eggs
As an Amazon Associate, I earn from qualifying purchases. This post may contain affiliate links. See our full disclosure here.
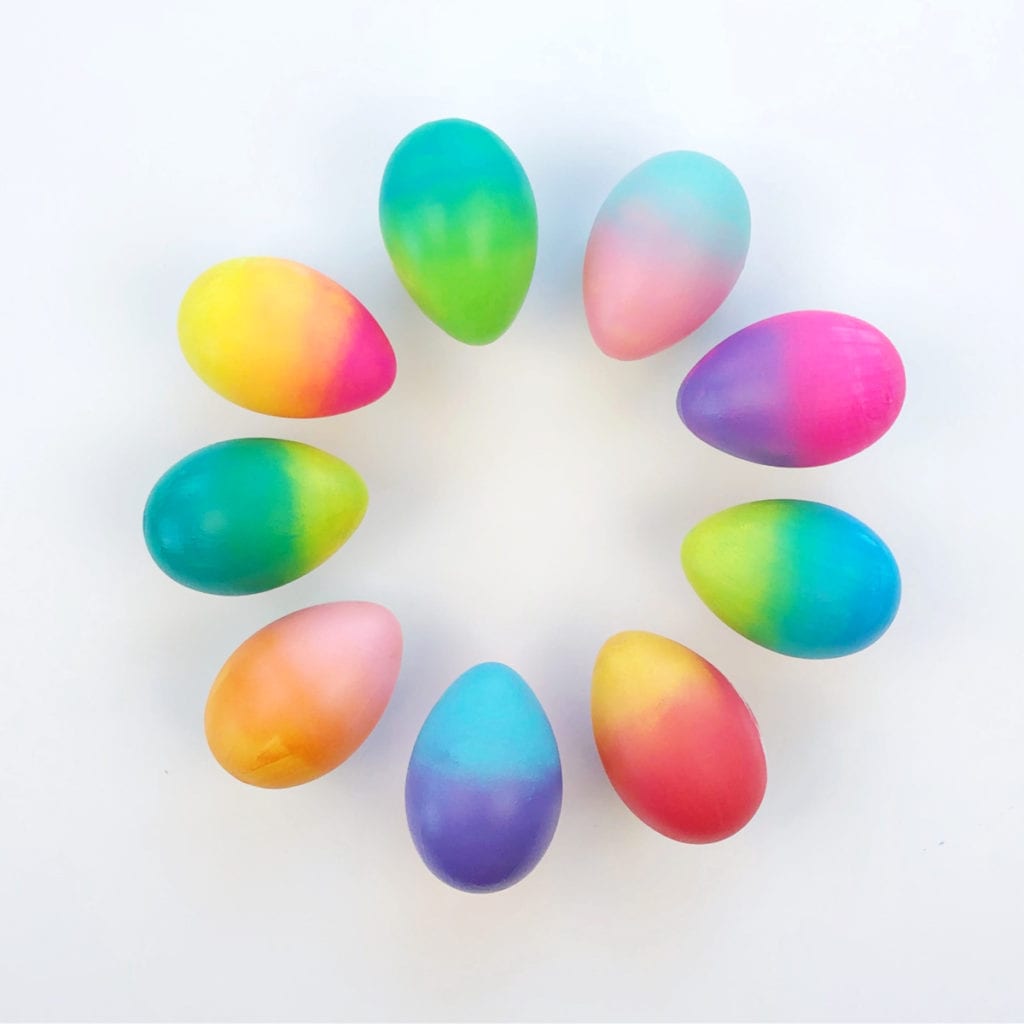 I’m not a fan of decorating real Easter eggs, but I do love decorating faux Easter eggs. I especially adore that you can keep painted fake Easter eggs and bring them out for Easter decor year-after-year. A gradient background is often seen down as part of nail art and it’s also a great technique I’ve seen done on rocks, here’s a video to check out that shows you the method in action. I thought this year it would be fun to try the same technique for making painted gradient Easter eggs. Once you know the secret technique to creating a great ombre effect, you won’t be able to stop making gradient eggs. And see below in my supply list for my very favorite fake Easter eggs for decorating. I buy a ton of them each year just in case they don’t bring them back.
Gradient Easter Eggs Supplies (affiliate links provided for convenience)
- Faux Easter Eggs – LOVE these unfinished Easter eggs!! I buy as many as I can when I see them in case they ever stop making them.
- Make-Up Sponge Wedges – You’ll want a big packet of cheap make-up wedge sponges. Make sure they are wedges.
- Acrylic Paint – This is a great set of acrylic paint colors for painting ombre Easter eggs. This is another great, affordable set of acrylic paints.
- Paint Brush
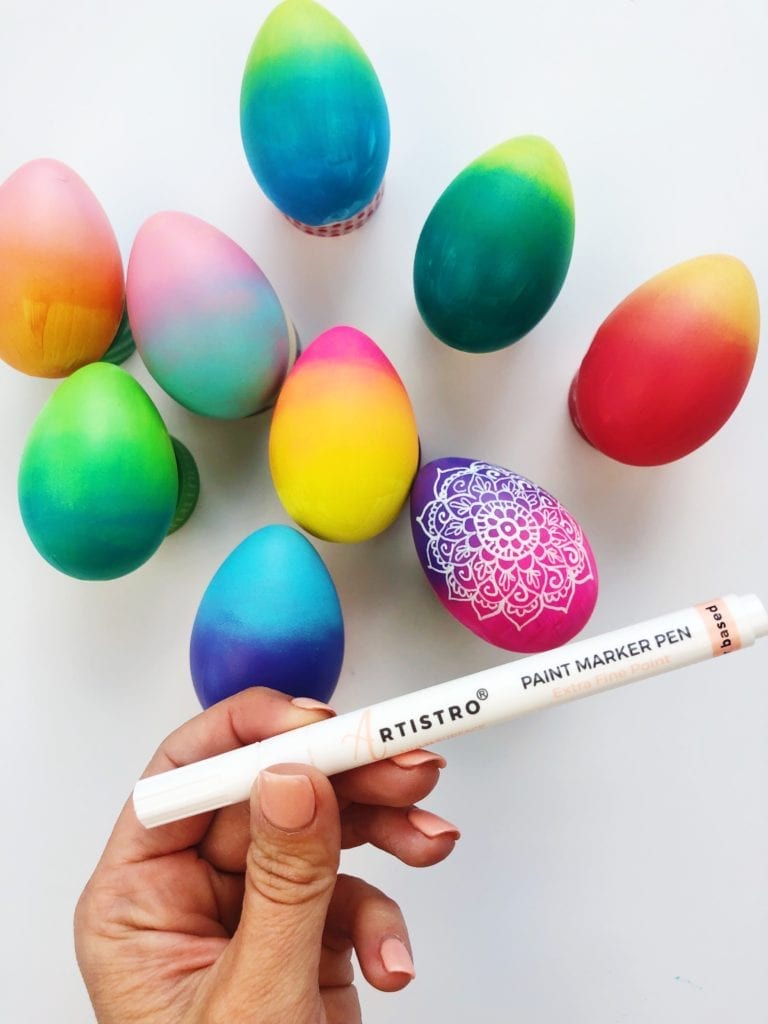
- Paint pens for adding designs (optional)
Gradient Easter Eggs Directions
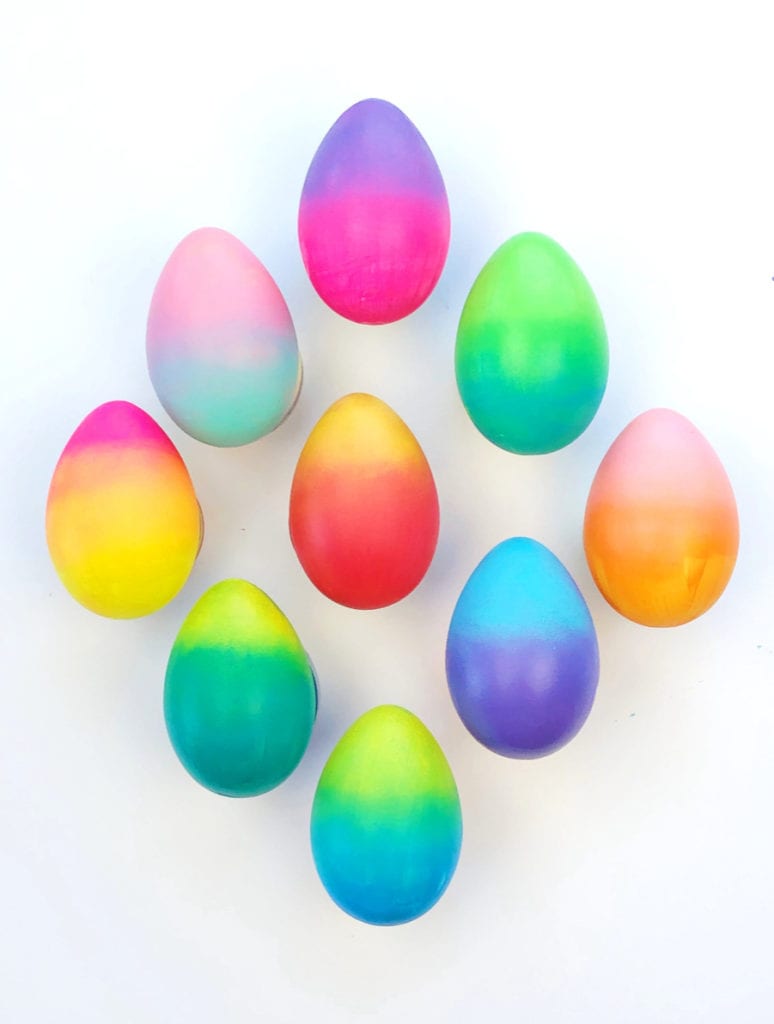
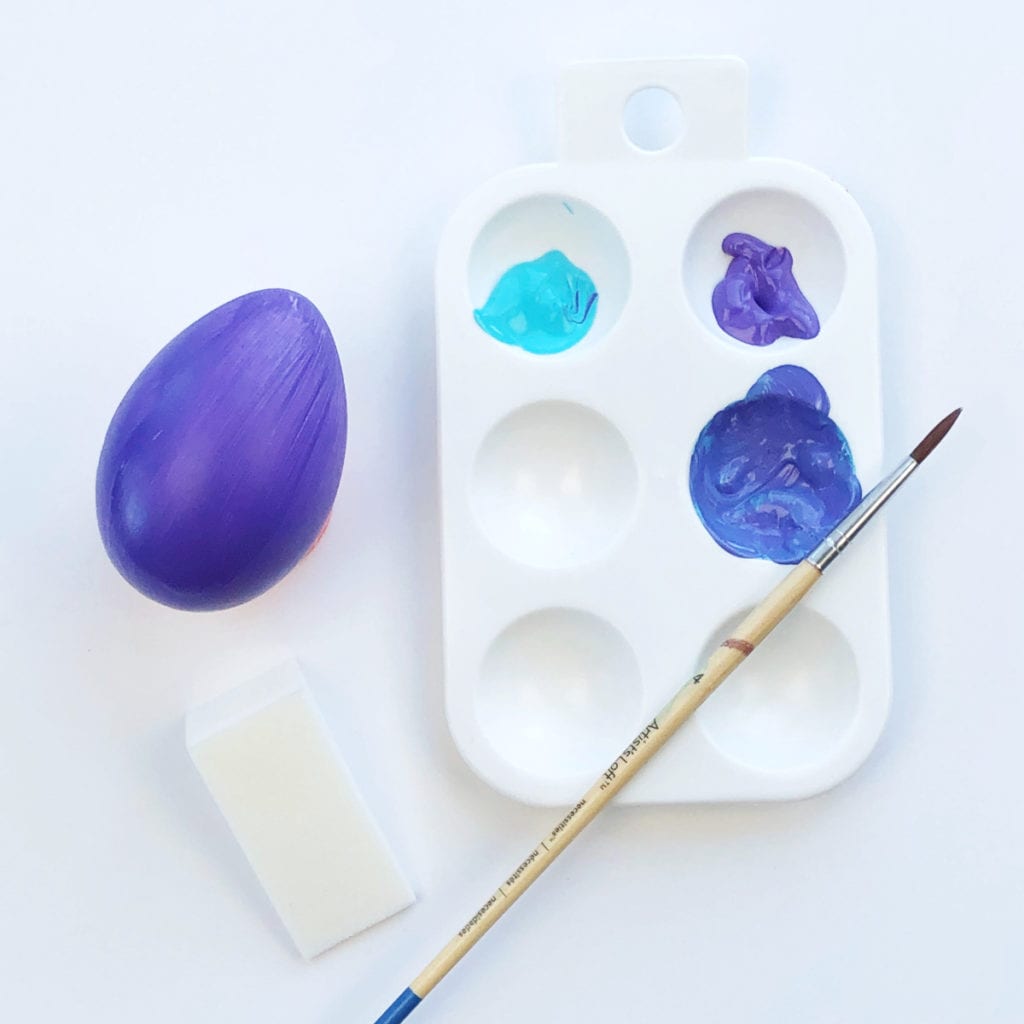
- Step 1. Paint the entire egg with one solid color of acrylic paint. It’s easiest if you paint one side and then set the egg on something to dry. I set my eggs on washi tape to dry. A little tip that I learned after the fact…it’s easier to paint the lightest color as the overall color.
- Step 2. Choose a second color to add to your egg.
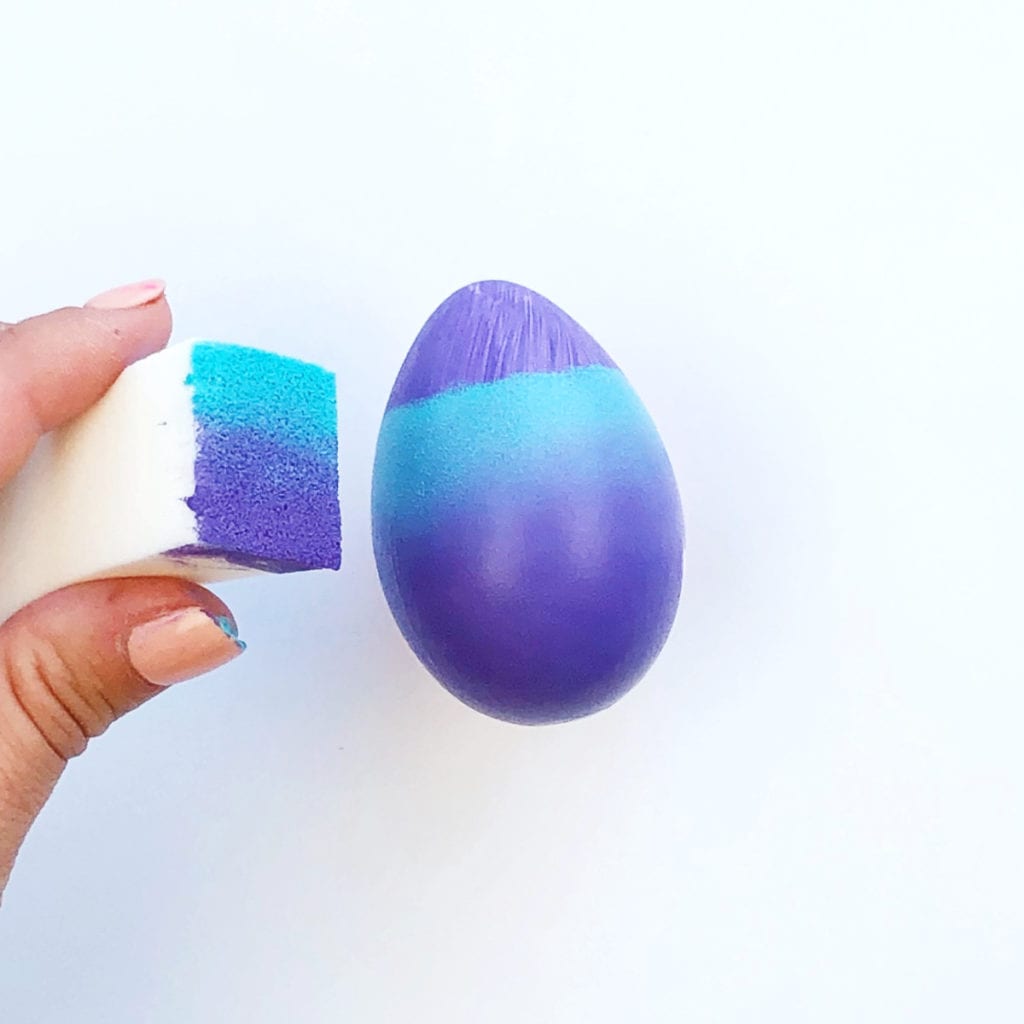
- Step 3. On at the rectangular part of the sponge, add the main color (the color of the egg) on one side, the second color on the other. For the middle color, mix both colors together and then add it to the sponge. It’s easiest to add the paint to the sponge by using a paint brush.
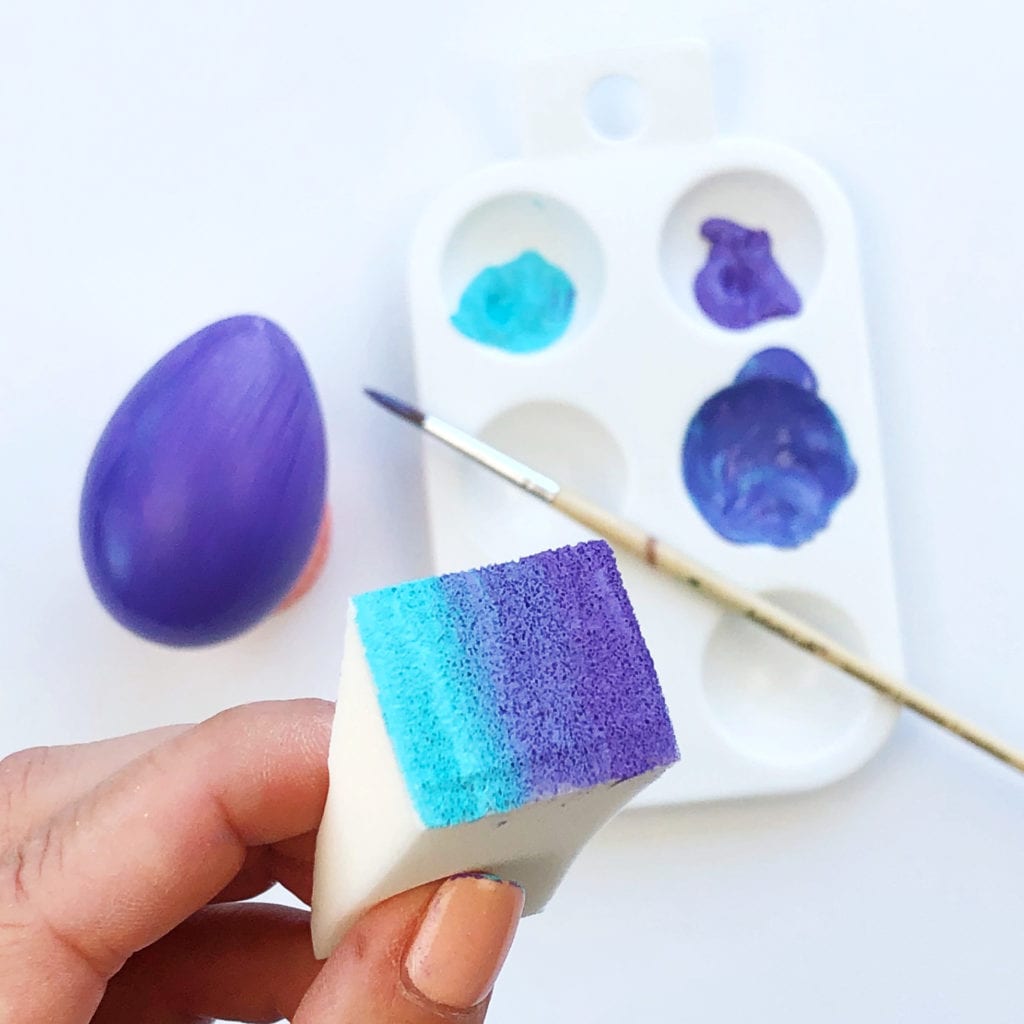
- Step 4. Starting near the middle of the egg start sponging around the egg keeping the same line as you go. Let the egg dry (should only take a few minutes as acrylic paint dries very quickly).
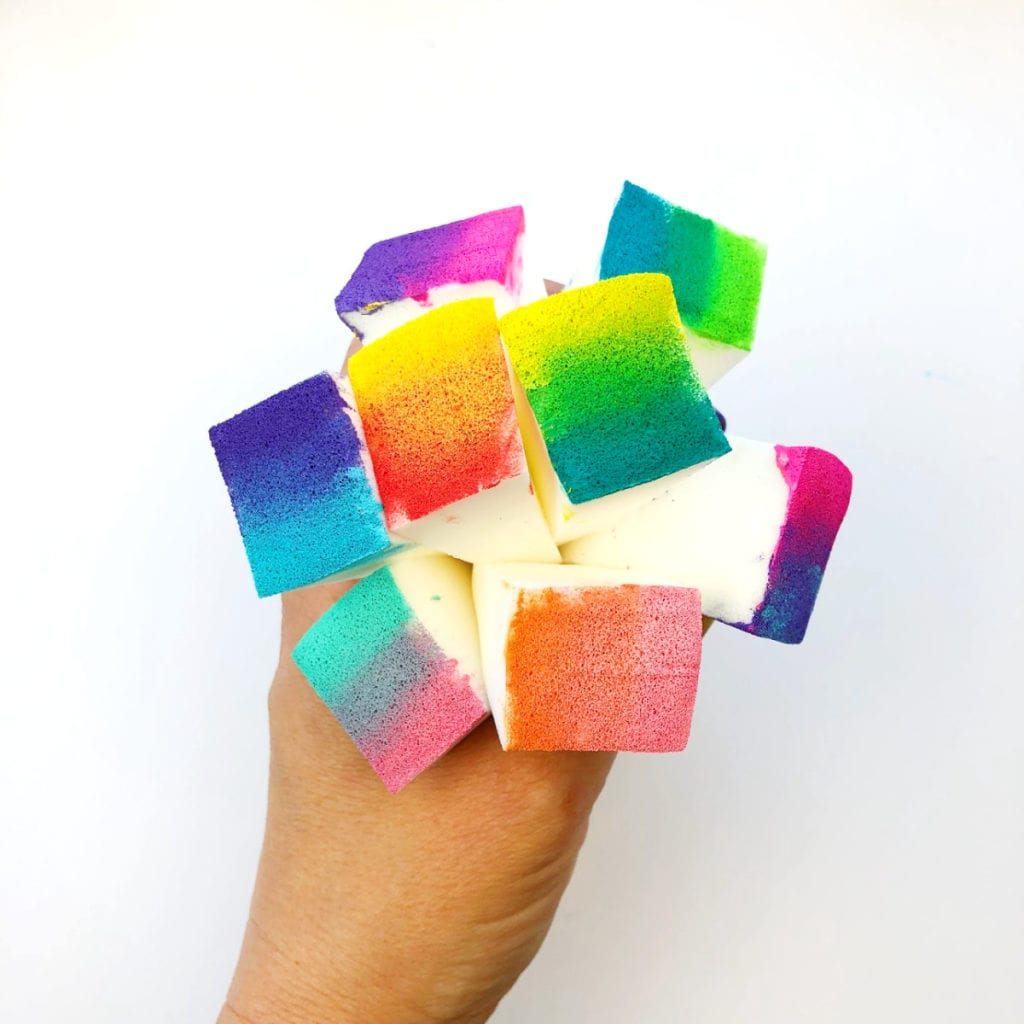
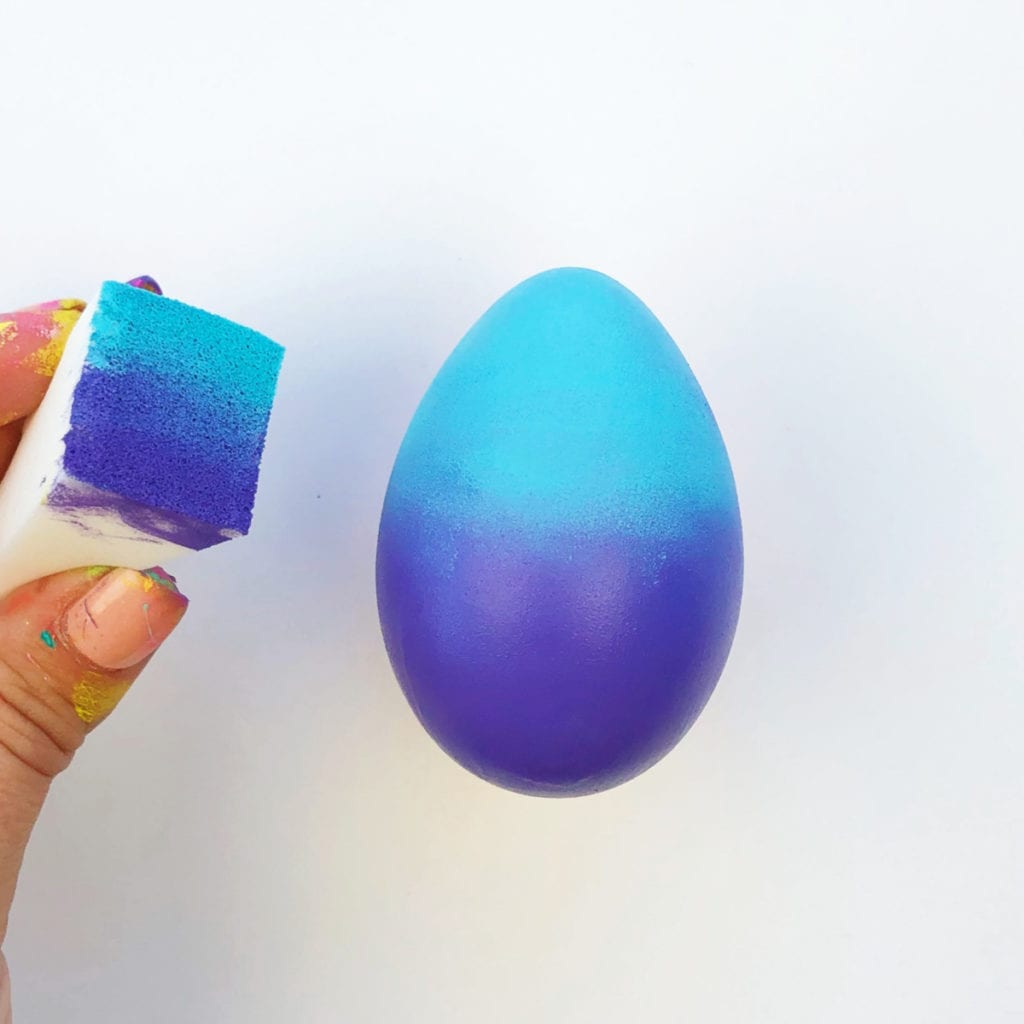
- Step 5. Using just the part of the sponge with the new color you are adding, dab the top of the egg that has not yet be covered. If you need to reload you sponge with more paint, dab on a scratch piece of paper first so that your sponge is not too saturated with color.
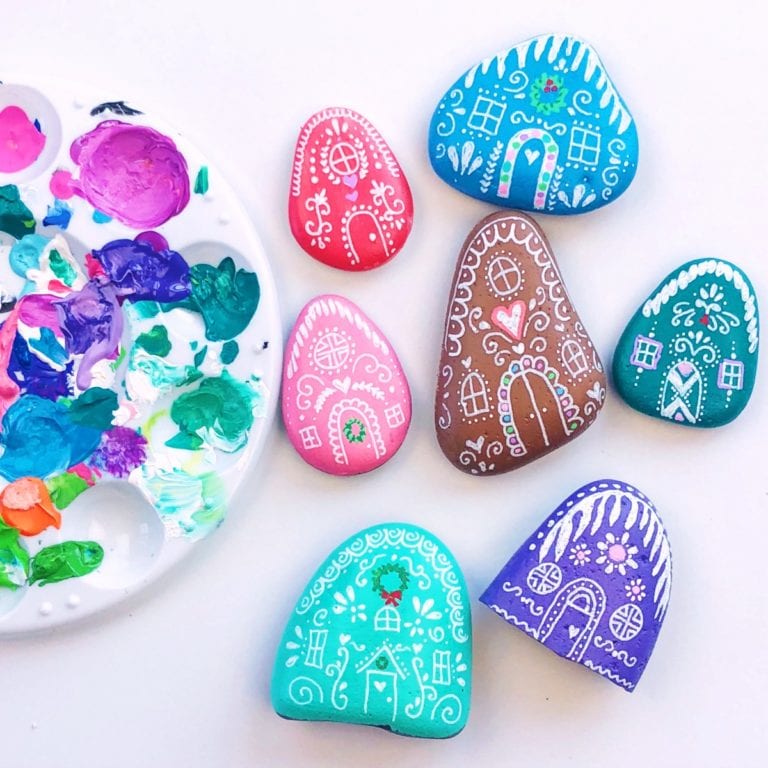
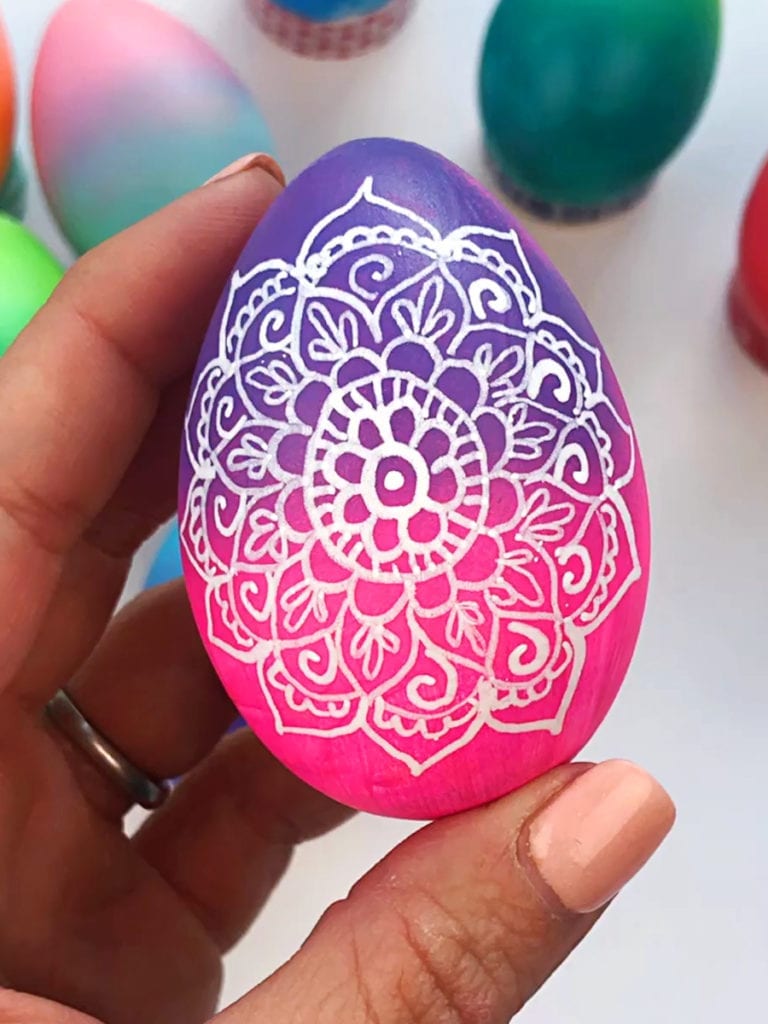
- Step 6: Your finished ombre eggs are the perfect background for adding designs. All you need are some paint pens.
 It might take a few tries to get the hang of creating a perfect ombre effect but don’t give up…keep sponging away. If you need more gradient color ideas, check out gradient nail art for inspiration!
Need more Easter ideas? Check out these other fun Easter egg decorating and Easter decor posts:
- Easter Mason Jars
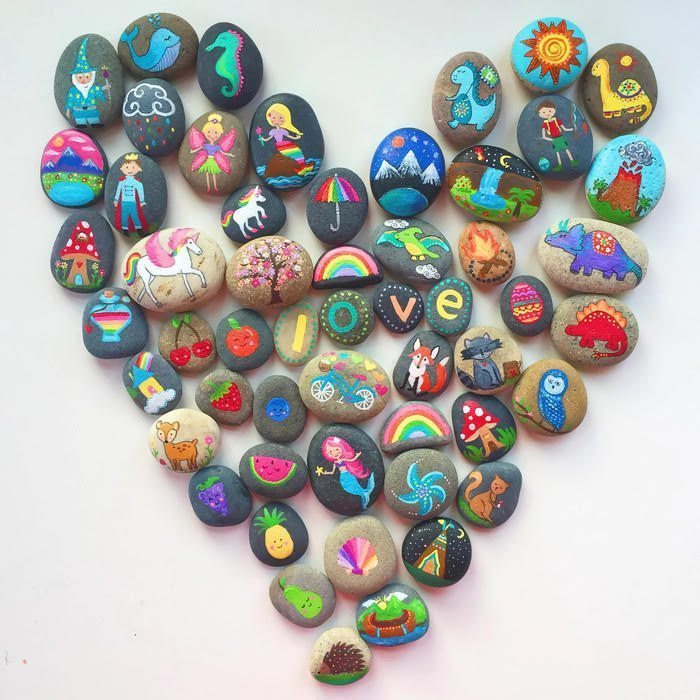
- Painted Easter Egg Rocks
- Doodle Easter Eggs
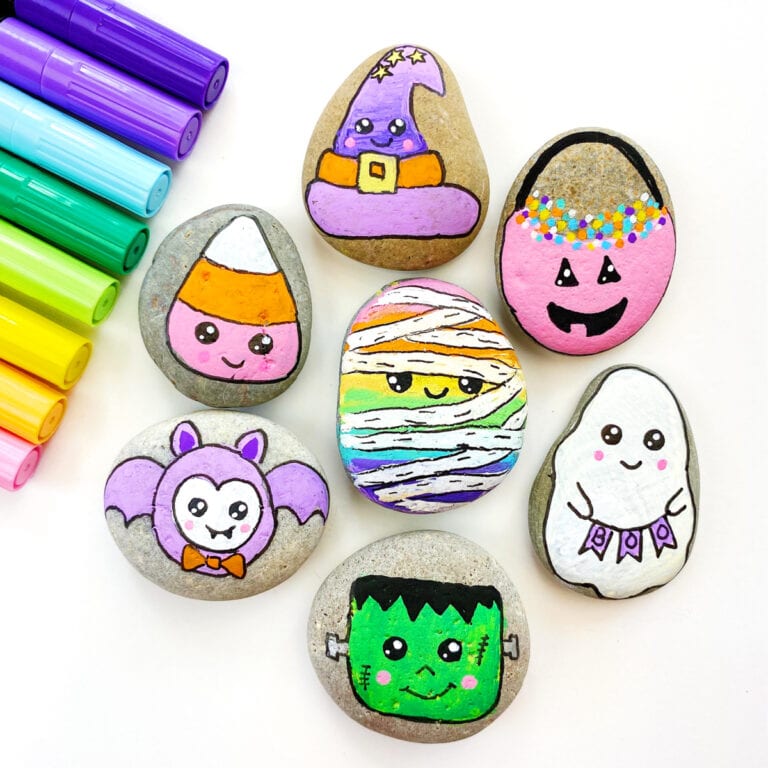
- Kawaii Easter Eggs
- Temporary Tattoo Easter Eggs
Come check me out on Instagram @Colormadehappy or Facebook for more colorful inspiration and craft projects.