How to Marble a Pumpkin with Nail Polish
As an Amazon Associate, I earn from qualifying purchases. This post may contain affiliate links. See our full disclosure here.

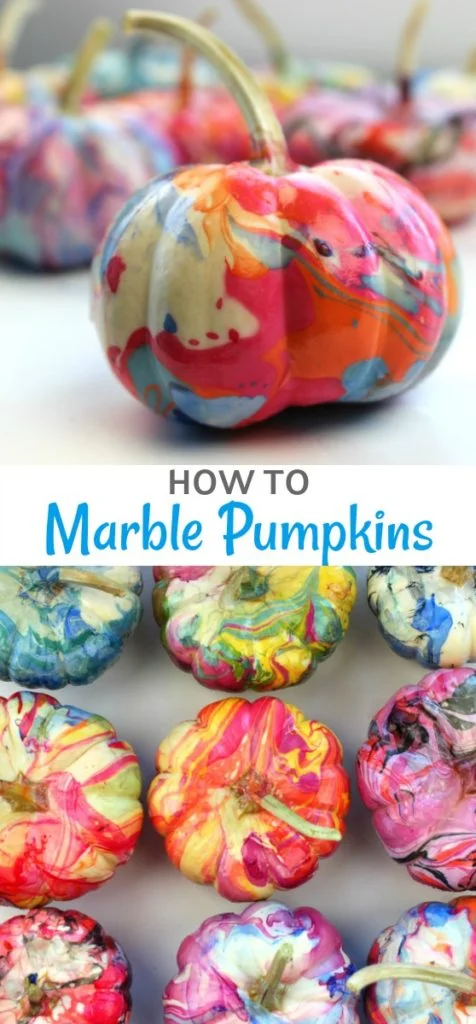
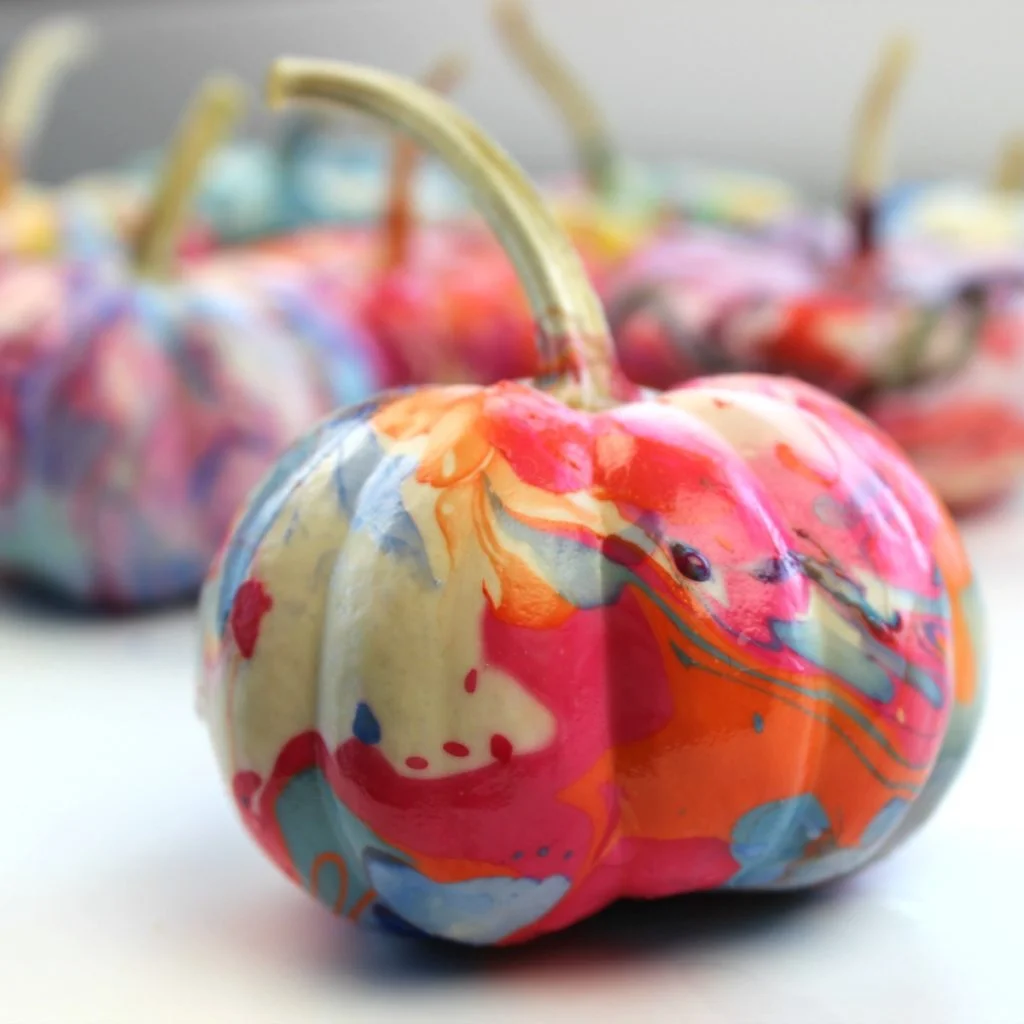
I love Halloween. It’s actually my birthday. Maybe that’s why I always look forward to coming up with new pumpkin decorating ideas each year. I’m a big fan of no carve pumpkin ideas as well as colorful pumpkins so I combined the two to make these fun marble pumpkins. It’s actually really easy to marble a pumpkin with nail polish.
Once you do one, you’ll probably want to marble about a dozen pumpkins so make sure you buy plenty…it’s addicting.
Pumpkin Marbling Supplies
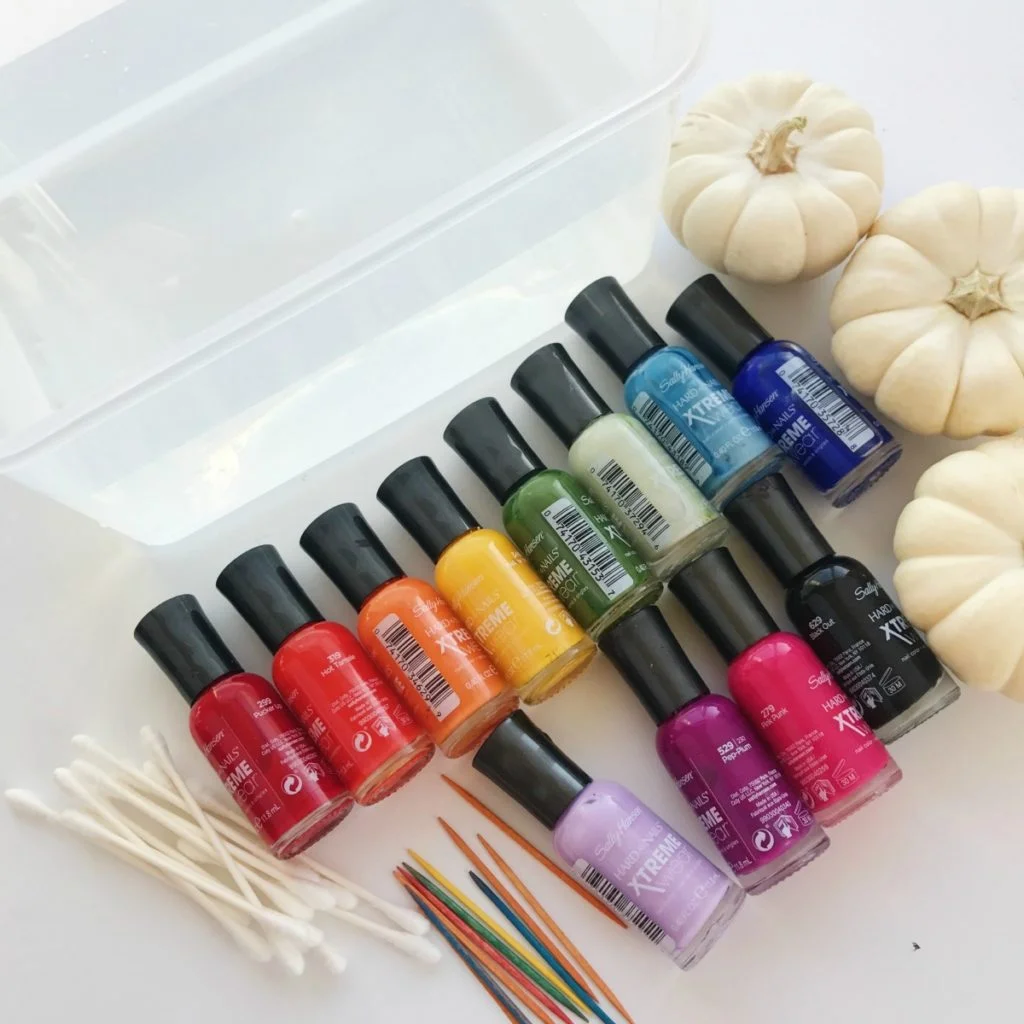
- Mini pumpkins – Look for pumpkins that have a stem, it makes it easier to dip them. I found mine at Trader Joe’s. If you can’t find white, just spray paint some orange ones. I like this white flat spray primer.
- Nail polish – I used Sally Hansen Extreme Wear Nail Polish. Not all nail polish brands will work. The Sally Hansen brand is known to be one of the best brands when it comes to nail marbling which uses a very similar technique. The Sinful Colors brand also works great.
- Water Container – Make sure it’s deep enough to fully submerge a mini pumpkin.
- Room Temperature Water (Distilled Water Works Best!!!)
- Toothpicks
- Q-Tips
- Gloves (optional) – these are good to use if you can’t find pumpkins with long stems).
Marble a Pumpkin With Nail Polish: Step by Step Directions
1. Fill a Container With Water
Fill a container with room temperature water. It’s important the water is room temperature so the polish can spread easily.
2. Open Nail Polish
Open the polishes that you’ll be using. You need to work fast. I used 3-4 colors on each pumpkin.
3. Safety Precautions
Make sure the room you’re working in is well ventilated!!
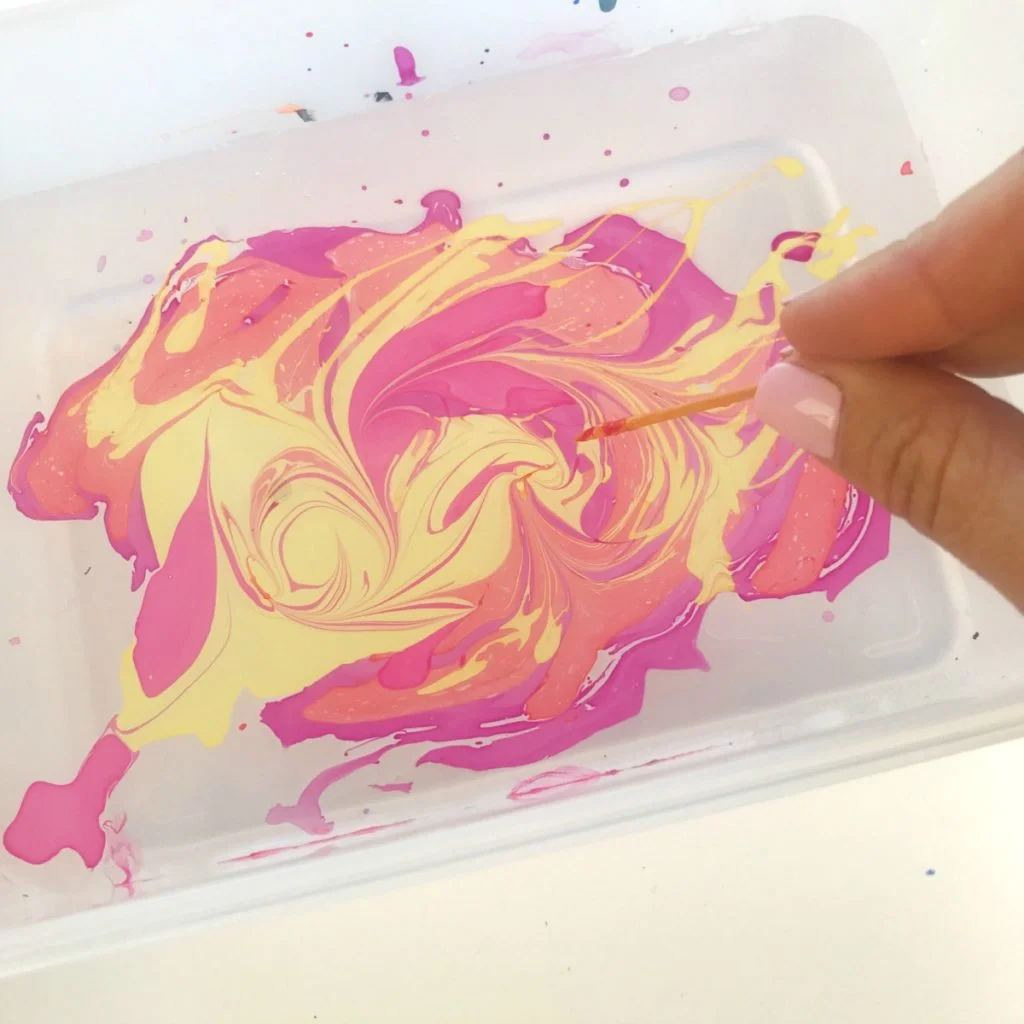
4. Use Brush to Add Nail Polish to Water
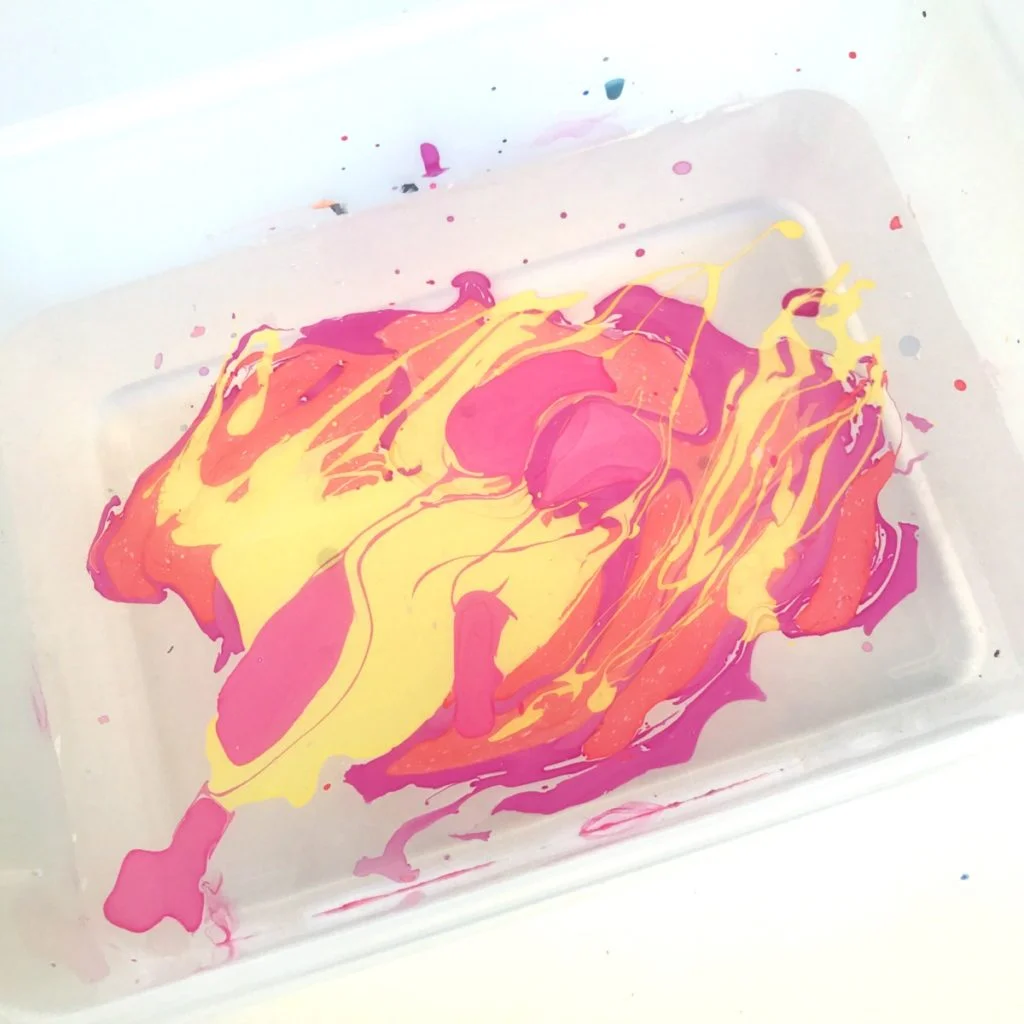
With the nail polish brush close to the water, shake the brush and let the polish fall into the water. Be sure the brush is close to the water otherwise the polish will sink to the bottom.
5. Repeat With Additional Colors
Add additional colors and work quickly before the polish can dry.
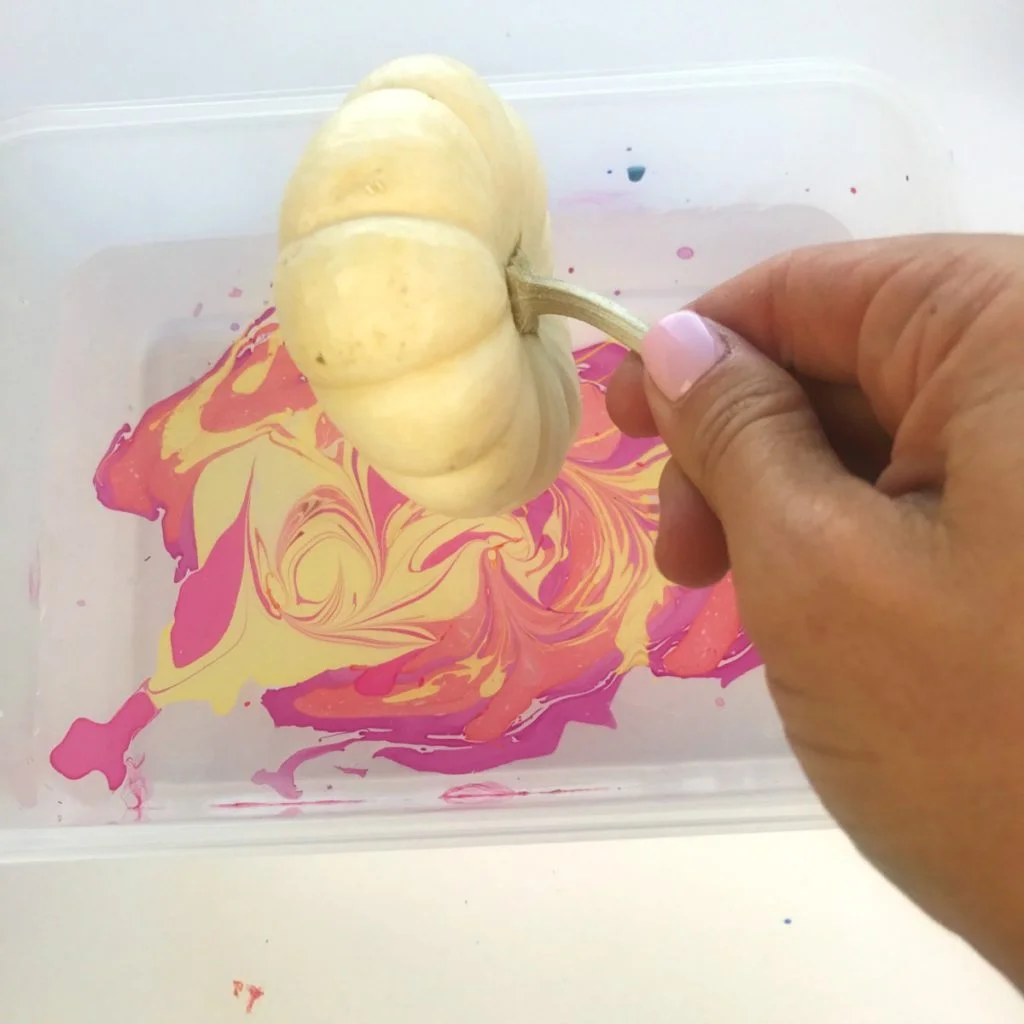
6. Dip the Pumpkin
Holding the pumpkin by the stem, submerge the pumpkin into the water. It’s best to dunk the pumpkin sideways if you can otherwise most of the polish will end up on the bottom of the pumpkin.
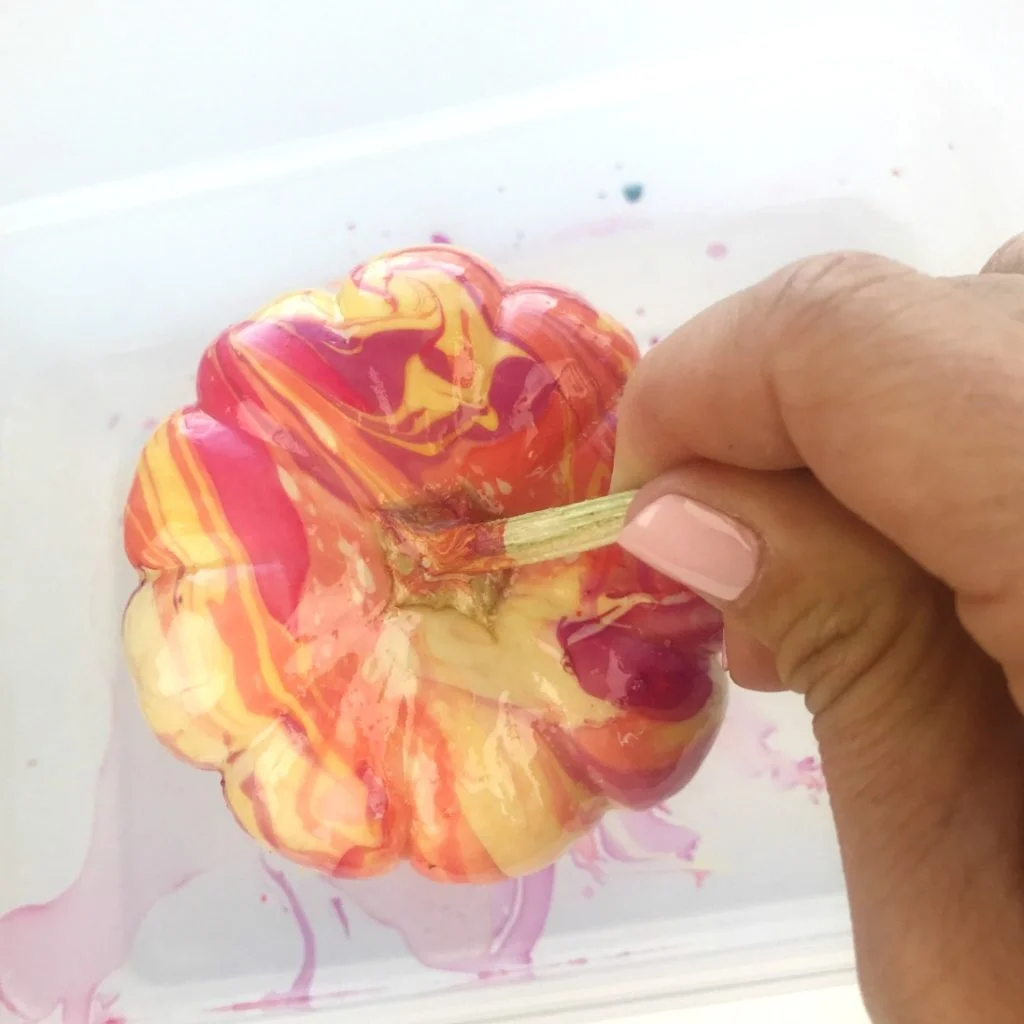
7. Remove the Pumpkin
Once the pumpkin is covered, remove it from the water. You can wipe away any excess polish that is hanging off the pumpkin with a Q-Tip.
7. Let Dry
I dried my pumpkins on a piece of foam board I had but you could use wax paper with cardboard underneath. It took about an hour for them to fully dry. The bottom of the pumpkin took the longest.
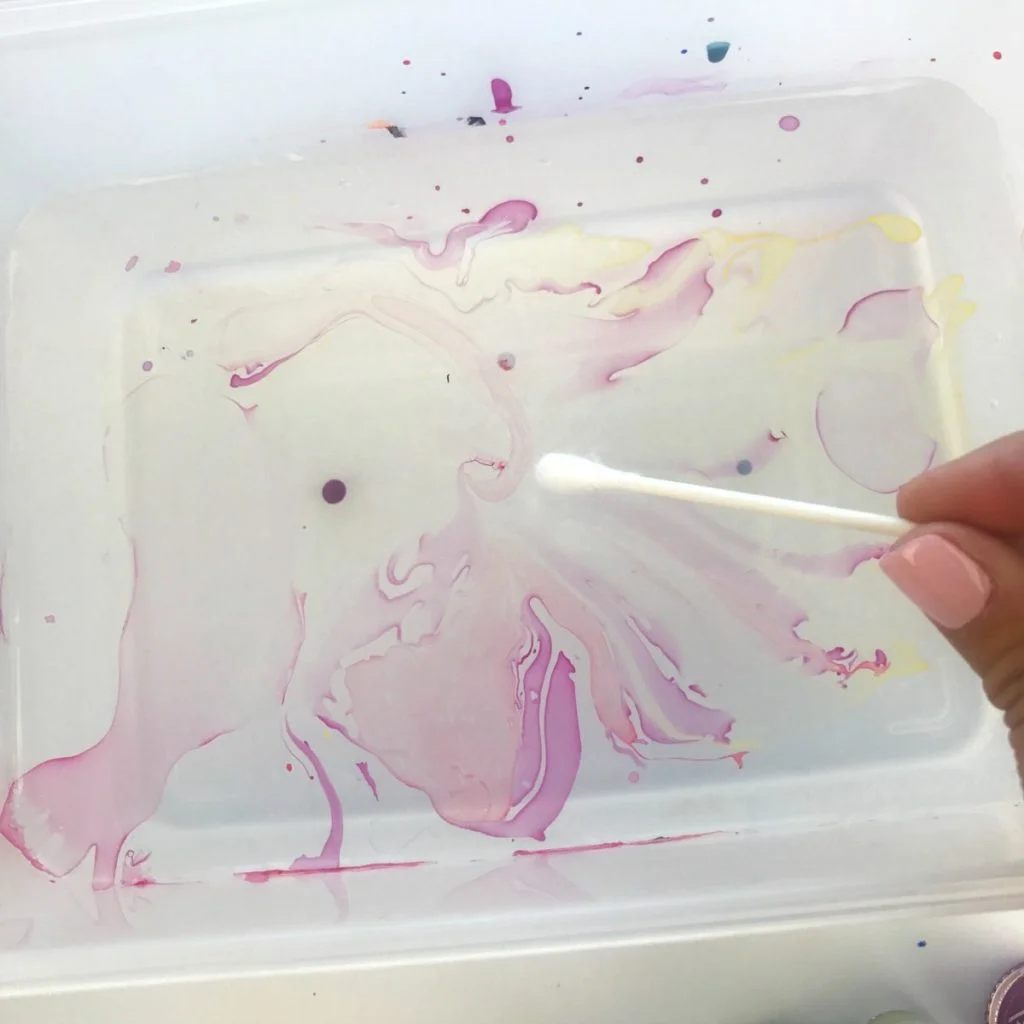
8. Clean the Water
To clean the water before you marble the next pumpkin, simply take a Q-Tip and move it around the surface of the water to collect any leftover polish.
Finished Marbled Pumpkins
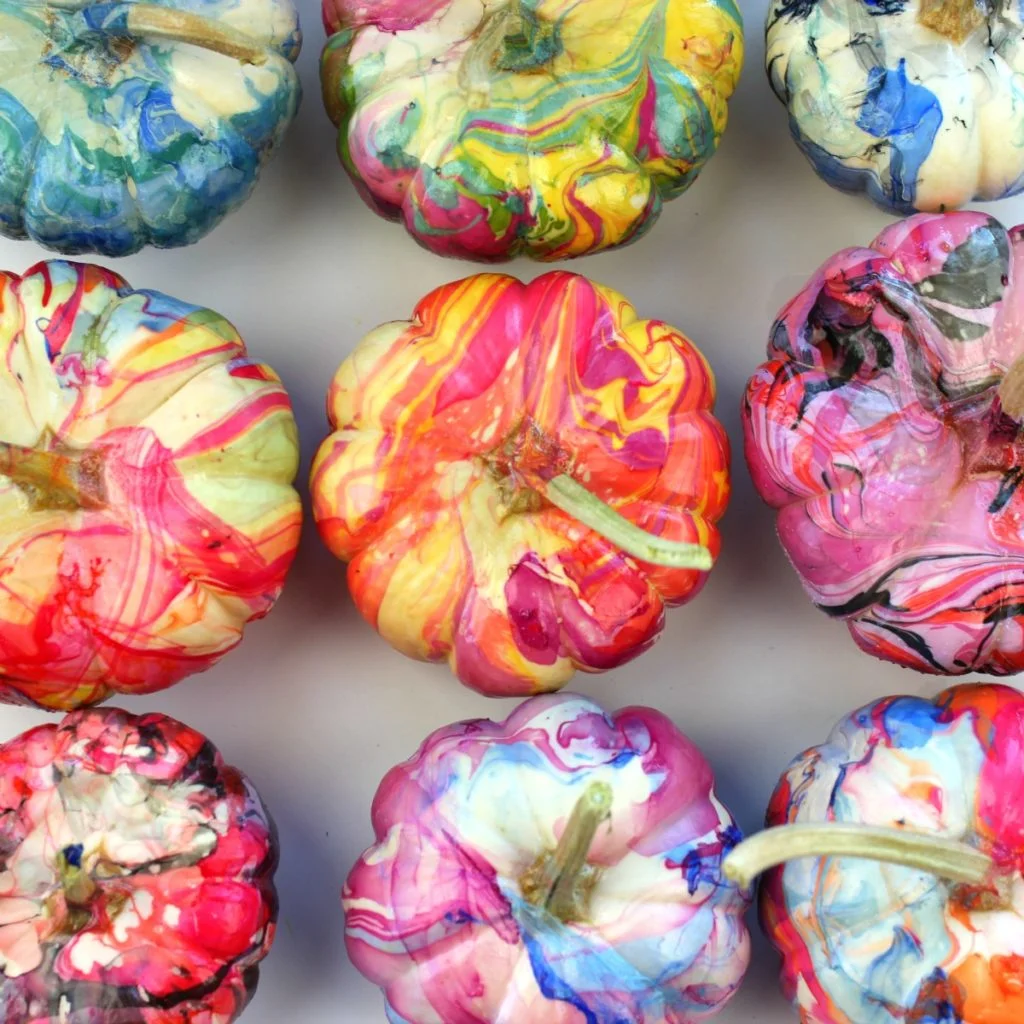
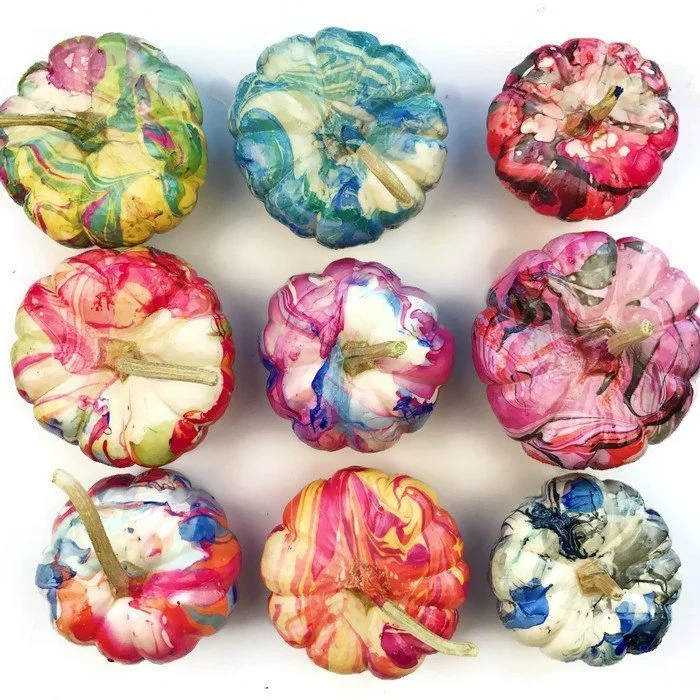
Doesn’t that look like a fun fun Halloween craft! If you are looking for another colorful pumpkin decorating idea, you also have to check out my galaxy painted pumpkin tutorial and my melted crayon pumpkin tutorial.
If you want to try another nail polish marbling project, check out these fun projects:
How to Marble Christmas Ornaments
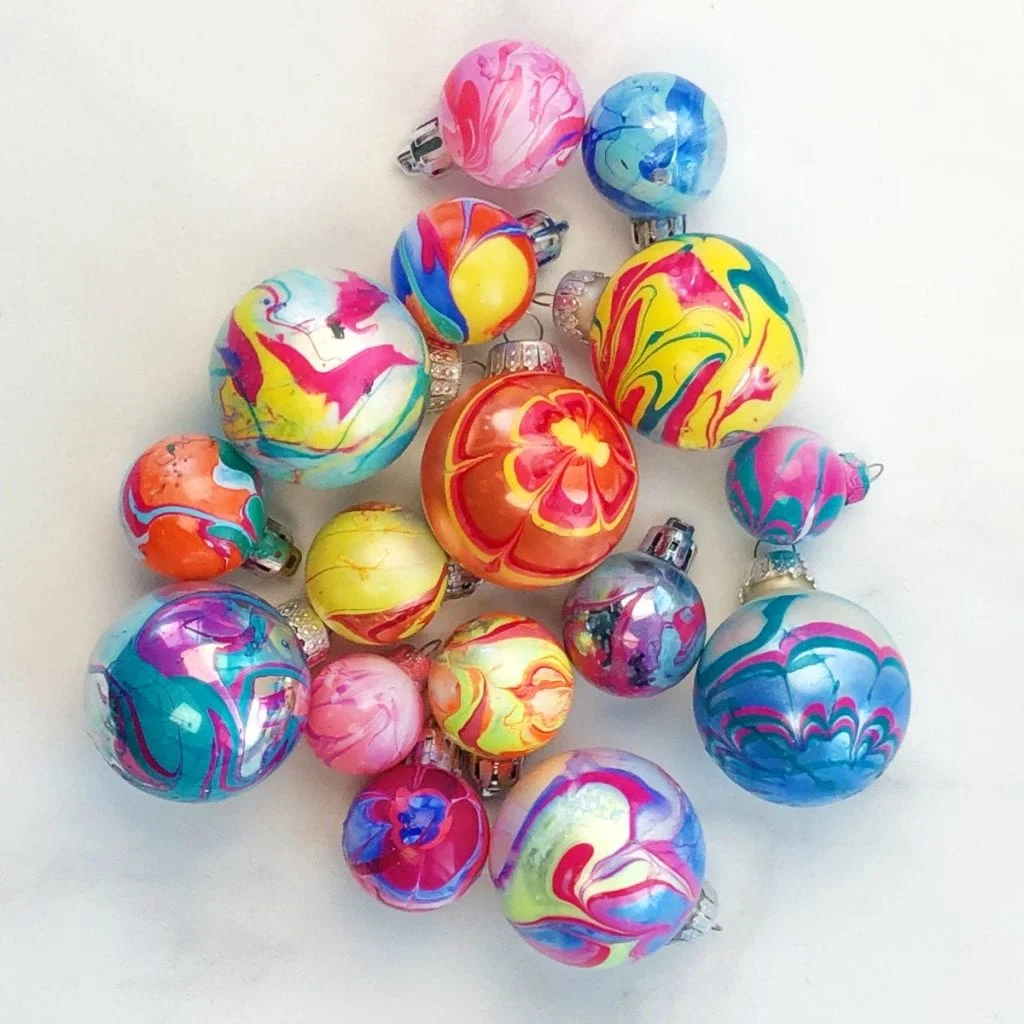
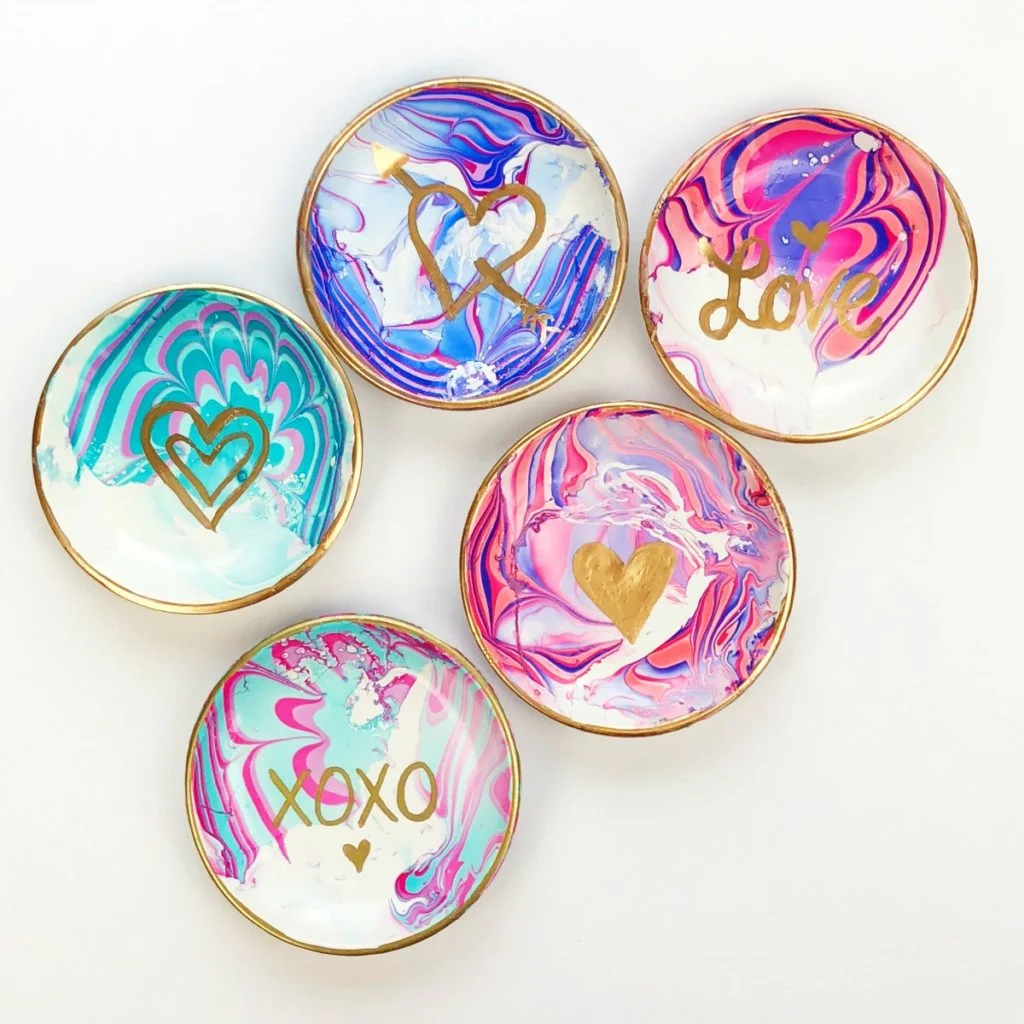
So are you ready to marble a pumpkin or maybe a dozen pumpkins! Let me know if you do! I’d love to see how they turn out. You can share a pic with me on Instagram or Facebook.
