Pumpkin Camper Tutorial
As an Amazon Associate, I earn from qualifying purchases. This post may contain affiliate links. See our full disclosure here.

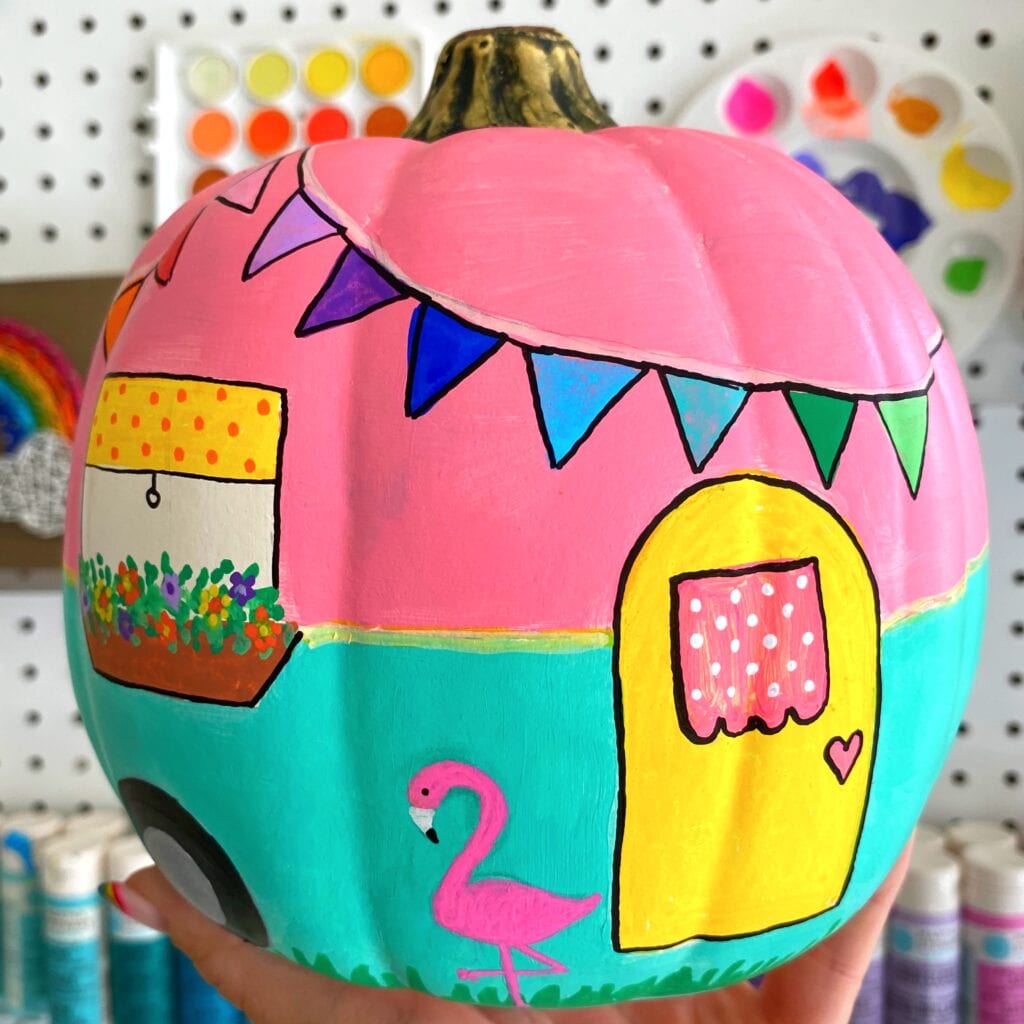
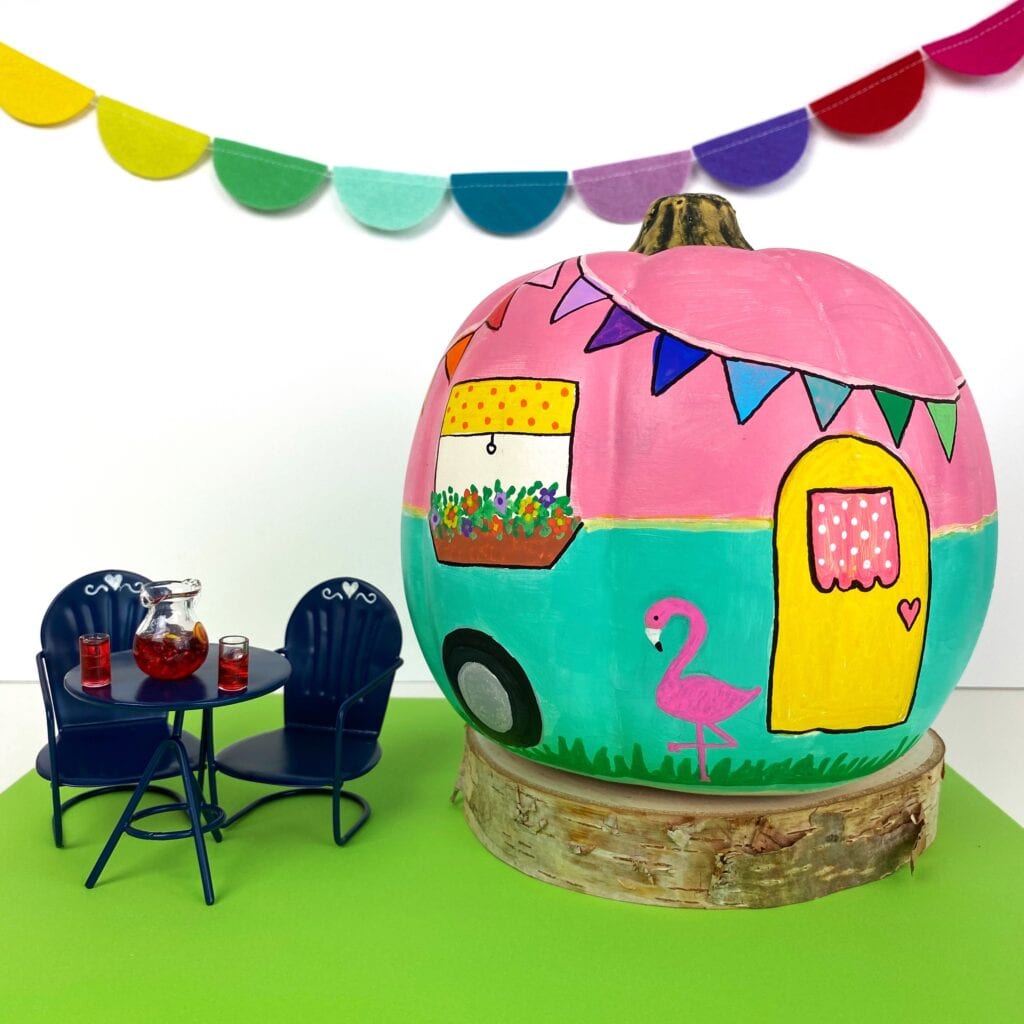
Who doesn’t love vintage campers? This no carve pumpkin idea makes for a great display piece and is the perfect way to add some fun pumpkin decor around the house. You can even add some fun dollhouse items around the pumpkin for a cute vignette. Making a pumpkin camper is super easy.
Make This No Carve Painted Pumpkin Camper
Want to make one for yourself? You’ll be surprised how easy it is! See below for the complete list of supplies and directions
RELATED PROJECTS: Colorful Pumpkin Ideas, Glow in the Dark Pumpkins, Nail Polish Marbled Pumpkins
Painted Pumpkin Camper Supplies (affiliate links provided for convenience)
-
- Artificial White Pumpkin – I think if you are going to put in all the effort, why not make this a pumpkin you can put out year after year. Of course the tutorial will work for a regular pumpkin as well.
- Acrylic Paint
- Paint Brushes
- Paint Pens – I like these Posca paint markers or these Tooli-Art paint pens with a medium point.
Painted Pumpkin Camper – Detailed Directions
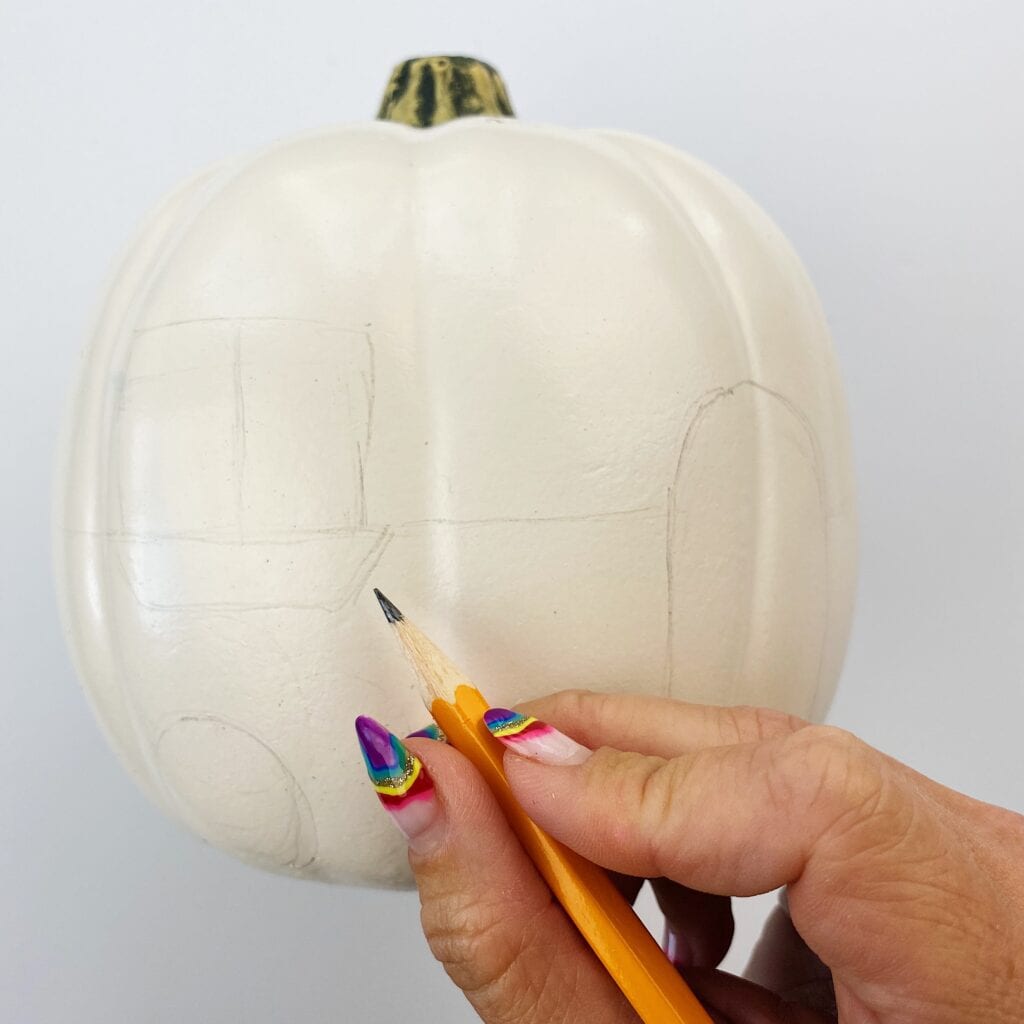
1. Outline the Design
Start by outlining the details of your camper design onto your pumpkin using a pencil.
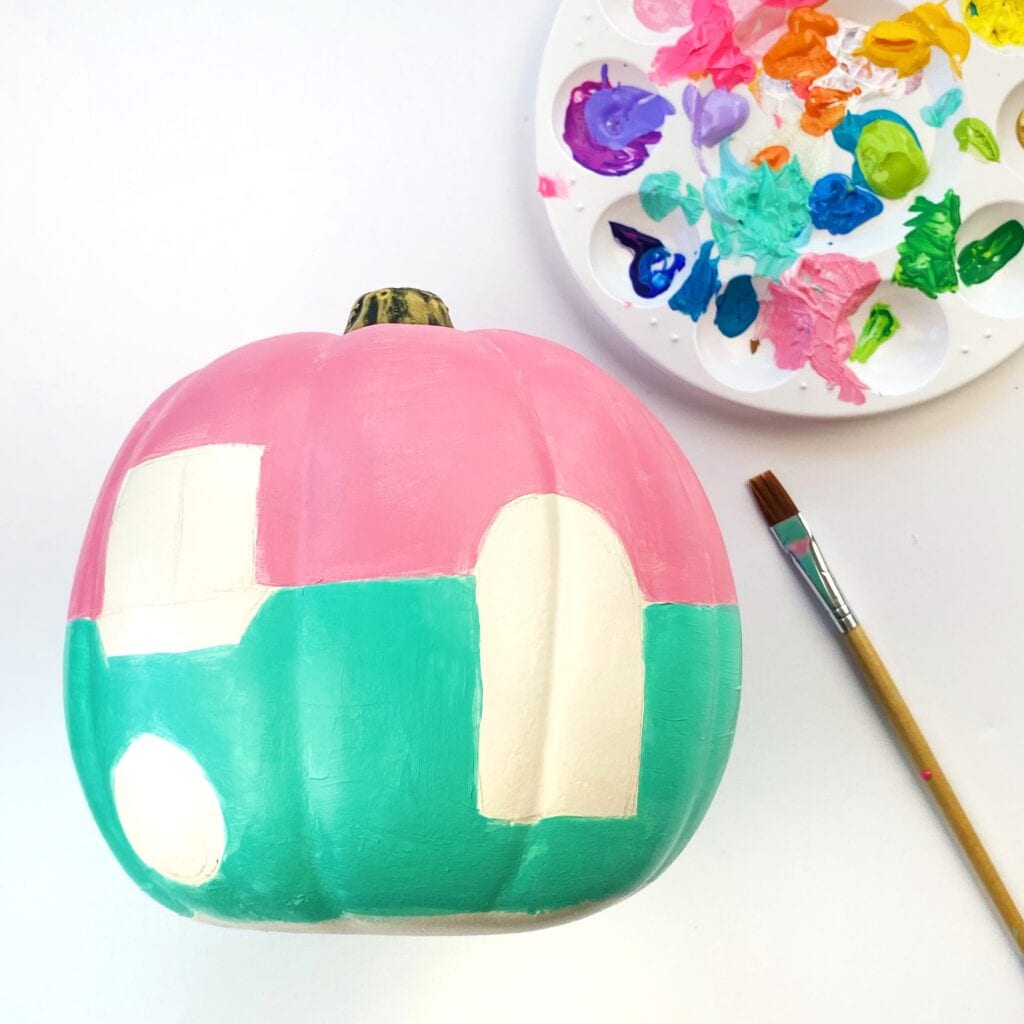
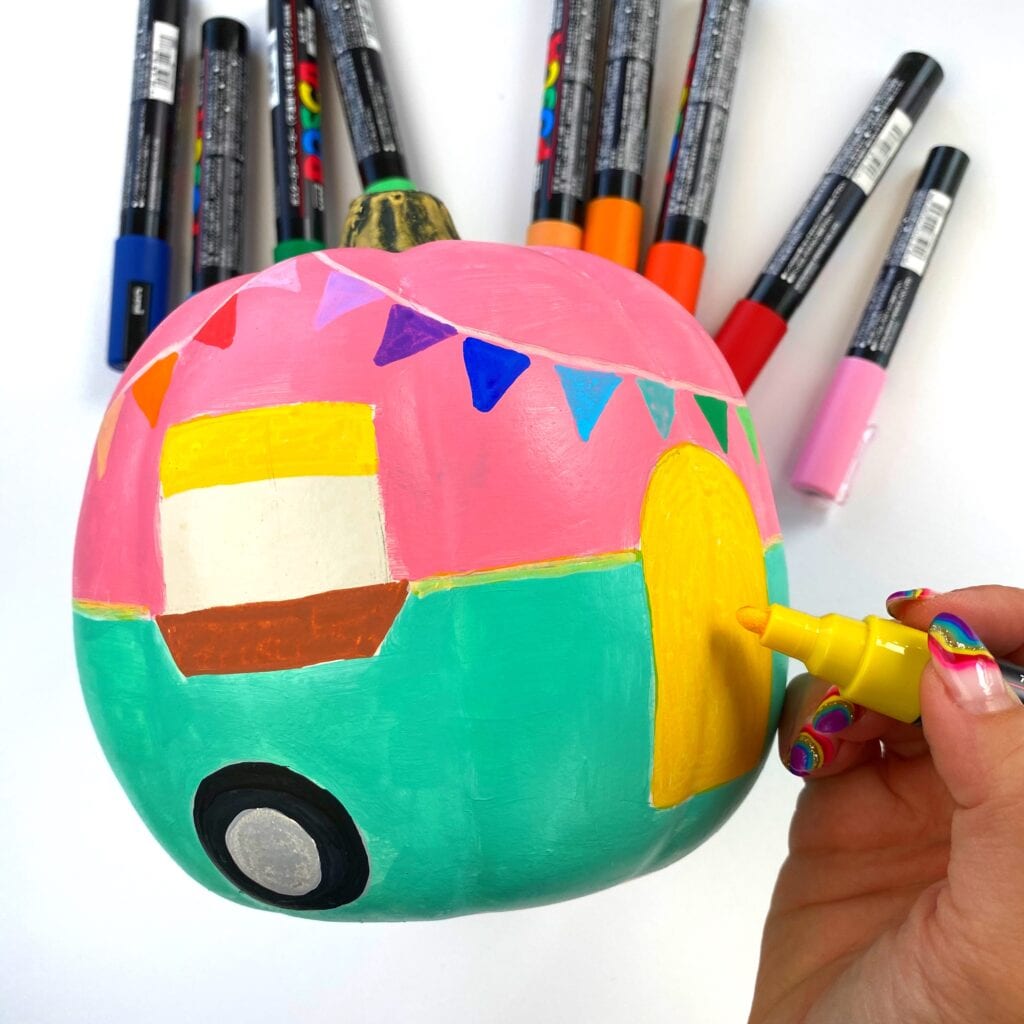
2. Start Painting
Paint the main parts of the pumpkin using acrylic paint.
3. Fill in the Details
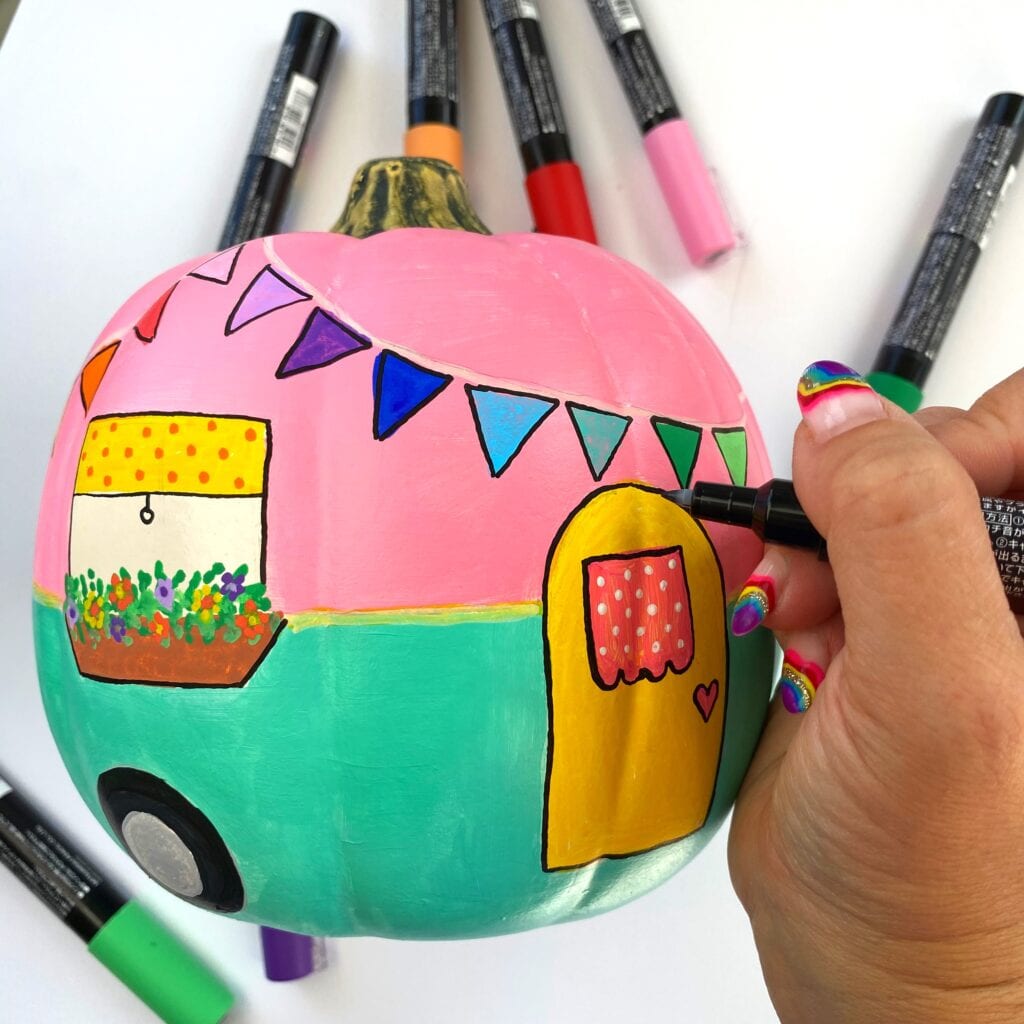
Start to fill in the details with paint pens. The window, door, flags and tire.
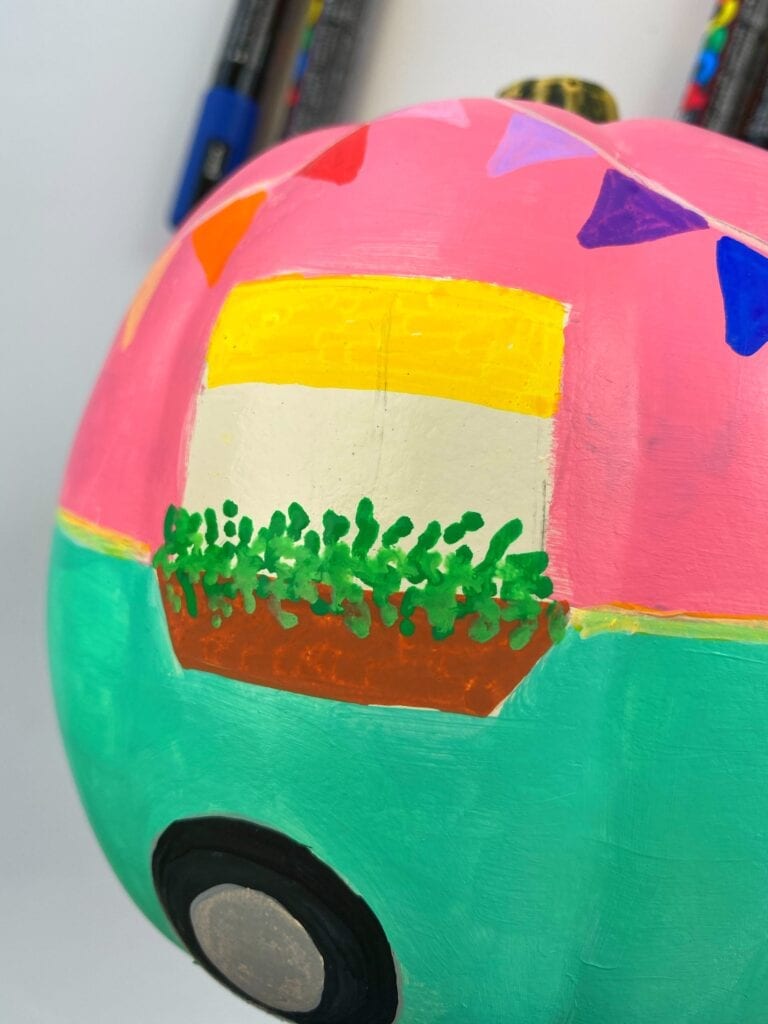
4. How to Paint the Window Flowers
For the window flowers, start first by adding both dark green and light green specs for the leaves.
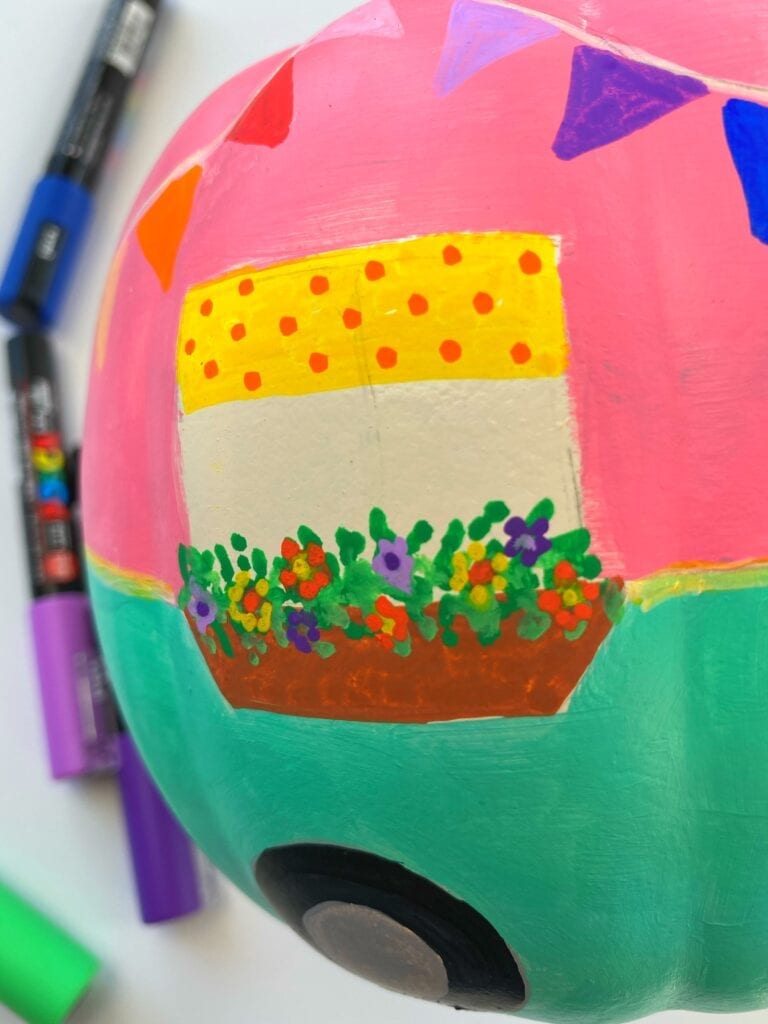
5. Let it Dry The Add Details
Once the leaves are dry, add little flowers. Be careful to let each color of the flower dry before adding more or the colors will run together. You can also add little polka dots on the window shade.
6. Front Door
Add details to the front door.
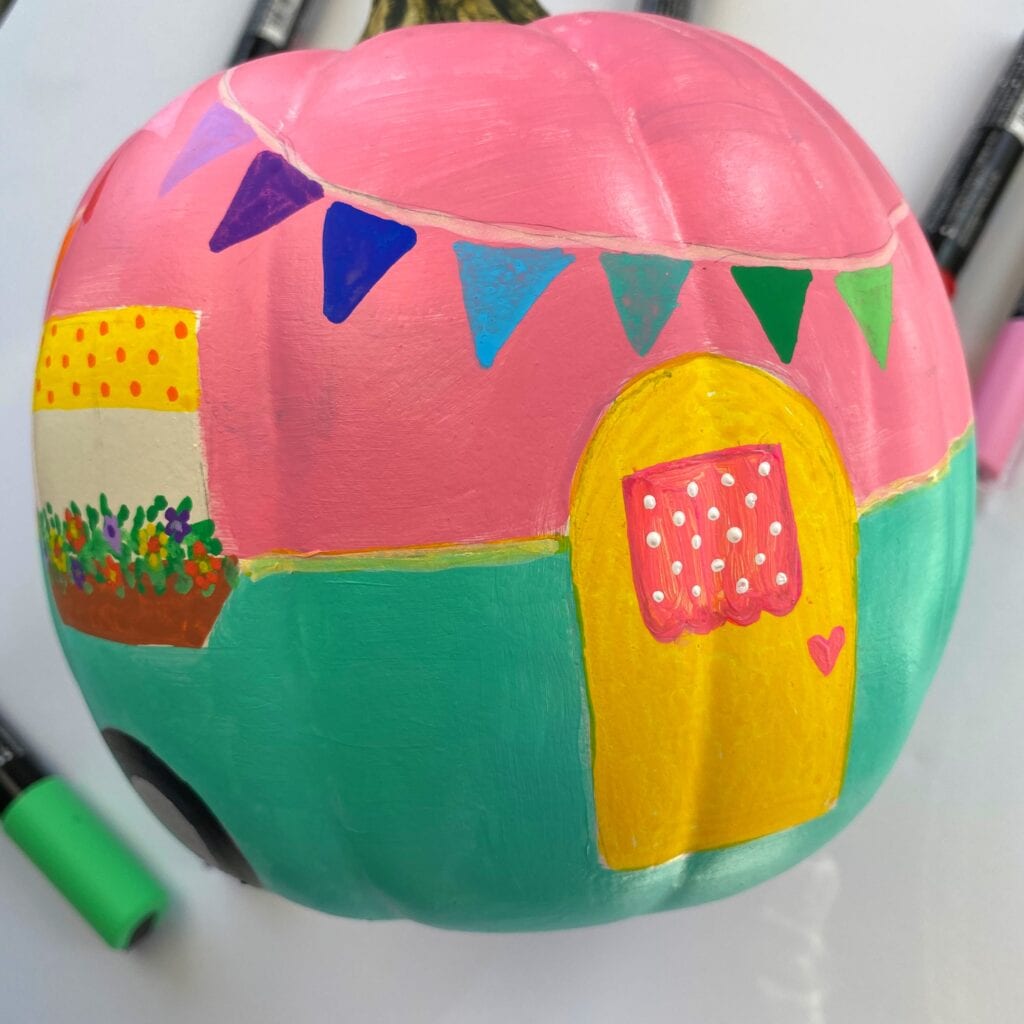
7. Outline in Black
Outline everything with a black paint pen to make it stand out.
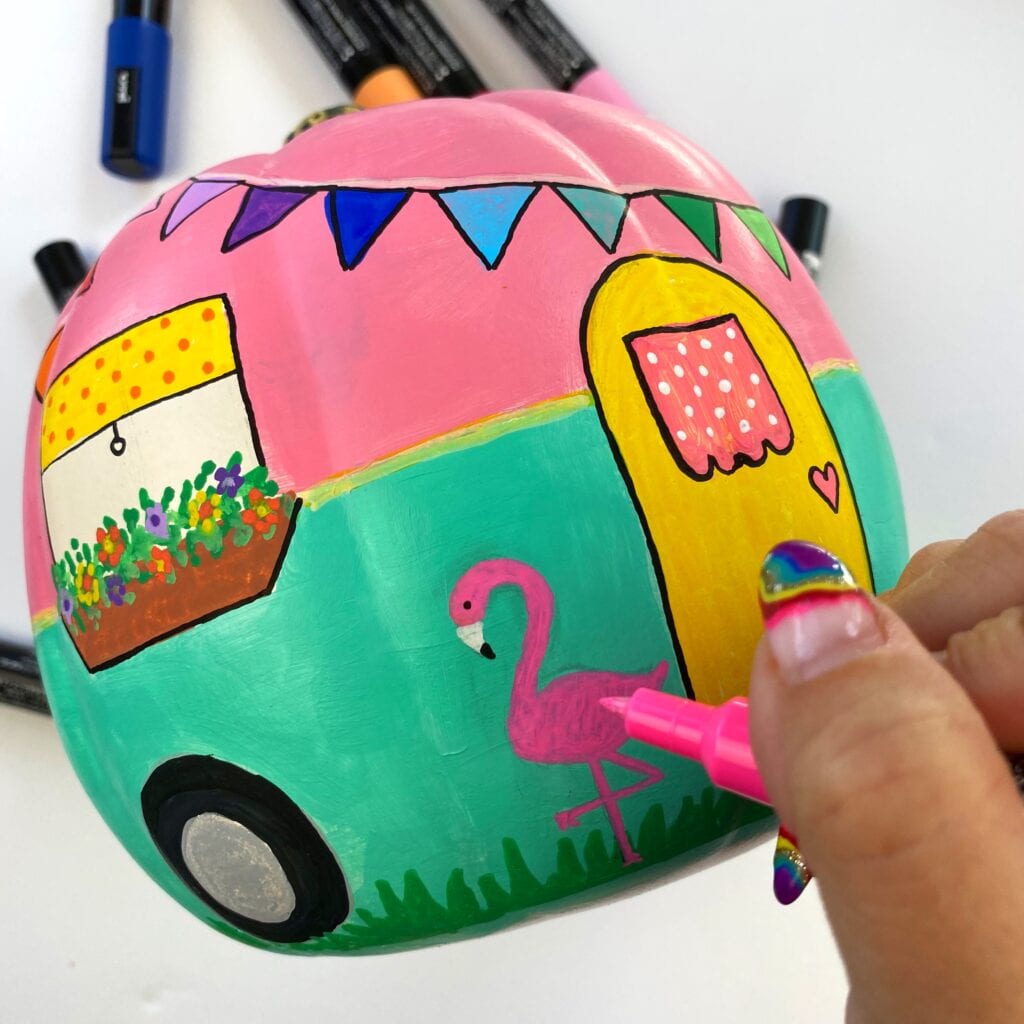
8. Add Finishing Touches
At the very end I thought the camper needed a cute little flamingo decor. You could also add a BBQ instead.
For a finishing touch you could add some cute dollhouse furniture to the the outside of the pumpkin for additional decor.
How to Make a Painted Pumpkin Camper – Quick Step by Step
- Outline the details on your pumpkin.
- Paint the large areas in solid colors.
- Let it dry, then add details with paint markers.
- To create window flowers, first add dark and light green leaves.
- Let the leaves dry, then add in the details for the flowers. Make sure everything dries completely in between!
- Add the front door details.
- Outline your designs in black marker to make them pop.
- Add any finishing touches!
How Long Does it Take Paint to Dry on a Pumpkin?
Usually acrylic paint dries in 15 minutes to an hour, but it really depends on how heavy your coats are and the conditions in the space where you’re painting. Test a few areas to make sure the paint is dry before you handle the pumpkin or add another coat.
More Tips to Make This Vintage Camper Craft
- Use the picture as a guide when you’re drawing so you have inspiration
- Use a white pumpkin to make painting easier
- Make sure you let the paint dry before adding another layer on top or else the colors will run
- Get creative with your camper colors and details

For more crafty and colorful projects visit my Instagram page or Facebook page. And if you make you own camper pumpkin, come share your finished project. I love featuring crafts that were inspired by my tutorials with my followers.