As an Amazon Associate, I earn from qualifying purchases. This post may contain affiliate links. See our full disclosure here.
After a few days of being under the weather, a beautiful no-sew DIY felt flower wall art was just what I needed to brighten my week. This project is very “DO-able” even for a crafting novice. It’s also very inexpensive.
No-Sew DIY Felt Flower Wall Art
All you need is a little bit of time. For me it was 2 nap times (thankfully Mr. Jake took a two hour nap the last two days). As a side note I should let you know that I’m a pretty slow crafter so you may be able to finish it faster.
My Flower Wall Art Inspiration
I recreated this sweet design after I stumbled upon the beautiful work of Lindsay from Pen & Paint while on Instagram the other day. As I looked through pictures of her drawings and paintings, marveling at her talent and creativity, I was particularly drawn to an image of a sweet little felt flower. I had to have one for myself.
Here’s what you need to recreate this fun DIY wall art project:
How to Make Your Own Felt Flower Wall Art – Step by Step
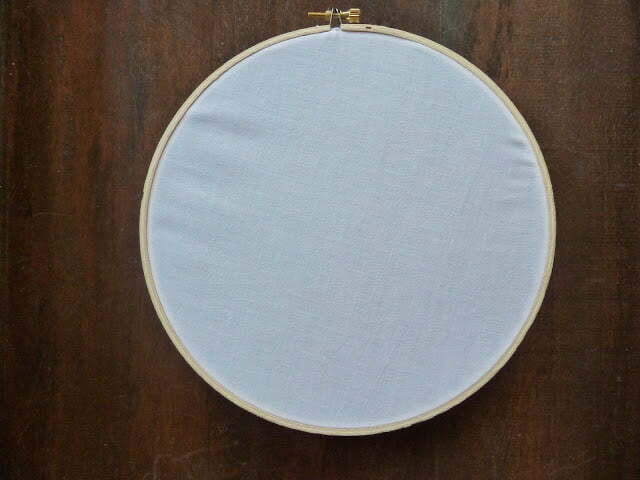
Step 1
Cover your embroidery hoop with fabric and tighten. Cut excess fabric, leaving about 1/2 an inch of fabric (you’ll glue this down at the end).
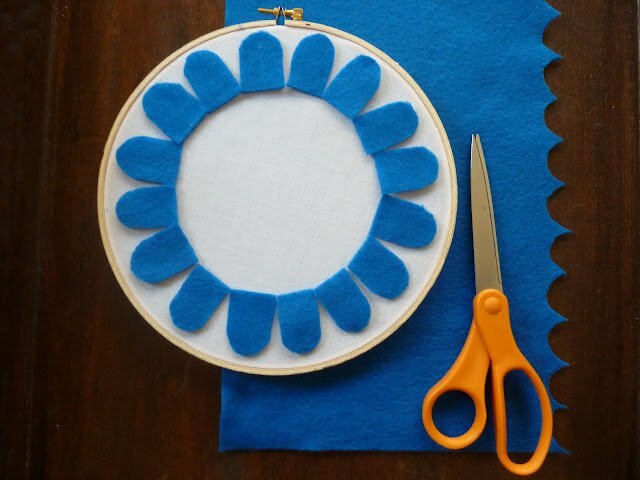
Step 2
Cut your first row of petals. My petals were about 1″ wide x 1.5″ tall. I had 17 total.
Step 3
Cut the remaining rows of petals. I ended up having 8 rows and each one had 17 petals. Each new row of petals should be slightly smaller than the row before it.
Step 4
Once everything was cut, I laid it all out on the table in the same way I was going to assemble and glue it. Once I had it how I liked it, I took each petal, starting with the first row, and hot glued it down onto my embroidery hoop.
Step 5
Add a button or any fun round piece to cover up the middle.
Step 6
Finally, glue down the remaining fabric on the backside of the hoop.
Where to Display this DIY Home Decor Project
Hope you enjoy your easy, no sew felt flower. It’s the perfect addition for any nursery, kids room or empty wall space. I think I might have to make a whole wall of these for my new craft room!
I love making my own colorful gems. It all started when I first made these glitter gems and then I made these DIY glass cracked gems. This time I wanted to do some Lisa Frank inspired glass crackled gems and you won’t believe how easy these are to make! These crackle gems are perfect for…
I love rock painting and doodling on rocks! I’m actually obsessed with it. If you follow me on Instagram you’ll see that I post pictures of my obsession quite often. When Faber-Castell USA asked if I wanted to try out some of their art supplies to see if they worked on rocks, I jumped at the chance.
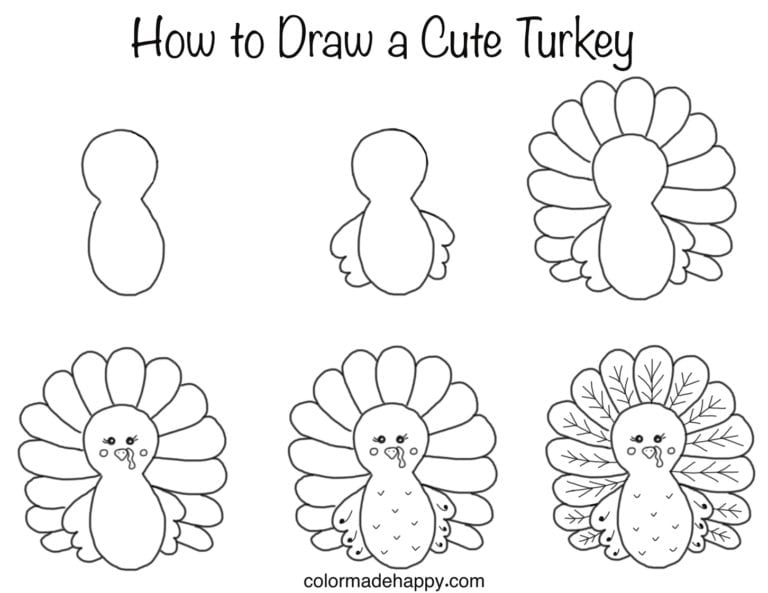
Follow this step-by-step tutorial and learn how to draw a cute turkey for Thanksgiving. Use markers, colored pencils or watercolors to complete your finished turkey. These would make adorable place cards on a Thanksgiving table or cute decoration to attach to Thanksgiving hostess gifts. If you’ve never drawn a turkey before, it’s actually really easy. These…
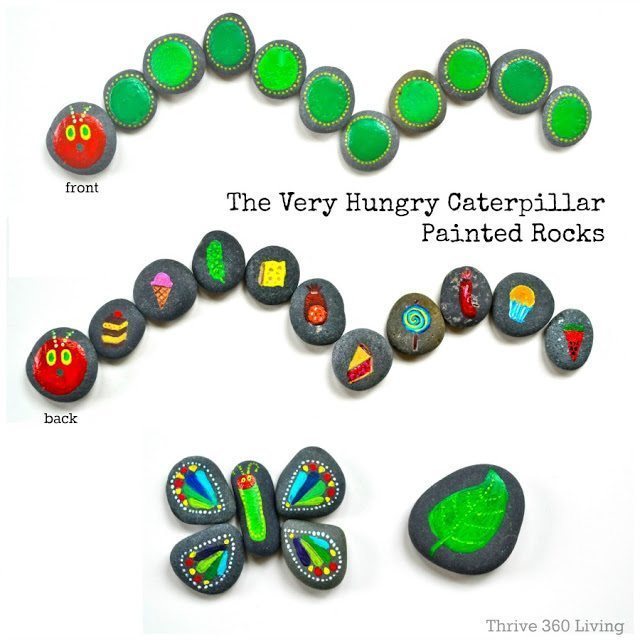
We spend a lot of time at the beach each week collecting rocks. Even as an adult I love the excitement of filling our buckets with these perfect treasures of all shapes, sizes, textures and colors. The best part about collecting rocks is how amazing they are as a canvas. You can turn them into…
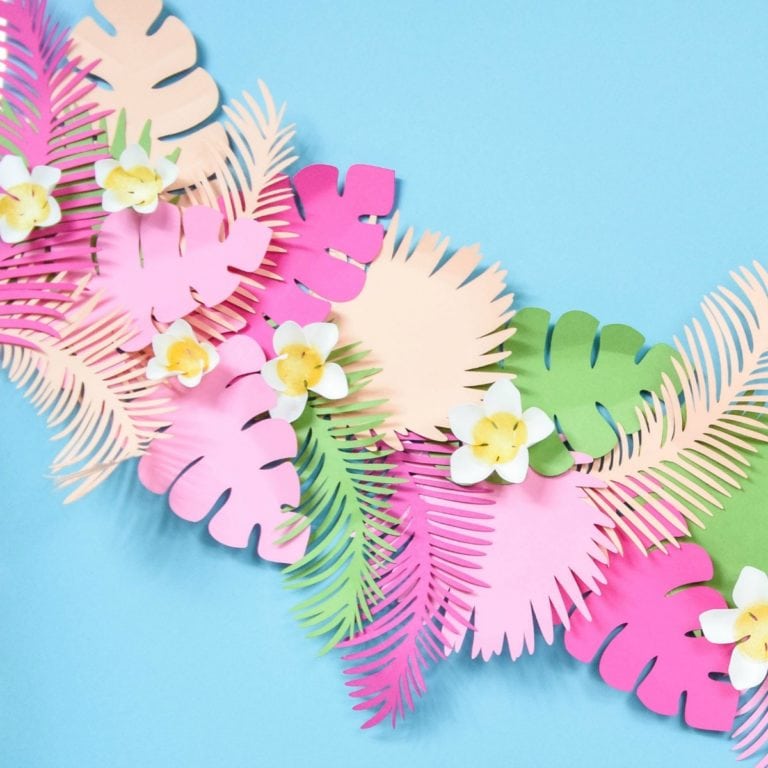
Abbi here from Abbi Kirsten Collections. I’m excited to be guest posting and sharing this fun tropical leaf paper banner project on Color Made Happy. I’ve been feeling a bit tropical in the studio since the heat of summer has official arrived! If you are planning a summer barbecue or maybe a festive luau party, this…
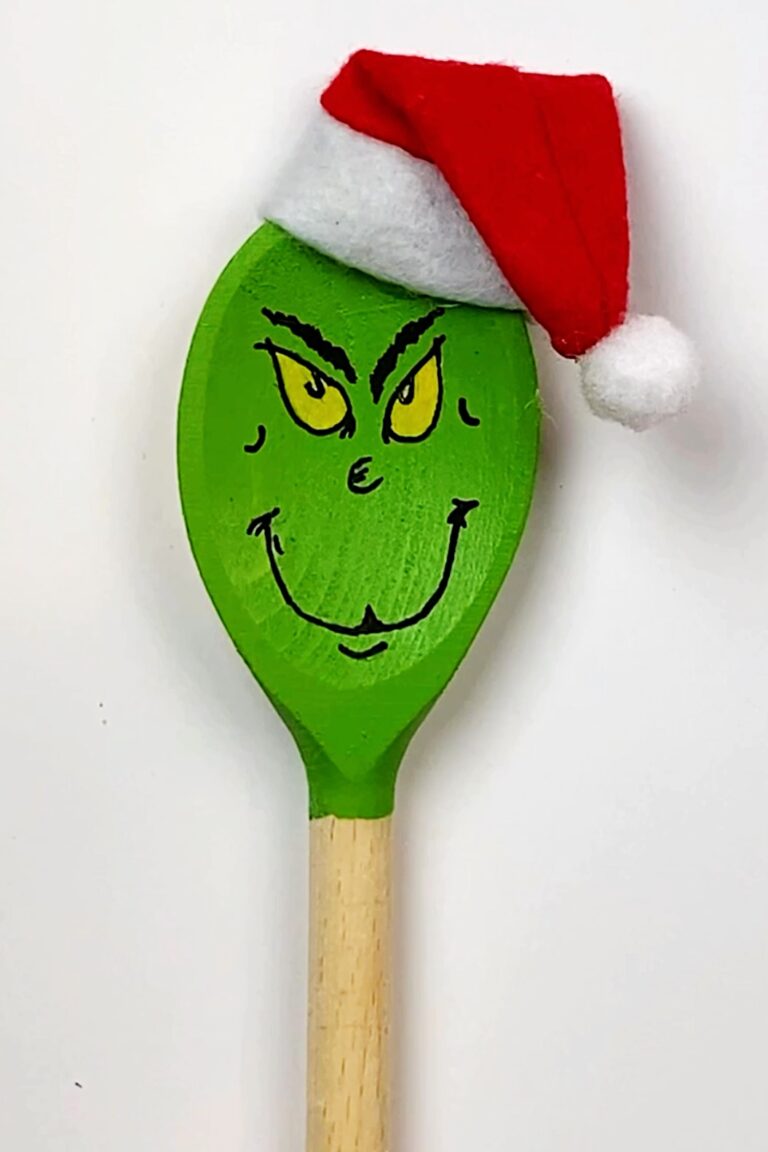
Who’s ready to grow their heart three sizes this Christmas? I don’t know about you, but I love the movie How the Grinch Stole Christmas. I watch it every year and it always brings back the warmest memories from my childhood. Since the holidays are coming up, I decided to create a Grinch Christmas Craft…