As an Amazon Associate, I earn from qualifying purchases. This post may contain affiliate links. See our full disclosure here.
After a few days of being under the weather, a beautiful no-sew DIY felt flower wall art was just what I needed to brighten my week. This project is very “DO-able” even for a crafting novice. It’s also very inexpensive.
No-Sew DIY Felt Flower Wall Art
All you need is a little bit of time. For me it was 2 nap times (thankfully Mr. Jake took a two hour nap the last two days). As a side note I should let you know that I’m a pretty slow crafter so you may be able to finish it faster.
My Flower Wall Art Inspiration
I recreated this sweet design after I stumbled upon the beautiful work of Lindsay from Pen & Paint while on Instagram the other day. As I looked through pictures of her drawings and paintings, marveling at her talent and creativity, I was particularly drawn to an image of a sweet little felt flower. I had to have one for myself.
Here’s what you need to recreate this fun DIY wall art project:
How to Make Your Own Felt Flower Wall Art – Step by Step
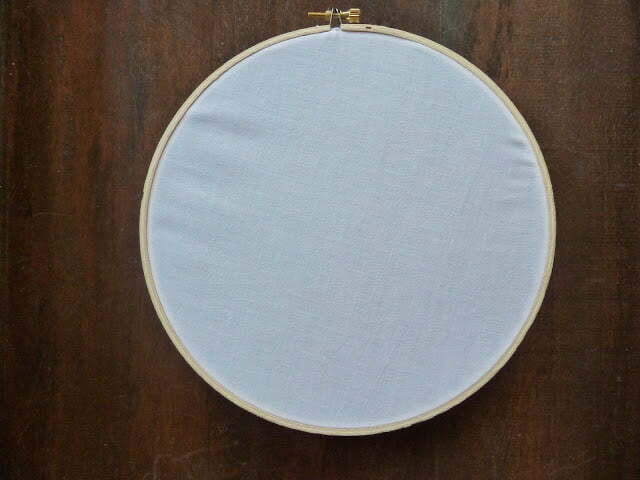
Step 1
Cover your embroidery hoop with fabric and tighten. Cut excess fabric, leaving about 1/2 an inch of fabric (you’ll glue this down at the end).
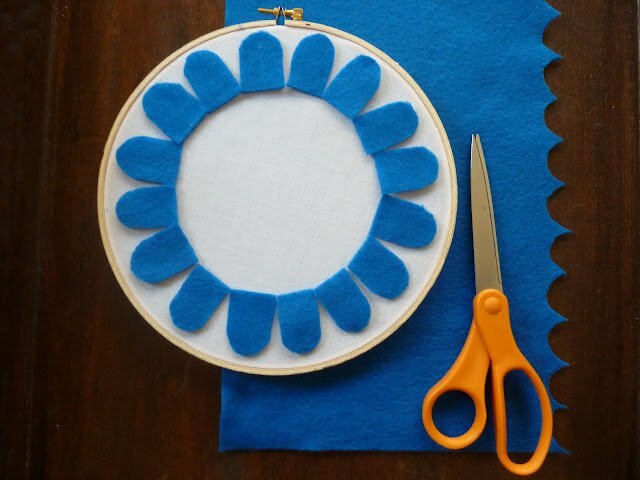
Step 2
Cut your first row of petals. My petals were about 1″ wide x 1.5″ tall. I had 17 total.
Step 3
Cut the remaining rows of petals. I ended up having 8 rows and each one had 17 petals. Each new row of petals should be slightly smaller than the row before it.
Step 4
Once everything was cut, I laid it all out on the table in the same way I was going to assemble and glue it. Once I had it how I liked it, I took each petal, starting with the first row, and hot glued it down onto my embroidery hoop.
Step 5
Add a button or any fun round piece to cover up the middle.
Step 6
Finally, glue down the remaining fabric on the backside of the hoop.
Where to Display this DIY Home Decor Project
Hope you enjoy your easy, no sew felt flower. It’s the perfect addition for any nursery, kids room or empty wall space. I think I might have to make a whole wall of these for my new craft room!
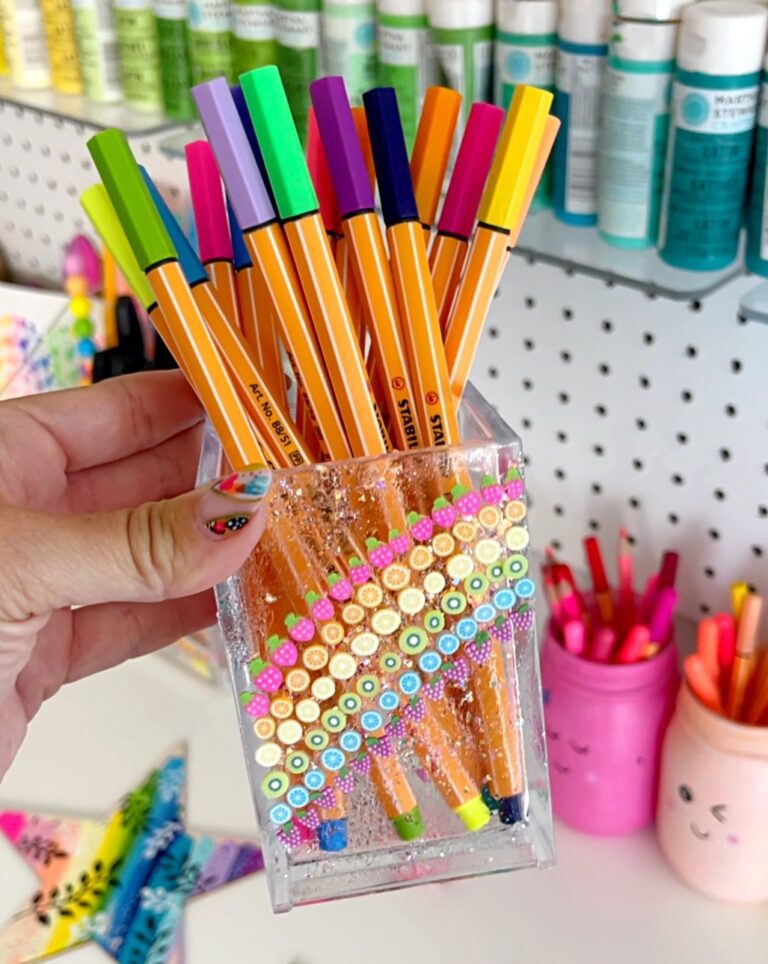
It’s incredibly easy to make your own Pen and Pencil storage for your craft room or your desk. You can even create a faux resin look using acrylic storage and clay nail art slices. Pen and Pencil Storage for Craft Room These nail art slices are also often used in making slime. I use these…
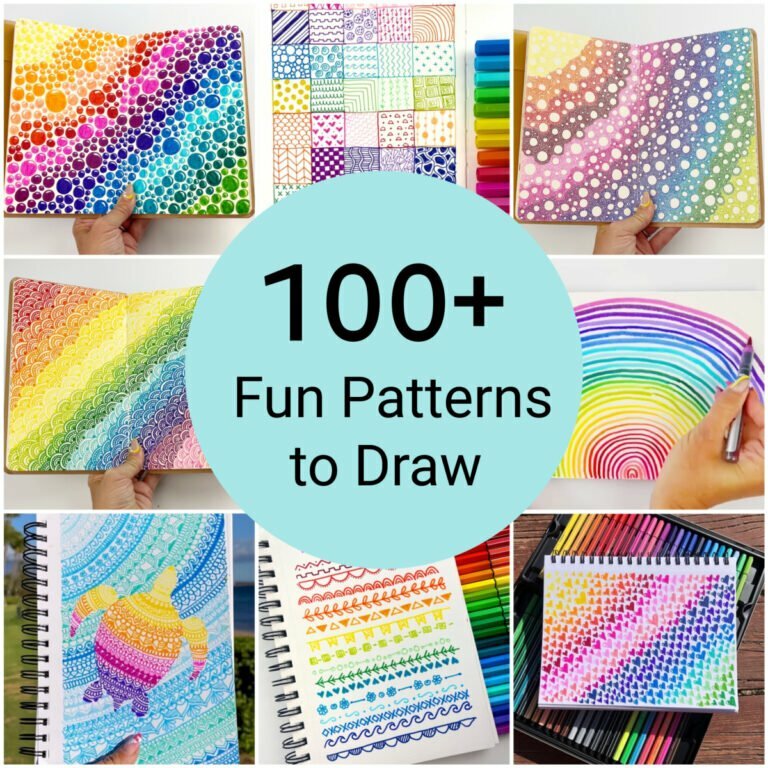
Art doesn’t have to be complicated to be beautiful. Sometimes drawing a simple pattern or repeating patterns can make amazing art. I like to tell people…if you can draw a circle you are an artist. Some of my favorite patterns to draw involve a simple circle or dots. From kids to adults, drawing patterns can…
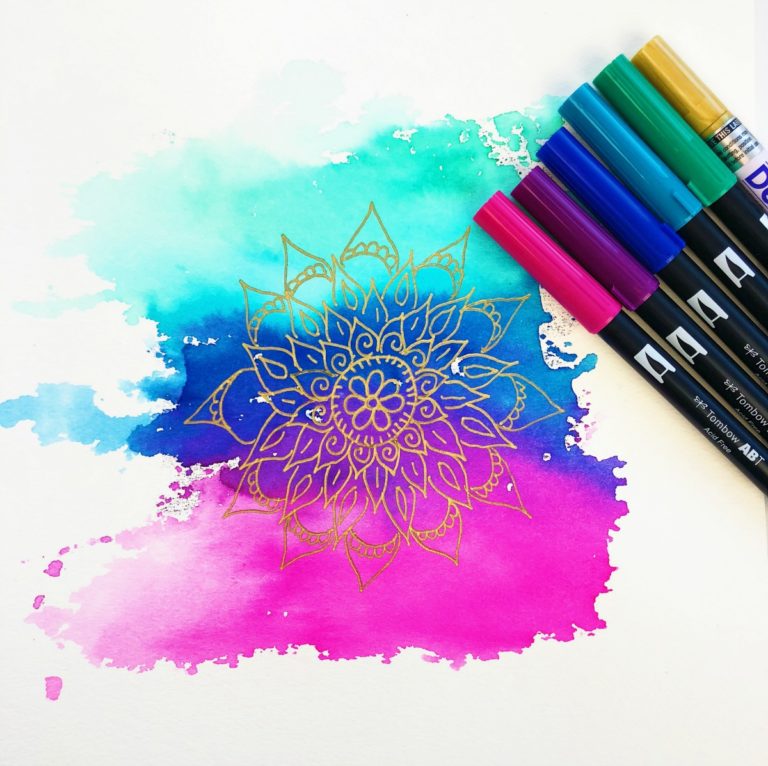
Did you know that you can easily turn Tombow Dual Brush Pens into watercolors by simply adding water? While there are a few different ways to make watercolor backgrounds using Tombow brush pens, I’m going to show you one of my favorite ways to make a watercolor mandala background using Tombow brush pens and all…
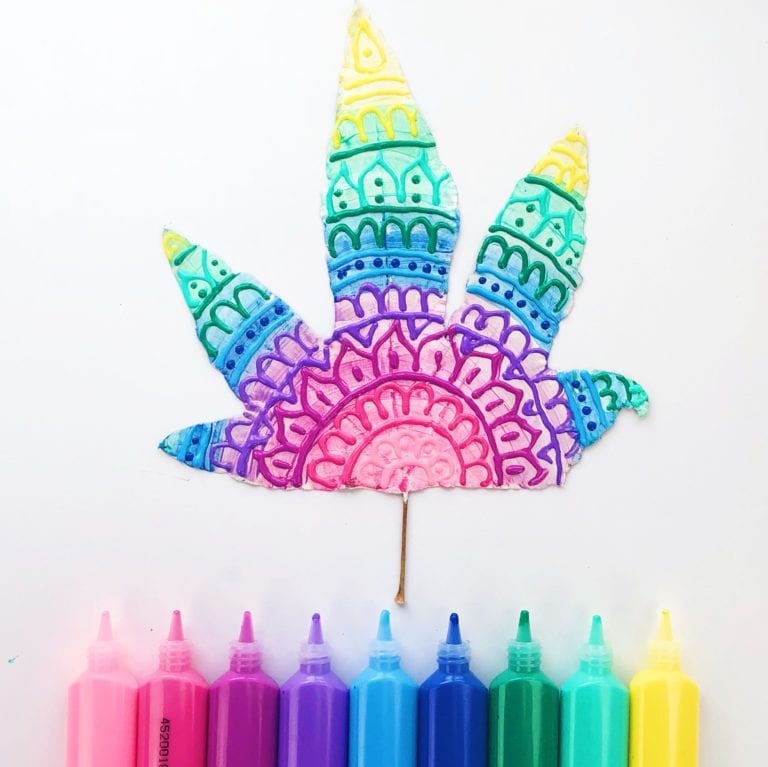
I love making leaf painting crafts, so this project with puffy paint is right up my alley. The colors come out beautifully and it’s a unique way to bring nature into your DIY projects. The best part is that it’s so easy to make! Leaf Painting with Puffy Paint I have pressed leaves that I have painted…
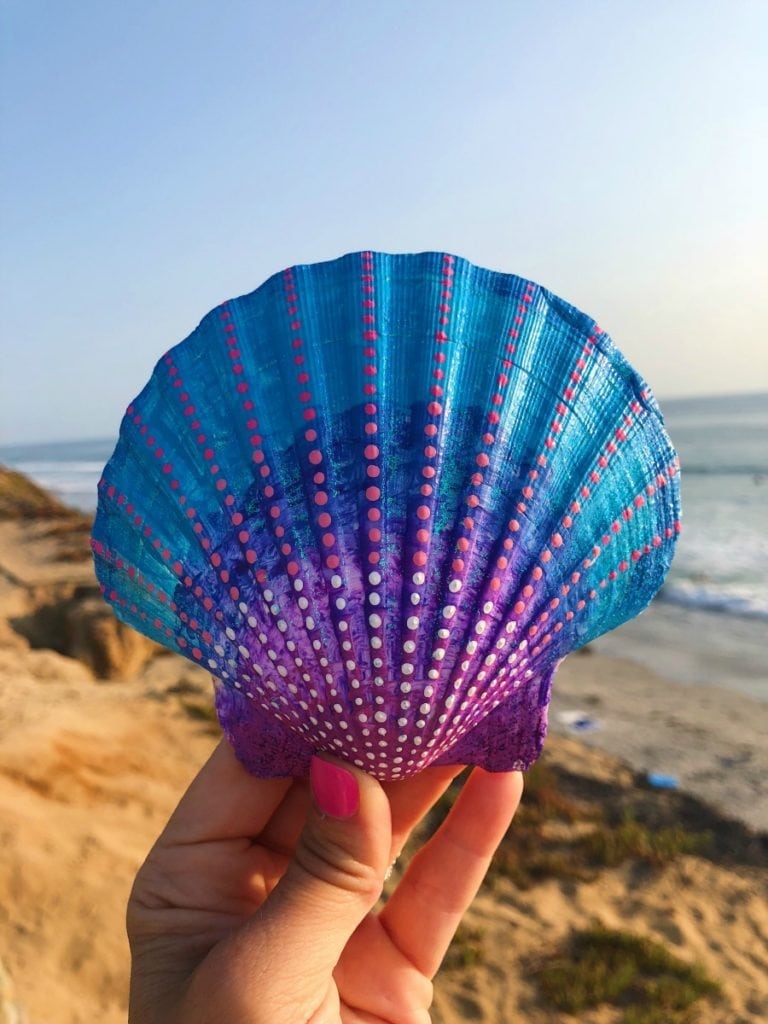
Have you ever tried painting sea shells? Sea Shell painting is such a relaxing activity and it’s easy to do with the right supplies. Even if you don’t have your own collection of shells to paint, there are many places you can buy plain shells, including online. See below for some supply recommendations, great places…
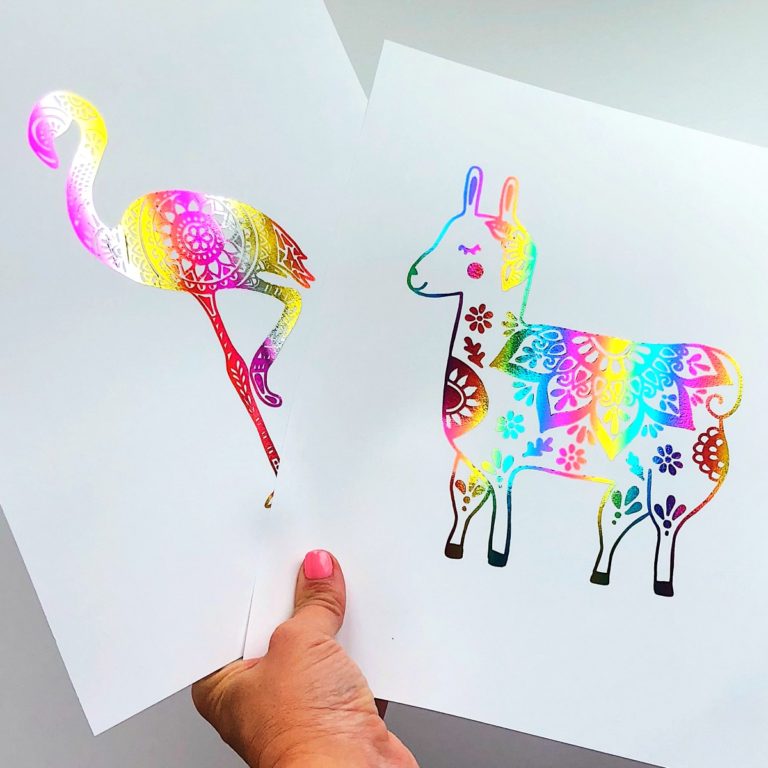
If I knew how easy it was to make DIY foil art prints, I would have starting making my own years ago. It’s funny because something so beautiful seems like it would be crazy difficult to make. But in reality you only need a few key supplies (that aren’t even very expensive). I’ve also provided…